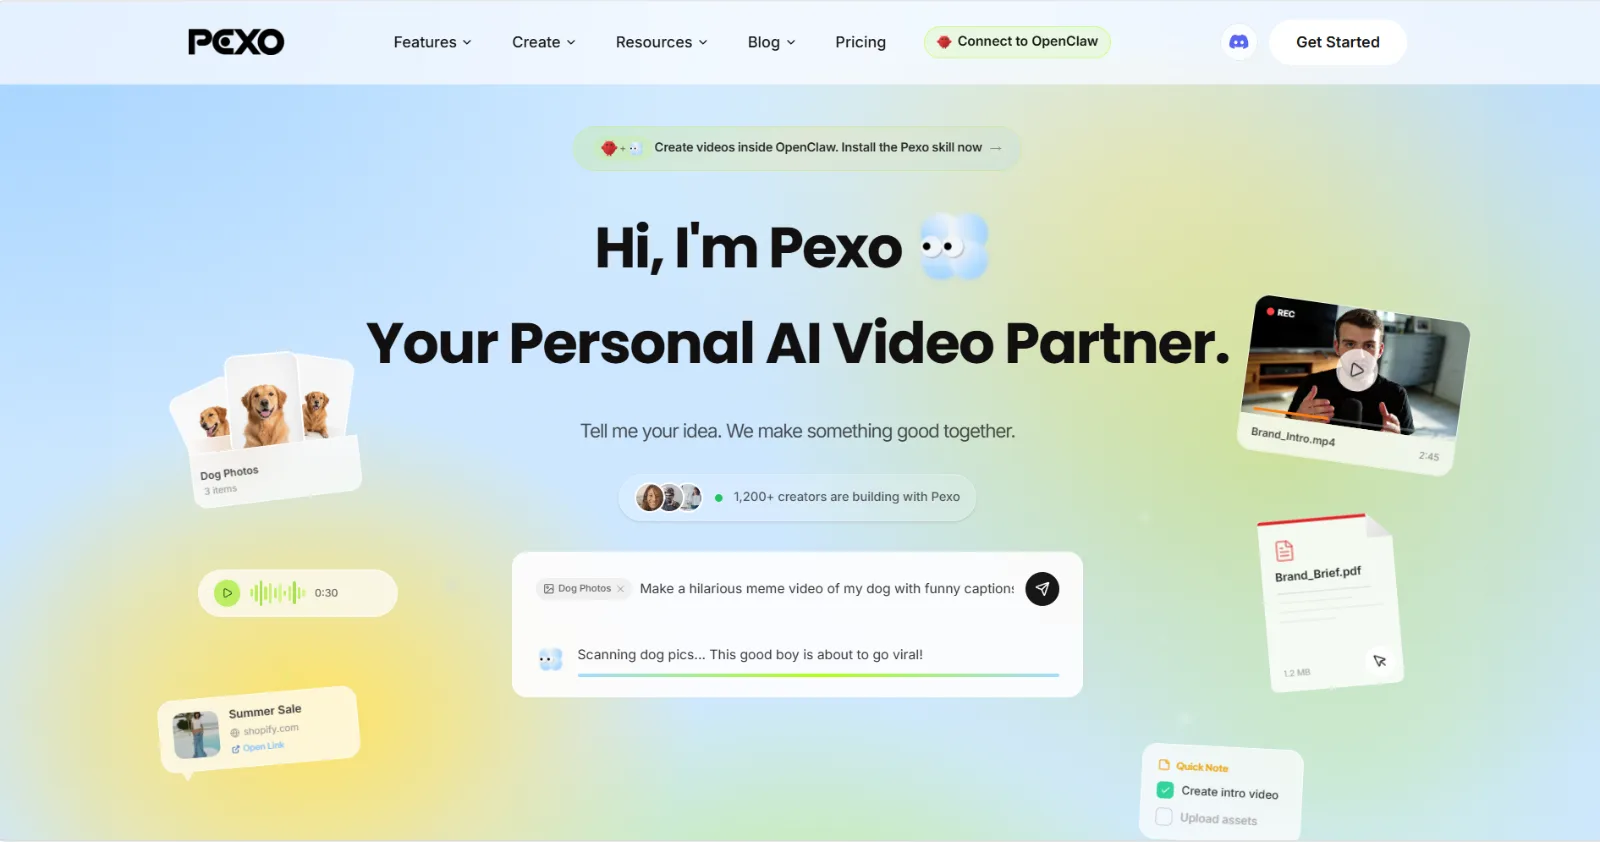
 Pexo, the AI video partner this tutorial uses: tell it your idea and it makes the video with you.
I turned one sentence into a finished 20-second product ad without opening an editor or writing a single prompt. The clip was a vertical 9:16 spot for a perfume called Daybreak, and I built it inside Pexo, my AI video partner, in four steps, start to finish. If you have ever opened a blank prompt box or a 30-track timeline and quietly closed the tab, this is the tutorial I wish I had. The short version: you describe what you want in plain language, Pexo plans it, shows you a preview, and hands back a ready-to-post clip. No prompts. Just talk. Below I walk the same four steps I used on the Daybreak ad, the three mistakes that waste the most time, five pro tips, and an honest note on when this approach is the wrong call. Start a video in Pexo and follow along as you read.
What Is Text-to-Video AI?
Text-to-video AI is software that reads a written description and generates a moving video from it: scenes, motion, pacing, and often voiceover and music, with no camera and no manual editing. You type something like "a 15-second TikTok ad for my skincare bottle, soft morning light, upbeat," and the system produces a clip that matches. It is the fastest path from idea to watchable video for anyone who is not a video editor.
The category splits into two camps. Most text-to-video tools hand you a prompt box and leave you to engineer the perfect string. Pexo takes the other road: it listens to how you naturally describe an idea, messy or specific, and works it out with you, then routes the job to the right model under the hood. That difference is the whole reason this tutorial uses Pexo as the demo. You can open Pexo's text-to-video workspace now and keep it side by side with the steps below.
What You Need Before You Start
You need surprisingly little. Here is the full checklist before you make your first clip:
- A Pexo account. Pexo is self-serve and credit-based, so you can start a project and see how the workflow feels before committing to a longer one.
- One clear idea, in one or two sentences. "A 30-second Instagram Reel about my coffee subscription, warm tones, lo-fi music" is plenty. You do not need a script or a shot list.
- Any assets you already have (optional). A product photo, a logo, a URL, or an audio clip. Pexo accepts text, image, URL, and audio as starting points. It does not need existing video footage, because it creates the video from your description.
- A target format in mind. Know roughly where the video is going: vertical 9:16 for TikTok and Reels, square 1:1 for feed posts, or wide 16:9 for YouTube. You can change this later, but naming it up front saves a round.
If you want a still image to anchor the video and do not have one, you can generate it directly inside Pexo and carry it into the same conversation, no second app required.
How to Turn Text Into Video With Pexo (Step-by-Step)
This is the core of the tutorial: four steps from a blank chat to a finished, downloadable clip. Every step happens inside one Pexo conversation, so you are never exporting, re-uploading, or switching tabs.
Step 1: Describe Your Idea in Plain Words
Open Pexo's text-to-video workspace and just say what you want, the way you would text a friend. There is no prompt syntax to learn and no blank-page paralysis. A good first description names four things: the subject, the length, the vibe, and how it ends. That little formula works for describing any video to any tool, so it is worth keeping. Here is the exact line I used for the Daybreak demo: "Make a 20-second product ad video for my Daybreak. Warm and modern, soft natural morning light, clean background, upbeat acoustic music. End on the product with the brand name on screen."
Pexo reads your intent, not just your keywords, so you do not have to front-load every detail. If you only have a half-formed idea, say that too, and Pexo will ask the right questions back. This is the step where most other tools make you stop and engineer a prompt. Here you just talk.
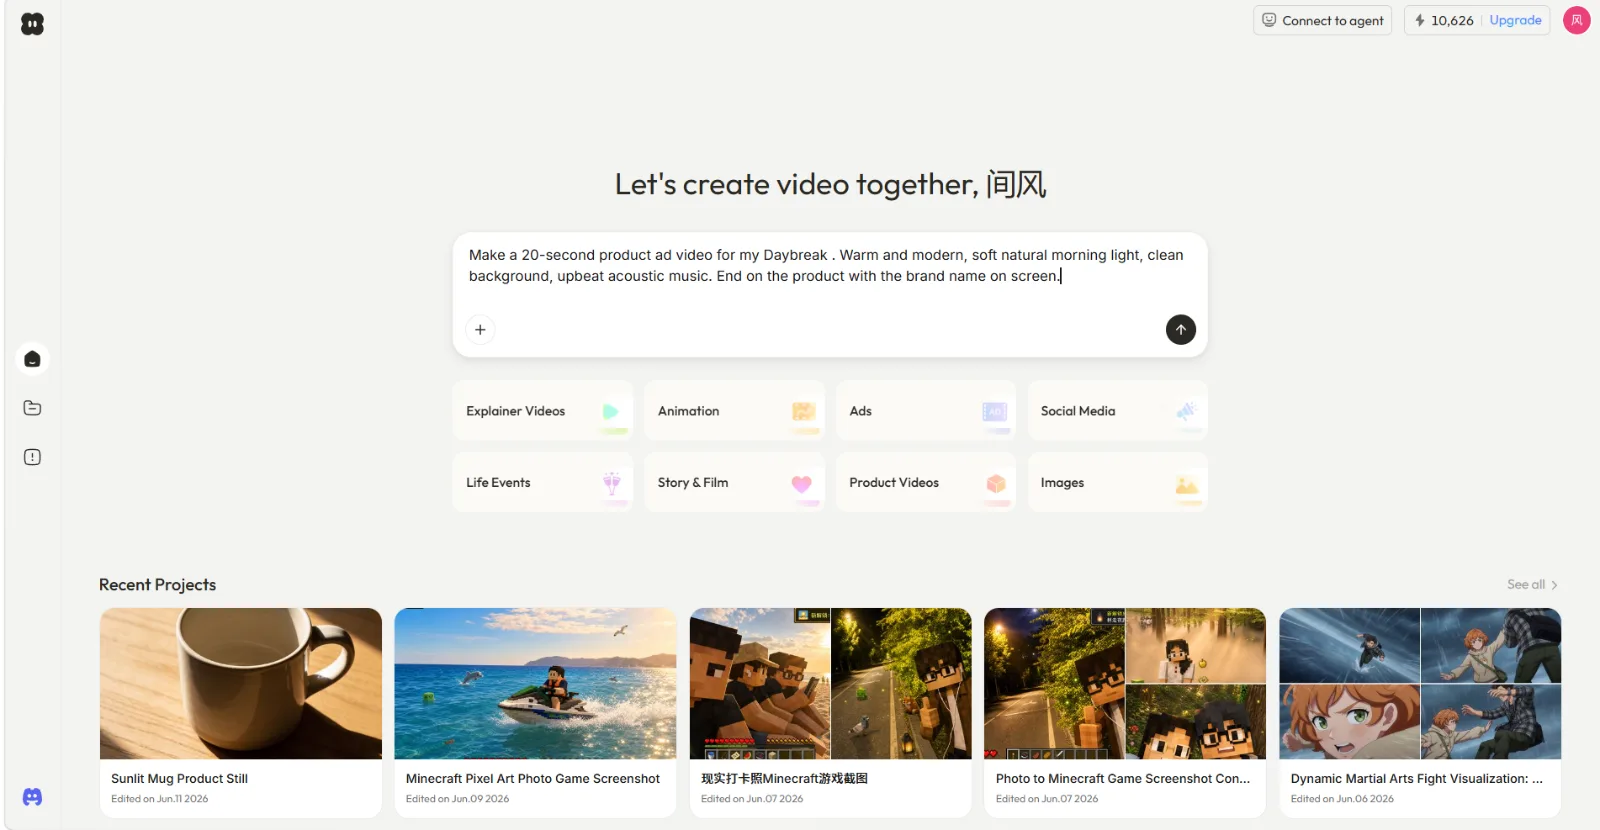 Step 1: a one or two sentence description is enough to start. No prompt engineering.
Step 2: Let Pexo Plan and Preview
Before it produces the full video, Pexo reads through the brief, plans the ad, and shows you what it is thinking instead of making you wait and pray. On the Daybreak ad it actually paused and asked me a question back first: what Daybreak even was, a drink or skincare or a candle, and whether I had a product photo to use. I sent the bottle shot, and only then did it go into production. Read the plan, check that the vibe matches, and confirm.
This preview-first behavior is what makes Pexo a partner rather than a slot machine. You catch a wrong turn at the sketch stage, when fixing it costs nothing, instead of after a full render. Try the plan-and-preview flow yourself on a short clip first.
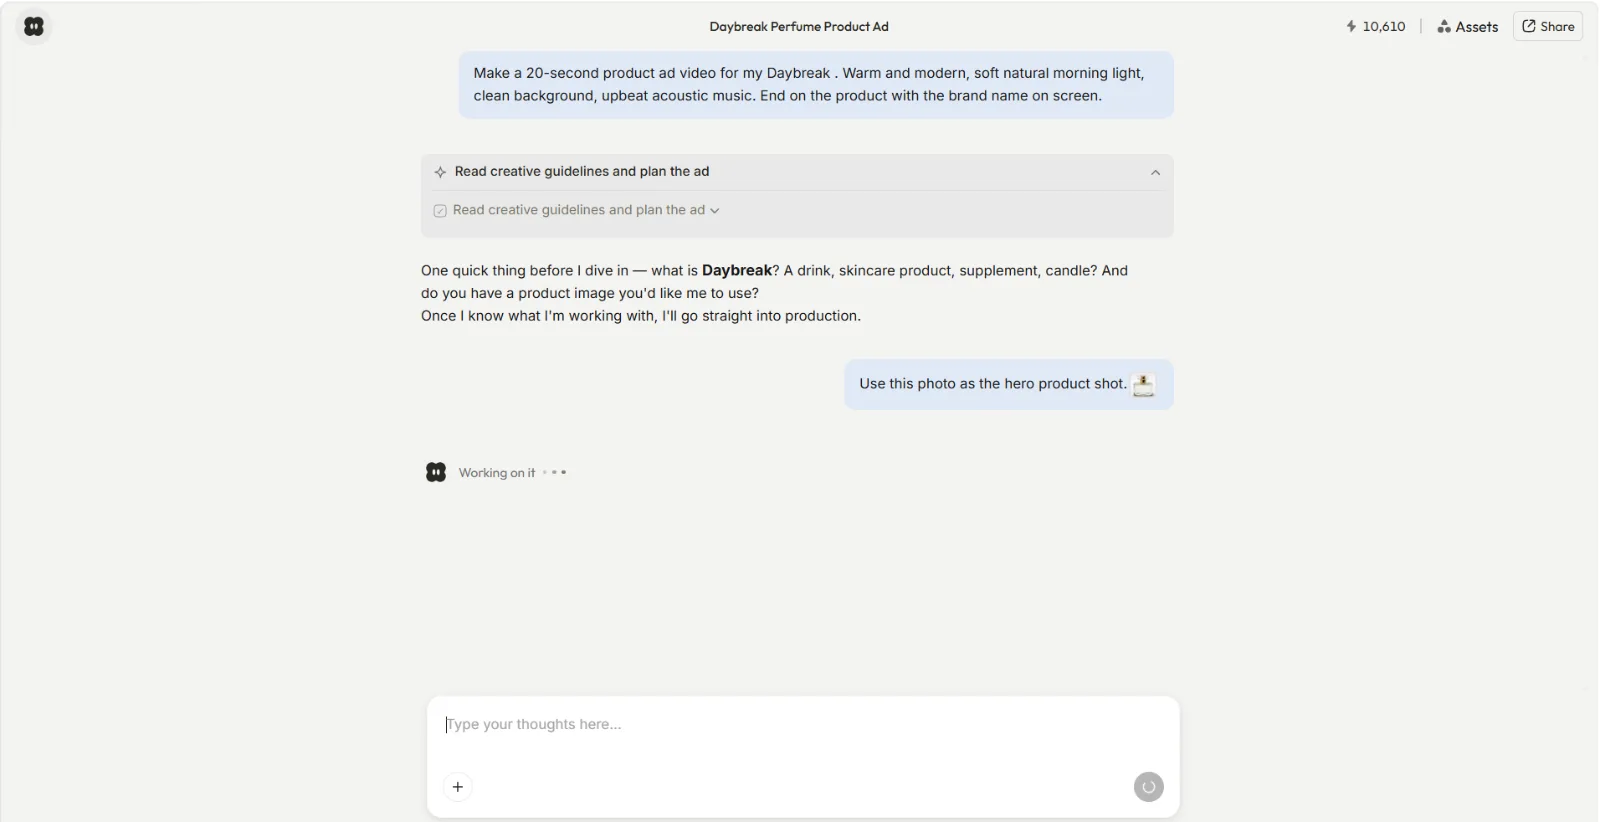 Step 2: Pexo plans the ad and checks what it needs, like a product photo, before producing, so you can redirect early.
Step 3: Direct the Changes by Talking
Once the preview is in front of you, refine it the same way you started: by talking. Point at what you want different and describe the change. "Make the second scene slower." "Swap the music for something calmer." "Add a line of text that says 20% off." You are directing, not operating menus.
Because creative work is not linear, you can jump around: reroll one scene, go back and change the opening, or push ahead to the ending. You do not have to redo the whole video to fix one shot. To be straight, the first preview does not always nail it. My opening Daybreak scene came back too dim, and I went two rounds of "brighter, warmer morning light" before it landed. That back and forth is the real trade you make for skipping a manual editor, and on a short clip it is usually two or three rounds, not ten.
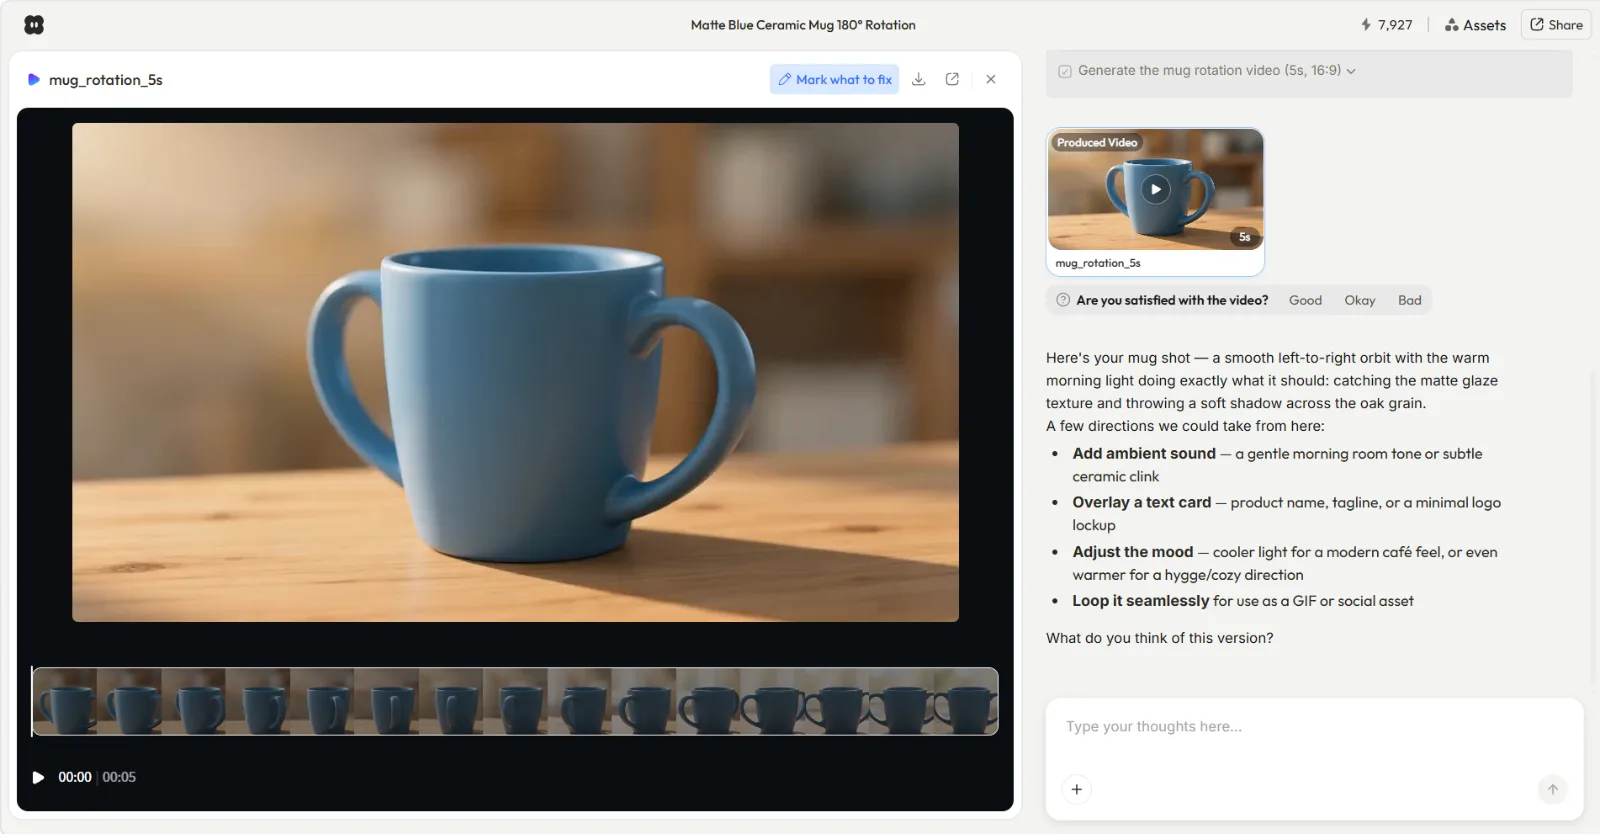
 Step 3: refine by talking. Pexo offers directions like adding ambient sound or a text card, all by description.
Step 4: Review and Ship the Finished Clip
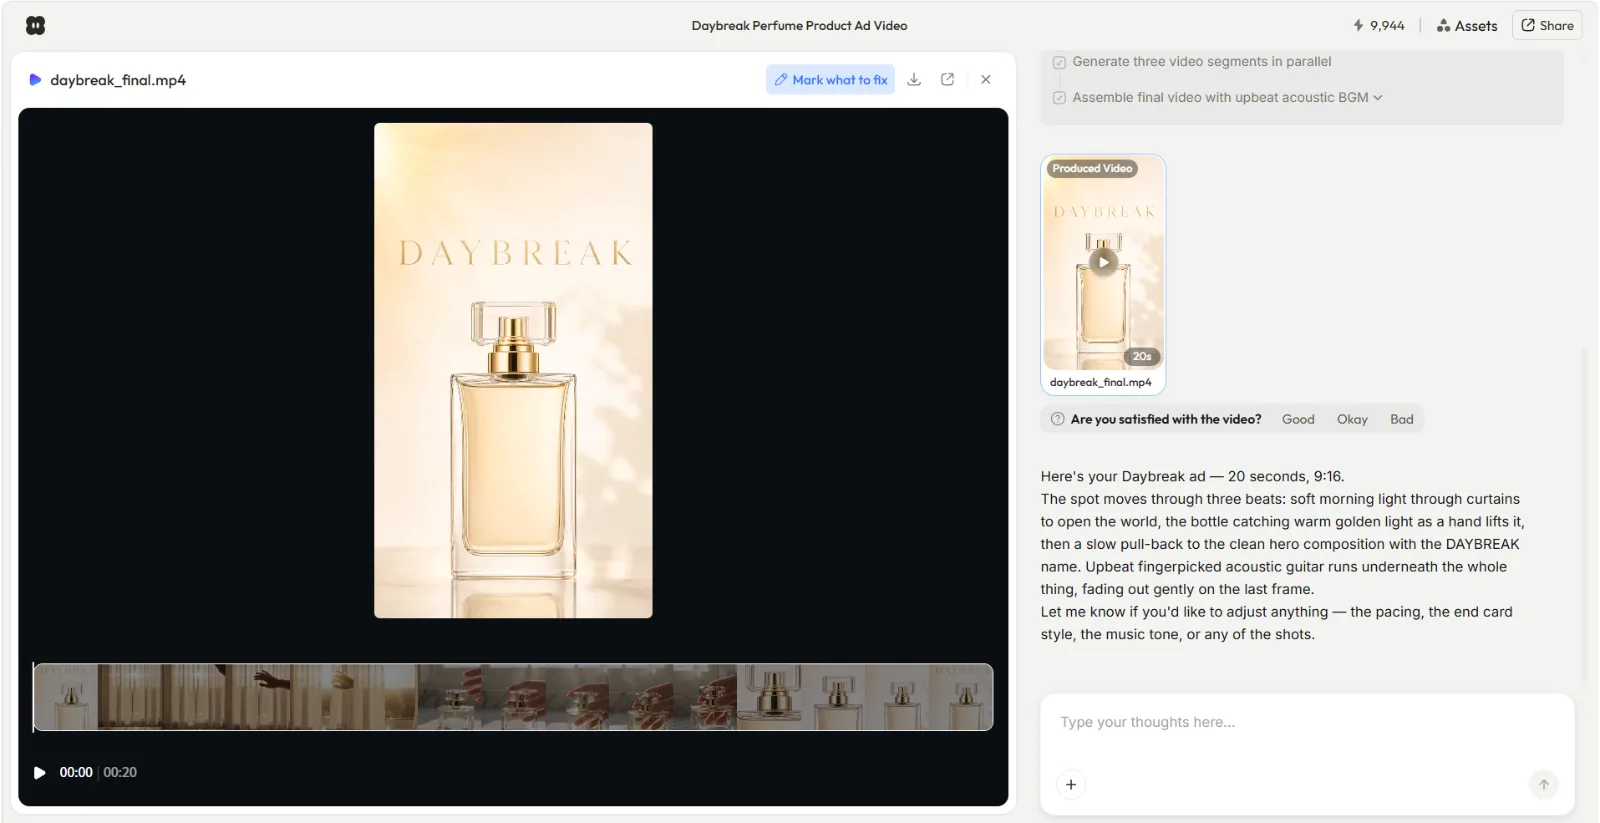
When the preview matches your idea, have Pexo build the final video. You get a complete, polished clip: transitions, soundtrack, and pacing handled, not a raw 5-second fragment you still have to assemble. Pick your aspect ratio for the destination (9:16, 1:1, or 16:9), download in a common video format, and post it.
That is the full loop: describe, plan, direct, ship. Four steps, one conversation, a finished video out the other end. Make your first one in Pexo and the rest of this guide will make it sharper.
 Step 4: the finished Daybreak ad, 20 seconds in 9:16, ready to download and post.
Common Mistakes to Avoid
A few habits waste more time than anything else when you are new to text to video AI. Here are the three I see most:
- Over-specifying on the first try. Writing a 200-word brief before you have seen a single frame. Start with one or two sentences, see the preview, then refine. Pexo is built to iterate with you, so front-loading every detail just slows the first round.
- Skipping the preview. Jumping straight to "build the final" without reading Pexo's plan. The plan-and-preview step in Pexo exists so you catch a wrong direction early. Skipping it means you fix problems after a full build instead of before.
- Ignoring the target format until the end. Generating a wide 16:9 clip and then realizing you needed vertical 9:16 for Reels. Tell Pexo the destination up front so the framing is right from the first preview.
Pro Tips for Better Text-to-Video Results
Once you have the basic loop down, these five tips raise the quality of what comes back:
- Lead with the feeling, not just the facts. "Calm, premium, slow" guides Pexo's choices more than a dry list of objects. Vibe words shape pacing, music, and color.
- Let Pexo pick the model. You do not choose between Seedance, Sora, Kling, and more. Pexo routes each job to the model that fits the scene, style, and format, so you get the right engine without researching any of them. The full lineup lives on Pexo's model pages, like Seedance 2.0 and Kling AI.
- Feed it a real asset when you have one. A product photo or a brand URL gives Pexo something concrete to build around, which tightens the result. Drop the image or link straight into the chat.
- Refine one thing at a time. "Slower second scene" lands better than five changes in one message. Tight, single-focus feedback gives you cleaner previews.
- Reuse what works. When a clip lands, keep the description and tweak it for the next one. A 15-second ad framework becomes a whole batch of product videos with small edits.
When Text-to-Video AI Isn't the Right Fit
Honest tutorials name the limits. Text-to-video AI generation, Pexo included, is the wrong tool in a few real situations:
- You already have footage that just needs trimming or captions. Generation builds new video from a description. If your job is cutting an existing recording, adding subtitles, or clipping a long video into shorts, you want an editor or a clipping tool, not a generator.
- You need a real, specific person or place captured truthfully. Documentary footage, a literal recording of your storefront, or a verifiable event are filming jobs. AI-generated video creates a depiction, not a record.
- You need frame-perfect manual control over every pixel. If your work demands hand-placed keyframes and exact timeline precision, a professional editor still wins. Text to video AI trades that granular control for speed and simplicity.
For everything else, making social ads, reels, explainers, and promos from scratch without filming or editing, generation is the faster path, and a conversational partner like Pexo removes most of the friction.
Other Text-to-Video Tools to Know
If you want to compare approaches, two other tools are worth a look. This is not a ranking, just context:
- Runway: a generation platform popular with creators who want fine-grained, shot-level control and are comfortable working closer to the model.
- Synthesia: focused on AI avatar and talking-head videos, a good fit when your video is mostly a presenter delivering a script.
Each suits a different working style. The reason this tutorial centers on Pexo is the conversation-first workflow: no prompt engineering, no model picking, and no app switching between idea and finished clip.
Conclusion
Text to video AI collapses the distance between an idea and a finished video, and the four-step loop is the whole skill: describe your idea, let Pexo plan and preview, direct the changes by talking, and ship the clip. The Daybreak ad took me one sentence, one product photo, and two rounds of feedback. The reason it feels lighter in Pexo than in most of the category is the part everyone else skips: you describe instead of prompt, and Pexo picks the model so you never have to. If you have an idea sitting in your head right now, start your first video in Pexo and follow the same four steps.