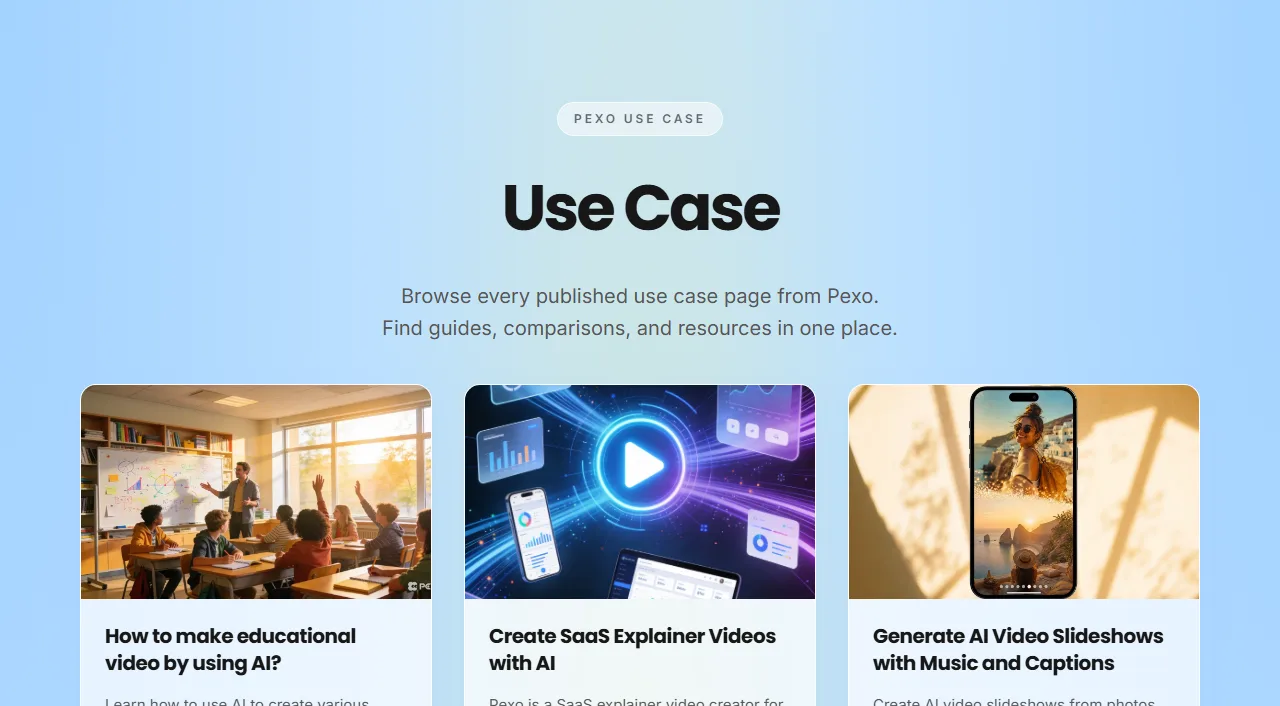
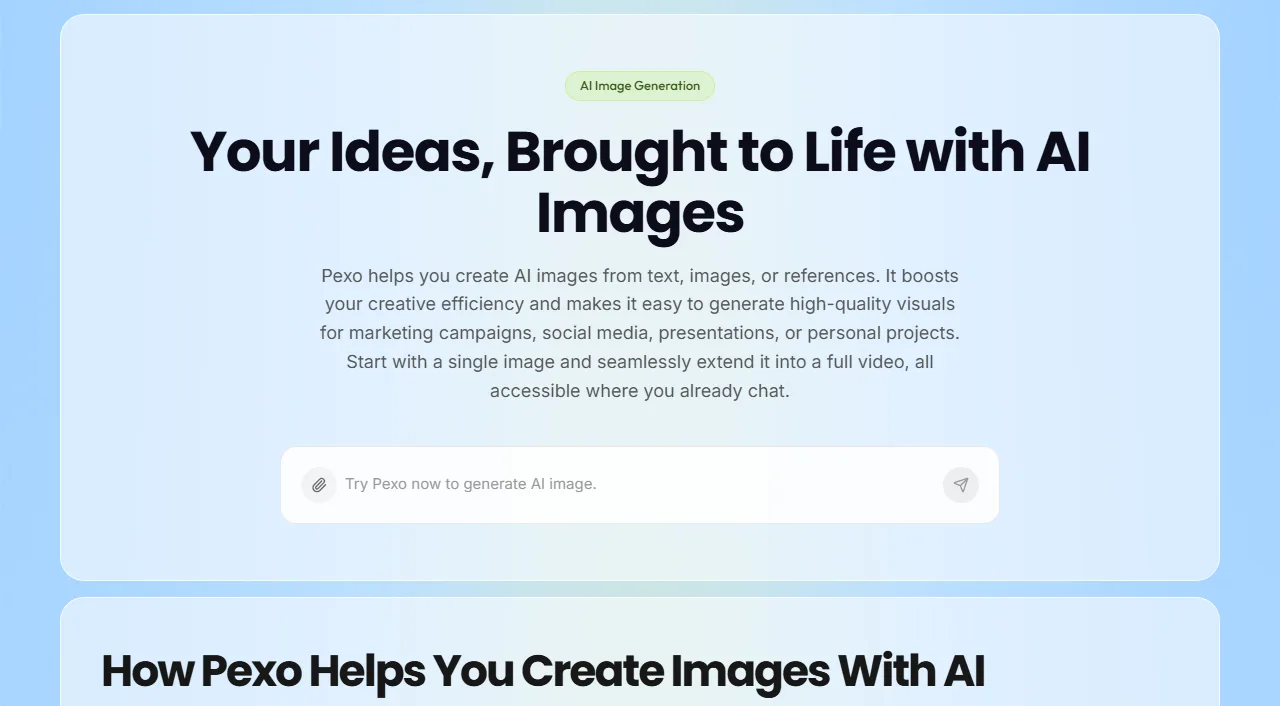
Most AI image generator tutorials sit you in front of a blank prompt box and wish you luck. This one takes a different route. You will make your first image by describing it in plain words to Pexo and reacting to what it builds. Whether you need a thumbnail, a product shot, or a social post visual, the workflow is the same four steps. Below you will learn what an AI image generator actually does, what to prepare, the step by step Pexo workflow, the five mistakes that waste the most tries, and a handful of pro tips. By the last step you will have a usable image without learning any prompt syntax.
What Is an AI Image Generator?
An AI image generator is a model that turns a written description into an original picture. You type what you want to see, and the system produces a brand new image in seconds, typically at sizes like 1024×1024 px for a square or 1536×1024 px for a wide frame. The picture is generated, not pulled from a stock library, so two people describing the same scene rarely get the same result. People reach for these tools when stock photos feel generic, a custom shot is too slow, and a design from scratch needs skills they do not have.
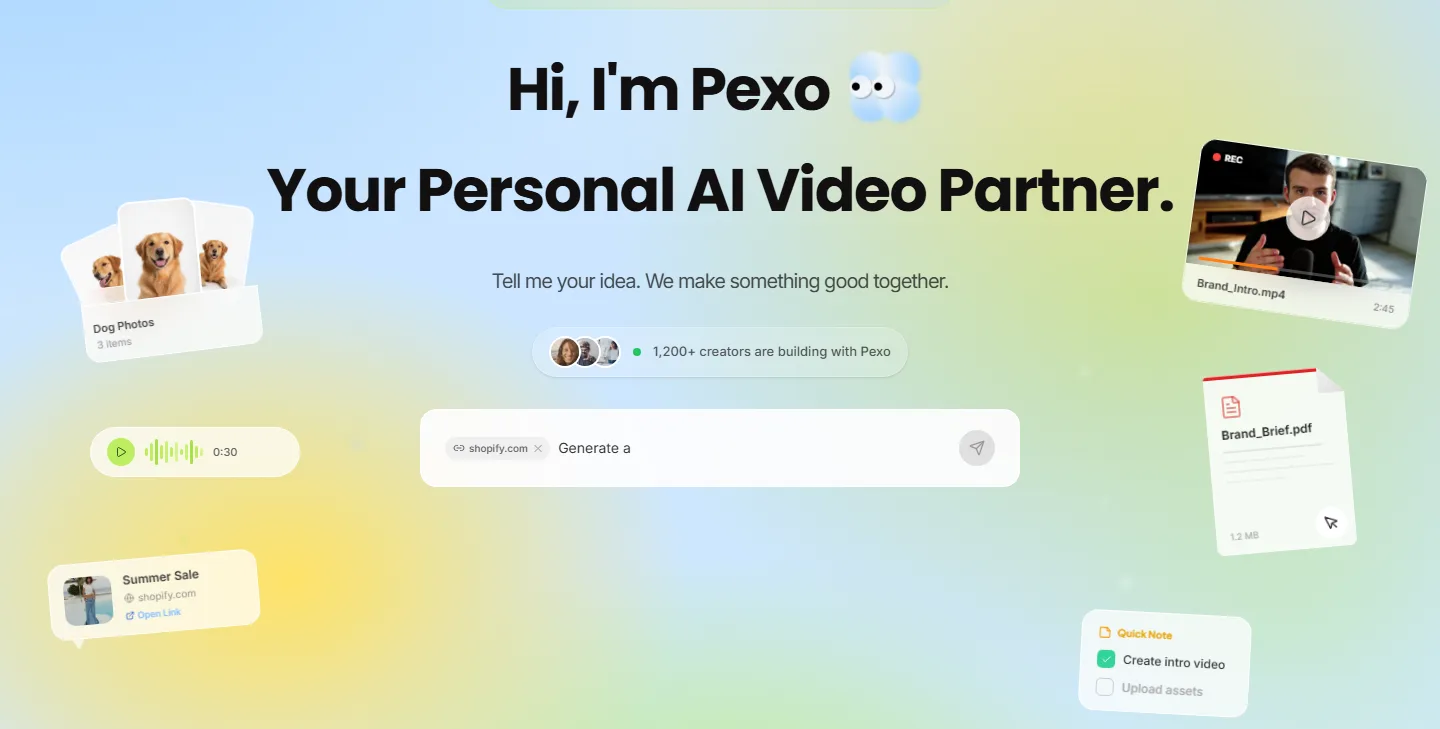
Most generators hand you a prompt box plus a menu of models and settings, and leave the rest to you. Pexo's image generation works the other way around. You describe what you want in natural language, Pexo interprets your intent, and it picks the right model for the job instead of asking you to choose. You still say what you want, you just say it as a plain sentence. No prompt engineering, no keyword stacking, no model menu. Pexo is best known as an AI video partner, and it generates still images from that same conversation, so a picture you make today can become a video later without switching tools.
 Pexo's gallery gives you a feel for the range of visuals you can describe into existence.
What You Need Before You Start
You do not need a design background or a reference library. Five minutes of prep is enough.
- A Pexo account, which takes about a minute to set up.
- One clear idea you can say in a sentence or two.
- An optional reference image if you already have a look in mind.
- The end use in mind, so you know the aspect ratio: 1:1 for a feed post, 4:5 for portrait, 16:9 for a thumbnail, or 9:16 for a story.
How to Generate an AI Image With Pexo (Step by Step)
The full workflow is four steps and usually takes five to ten minutes for a polished result, including a round or two of refining.
Step 1: Open Pexo and Start a Conversation
Open Pexo and start a new conversation from the create screen. Instead of a control panel with twenty settings, you get a single message box that asks for your idea. Treat it like texting a friend who happens to be a designer. There is nothing to configure before you begin, so you can go from a blank screen to your first request in under 30 seconds.
 One box, one idea. Pexo opens with a conversation, not a settings panel.
Step 2: Describe the Image You Want
Tell Pexo what you want in plain language, and name four things: the subject, the style, the mood, and the format. That four part habit is worth keeping no matter which generator you use, and it is the difference between a sharp result and a muddy one. For this walkthrough the request was one sentence: "a ceramic coffee mug on a sunlit wooden table, soft morning light, minimalist product photo, square." You are not stacking keywords or guessing at prompt syntax. You are describing a picture the way you would describe it out loud, and Pexo's text to image workflow turns that sentence into an image.
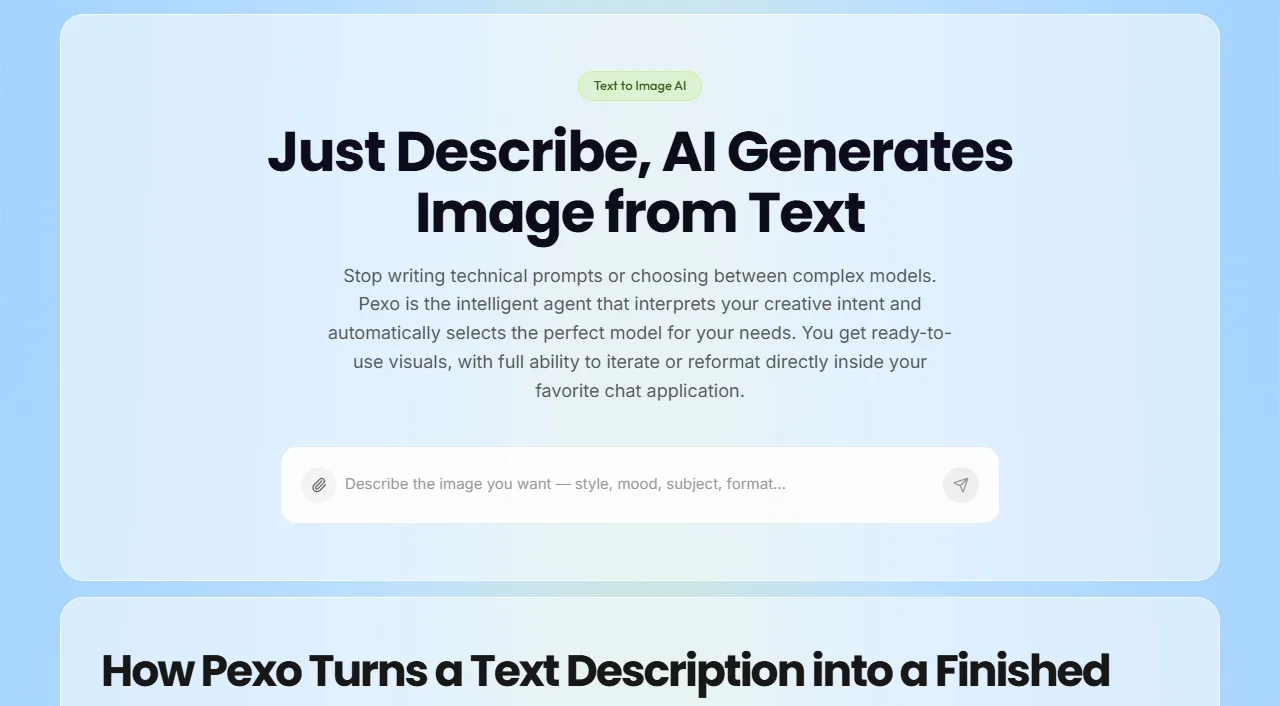 Describe the subject, style, mood, and format in one sentence. No prompt engineering required.
Step 3: Review the Preview and Refine
Pexo returns a first version for you to react to. Below is exactly what came back from that one sentence: a single 1024×1024 px square, generated in one pass with no extra settings. Check three things: composition, lighting, and how closely the subject matches your idea.
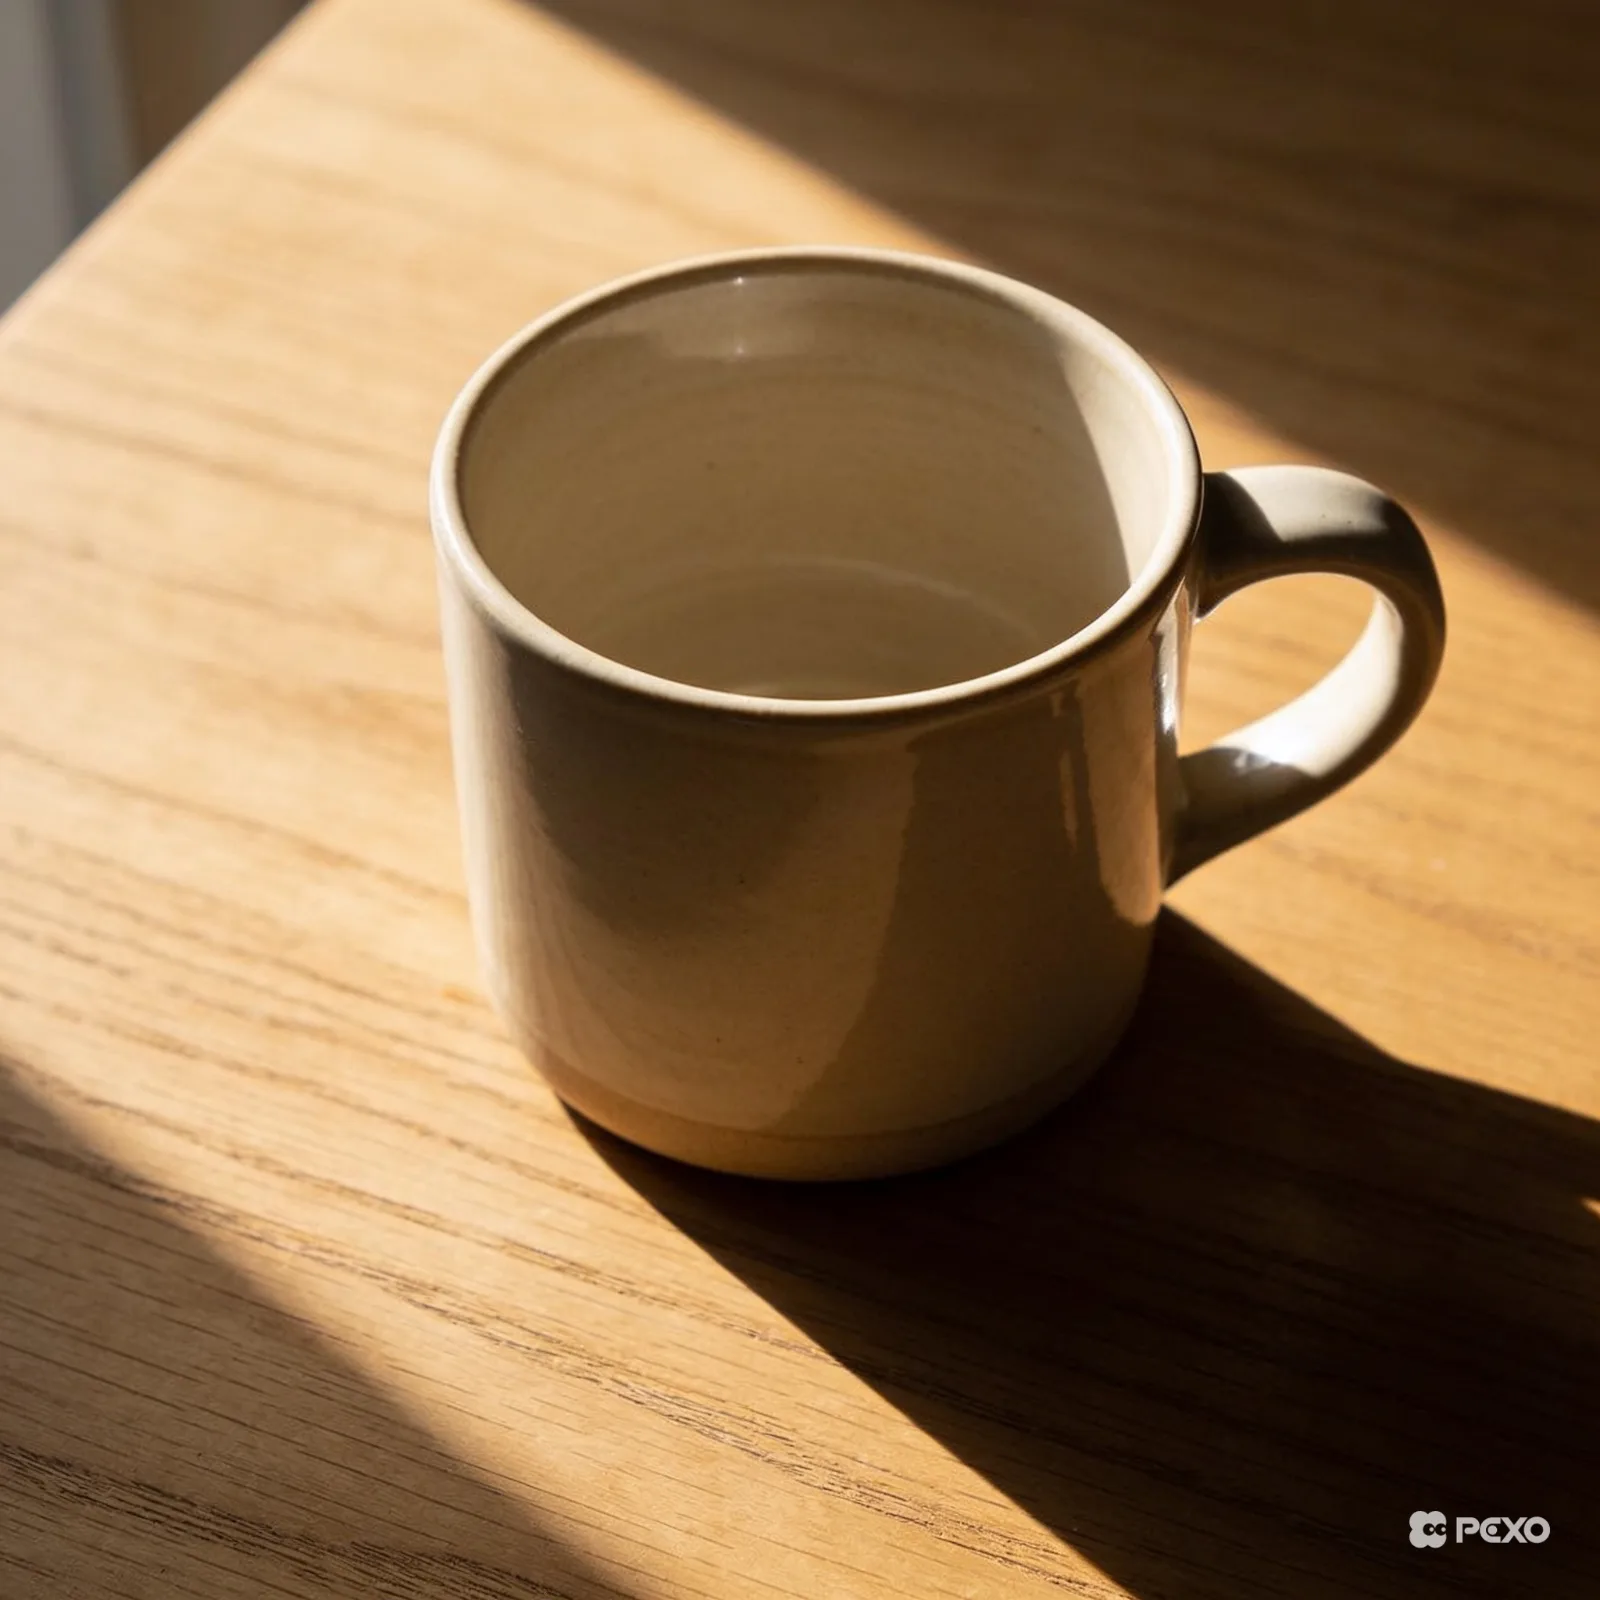 The actual first result Pexo returned for the one sentence in Step 2. No prompt syntax, no model picking, one pass.
To change anything, just say it. For this run the only follow up was "make the morning light warmer and shift it to a 16:9 crop," typed as a normal sentence. Pexo applied both in the same conversation, with no sliders or layers, and returned the version below. You never pick a model yourself. As of 2026, Pexo routes to leading image models like GPT Image 2 and Nano Banana, then chooses the one that fits your scene.
 The same mug after one plain language change: "make the morning light warmer and shift it to a 16:9 crop." No new prompt, just a follow up sentence.
Step 4: Export and Use Your Image
Once the image looks right, export it. Pick the size that matches where it is going: 1080×1080 px for an Instagram post, 1080×1920 px for a story or Reel cover, or 1280×720 px for a video thumbnail. Pexo hands back a downloadable file in a standard image format like PNG or JPG. Because Pexo is also a video partner, you can take the same still and extend it into a short clip in the same chat, which is handy when one visual needs to live as both a post and a Reel.
 Export the still, or keep going and extend the same image into a short video without leaving the conversation.
Common Mistakes to Avoid
Most wasted generations come from the same handful of habits. Avoid these and you will get to a usable image with far fewer tries.
- Being too vague. "A nice logo" gives Pexo nothing to work with. Name the subject, style, and mood every time.
- Cramming ten ideas into one request. Three or four details land cleanly. Ten fight each other and muddy the result.
- Ignoring aspect ratio. Generating a square and cropping it to 16:9 later wastes the edges. Set the format up front.
- Expecting a perfect first try. The first version is a starting point. Plan for one or two rounds of refining.
- Describing the format last or not at all. Tell Pexo where the image will be used early, so it composes for that frame from the start.
Pro Tips for Sharper, More Usable AI Images
These five habits separate a flat result from one you can actually publish.
- Lead with the subject. Put the most important thing first in your sentence so Pexo anchors the composition on it.
- Add one concrete style reference. "Editorial product photo" or "flat vector illustration" steers the look far better than "make it nice."
- Name the lighting and angle. "Soft side light, eye level" changes a picture more than any single adjective.
- Generate two or three variations. Ask Pexo for alternates of a promising idea, then refine the best one.
- Keep one conversation per image. Refining in the same thread lets Pexo build on context instead of starting cold.
One honest caveat: AI image models still stumble on realistic hands, dense small text, and exact brand logos. For those, plan a quick manual touch up or a tighter re-describe instead of burning ten generations chasing a perfect render.
What Else Can You Use
Pexo is built for people who would rather describe an image than engineer a prompt. If your needs are different, these three tools are worth a look.
- Midjourney: a community driven generator known for highly stylized, artistic output. Best when you want a distinctive aesthetic and do not mind working in Discord.
- Adobe Firefly: integrated across Adobe apps, suited to teams already living in Photoshop and Express.
- Ideogram: strong at rendering readable text inside images, useful for posters and logo mockups.
Conclusion
An AI image generator does not have to start with a blank prompt box and a model menu. With Pexo you describe what you want, watch a version come back, and refine it by saying what to change, then export at the exact size your post, story, or thumbnail needs. No prompt syntax, no model picking, no editing skills. If you have an idea you can say in a sentence, you have everything you need to make the image. Start creating in Pexo and generate your first one today.