
You already know CapCut is free and fast. What you want now is to make your edits look less amateur and take less time. This guide gives you 15 concrete CapCut tips for 2026, grouped by editing stage, so you can apply them on your very next project. Every tip works on the free version, and most carry over between the desktop app and the mobile app.
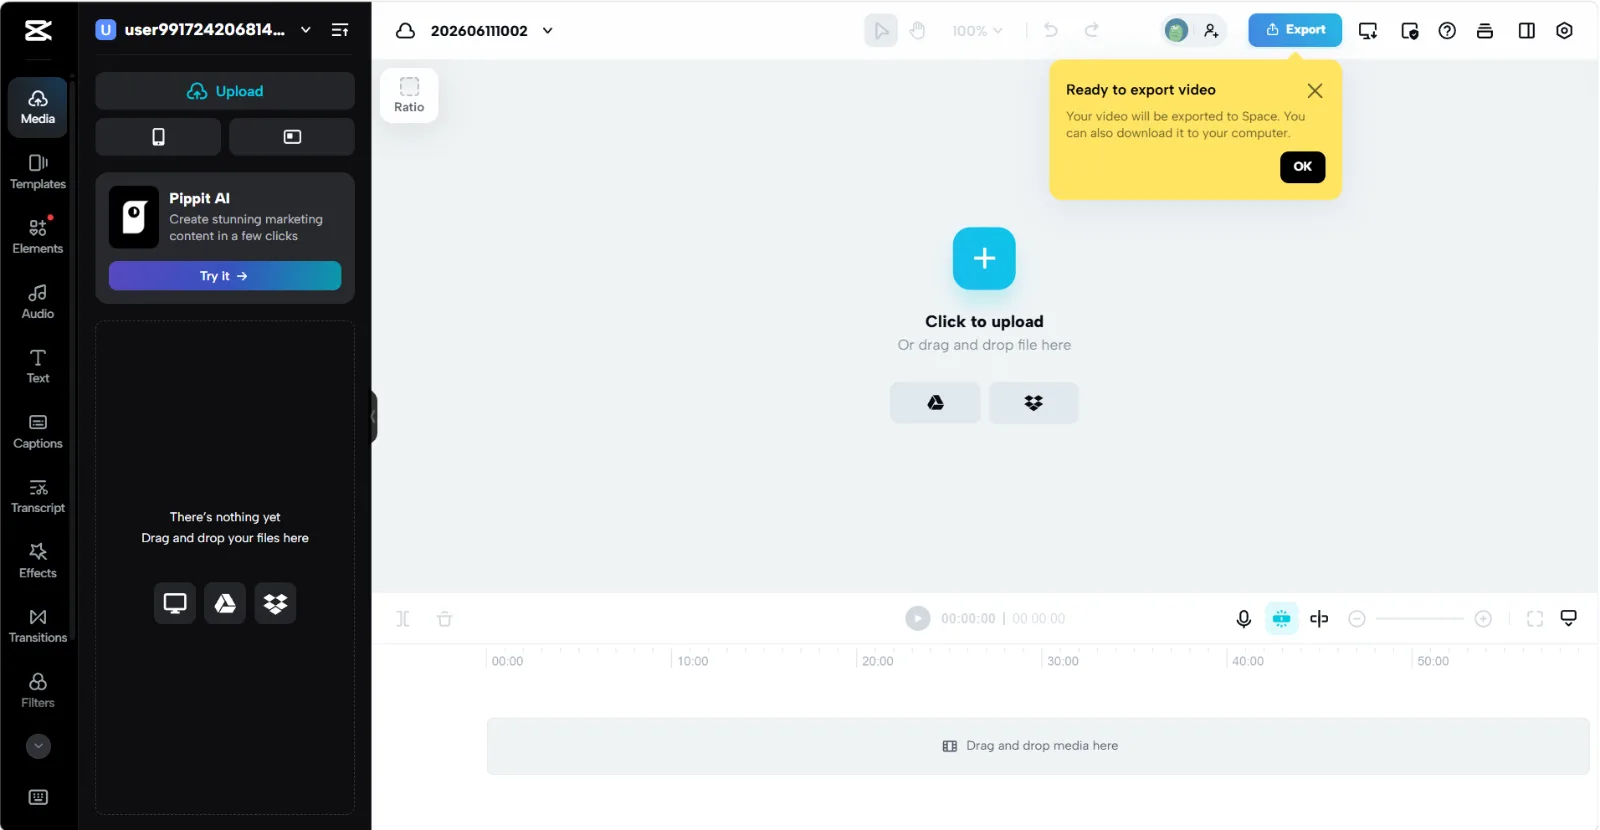 The CapCut workspace: media library on the left, preview in the center, timeline along the bottom, and the Export button top right.
What Is CapCut?
CapCut is a free video editor from ByteDance, the company behind TikTok. It runs as a mobile app (iOS and Android), a desktop app (Windows and Mac), and a browser-based editor, and your projects sync across them when you sign in. The free tier gives you a full timeline, transitions, text, auto-captions, and exports up to 1080p or 4K. As of 2026, standard exports come out watermark free, though some templates and premium effects still add one.
People reach for CapCut because it sits between a one-tap filter app and a heavy editor like Premiere Pro. You get real timeline control, keyframes, and effects without a subscription or a learning curve measured in weeks. The tips below assume you can already drop a clip on the timeline. The ones that actually move the needle are not the obvious shortcuts; they are in how you trim, what you leave out, and how you export, which is where the back half of this guide spends most of its time.
What You Need Before You Start
Before you open the editor, get three things ready.
- An account. Sign in with TikTok, Google, Facebook, or email so your projects and exports sync between phone and desktop.
- Your raw clips and audio. Pull your footage, voiceover, and any music into one folder so you are not hunting for files mid-edit.
- A target format. Decide the platform first: 9:16 (1080x1920) for TikTok, Reels, and Shorts; 16:9 for YouTube; 1:1 or 4:5 for feed posts. Setting the aspect ratio before you edit saves you from reframing everything later.
Timeline and Trimming Tips
Clean pacing is most of what separates a polished edit from a sloppy one, and it all happens on the timeline. Master these three first.
- Tip 1: Trim to the action. Drag the edge of any clip inward to cut dead air at the start and end. The rule that never fails: cut each clip until the video feels slightly too fast, then add one beat back. A rambling 1:40 talking-head edit often tightens to around 1:10 this way without losing a single point.
- Tip 2: Use split, then ripple-delete. Park the playhead and press the split shortcut (Ctrl+B on Windows, Cmd+B on Mac) to slice a clip, then delete the unwanted piece. Right-click the gap and choose "close gap" so the timeline snaps shut with no black frames.
- Tip 3: Label and color your tracks. On a multi-clip project, keep B-roll, talking-head, and text on separate tracks. CapCut lets you collapse and rename tracks, which makes a 40-clip timeline navigable instead of a wall of thumbnails.
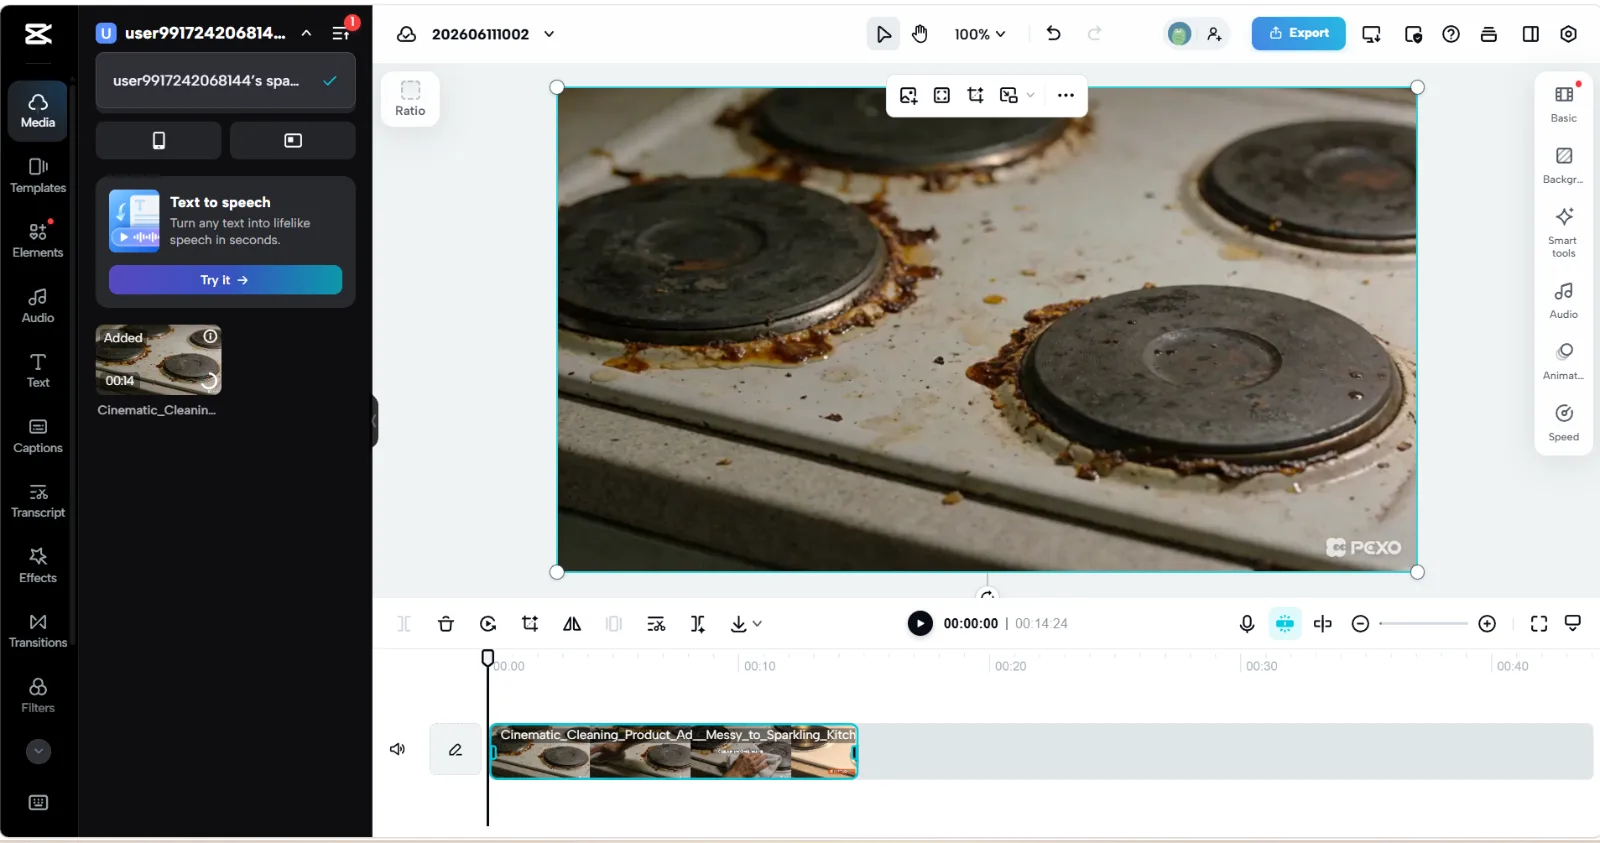 A clip on the timeline with the trim and split tools above it. Split at the playhead, delete the unwanted piece, then close the gap.
Speed Up With Keyboard Shortcuts
The single biggest time sink in CapCut is reaching for a menu when a key would do. These shortcuts are for the desktop app, and you can remap any of them under Settings, then Keyboard.
- Tip 4: Learn the core four. Space to play or pause, Ctrl+Z (Cmd+Z on Mac) to undo, the split key from Tip 2, and Delete to remove a clip. These four carry the bulk of any edit, so drilling them is the fastest single speed gain.
- Tip 5: Zoom in, then trim frame by frame. Hold Ctrl (Cmd on Mac) and scroll to zoom the timeline, then use the left and right arrow keys to nudge the playhead one frame at a time. Almost no one uses the arrow keys, but they are the difference between a cut that lands on the exact beat and one that sits a few frames late.
- Tip 6: Duplicate instead of rebuilding. Copy and paste a styled text layer or an adjusted clip (Ctrl+C then Ctrl+V) rather than recreating settings from scratch. Consistent titles across a 5-clip video take seconds this way.
Audio and Caption Tips
Viewers forgive a rough visual but scroll past bad audio, and on muted autoplay feeds captions decide whether anyone stays. Spend real time here.
- Tip 7: Enhance and duck your audio. Turn on the audio enhancement toggle to clean up a noisy voiceover, then lower background music to around 10 to 20% volume under speech so your voice stays on top.
- Tip 8: Auto-caption, then clean up in batch. CapCut's auto-captions transcribe a short clip in a minute or two across dozens of languages. Open the caption track and use Batch edit to fix the whole transcript in one panel instead of tapping line by line. Auto-captions trip on proper nouns and brand names most often, so check those first.
- Tip 9: Cut on the beat. Add your music first, tap to mark the beats, then align your clip cuts to those markers. Beat-synced cuts are the reason a montage feels intentional instead of random.
Effects, Transitions, and Text
This is where most edits go wrong, not by doing too little but by doing too much. Restraint reads as professional.
- Tip 10: Pick two transitions and stop. A plain cut is the right call for most transitions. Reserve a fade or a smooth zoom for a genuine scene or time change. A different flashy transition on every clip is the single clearest tell of a beginner edit.
- Tip 11: Keep one text style. Choose a single font, size, and color for your captions and titles, then reuse it. A recognizable, consistent look builds more than any single fancy effect.
- Tip 12: Use keyframes for a clean Ken Burns. On a static clip or photo, set a Scale keyframe on the first frame at 100% and another on the last frame at 108 to 110%, so the shot drifts in slowly. Keep it under about 10% or it reads as a zoom instead of motion. The same trick stops a photo slideshow from looking flat.
Export Settings That Keep Quality
A great edit can still look soft after a bad export. Match your settings to where the video is going.
- Tip 13: Match your frame rate to your footage. For social, 1080p at 30fps is the safe baseline. The part most guides skip: exporting 30fps phone footage at 60fps does not make it smoother, it just doubles the file size and can introduce judder. Only choose 60fps when your source was actually shot at 60, and reserve 4K for footage and a platform that genuinely support it.
- Tip 14: Raise the bitrate to survive platform re-compression. TikTok, Reels, and Shorts all re-encode your upload and discard data in the process. Exporting at a higher source bitrate (set it to "higher", or a custom value around 16 to 20 Mbps for 1080p) gives that re-encoder more to preserve. It is why two identical edits can look sharp or mushy depending only on export settings.
- Tip 15: Export a master, then platform versions. Save one clean high-quality file as your master, then re-export trimmed or reframed versions per platform. Re-exporting from the master beats re-editing every time.
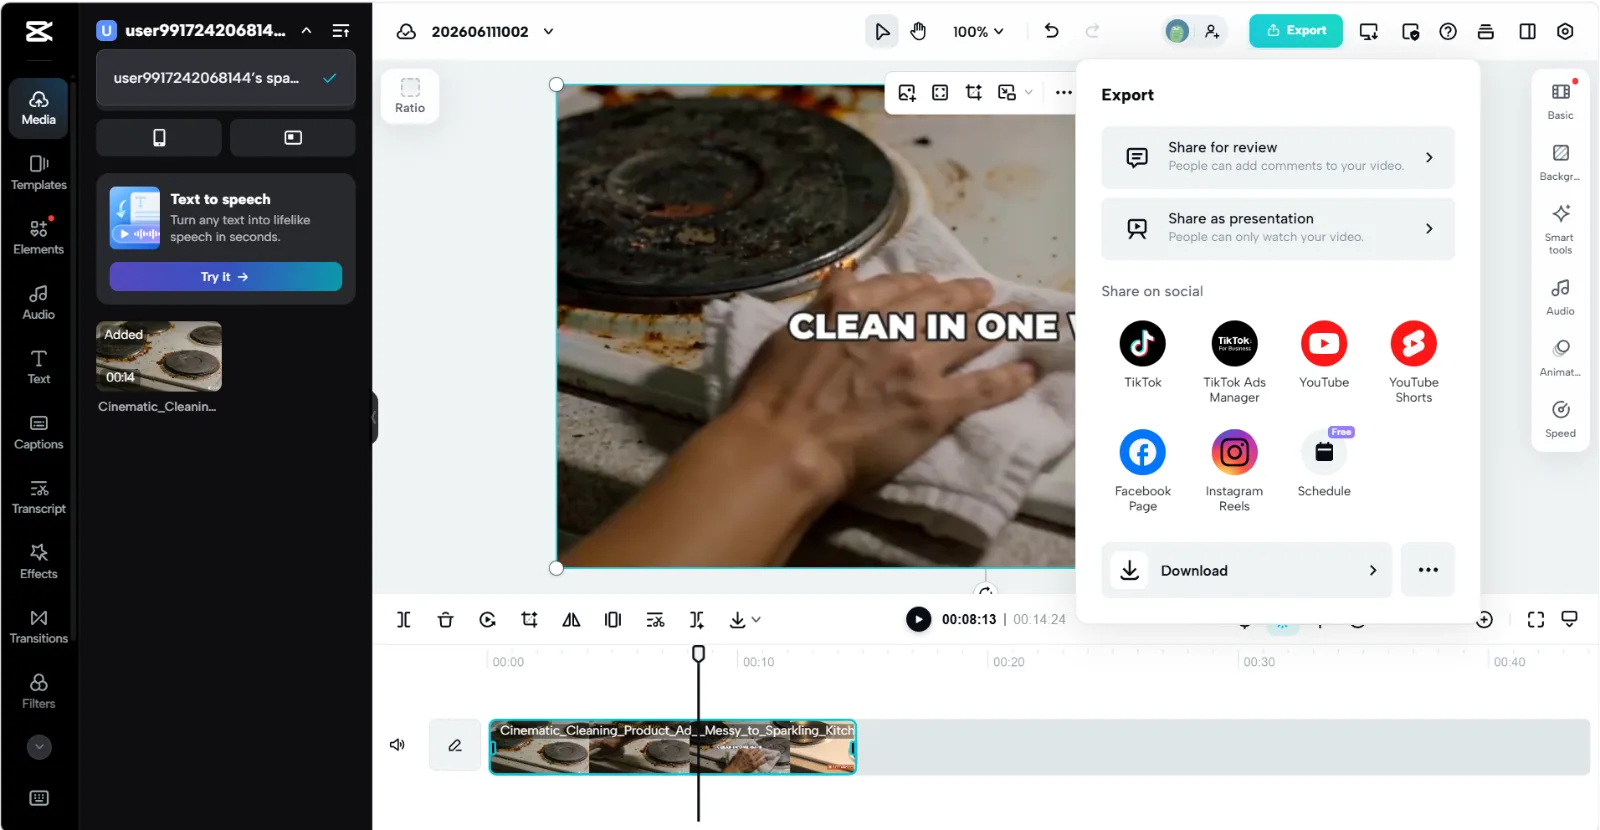 Open Export when your edit is done. Choose Download to set resolution, frame rate, and bitrate, or send the video straight to TikTok, YouTube, or Reels.
Common CapCut Mistakes to Avoid
A few habits quietly drag down otherwise solid edits. Watch for these.
- Overusing effects and stickers. Three flashy effects in 10 seconds make a video look cheap. If an effect does not serve the story, cut it.
- Ignoring safe zones. On a 9:16 video, the platform's own UI eats roughly the top 10% and the bottom 20% of the frame (the caption, username, and the side button stack). Keep titles and key action inside the center band so the app does not bury them.
- Editing without a target ratio. Starting in 16:9 and switching to 9:16 at the end crops your framing badly. Set the ratio first (see What You Need).
- Forgetting to back up the project file. A synced account protects your edits if your device dies mid-project.
No Footage to Edit Yet? Generate Your Clips First
One thing none of the tips above can solve: sometimes the timeline is empty because you do not have footage yet. You cannot film the scene, you do not have stock that fits, and you only need a few seconds of B-roll to cut around. When that happens, the fix is upstream of editing, before you ever open the timeline.
Pexo is an AI video partner that builds source clips from a plain-English description, a product photo, or a URL. You describe the shot the way you would brief a camera operator: a 6-second top-down pour of coffee in warm morning light. It generates that clip with no filming and no prompt syntax to learn, and you drop it onto the timeline like any other footage, then trim and cut it with the tips above.
 Pexo turns a one-line description, a photo, or a URL into short clips you can bring straight into your CapCut edit.
What Else Can You Use
CapCut is not the only free editor. If you outgrow it, these are worth a look.
- DaVinci Resolve: a free professional editor with industry-grade color grading. Suited for creators ready for a steeper learning curve and full control.
- CapCut for Business / Commercial use: the same editor with licensing cleared for ads. Suited for brands worried about music and asset rights.
- InShot: a mobile-first editor with a simpler interface. Suited for quick phone edits when you do not need a full timeline.
Conclusion
Better CapCut edits come down to a few repeatable habits: trim tight, learn the core shortcuts, fix your audio and captions, stay restrained with effects, and export to match the platform. Apply even the five that hit your weak spot, usually pacing or export settings, and the difference shows up in your very next upload.
And when the real bottleneck is an empty timeline rather than the edit itself, you do not have to wait on a shoot. Make your first clip from a single description and bring it straight into CapCut.