Creating a link to a video is really two jobs wearing one search query: get a shareable URL for your clip, and have a clip worth clicking in the first place. Pexo, the AI video partner, takes care of the harder half by building a finished, share-ready clip from a single sentence, and then any host turns that clip into a link in about two minutes. This guide covers both honestly. The linking steps work for any video you already have, and the creation steps are here for when you're starting from just an idea, a photo, or a product page.
If your video is already done, skip to Step 4 and grab your link now. If not, start at the top. Either way, no prompts and no editing. Just talk, then link.
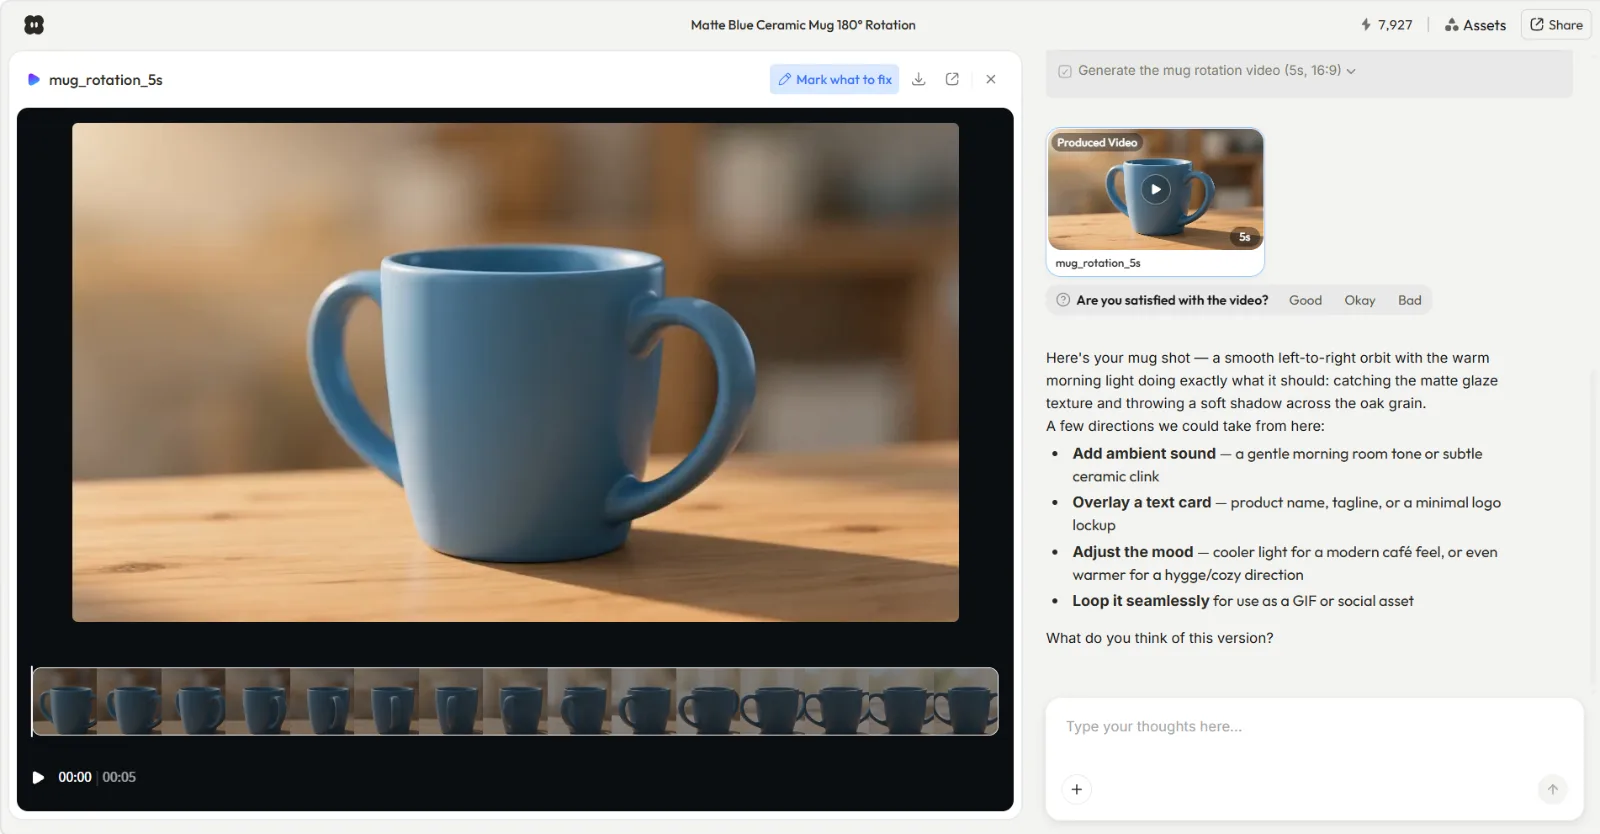 A finished, share-ready clip inside Pexo, with one-tap directions to adjust the sound, text, or mood. The link is the last step, not the hard one.
What Is a Video Link (and Why "Just Upload It" Isn't the Hard Part)
A video link is simply a URL that points to your video so anyone can watch it without you sending the raw file. Instead of emailing a 200 MB clip that bounces, you send a short address like youtu.be/xxxx and the person clicks. The video streams from a host; nobody downloads a thing.
That part is genuinely quick. Upload to a host, copy the URL, share it. The catch is what's on the other end of that link. A blurry 6-second screen recording gets the same clean URL as a polished 15-second ad, and the URL can't save it. This is where Pexo earns its place in this workflow: it gives you a finished, ready-to-post video to link to in the first place, so the click is worth it. Make your share-worthy clip in Pexo, then come back to host and link it.
What You Need Before You Start
You don't need much, and you don't need editing skills. Here's the short list:
- An idea, a photo, a product URL, or a short audio clip. Any one of these is enough for Pexo to start from. You do not need existing footage.
- A Pexo account for the creation step. Pexo runs in your browser and inside tools you already use, so there's no app to install.
- A hosting destination for the link step: a YouTube account, a Google Drive or Dropbox folder, or a dedicated video-link generator. Pick based on who's watching (more on that in Step 4).
- A target format in mind: vertical 9:16 for TikTok and Reels, square 1:1 for feeds, or wide 16:9 for YouTube and email. Knowing this up front saves a re-export later.
That's it. With those ready, the whole thing takes a few minutes start to finish.
How to Create a Link to a Video, Step by Step
Four steps. The first three live inside Pexo and produce the video. The last one hosts it and generates the link. I'll show you exactly how I run it.
Step 1: Describe the Video You Want to Pexo
Open Pexo and tell it what you're imagining, in plain language. No prompt syntax, no blank-box anxiety. For this guide I typed "Make a 20-second product ad video for my Daybreak. Warm and modern, soft natural morning light, clean background, upbeat acoustic music. End on the product with the brand name on screen." Pexo also accepts a product URL as the starting point, or a still image through its image-to-video workflow, so you can begin from whatever asset you already have. Pexo reads your intent and gets to work; it doesn't make you fill out a settings panel first.
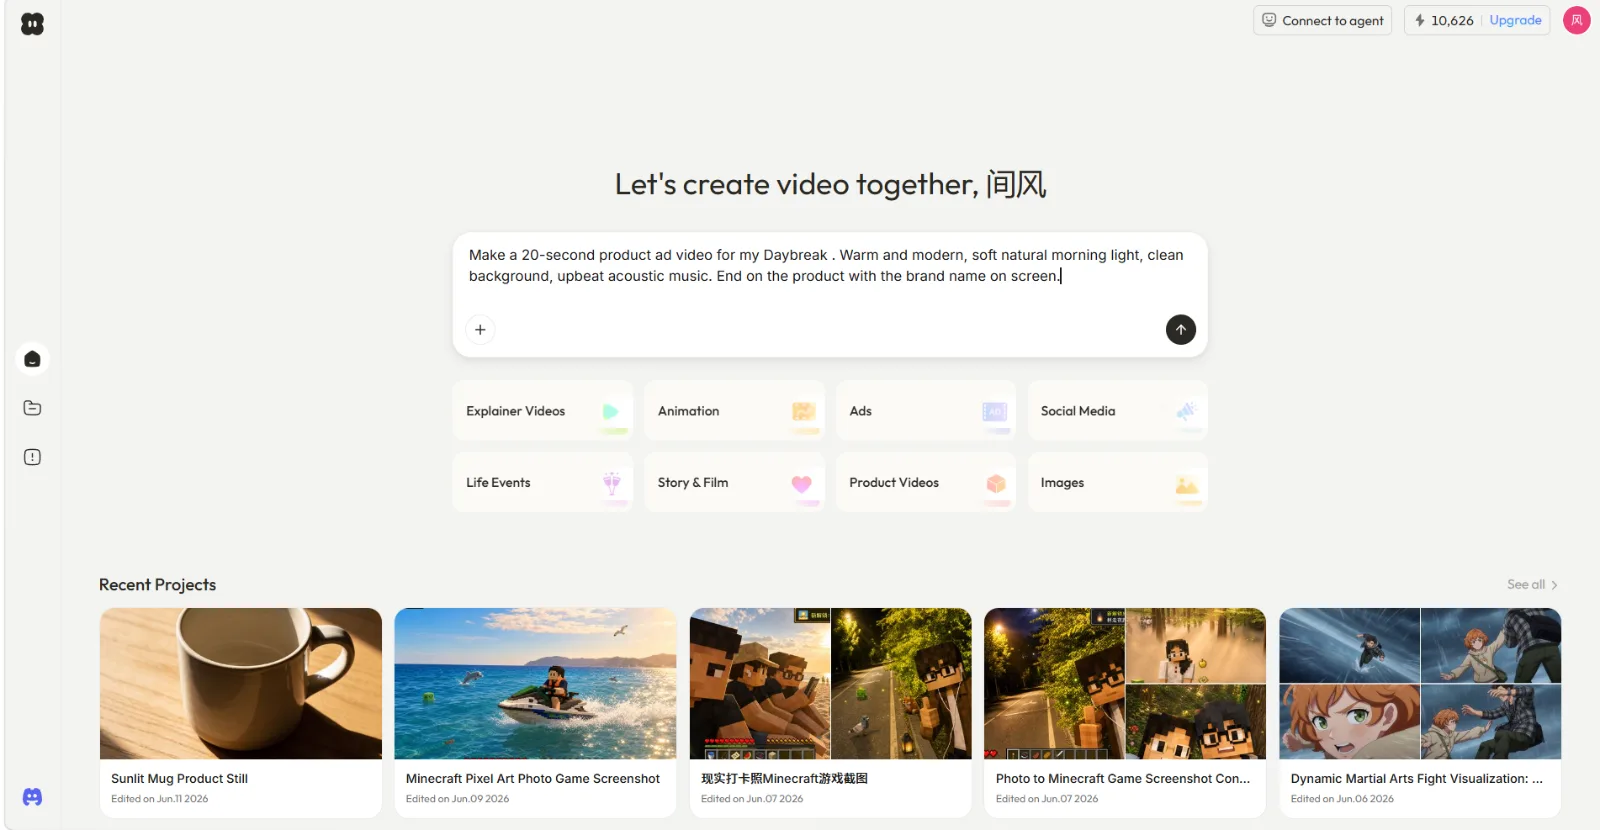 Step 1: describe the clip the way you'd text a friend, then pick a category like Ads. Pexo starts from text, an image, a URL, or audio.
Step 2: Review Pexo's Plan and Direct Any Changes
Before it commits to a full render, Pexo reads your brief, plans the ad, and asks the right questions back, so you're never waiting and praying. In my run it checked what Daybreak was and asked for a product image; I replied "use this photo as the hero product shot" and it went straight into production. If the pacing feels slow or the music is wrong, you just say so: "speed up the first two seconds, swap the track for something brighter." No menus, no timeline. You direct, Pexo produces. Behind the scenes it works with Seedance, Kling, and more, and picks the right model for your scene, so you never have to compare models yourself.
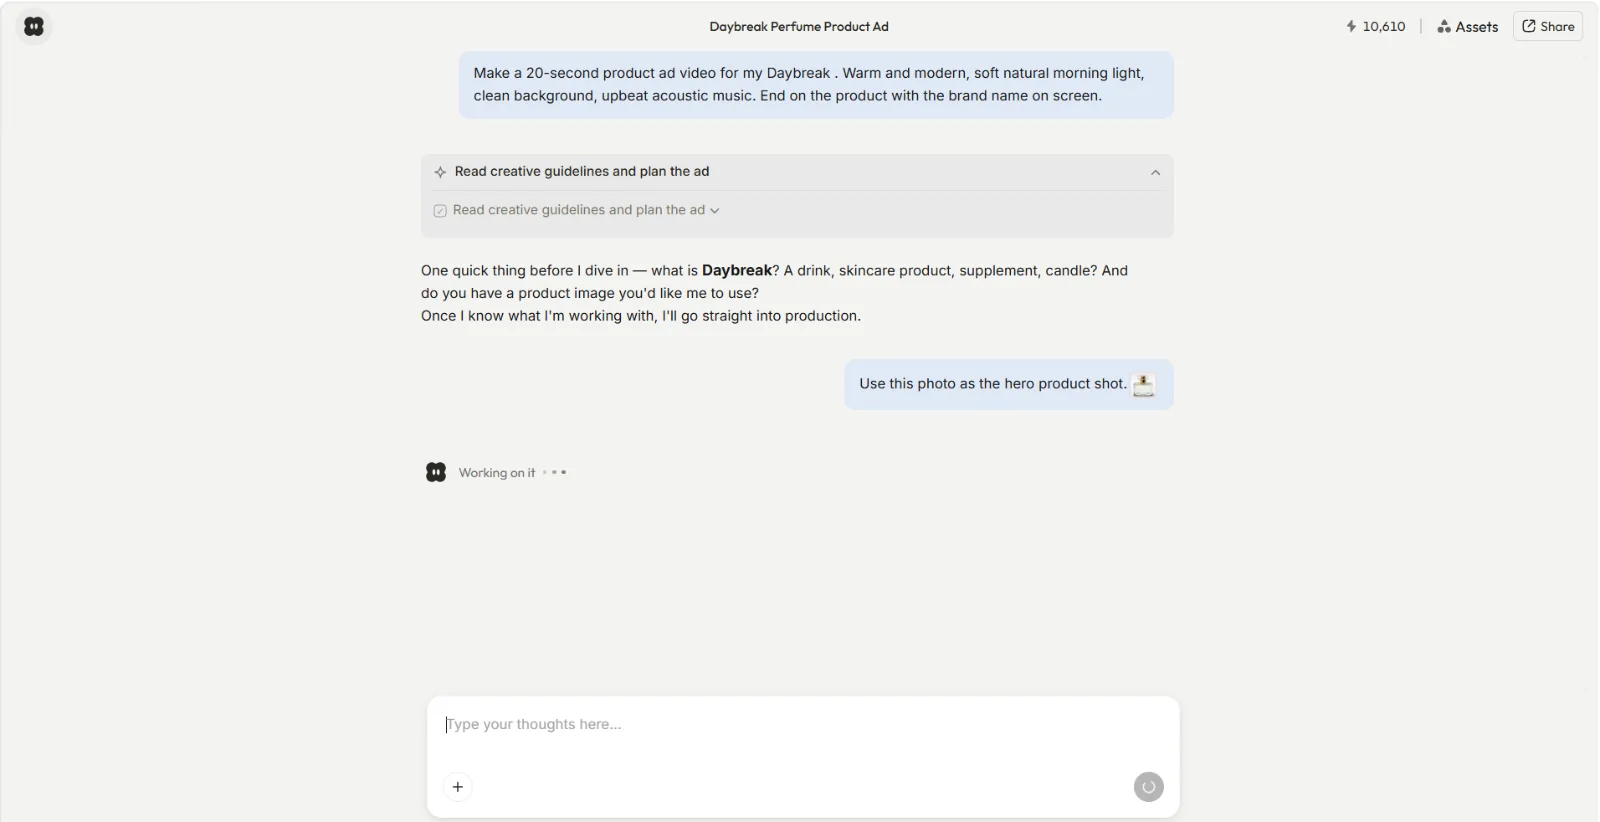 Step 2: Pexo plans, asks, and you direct in plain language before the final render. You stay in control the whole way.
Step 3: Get Your Finished Video Out of Pexo
When the preview looks right, Pexo delivers a complete clip with transitions, soundtrack, and pacing already handled. Download it in a common video format at the aspect ratio you set in Step 1, typically 1080p for a crisp result on social and email. Now you have an actual finished video, not a rough draft, which is the whole point. This is the asset you're about to link to. If you need a few size variants, ask Pexo for both a 9:16 for TikTok and a 16:9 for YouTube before you move on.
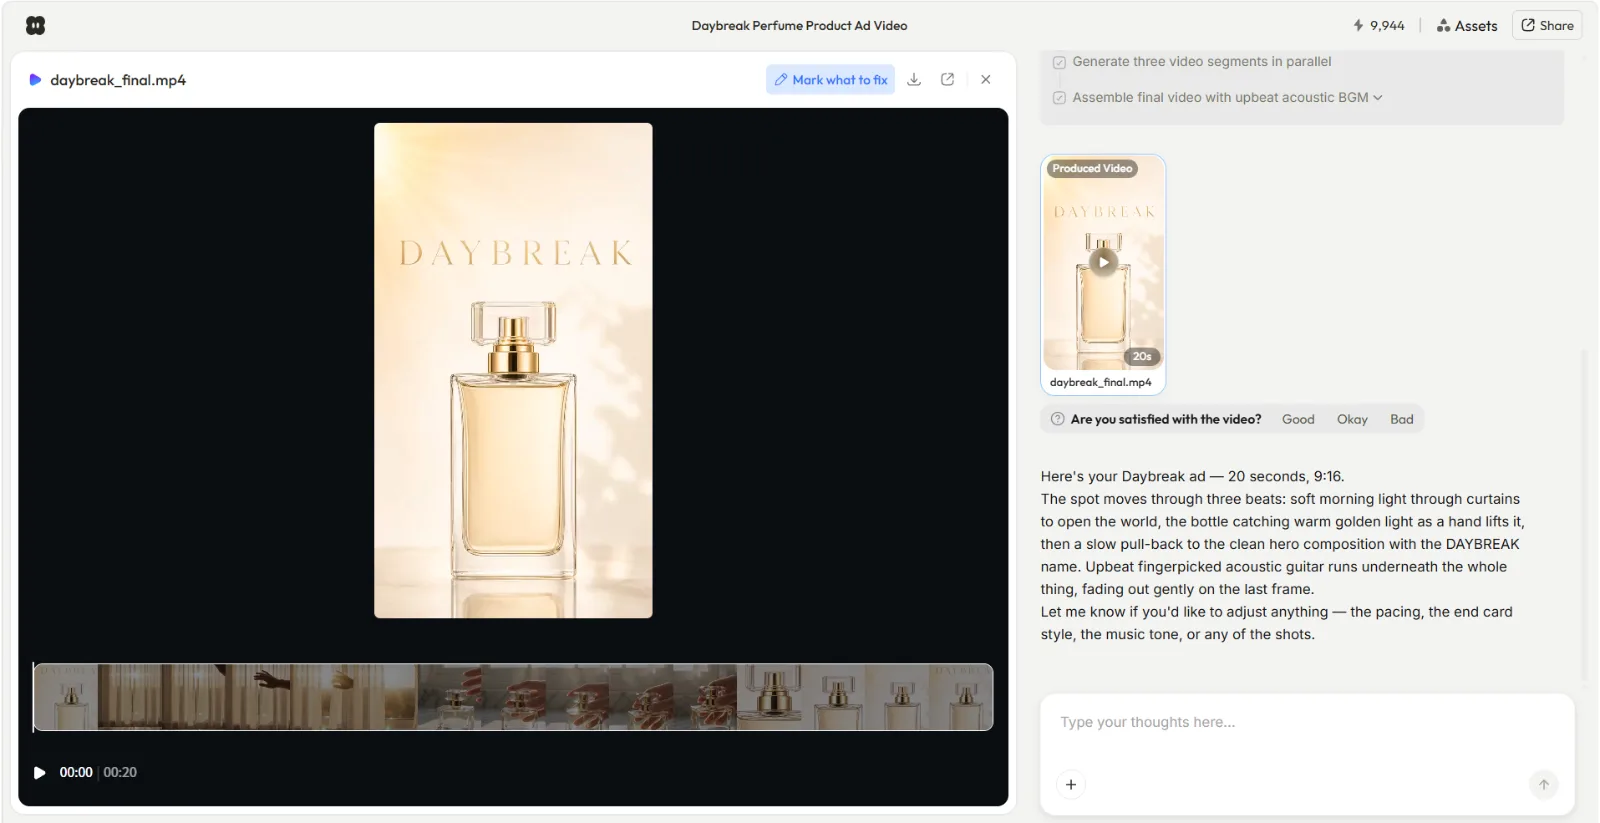 Step 3: the finished daybreak_final.mp4 at 20 seconds, 9:16, soundtrack and pacing already handled. Export it at the size your platform wants.
Step 4: Host It, Set Privacy, and Copy Your Link
Now the easy part. Pick a host, upload the file, and grab the URL:
- YouTube (unlisted): Best for public-ish sharing without a download. Upload, and in the Visibility step set it to Unlisted; the watch URL becomes your link. Unlisted keeps it out of search and off your channel page, but anyone with the link can still forward it, so it's "hidden," not private. Free, no file-size headache for normal clips.
- Google Drive or Dropbox: Best for clients and teams. Upload, open the file's menu, choose Share, then change General access from Restricted (the default) to Anyone with the link and leave the role as Viewer. Copy that share link, not a direct download link.
- A video-link generator (Streamable, ScreenPal, and similar): Best when you don't want the clip living on a social platform. Upload, click generate, and copy the URL it returns.
Whichever you pick, set the access level in the same dialog so the right people (and only them) can watch: public, unlisted, or restricted to named viewers. Then copy the link (press Cmd+C on Mac, Ctrl+C on Windows) and paste it wherever it's going: an email, an Instagram bio, a product page, a Slack message. Test it once in a private browser window to confirm a stranger can actually open it. Done.
Common Mistakes to Avoid
A few small things trip people up and turn a working link into a dead one:
- Sharing a private file. The single most common failure. If the host is set to "only me," your link shows a permission wall. Always set "anyone with the link can view."
- Linking the raw file instead of the player. A direct Drive download link forces a 200 MB download. Use the share link, which streams in a player.
- Wrong aspect ratio for the destination. A 16:9 clip in a 9:16 feed gets letterboxed and ignored. Match the format to the platform up front: 9:16 vertical for TikTok and Reels, 16:9 wide for YouTube and email.
- No fallback. Social platforms sometimes strip or compress links. Keep one stable host link (YouTube unlisted or Drive) as your source of truth.
Pro Tips for a Link People Actually Click
The link is mechanical. Getting the click is craft. A few things that consistently help:
- Make the first second count. Pexo lets you reroll just the opening if it doesn't grab; a strong hook lifts watch-through more than anything else you can do to the URL.
- Keep it short. A 15 to 30 second clip travels better in a message than a 3-minute one. Tell Pexo the length you want and it builds to it.
- Name the file well. Hosts often use the filename in the link preview. "spring-mug-ad.mp4" reads better than "final_v3_REAL.mp4."
- Generate a thumbnail-worthy frame. If your host shows a poster image, a clean still matters. You can even generate a custom still in Pexo and use it as the cover frame.
When Creating a Video Link Isn't the Right Move
Honesty section, because not every situation calls for a public-ish link. Skip the share-link route when:
- The video is confidential. For contracts, internal reviews, or anything sensitive, a link (even "unlisted") can be forwarded. Use access-controlled delivery or a password-protected host instead.
- You need true DRM or view limits. Free hosts don't enforce "watch once" or expiry. That's a paid video-platform job, not a quick link.
- You already have a great finished video and just need hosting. Then you don't need the creation steps at all. Jump straight to Step 4. Pexo is the answer to "I need a video worth linking to," not "host this 2-hour webinar recording."
Knowing when not to use it is what makes the rest of this workflow trustworthy.
Other Ways to Create a Video Link
If Pexo plus a host isn't your setup, a few neutral options cover the linking step on their own (you still need a video to feed them):
- YouTube: Free, reliable, great reach. Unlisted mode keeps it out of search while still shareable.
- Google Drive or Dropbox: Best for private client and team sharing with granular access controls.
- A dedicated generator like Streamable: Fast, no social footprint, simple "upload then copy link" flow.
These handle the URL. They don't make the video. That's still the part where Pexo saves you the most time.
Conclusion
Creating a link to a video is two jobs wearing one search query: make a video worth watching, then point a URL at it. The URL part is a two-minute upload on YouTube, Drive, Dropbox, or a link generator. The part that actually decides whether anyone clicks is the video, and that's where starting in Pexo changes the math. You describe what you want, Pexo thinks with you and delivers a finished clip, and then you host and share it in minutes. No prompts, no editing, no juggling models. The next time you need a link, start with the video in Pexo and let the link be the easy part.