Turn Your Photo Into a Talking Animation in Minutes
Have you ever wanted a photo to actually speak instead of staying still. With AI like Pexo, a single portrait can be turned into a talking animation with natural lip sync and facial movement.
You do not need animation experience or complex editing software. The workflow is simple. Upload a photo, write what it should say, and let AI generate the talking result automatically.
This guide explains the full process in four practical steps.
What You Need
Before you begin, prepare a few basic items.
-
A clear portrait photo with visible facial features
-
A Pexo account
-
A short script for what the photo should say
-
Optional background audio or speaking style preference
If your photo is blurry or dark, improving it beforehand will help the final animation look more natural.
It is also useful to decide the purpose early, such as social media content, storytelling, or product explanation.
Step by Step Guide
Step 1 Upload Your Photo to Pexo
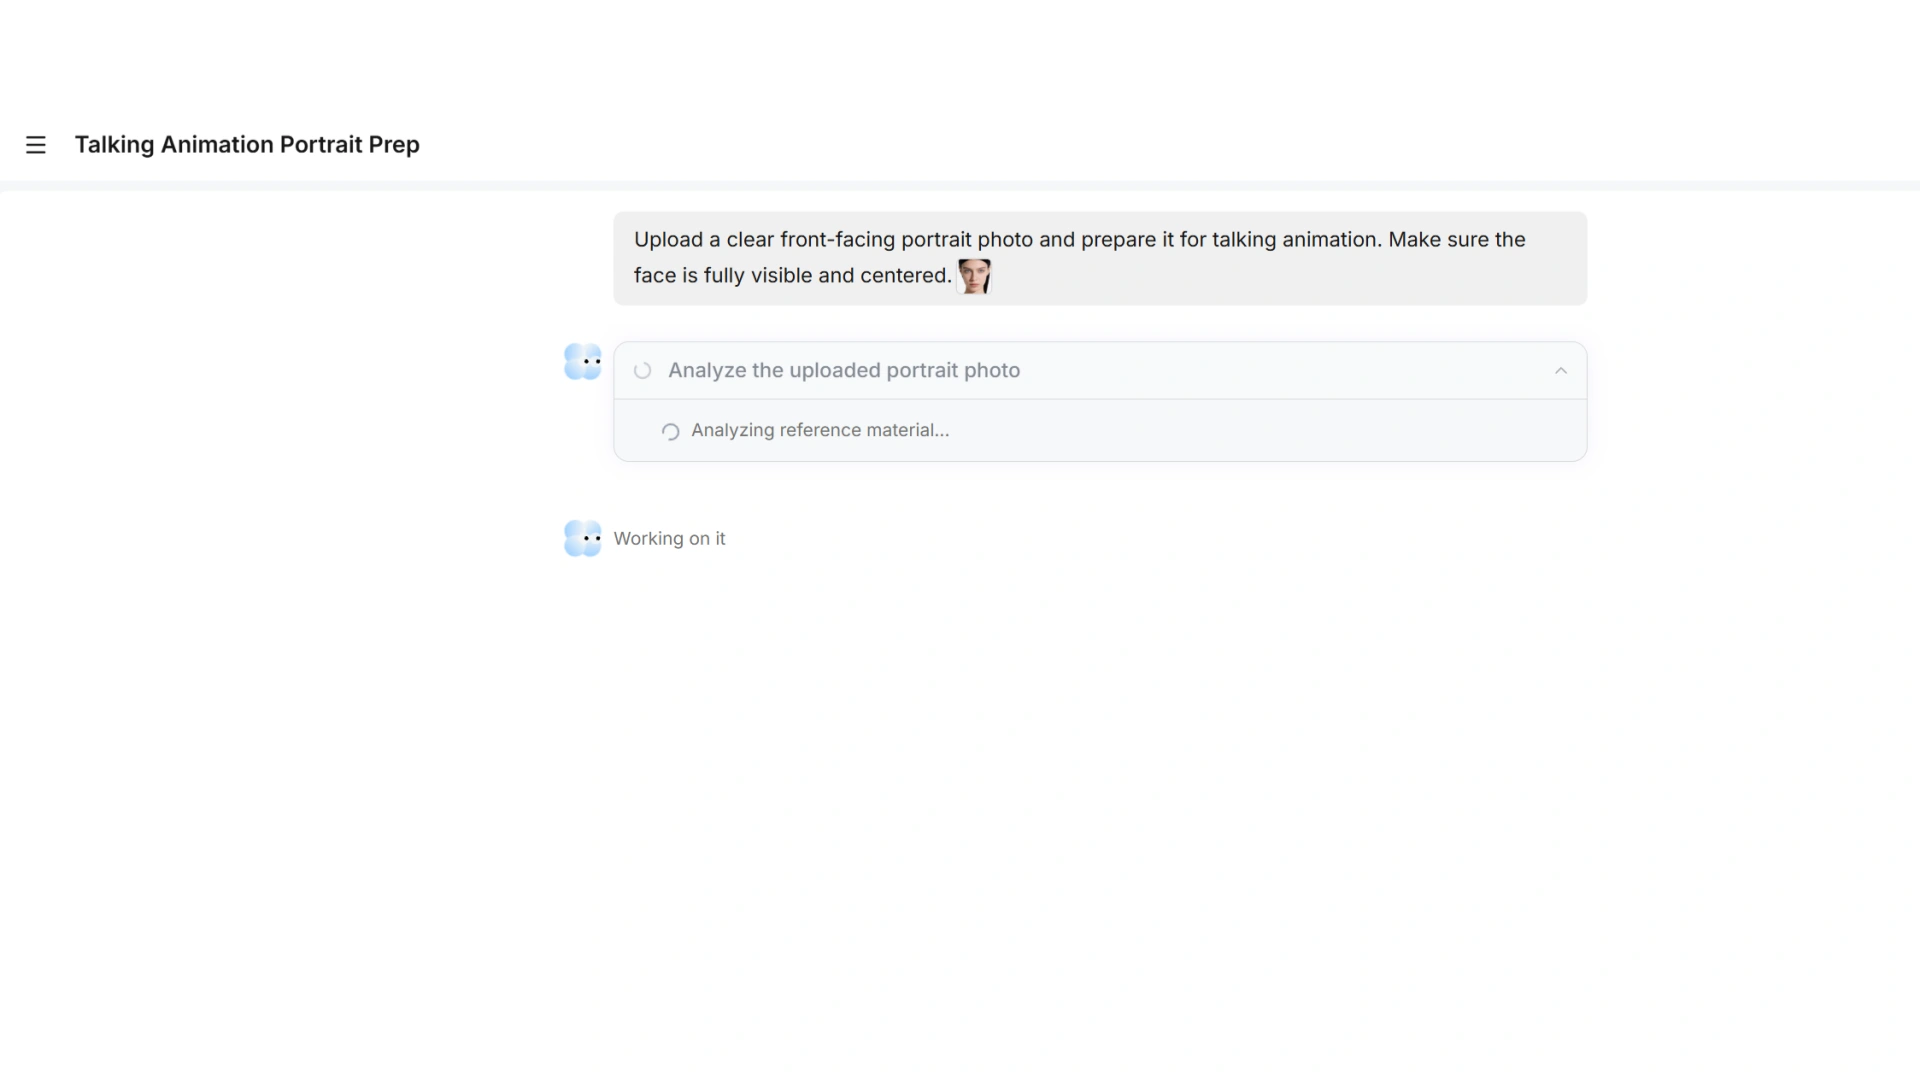
Start by opening the Pexo homepage and uploading your portrait into the workspace. The system will automatically analyze the face and prepare it for animation.
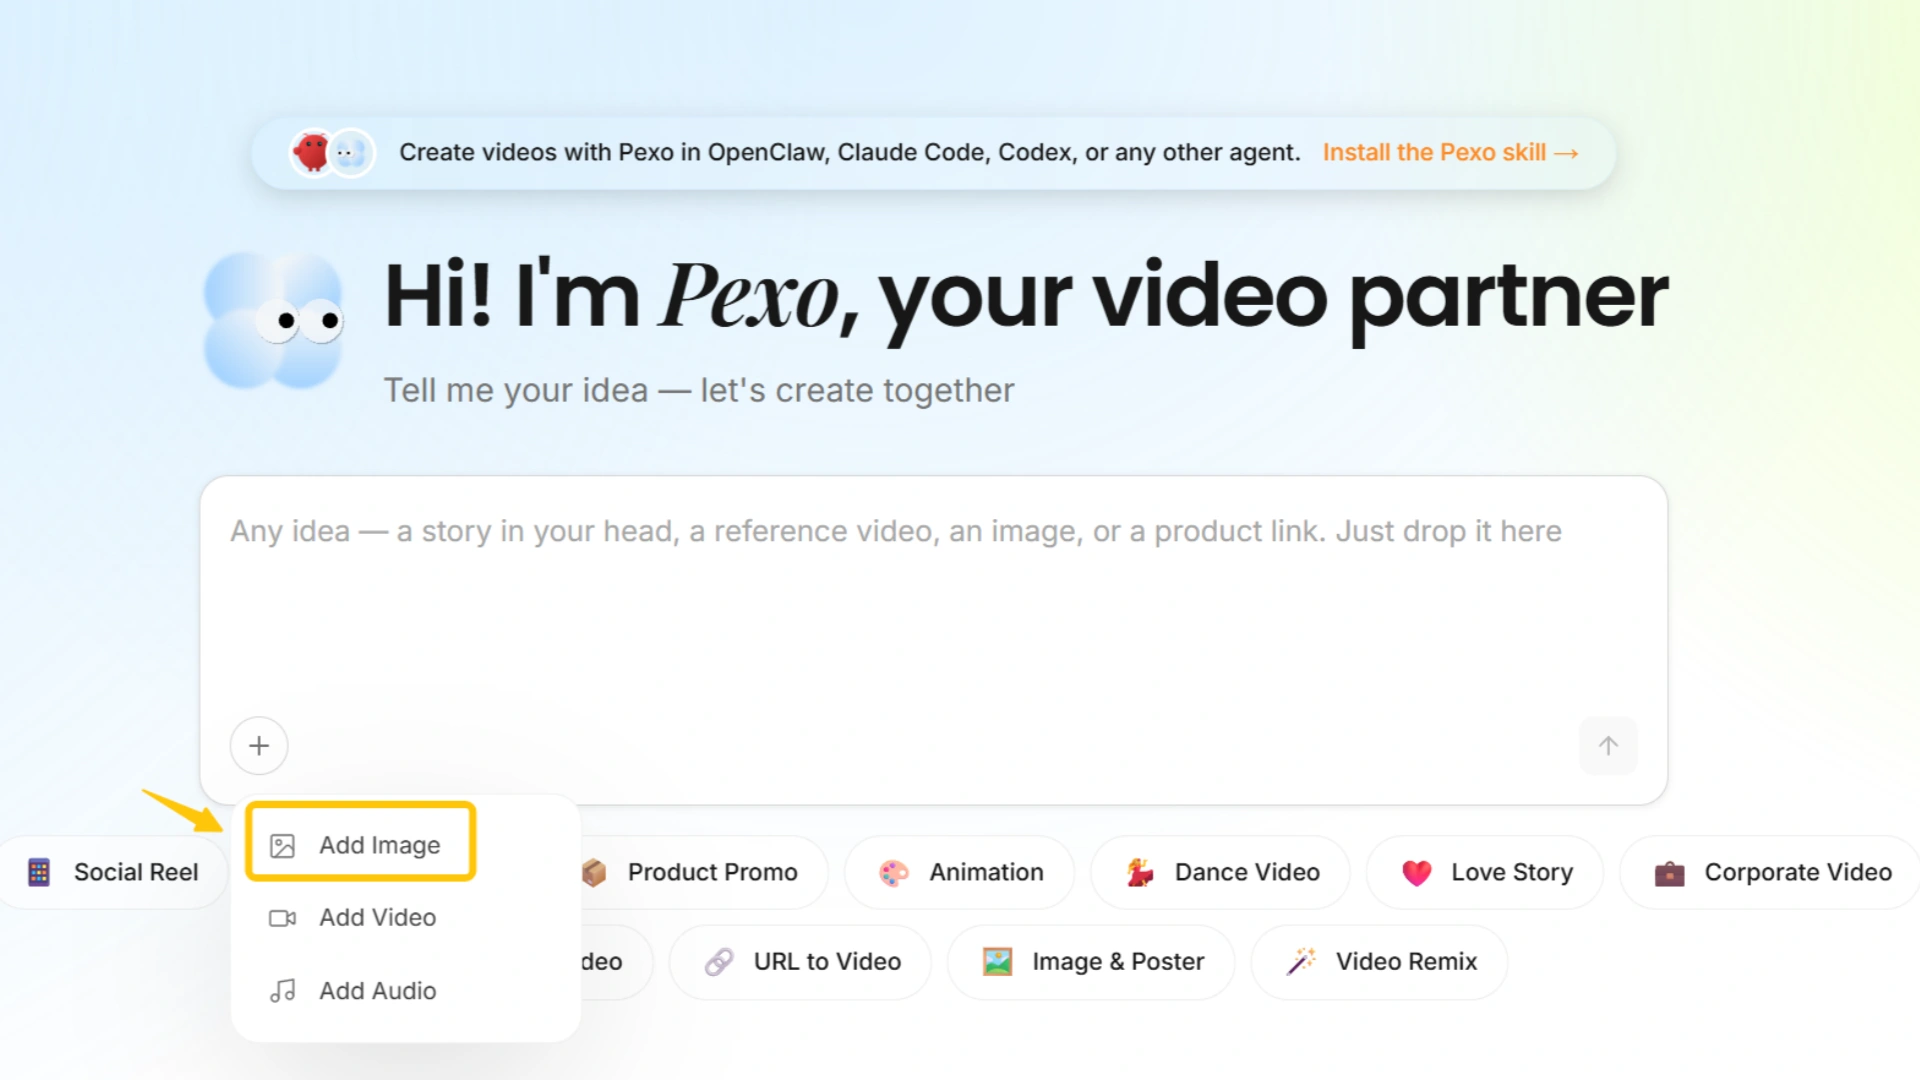
A front facing portrait works best because it allows accurate lip sync and expression mapping.
Once uploaded, the image will be ready for processing.
What to check
-
The face is fully visible
-
No heavy filters or obstructions
-
Image resolution is clear enough for facial detail
Step 2 Write What You Want the Photo to Say
After uploading, describe the speaking content in simple language.
You only need to write what the person should say. The system will handle voice generation and lip movement automatically.
Example inputs:
-
Turn this photo into a short greeting message
-
Make the person explain a product
-
Let the character read a motivational quote
-
Create a friendly talking avatar for social content
After uploading, describe the speaking content in simple language. Short and clear sentences usually produce more natural speech rhythm. If the script is long, split it into multiple parts. When building scripts for AI avatar generation, it often helps to think in spoken pacing rather than written text structure.
Step 3 Review the Generated Result

After processing, Pexo will generate the first version of your talking animation.
Watch the result carefully before making any changes.
Check the following points:
-
Lip sync accuracy whether the mouth movement matches the speech
-
Facial expression whether the emotion feels natural and consistent with the script
-
Speech timing whether the pacing feels smooth and easy to follow
-
Overall video quality whether the animation feels stable and visually coherent
If something feels slightly off, adjust the script or tone and generate again. Even small wording changes can noticeably improve the final result.
Step 4 Refine and Export
Once satisfied, export the final video and publish it on platforms such as TikTok, Instagram, YouTube Shorts, or your own website.
If you want to expand beyond talking photos into full video production workflows (ads, storytelling, product videos), you can start directly from the image to video feature, which extends a single image into a dynamic scene.
Common Mistakes When Making Talking Photos
Using Low Quality Portraits Blurry or low resolution images make facial tracking unstable. The mouth movement and expressions will often look off. Always start with a sharp front-facing portrait with clear facial details.
Writing Overly Long Scripts Long sentences reduce speech clarity and affect lip sync timing. Keep scripts short and structured so the voice output stays natural and easy to follow.
Ignoring Facial Angle Photos taken from the side or with strong angles reduce animation accuracy. A straight-on face gives the model enough reference points for stable expression and lip movement.
Expecting Perfect Output on First Try The first generated result is usually a baseline version. Small changes in wording, tone, or sentence length often significantly improve naturalness.
Overusing Visual Effects Adding too many enhancements can make the result look artificial. A simple clean portrait with natural motion usually produces the most believable talking effect.
Pro Tips for Better Results
Use portraits with subtle emotion instead of neutral faces. Slight expression improves realism.
Match speaking tone with image style. Professional photos work better with formal speech, while casual portraits fit friendly messages.
Keep the background clean so attention stays on the face.
Prepare multiple script versions if you plan to generate variations for different platforms.
Alternative Options
Below are some commonly used alternatives for creating talking photo animations.
| Name | Best For | Style | Platform |
|---|---|---|---|
| D-ID | Realistic talking avatars | Photorealistic video generation | Web |
| HeyGen | Marketing and presentations | Avatar based communication videos | Web |
| Synthesia | Corporate training content | Structured AI video generation | Web |
| CapCut | Social media video editing | Mobile first creative editing | Mobile and Desktop |
D-ID
Focuses on turning portraits into realistic talking avatars. Often used for business presentations and professional communication.
HeyGen
Specializes in avatar based video creation with strong voice synthesis. Commonly used for marketing content and explainer videos.
Synthesia
Designed for structured corporate video production such as training materials and internal communication.
CapCut
Works well for combining animated portraits with short form social video editing and quick publishing.
Each option serves a different use case. Some prioritize realism, while others focus on speed or social content creation.
Conclusion
Turning a photo into a talking animation is now a straightforward process with Pexo AI. You only need a clear portrait and a short script, and the system handles speech generation, lip sync, and facial animation automatically.
In just a few steps, a static image becomes a speaking video ready for social media, storytelling, or content creation.