
Kling AI is Kuaishou's text-to-video and image-to-video generator, currently on versions 2.6 and 3.0. This article skips the basics. After 40+ hours and 200+ generations, I compiled 12 tips that consistently improved output quality, each with test numbers and honest notes about where the tip falls short.
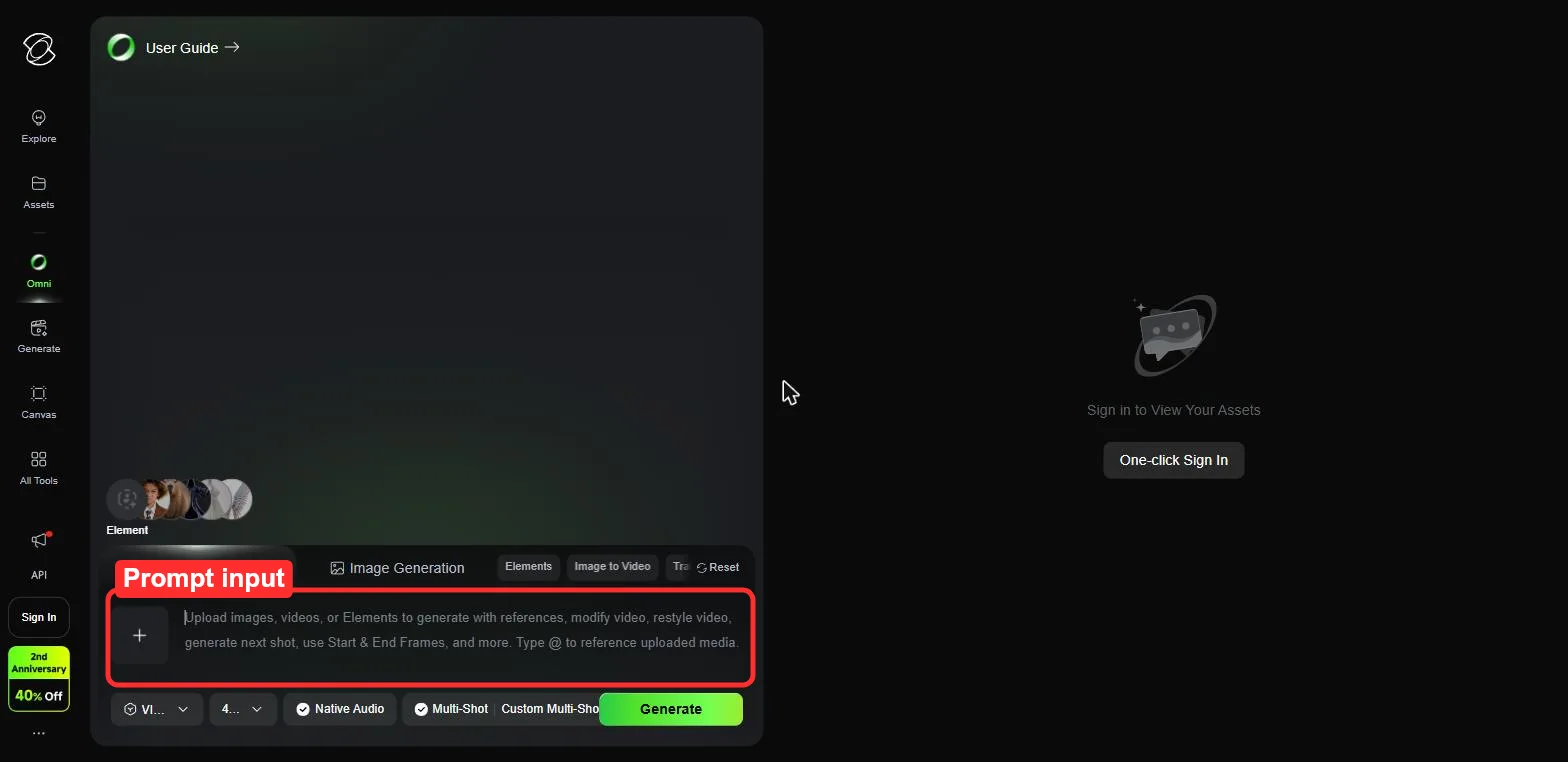 Kling AI's main generation interface. Red box: the prompt input field where most of your output quality is won or lost.
What You Need Before Starting
- A Kling AI account (free tier works for testing, paid plan for serious work)
- 3 to 5 reference images if you plan to use image-to-video
- A specific idea of what you want to make, even if rough
My best outputs all started from a concrete mental image, not a vague "make something cool" impulse.
12 Kling AI Tips for Better Video Results
Tip 1: Structure Prompts With the 4-Part Formula
Every prompt should have four parts: subject (who or what), action (what happens), context (where, when, lighting), and style (camera feel, genre, mood). I tested the same scene 30 times: structured prompts produced usable clips 80% of the time versus 35% for loose descriptions. Caveat: more than 5 context elements tends to confuse the model. Keep context to 3 to 5 details.
 Red box: a real prompt I ran, built from all four parts in one continuous sentence (subject, action, context, then style at the end).
Tip 2: Specify Camera Movement Explicitly
Add phrases like "slow tracking shot from left to right" or "static wide angle, no camera movement." I compared 20 prompt pairs with and without camera direction. Explicit movement produced coherent visual flow in 75% of clips versus erratic drifting without it. Stick to pan, track, static, and tilt. Kling interprets "dolly zoom" inconsistently.
Tip 3: Add Motion Endpoints to Prevent Late-Clip Drift
End your action description with a settling point: "the cat jumps onto the table, then sits and looks at camera." Without one, Kling often fills the last 1 to 2 seconds with random motion. Across 25 generations, endpoints reduced late-clip drift from about 60% to 20%. Works best on 5-second clips. On 10-second clips, the model sometimes forgets the endpoint by second 7.
Tip 4: Use Negative Prompts to Remove Artifacts
Effective negative prompts include "no text overlay, no watermark, no distorted hands, no blurry edges." Across 15 test clips, negatives dropped the text-on-screen artifact (a common Kling quirk) from about 40% to 10% of outputs. Warning: overly broad negatives can suppress things you want. "No text" once removed a sign that was supposed to be in the scene.
Tip 5: Write Like a Director, Not a Shopping List
List style: "Woman, red dress, beach, sunset, cinematic." Narrative style: "A woman in a red dress walks barefoot along the shoreline at golden hour, waves touching her feet, slow dolly forward." Across 30 generations, narrative prompts with a clear motion arc hit about 70% usable versus 45% for list style.
Tip 6: Start With 5-Second Clips Before Going Longer
The single highest-impact workflow change. Kling's 5-second mode produces higher quality because the model has fewer frames to compute. In my testing, 5-second clips had clean motion in 85% of outputs versus 55% at 10 seconds. I now generate everything at 5 seconds first, then extend or stitch the best result.
 Red box: the duration selector. I set every clip to 5 seconds first, then extend or stitch the best result.
Tip 7: Generate a Reference Frame First, Then Use Image-to-Video
Generate a still image first with any image generator, then feed it into Kling's image-to-video mode. This locks composition and character appearance before motion starts. In 20 character-consistency tests, text-to-video changed the face in 14 out of 20 clips. Image-to-video held it in 18 out of 20. Worth the extra step for recurring characters.
Tip 8: Test in Standard Mode, Produce in Professional
Standard mode costs fewer credits and renders faster. Professional mode is sharper with more stable motion. My approach: iterate in Standard, then run the final version in Professional. Across 40 generations, this saved roughly 30% of total credits versus all-Professional. Caveat: some subtle effects (hair movement, fabric flow) only render properly in Professional, so you might miss them during iteration.
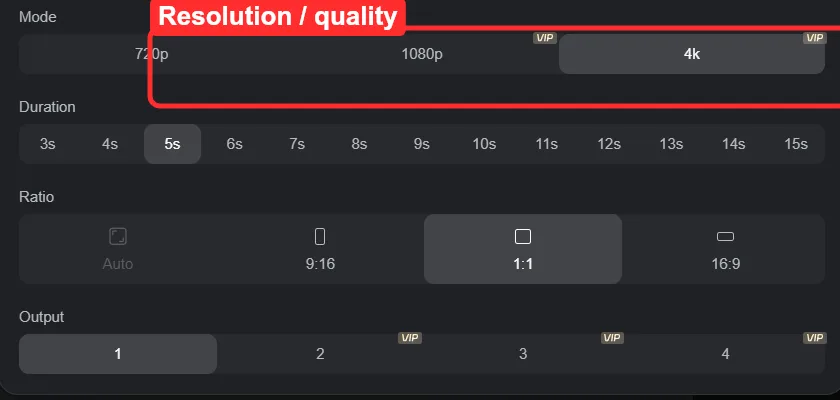 Red box: the quality selector (720p / 1080p / 4K) in the generation settings. I iterate on the lowest tier, then run the final at the highest. The same panel holds duration, aspect ratio, and output count.
Tip 9: Generate 3 to 5 Variations Per Prompt
The same prompt produces different results each run. Generating 3 to 5 variations and picking the best clip beats chasing one perfect take. In a batch of 10 prompts with 4 variations each, the best clip was significantly better than the first attempt in 8 out of 10 cases. Budget credits for variation, not perfection.
Tip 10: Stitch Two 5-Second Clips Instead of One 10-Second
For longer sequences, generate two 5-second clips and stitch them. Use the last frame of clip one as the reference image for clip two. Stitched pairs had clean motion in about 80% of cases versus 55% for single 10-second generations. Any free editor (CapCut, DaVinci Resolve) handles the join.
Tip 11: Use Kling 2.6's Simultaneous Audio-Visual Generation
Kling 2.6 generates video and audio in one pass. The synchronized output feels more cohesive: footsteps match steps, ambient sounds align with the environment. The tradeoff: less audio control than adding a custom soundtrack afterward. I use simultaneous mode for quick social content (saves 5 to 10 minutes per clip) and silent-plus-manual-audio for polished work.
 Red box: the Native Audio toggle in the generation bar. Switch it on before you hit Generate to get synchronized sound.
Tip 12: Manage Credits Strategically
Three rules from tracking 200 generations. Free-tier credits reset daily: burn them on uncertain prompts. Paid-plan credits roll over for up to two years: stockpile during light months instead of downgrading. A single Professional 10-second clip costs roughly the same as four Standard 5-second clips, and the 5-second iterations produce better results per credit (Tips 6 and 8). Testing cheap, producing expensive saved me about 35% of total credits.
Common Kling AI Mistakes to Avoid
Over-specifying prompts. Adding 8+ context details ("on a beach, sunset, palm trees, seagulls, waves, golden sand, light breeze, blue sky") consistently produced muddled outputs in my tests. Cap context at 3 to 5 elements.
Ignoring aspect ratio. Kling defaults to 16:9. If you are making content for TikTok or Reels, switch to 9:16 before generating. Re-cropping a 16:9 video to 9:16 in post destroys the composition.
Re-running identical prompts. If three attempts with the same wording produce bad output, the prompt itself is the problem. Change the language, not your luck.
Skipping image-to-video for character work. Text-to-video generates a different face every time. For any project involving a recurring character, use a reference image (Tip 7). I wasted 50+ credits before learning this.
What Else Can You Use
-
Runway Gen-4 offers finer post-generation camera path editing than Kling. Higher cost per generation, but strong for precise frame-level control.
-
Hailuo AI (by MiniMax) renders fast with solid natural motion at shorter durations. Worth testing for quick social clips.
-
Luma Dream Machine excels at photorealistic 3D scenes and slow-motion effects with strong depth-of-field rendering.
Conclusion
If you only adopt three tips, start with Tip 1 (4-part prompt formula), Tip 6 (5-second clips first), and Tip 7 (reference frames for image-to-video). Those three produced the biggest quality jump in my testing.