
Prompt 1: Product background replacement.
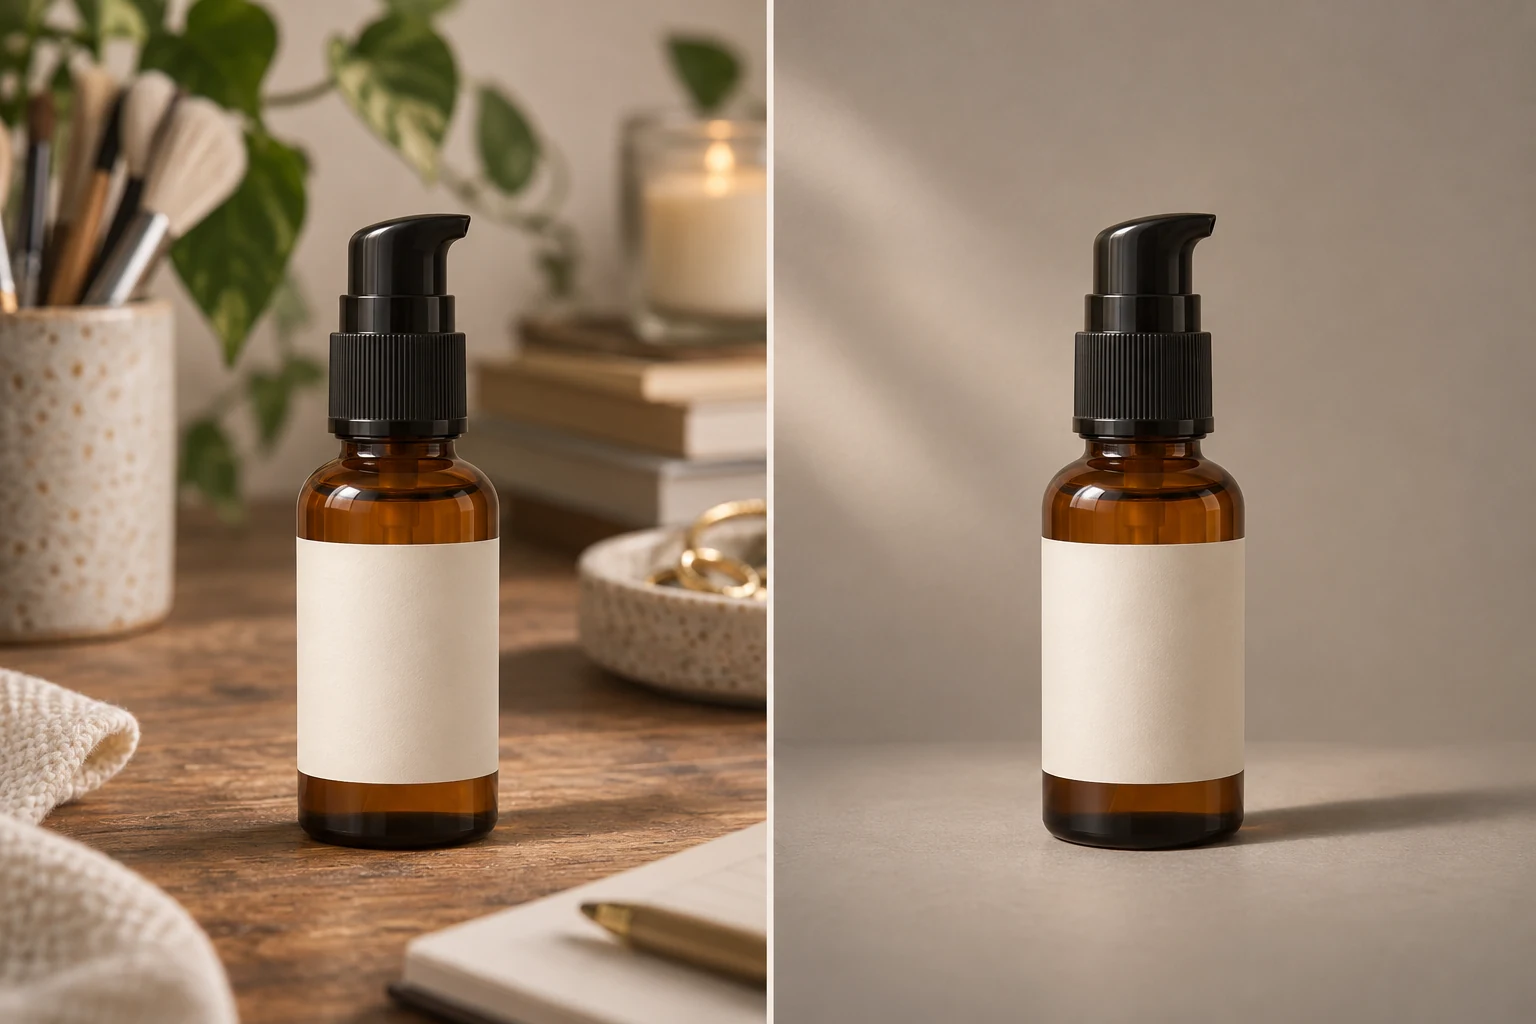
Edit my product photo by replacing the cluttered background with a plain warm-gray studio wall. Keep the object, logo, edges and shadows realistic; do not change its shape.
THE PEXO PROMPT LIBRARY / HUB
Edit one property at a time and compare with the original. Keep an untouched source for checking identity and product accuracy. The copy-ready briefs below are original starting points. Adapt them to your own subject and assets; no example is presented as a tested product output.
A direction to explore
Choose the Edit Before the Style
Choose a section below, adapt the source brief to your own task, and review the result.
Eight original starter briefs follow. These are text examples, not observed product outputs.
Edit my product photo by replacing the cluttered background with a plain warm-gray studio wall. Keep the object, logo, edges and shadows realistic; do not change its shape.
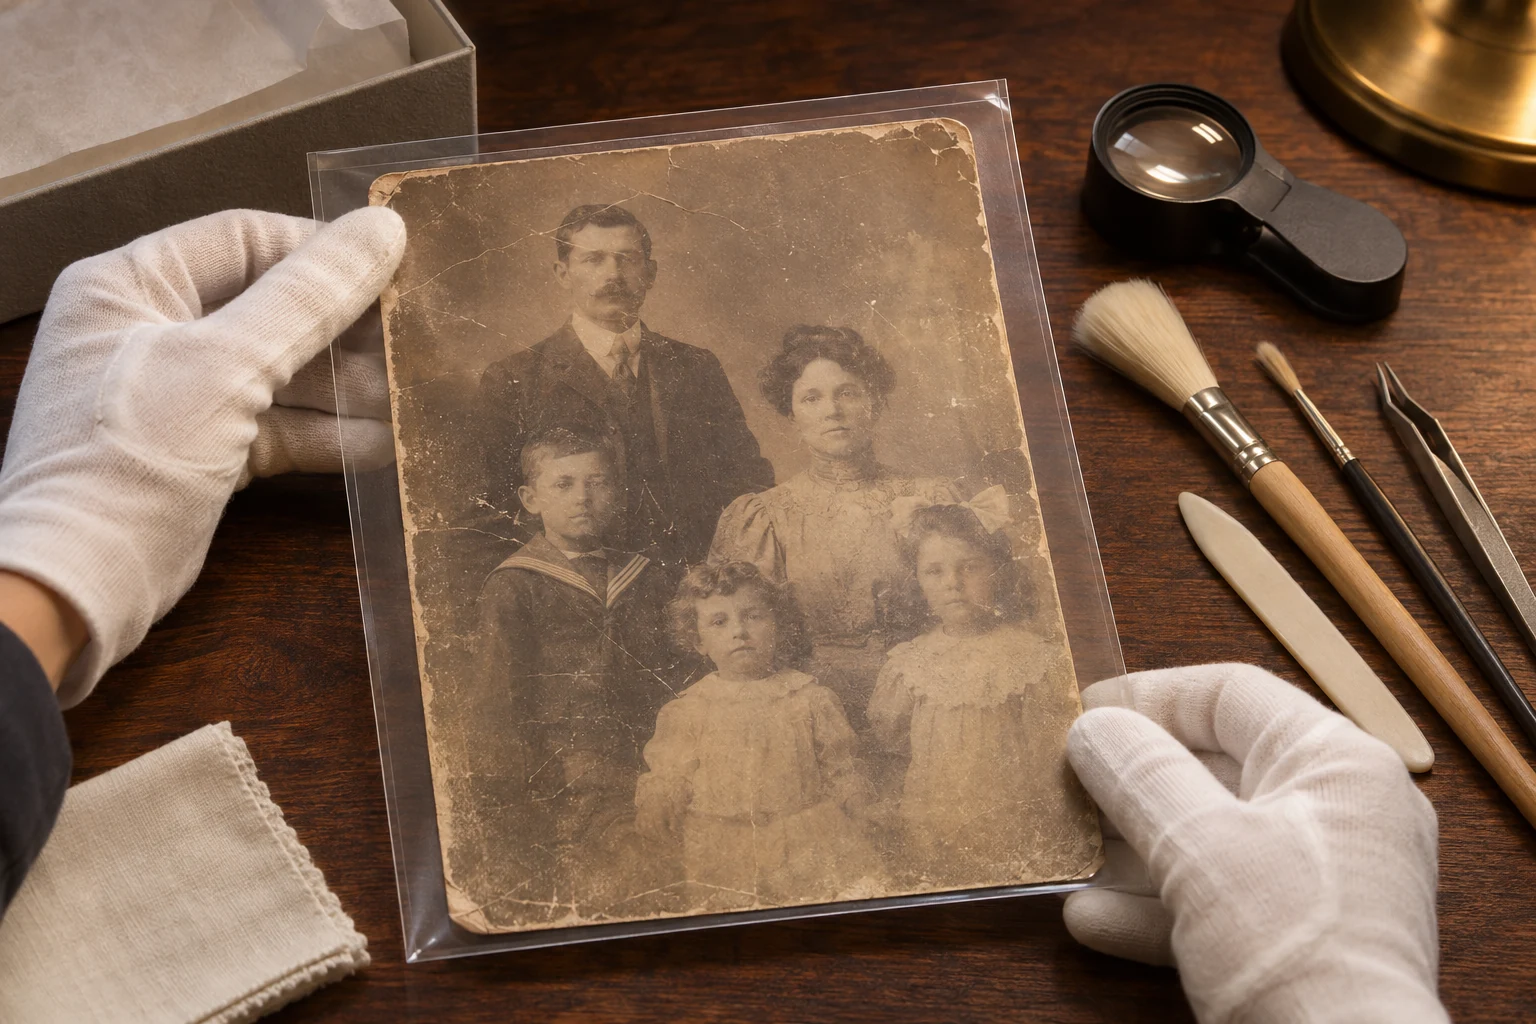
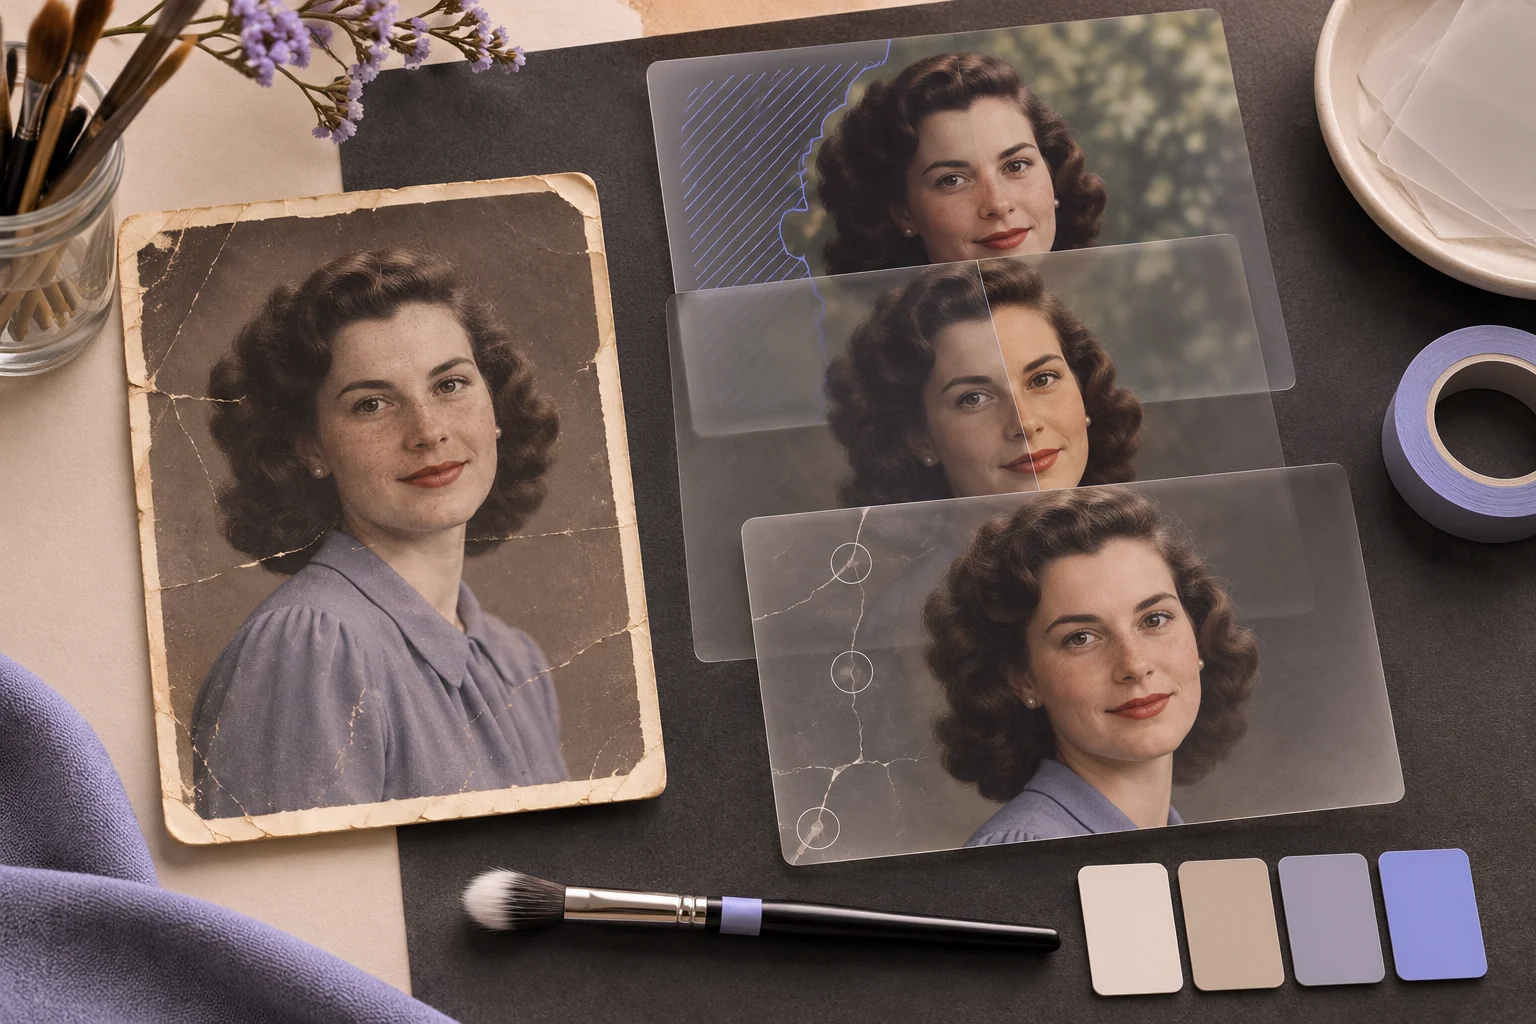
Restore the scan of my own family photo: reduce scratches and fading while retaining faces, clothing and period details. Show uncertainty rather than inventing missing features.
In ChatGPT, edit the image I uploaded. Replace only the background with a soft neutral wall. Keep the person’s face, pose, clothing and lighting direction unchanged; show me a preview before further edits.
Replace the background of my approved product image with a bright kitchen counter. Preserve the bottle shape, label and cap. Match the original light direction and add a plausible contact shadow.
Restore this scan of my own 1960s family photograph. Reduce dust and creases, retain facial features and clothing, and keep the original monochrome version for comparison.
Edit my approved portrait by softening only the harsh background light. Keep the subject’s face, hair, skin tone, clothing and pose unchanged; compare the edit with the source.
Remove the distracting loose cable from my authorized desk photo. Reconstruct only the small background area it covers. Preserve the laptop, notebook, shadows and camera angle.
Adjust the faded colors of my own scanned postcard conservatively. Keep all printed lettering, border wear and objects unchanged; provide the original alongside the edit for review.
Start from an image you may change. Choose the edit operation first, then define the subject and details that must survive it.
Brief 1: Product background replacement. Brief 2: Family-scan restoration.
Selection rule: Choose background replacement for a narrow scene change; choose restoration when the source image's historical details must be conserved.
Source-to-instruction relationship: The product source fixes shape and logo; the family scan fixes faces and period details, even where damage remains.
Visible signal: The bottle edge is redrawn or an unreadable family face is filled with plausible invented features.
Next revision: Return to the untouched source, mask only the intended area and leave uncertain restoration details understated.
Source to retain: the untouched product image or family scan and a copy of the authorized edit region. After an actual run: save the exact prompt version, resulting file and a review note stating whether product shape and logo or the family's facial and period details remain source-consistent. Until that run exists, leave the result and review fields unfilled. The Gallery cases below are separate published projects and cannot complete this record.
| Edit type | Use it when | Protect in the source |
|---|---|---|
| Background replacement | The subject stays, the setting changes | Edges, face, product and light direction |
| Photo restoration | Damage or fading needs repair | Historic details, identity and untouched original |
| ChatGPT image edit | A conversational image workflow is available | Exact region allowed to change |
| Color and light adjustment | The photo is correct but the treatment is not | Product color, skin tone and printed text |
Choose one edit per prompt, compare the result with the original, then decide whether another pass is needed.
Compare the edited image with the untouched source at the same crop. Choose one correction and keep the rest of the approved edit fixed.
| If the preview shows… | Check against the source | Narrow follow-up instruction |
|---|---|---|
| A halo around the product | Original edge and light direction | “Refine only the bottle edge; keep the new background and the original silhouette.” |
| A changed face or hand | Facial features, fingers and pose | “Restore the face and hand from the approved source; leave the background change in place.” |
| Garbled label text | Approved label artwork | “Use the exact approved label; if it cannot be preserved, leave the label area untouched for manual finishing.” |
| Invented detail in a damaged photo | The unedited scan | “Remove the new detail and leave the uncertain region unfilled; retain the source beside the edit.” |
These are illustrative repair instructions, not tested editor outputs. If the image still changes identity, product shape or historical details after a narrow retry, stop using that draft and return to the original.
For the cable-removal brief, compare the edited desk with the original at the same crop. The small area behind the cable may change; the notebook, laptop, shadows and camera angle should not. If the edit also redraws the laptop edge, return to the untouched source and narrow the selected area. Only animate a still after this check, so a motion pass does not hide a failed photo edit.
Save the original photo, make one controlled edit and compare the new image with the source. Once the still is approved, use it as an image-to-video reference and describe motion separately. Review edges, faces, logos and any on-screen text again after animation.
Official Pexo Gallery · selected references
Compare 2 separately published Pexo Gallery examples related to this page's visual or workflow choices.
Official Gallery examples with Prompts published on their source pages. Related still-to-motion and image-transformation references; neither is a complete approved-original → edited-still → video audit trail. These videos are separate from this page's starter briefs, supplied assets and any named model. Review your own result before publishing.
Related Official Pexo Gallery example · separate published project
A styling interface selects a portrait and outfit cards, shows a From still to motion title and resolves on a full-body dressed figure. The portrait and outfit cards lead to a From still to motion frame and final dressed figure, illustrating a visual handoff from selected imagery to motion.
Create an elegant virtual styling product demo. Show selecting a person and outfit, generating styled looks, and revealing animated full-body fashion cards through clean controls, image masks, and refined editorial transitions.Related Official Pexo Gallery example · separate published project
A keyframe timeline and abstract shapes lead to an Original chicken photo beside a Vector interpretation of the same scene. The Original/Vector comparison makes an image-change checkpoint visible, while the keyframe scene separately illustrates animation planning.
Create a product demo for Anim8 showing keyframe editing, motion controls, and image-to-vector conversion. Use a chicken image for a clear original-versus-vector comparison, with precise timeline interactions and clean creative-tool UI.Review the image first, then take an authorized still to Pexo image-to-video. Describe the movement and details to preserve, inspect the preview, and approve facts, text and usage rights before publishing.
YOUR NEXT STEP IN PEXO
Use authorized assets, inspect the draft, and revise what does not match the brief.
Use this brief when: Select background change when the subject remains, restoration when visible damage is repaired, or a narrow object edit when one region changes.
Acceptance check: Keep the original and edited still together; compare protected details before using the edit as an animation reference.
If it fails: If several things change at once, return to one operation so the cause of any mismatch is clear.
For a source-photo change, Pexo Image to Image accepts a reference and an edit brief; inspect protected details before planning motion.
For each selected task, archive the untouched source and one edited candidate at the same crop. Mark protected details before editing: for a person, face and clothing; for a product, silhouette and label; for a restoration, surviving historical marks. Review those details side by side before animating. If the subject changes while replacing a background, revise that one edit rather than layering another correction over it.
Adobe's reference-composition guide explains why an input image's arrangement and depth matter in a reference-based workflow. It is a cross-tool principle, not a Pexo performance claim. The Pexo Gallery styling clip shows a visual handoff, but no approved-original, edited-still and final-video audit trail; the reader must create that trail for a real job.
Identify the source image, the one region allowed to change and the details to preserve.
Yes. Compare each edit with an untouched source, especially for faces, labels and restoration.
For a new still, compare AI Image Prompts; for a motion step after editing, compare Image to Video Prompts. For currently published examples, browse the Pexo prompt library.