
I made a finished 20-second product ad from a single sentence this morning, no filming and no timeline, using Pexo, the AI video partner that meets you where you are. If you have searched "AI video app tutorial" and ended up staring at a prompt box with no idea what to type, this guide is for you. I will walk the exact four-step flow I use in Pexo, then cover the mistakes that waste your first credits, a few pro tips, when an AI video app is the wrong call, and a dense FAQ. The whole point of Pexo is the opposite of prompt homework: no prompts, just talk.
By the end you will know how to turn one line of text or one photo into a ready-to-post short, in a vertical 9:16 format for TikTok or a wide 16:9 cut for YouTube, without learning a single editing menu.
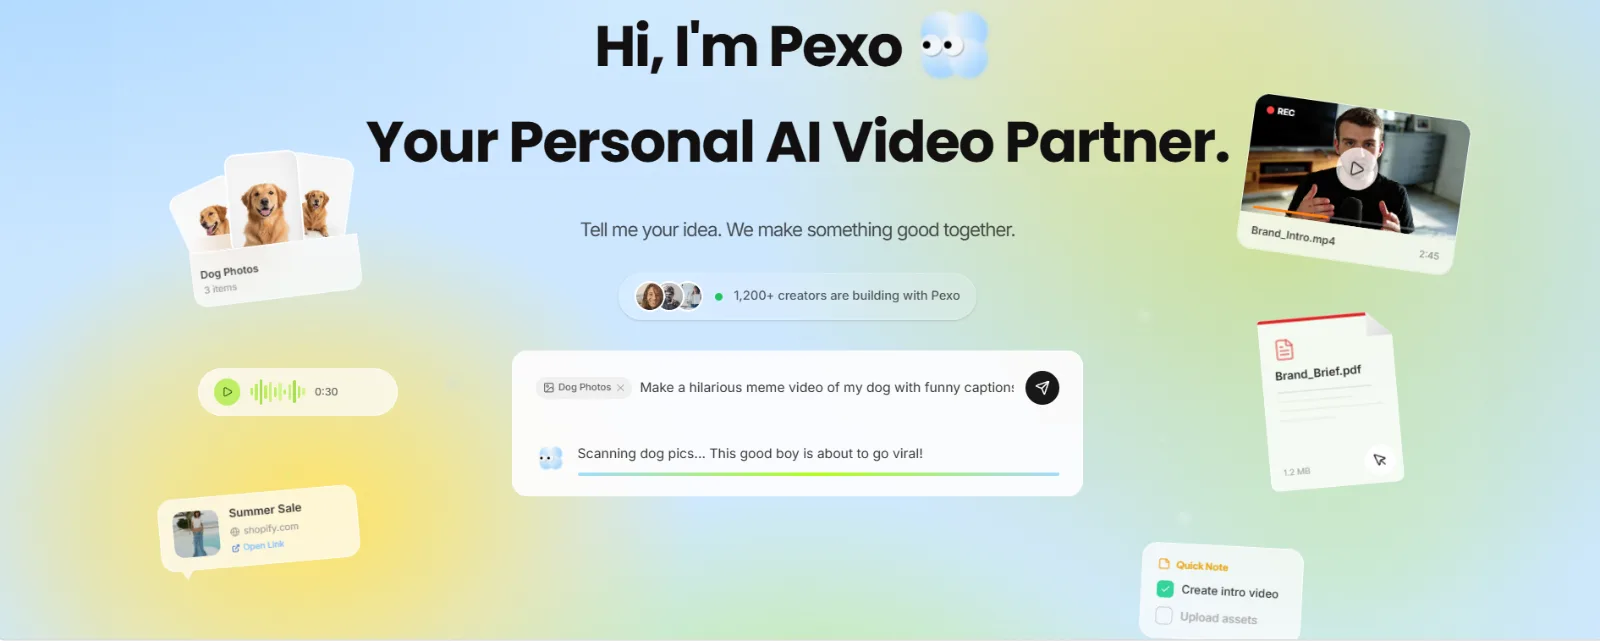 Pexo bills itself as a partner you talk to: tell it your idea and it makes the video with you, no prompt syntax required.
What Is an AI Video App?
An AI video app is software that turns an input you already have, like a sentence, a photo, a product URL, or an audio clip, into a finished video without you shooting footage or editing it by hand. The good ones handle the script, the visuals, the pacing, the soundtrack, and the export, so you describe the result and the app produces it.
Here is the catch most tutorials skip: "AI video app" covers two opposite jobs. Some apps cut clips out of a long video you already filmed. Others, like Pexo's text-to-video, generate a brand-new video from scratch when you have nothing but an idea. This tutorial is about the second job, generating from scratch, because that is where a beginner gets a usable result fastest. Pexo works with multiple leading video models, including Seedance and Kling, and picks the right one for your scene so you never have to choose. That is the difference you feel by Step 3.
What You Need Before You Start
You do not need much, which is the appeal. Have these three things ready and you are set:
- One clear idea in plain words. A sentence is enough. "A cozy 20-second ad for my oat-milk brand, warm morning light, soft lo-fi music."
- An optional asset. A product photo, a logo, a URL, or a voice clip if you want the video built around something specific. Skip it for a text-only video.
- A Pexo account and a few credits. Pexo is credit-based and self-serve, so you can start small and only spend more when you scale up. There is nothing to install.
That is it. No camera, no microphone setup, no editing skills. If you can text a friend a description, you can run every step below.
How to Make a Video With Pexo: Step-by-Step
This is the core of the tutorial, four steps from blank chat to downloaded clip. I timed my run at well under five minutes of hands-on work, with Pexo doing the heavy lifting between steps. Open Pexo in your browser or inside Slack, Lark, WhatsApp, or Claude, and follow along.
Step 1: Open Pexo and Describe Your Video
Open Pexo and just say what you want, the way you would describe it out loud. No prompt formula, no keyword stuffing. I typed: "Make a 20-second product ad video for my Daybreak perfume, warm and modern, soft natural morning light, upbeat acoustic music." Pexo reads your intent rather than parsing syntax, so a messy, half-formed line works fine. It even suggests directions you did not think of and shows you its plan before it builds anything. This is the "no prompts, just talk" difference, and it is why beginners get unstuck here instead of bouncing off a prompt box. Want to change the angle or tone? Say so in the next message.
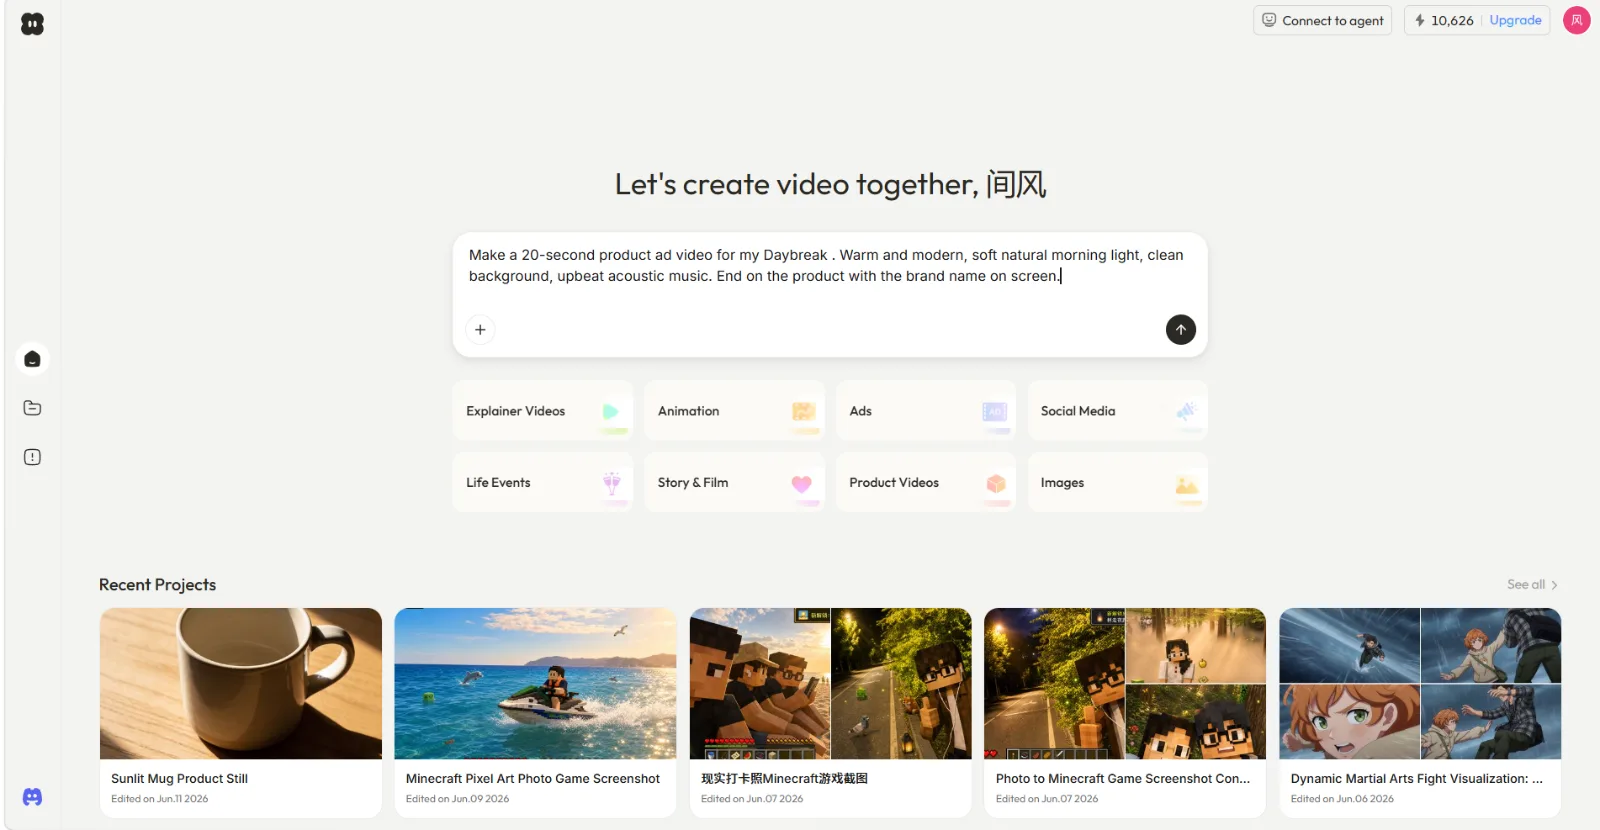 Step 1: type a plain-English description like you are texting a friend, no prompt syntax needed.
Step 2: Add a Photo, URL, or Audio (Optional)
If your video is about a specific product or scene, give Pexo something to build on. Drop in a product photo, paste a product-page URL, or attach a voice clip, and Pexo folds it into the video. Selling a physical product? A single bottle photo is enough for turn a photo into video. Repurposing a landing page? Paste the link. And if you do not have an image yet, you can generate the still inside Pexo first, then carry it straight into the clip without leaving the app. Pexo accepts text, image, URL, and audio as inputs, so you mix and match whatever you already have on hand.
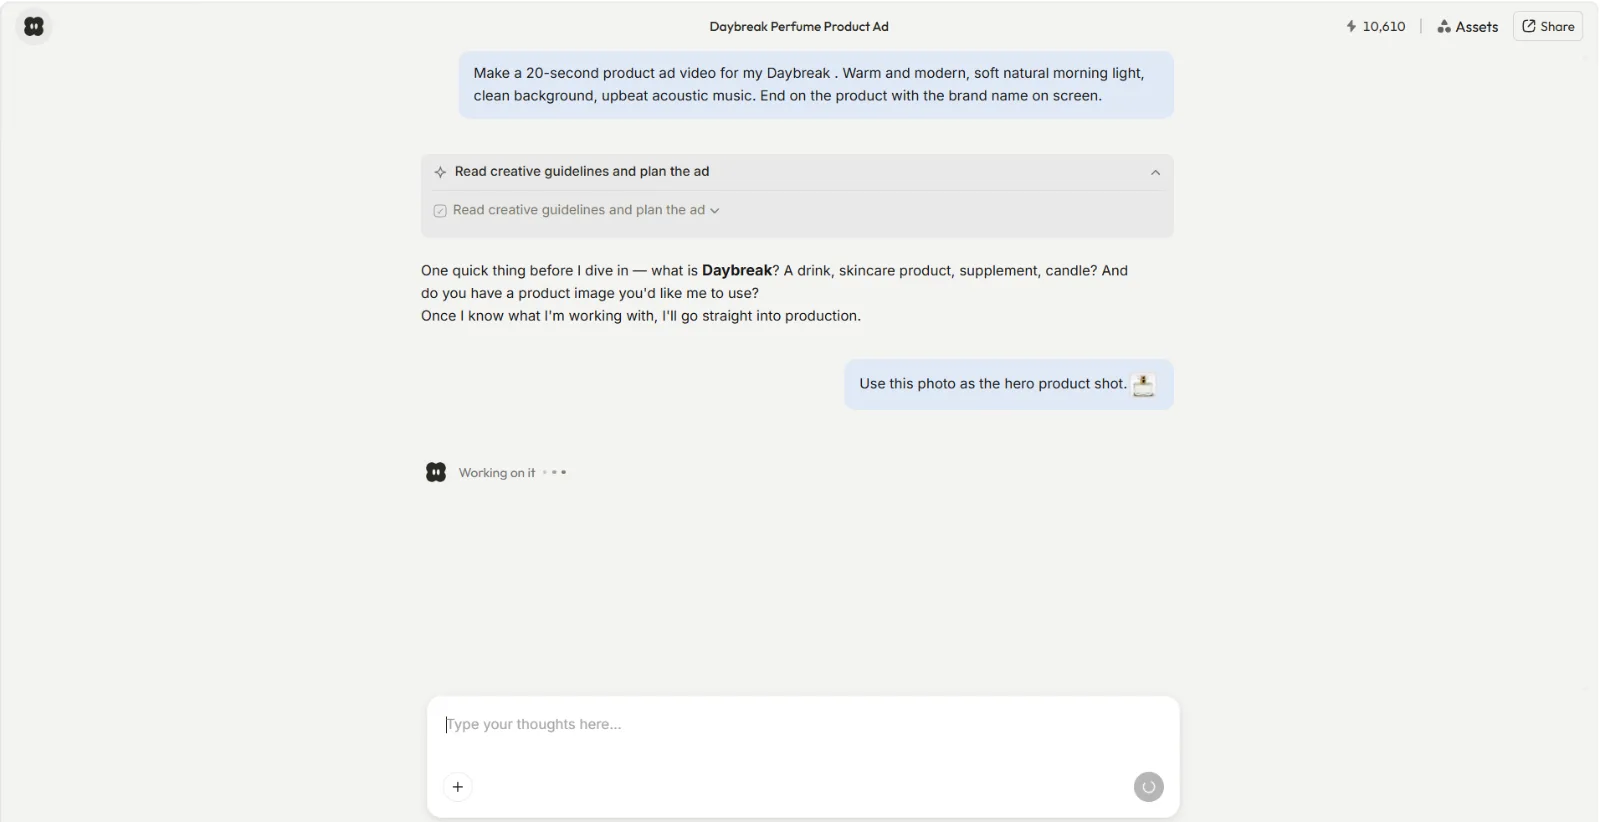 Step 2: attach a photo, paste a URL, or add audio so Pexo builds the video around your real asset.
Step 3: Review the Preview and Redirect
Pexo shows you a quick preview and its plan before committing to the full render, usually after a minute or two. This is where you direct instead of operate. Watch the preview, then tell Pexo what to fix in plain words: "make the music softer," "swap the second shot for the bottle close-up," "tighten it to 12 seconds." You do not hunt through a timeline or a settings panel. On my first preview the music sat too loud and the product shot flew by, so I typed "soften the music and hold the final frame about two seconds longer," and the next version fixed both without touching anything else. Behind the scenes Pexo routes your scene to the best-fit model from models like Seedance, Kling, and more, so the look matches your brief without you choosing a model. Reroll any section you do not love and leave the rest, since you can jump around instead of restarting.
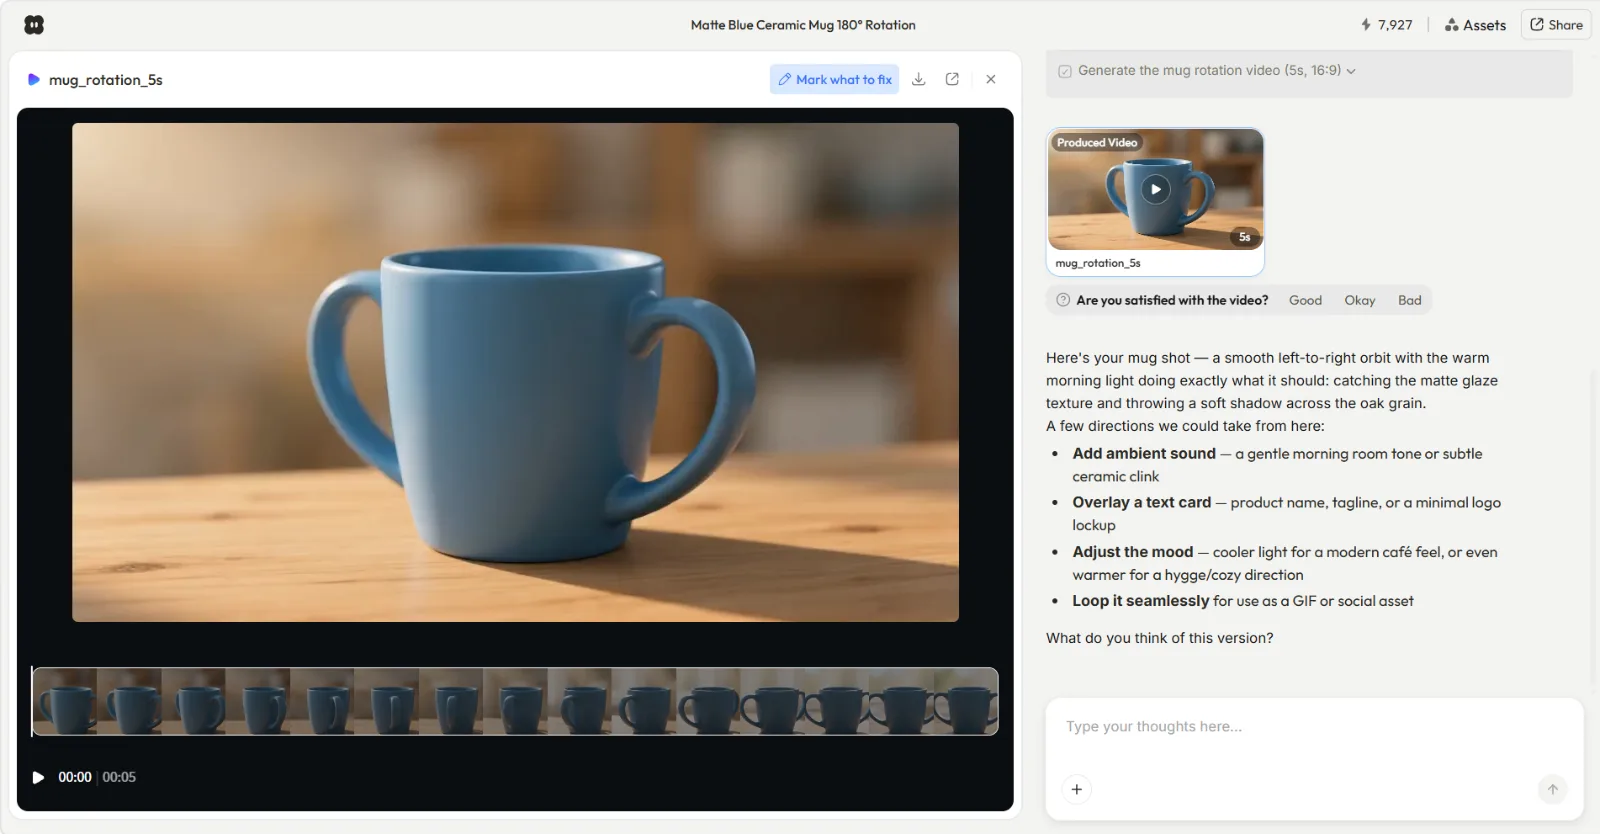 Step 3: watch the preview and redirect in plain words, no timeline editing.
Step 4: Ship and Download Your Clip
When the preview looks right, tell Pexo to finish it. It delivers a complete, polished video with transitions, pacing, and a soundtrack already in place, not a raw 5-second stub you have to assemble. Pick your aspect ratio for the platform, 9:16 for TikTok and Reels, 1:1 for feed posts, or 16:9 for YouTube, and download the finished clip in a common, ready-to-post format. From here you can post it, or ask Pexo for three more variations to A/B test. That is a full short, start to finish, from one sentence. Ready to try it? Make a short video with Pexo now.
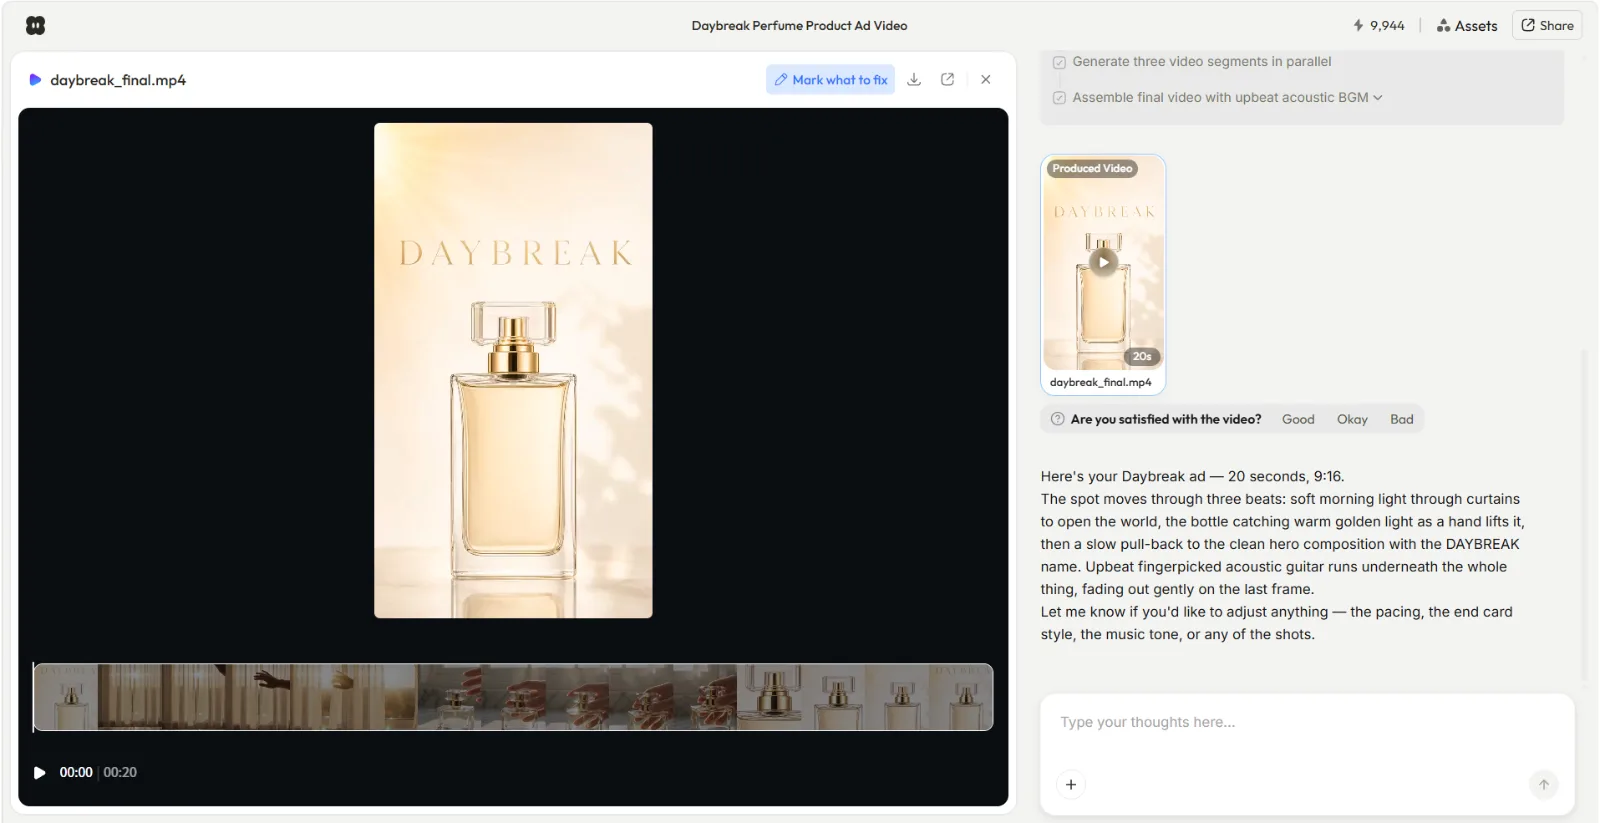 Step 4: pick 9:16, 1:1, or 16:9 and download the finished, ready-to-post clip.
Common Mistakes to Avoid
Most first-time misses come from treating Pexo like an old-school prompt tool. Sidestep these and your first clip lands:
- Over-engineering the description. You do not need a 200-word "prompt." A clear one-line intent beats a keyword salad. Say the goal, the vibe, and the length.
- Skipping the preview. The preview in Step 3 is your cheapest fix. Redirect there before the full render instead of regenerating from scratch.
- Forgetting the aspect ratio. A 16:9 video looks wrong cropped into a 9:16 TikTok. Tell Pexo the platform up front so the framing is right the first time.
- Not giving an asset when you have one. If you are advertising a real product, a photo or URL makes the output far more on-brand than a text-only description.
- Asking for one and done. Generate two or three variations while you are in the flow. Testing a few cuts costs little and usually beats your first guess.
Pro Tips for a Better Result
Once you have the basics, these are the moves that make Pexo videos look intentional rather than generic:
- Name the feeling, not just the facts. "Calm, premium, slow morning light" gives Pexo more to work with than "skincare ad." It reads tone, so give it tone.
- Let Pexo suggest. Ask "what would make this punchier?" Pexo brings ideas and references, so use it as a creative partner, not a vending machine.
- Iterate in small steps. Change one thing per message. It is faster to dial in the music, then the pacing, then the ending than to rewrite everything at once.
- Reuse what works. Found a structure that converts? Ask Pexo to keep the format and swap the product. You can spin a whole campaign from one winning template.
- Stay where you work. Pexo lives inside Slack, Lark, WhatsApp, and Claude, so you can request a video right in your workflow without opening a new tab.
When an AI Video App Isn't the Right Choice
Being honest about fit is what makes the recommendation worth anything, so here is where an AI video app, Pexo included, is not the tool to reach for.
If you already have hours of filmed footage and your job is to cut it down, you want a clip-extraction or timeline editor, not a generate-from-scratch app, because Pexo and apps like it build new video rather than trimming existing video. If you need frame-perfect manual control, hand-placed keyframes, multi-track color grading, or exact brand-compliance sign-off on every pixel, a traditional editor still wins. And if your project is a long-form piece, a 20-minute documentary or a feature edit, short-form AI generation is the wrong shape for the job. For a quick, post-ready short built from an idea or a product, though, this is exactly the workflow that saves you the most time.
Other AI Video Apps Worth Knowing
No single app fits every job, so it helps to know the landscape. A couple worth a look:
- HeyGen leans into avatar and talking-head videos, useful when you specifically need a presenter reading a script. See how it stacks up in our Pexo vs HeyGen breakdown.
- Runway is strong for experimental, effects-driven generation and manual creative control if you enjoy tinkering. We go deeper in our Runway review.
For a beginner who wants a finished, on-brand short from a plain description with no prompts and no editing, though, Pexo is the one I keep coming back to. It is the only one on this list built as a partner you talk to rather than a tool you operate. You can start with Pexo's text-to-video and have a clip today.
Conclusion
That is the whole tutorial: describe your idea, add an optional photo or URL, review the preview and redirect, then ship the finished clip. The reason an AI video app feels hard at first is the prompt box, and the reason Pexo does not is that there is no prompt box to fight, just a conversation. You bring the idea, Pexo brings the production, and you walk away with a post-ready short in minutes.
If you have been meaning to try one, start with the simplest possible test: open Pexo, describe one video in a single sentence, and see what comes back. Make your first short video with Pexo and ship something today.