 A finished 20 second vertical product ad, made from one sentence and a product photo.
If you came here for a Fliki tutorial, here is the honest version: I will show you the full Fliki workflow, and the faster way I now make the same videos, which is Pexo. With Pexo I just describe the idea in one sentence and get back a finished clip. No prompt box, no timeline, no scene by scene editing. You just talk and it builds, which is why most of my short videos now start as a message instead of a script.
Both routes get you a finished video without filming. The difference is how much fiddling sits in the middle. This guide covers the Pexo way first (the part I actually use day to day), then walks the real Fliki process so you have what you searched for, plus the mistakes, tips, and limits nobody mentions until you hit them. Start a video in Pexo if you want to follow along.
What Is Fliki, and What Does It Do?
Fliki is a text-to-video tool. You paste a script, an idea, or a blog URL, and it splits the text into scenes, then pairs each scene with an AI voiceover, stock footage, and captions. Its headline feature is voice: more than 2,000 AI voices across 80+ languages, with voice cloning on the paid tiers. It is fully web based, exports to MP4, and starts at $21 a month (as of 2026) after a small free tier. For the full breakdown, see our Fliki review and alternatives.
Pexo solves the same job (text in, finished video out) from a different angle. Instead of a scene editor with tracks and menus, Pexo gives you one conversation. You describe what you want, it brings back a plan and a preview, and you shape it by talking. One conversation from start to finish, with no menus to learn, is the whole difference.
What You Need Before You Start
You do not need much for either tool. Here is the short list.
- An idea or a script. A single sentence works for Pexo. Fliki prefers a fuller script or a blog URL to split into scenes.
- A free Pexo account. Sign up takes under a minute.
- An optional photo or product image if you want it featured (a bottle, a logo, a place).
- A target format in mind. Most short videos land at 1080p in 9:16 for TikTok and Reels, 1:1 for feeds, or 16:9 for YouTube. Pick before you start so the framing is right.
That is it. No footage, no microphone, no editing software.
How to Make a Video in Pexo: Step-by-Step
This is the workflow I run most days. I made a 30 second product clip this way in a few minutes, start to finish, just by describing it. Four steps.
Step 1: Open Pexo and Describe Your Idea
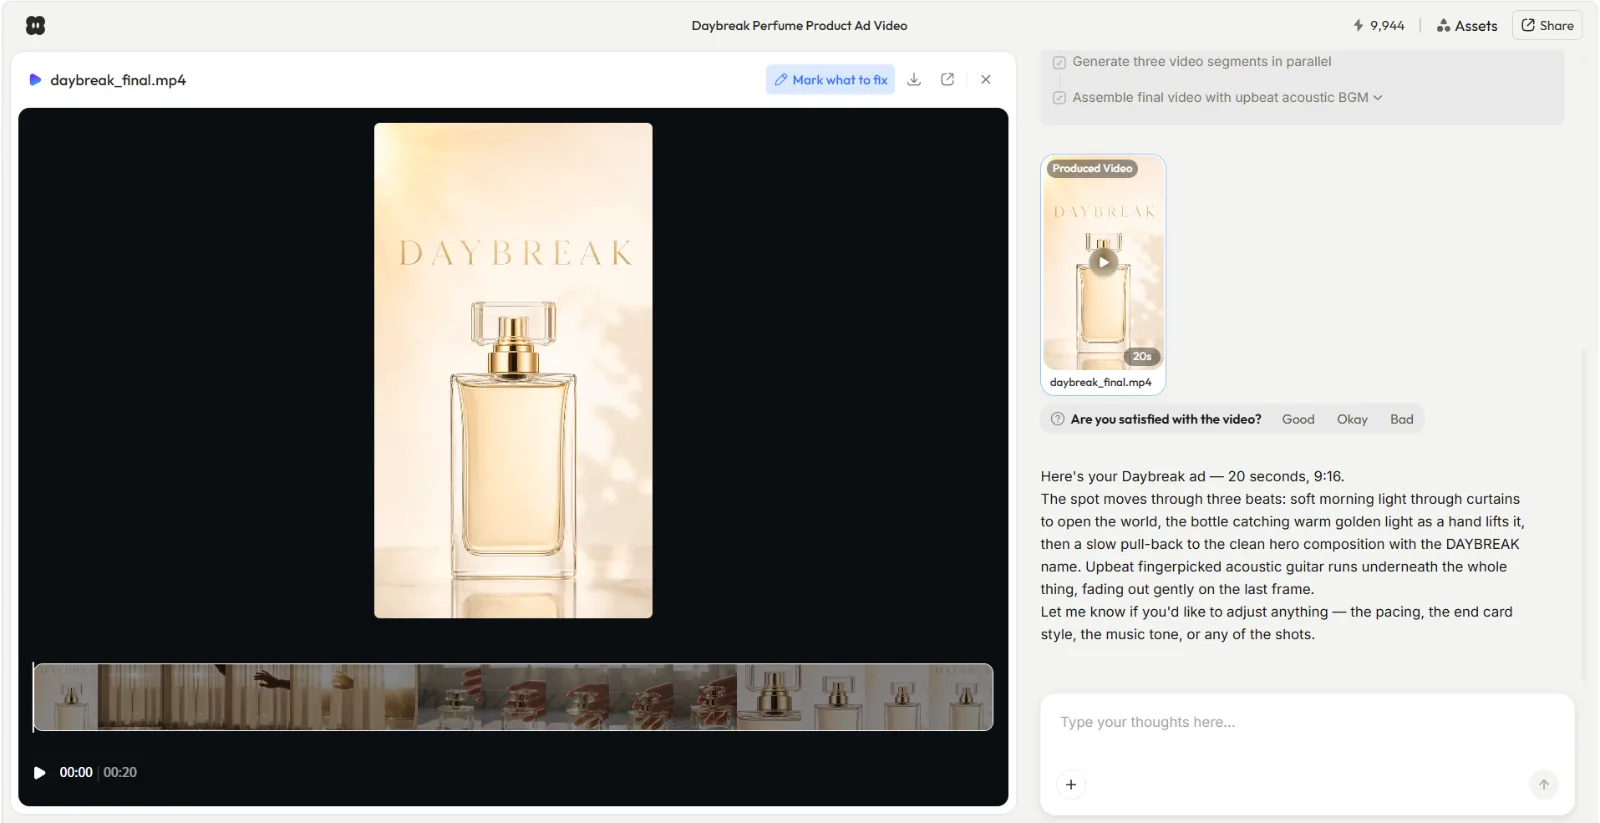
Open Pexo and type what you want like you are texting a friend. For this walkthrough I used: "Make a 20 second product ad video for my Daybreak perfume. Warm and modern, soft natural morning light, clean background, upbeat acoustic music. End on the product with the brand name on screen." No prompt syntax, no keywords to guess. Messy and half formed is fine, because Pexo reads intent, not a command. Drop in a product photo with the same message if you have one. Describe your first video and you will see what I mean.
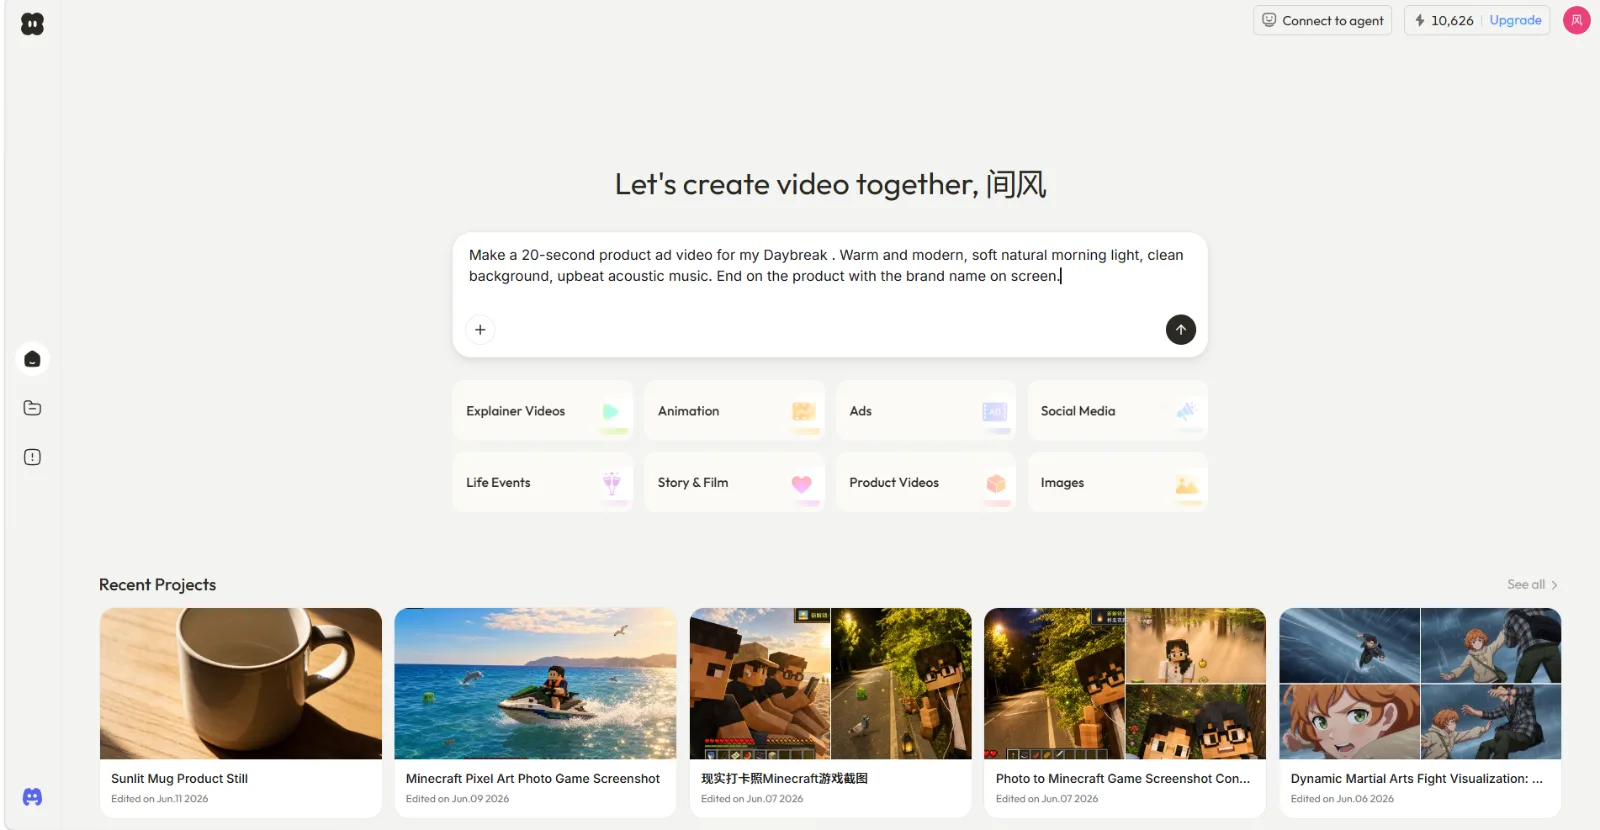 Step one is a sentence in the box, not a settings panel.
Step 2: Review the Plan and the Preview
Pexo does not jump straight to a final render. It reads the brief, plans the scenes, and will even ask a smart question before it assumes (in my run it checked what "Daybreak" actually was before building). You see its thinking and a quick preview before committing, so you can catch a wrong direction early and save the reroll later. If the plan reads right, let it build the full video.
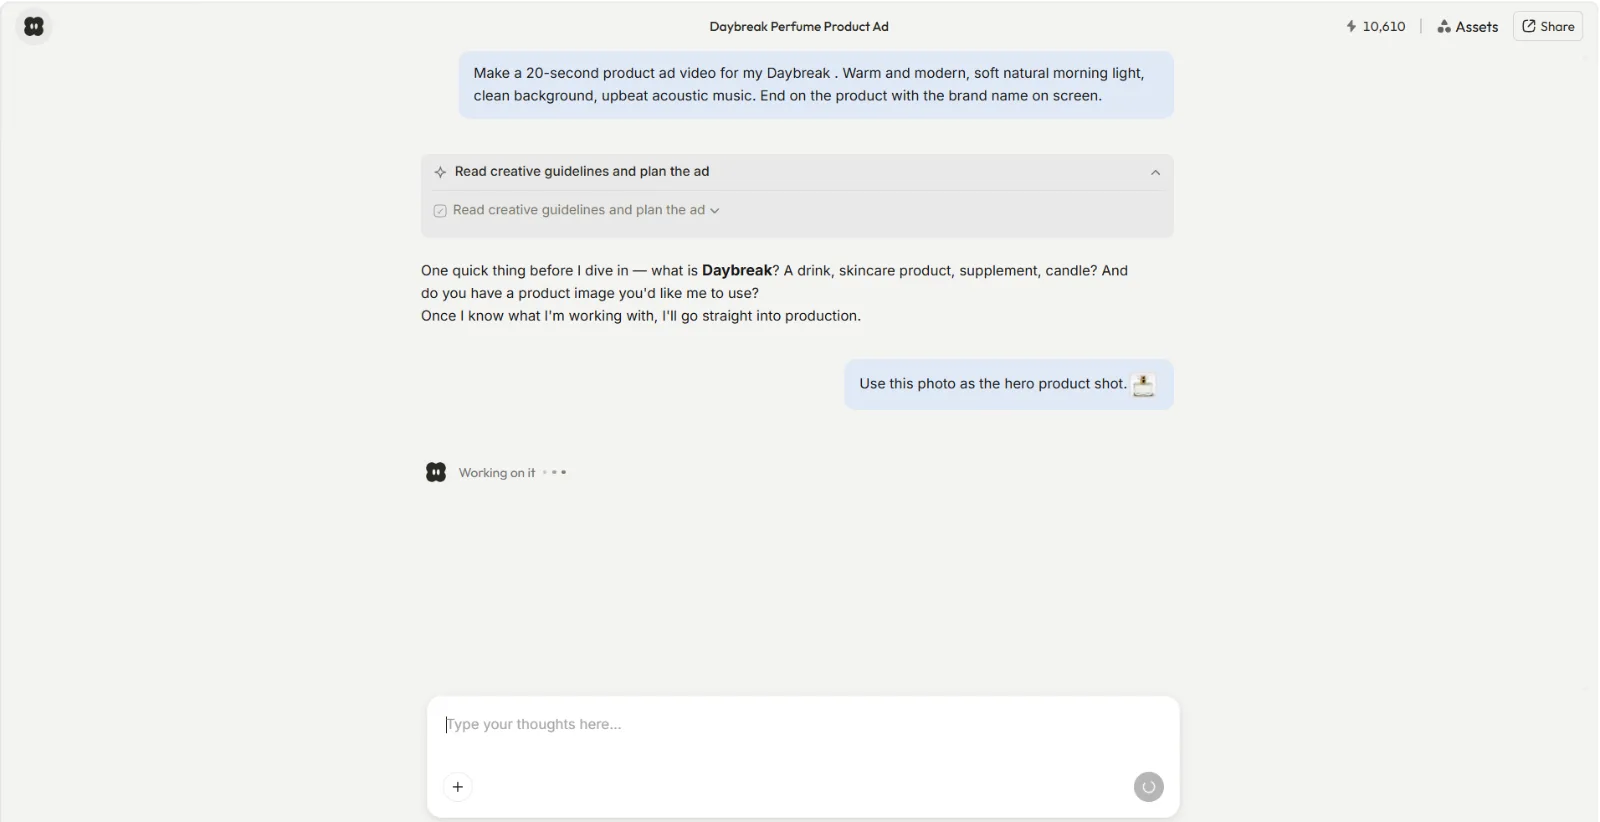 Pexo reads the brief, plans the scenes, and asks before it assumes.
Step 3: Point and Describe Any Change
When the video comes back, you refine it by talking, not by hunting through an editor. Want a different mood, a faster open, or a swapped clip? Just say so: "make the first scene punchier" or "use a warmer color." Pexo picks the right model for each scene behind the scenes, so you are directing rather than operating. It works with Seedance, Kling, and more, and routes to the best one for the shot without you choosing.
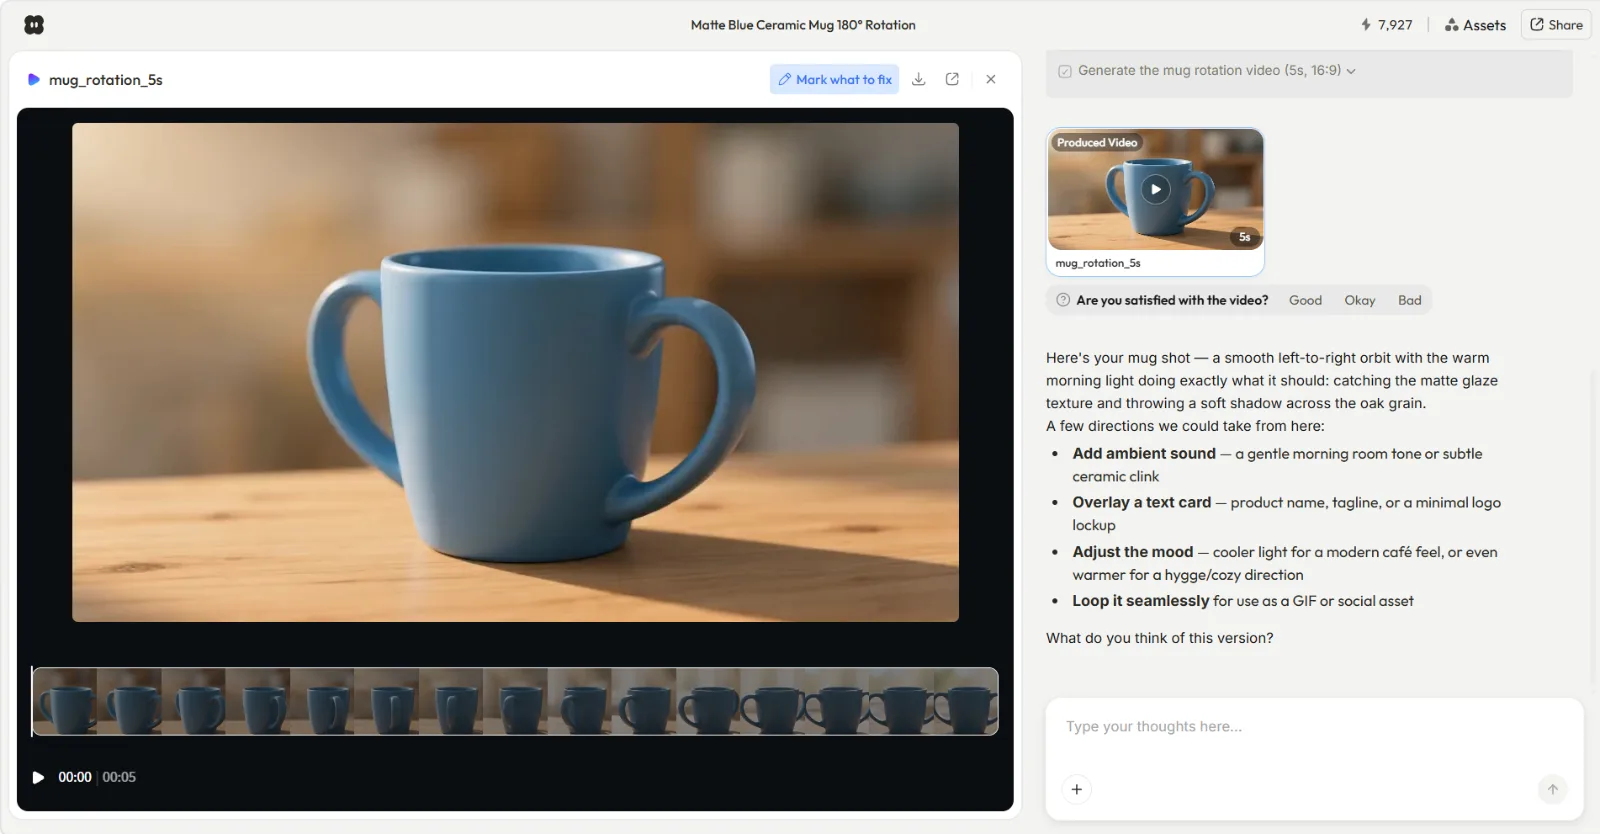 Changes are plain requests like adjust the mood or add ambient sound, not timeline edits.
Step 4: Ship It in the Format You Need
When it looks right, export in the aspect ratio your platform wants and post. Pexo finishes the whole thing (transitions, soundtrack, pacing) so you get a ready to post clip, not a 5 second fragment to assemble yourself. Make your first video now and you can have something posted today.
 The finished clip exports at 1080p in the aspect ratio you picked, ready to post.
How Fliki Works: The Quick Walkthrough
Since you searched for a Fliki tutorial, here is the real process, the way I ran it. From the Fliki dashboard you start in the "Let's get started" box, where you paste a video idea, a script, or a blog link. The home screen also gives you ready made workflows: Script to video, Blog to video, PPT to video, Auto edit video, and Record to video. For a standard text-to-video, the flow is five steps.
- Create a new file and choose Text to Video.
- Add your text. Paste a script, type an idea, or drop a blog URL. The Blog to video workflow pulls the article in for you, and Fliki then splits the text into scenes automatically, one block of text per scene.
- Pick a voice. Browse the 2,000+ AI voices across 80+ languages and preview a few before you commit. I usually audition three or four, because the wrong voice sinks an otherwise good script.
- Review the auto visuals. Fliki assigns stock footage to each scene. In my run it dropped a generic city street clip onto a line about a product close-up, so I swapped it for something on-topic. Watch each scene and replace any clip that misses the meaning of the line, because the auto match is a starting point, not a final cut.
- Preview, edit, and export. Play it through, fix any text, media, or voice per scene, then export as an MP4.
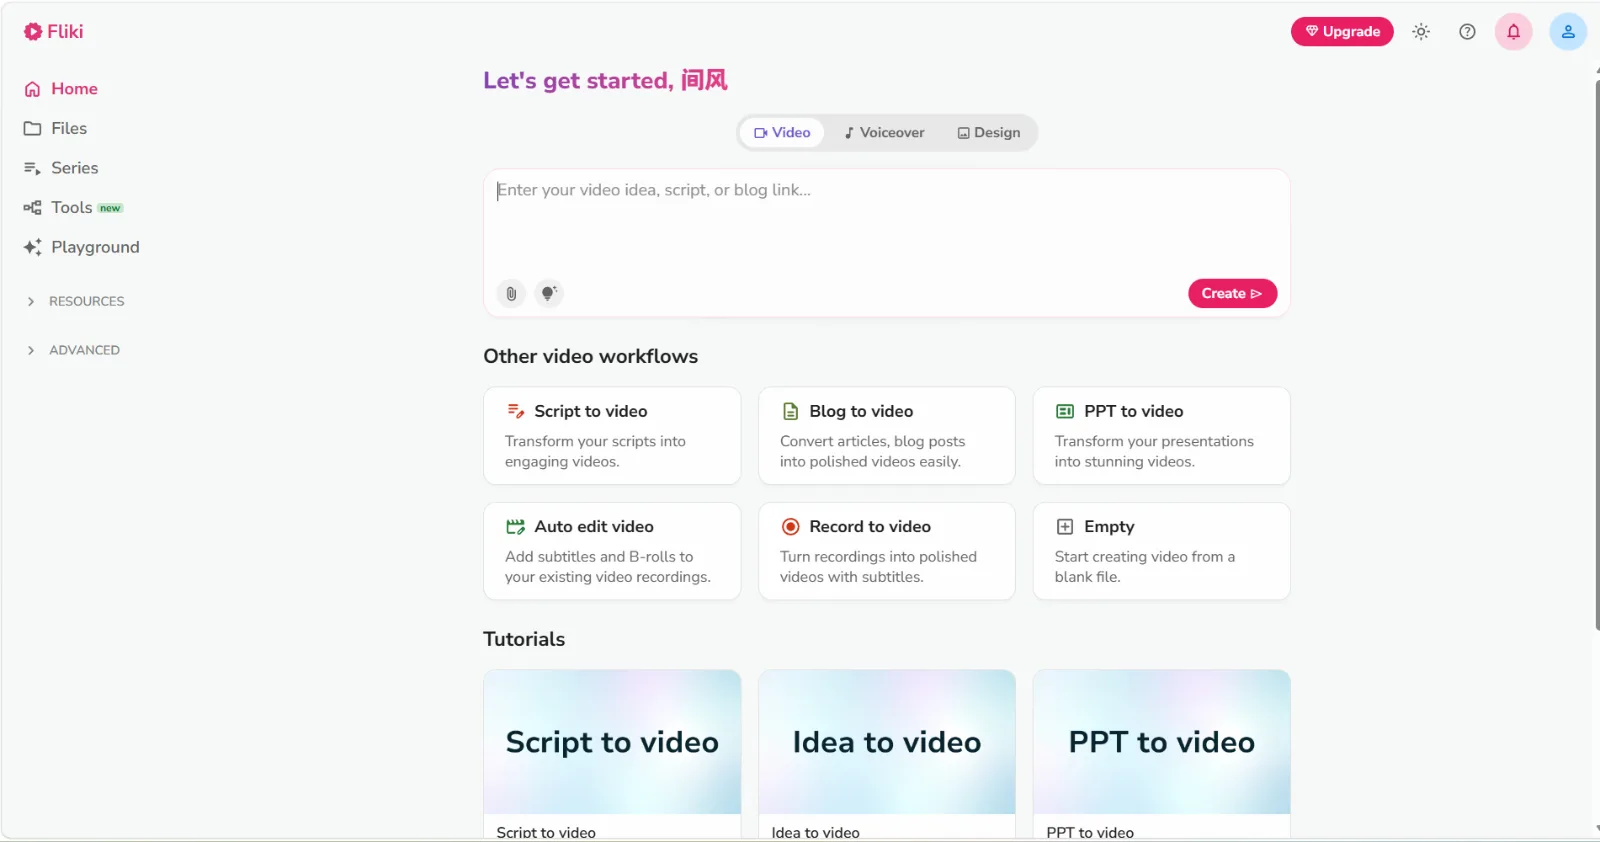 Fliki starts from a box where you paste a script, idea, or blog link, with one click workflows for scripts, blogs, and slides.
The trade is clear once you have done both. Fliki gives you a scene grid to manage and a voice library to audition; Pexo gives you a conversation. Fliki is the stronger choice when the voiceover is the star of the video, with that many voices and languages it is hard to beat there. If you would rather not audition voices and re-check every stock clip, the describe it route is the shortcut.
Common Mistakes to Avoid
A few things trip up almost everyone the first time.
- Over-scripting when you could just describe. People write a tight 200 word script when a one sentence brief to Pexo would have produced the same clip faster.
- Settling for a flat voice. A robotic or mismatched voice sinks an otherwise good video. Preview options before locking one in.
- Leaving mismatched auto footage. Auto-assigned stock clips often miss the meaning of a line. Always review and swap.
- Ignoring aspect ratio. A 16:9 video posted to Reels gets cropped badly. Decide 9:16, 1:1, or 16:9 before you build.
Pro Tips for Better Videos
Small habits that lift the result.
- Describe the vibe, not a prompt. Tell Pexo "nostalgic, warm, lo-fi" rather than stacking keywords. It reads tone well.
- Let Pexo suggest directions. Ask "what would make this punchier?" and it will offer creative options you had not considered, like a different open or pacing.
- Reroll one scene, not the whole video. If only the second scene is off, say exactly that. You jump around instead of rebuilding from scratch.
- Generate any missing still inside Pexo. Need a thumbnail or a background image you do not have? You can generate the image directly in Pexo and bring it straight into the video, no separate tool.
When NOT to Use This Approach
Generate-from-text tools are not the answer to everything, and saying so is the honest part.
- You need multi-track timeline editing. If your job is frame-accurate cuts, layered audio, and hand-placed transitions, use a real editor. Neither Pexo nor Fliki is built for that.
- You must clone your own voice at scale. Cloning a specific human voice for a long library is squarely Fliki's lane, not Pexo's.
- You are editing footage you already shot. These tools generate video from text, images, URLs, or audio. They do not trim or re-cut existing clips, so reach for an editor instead.
If your job is to go from an idea to a finished short video, though, this is exactly the right tool for it.
What Else Can You Use?
If neither fits, a couple of honest alternatives:
- Fliki is the strongest pick when voice is the priority: massive voice library, many languages, voice cloning. Details in our full Fliki review.
- A traditional editor (CapCut, Premiere, DaVinci) when you need manual, timeline-level control over footage you already have.
For everything else (turning an idea, a blog post, or a product photo into a finished clip without editing), describing it to Pexo is the fastest path I have found.
Conclusion
A Fliki tutorial comes down to a scene by scene build: script, voice, visuals, export. It works, and if voice is your priority it is a strong tool. But if your real goal is to get from an idea to a finished video with the least friction, the faster route is to stop building scenes and just describe what you want. That is the whole idea behind Pexo: you say it, Pexo shapes it, and you ship it. Make your first video with Pexo and see how much of the busywork disappears.