 Pexo turns a short brief into a finished, presenter-style training video, no camera required.
Most training-video guides start the same way: rent a camera, write a shot list, film a presenter, then lose an afternoon in an editor. Pexo takes a different route. You describe the lesson you want to teach in plain language, and Pexo builds a finished, explainer-style training video for you, with no camera and no timeline editing. That is the whole idea behind the workflow. No prompts to engineer, no menus to learn. Just say what the video should teach, then shape what comes back.
Training videos come in two shapes: explainer-style lessons built from a script (onboarding, a policy, a concept) and screen-recorded walkthroughs that capture real clicks inside software. Pexo is built for the first kind, and that is the path this guide covers, from outlining a single learning objective to exporting a clip you can drop into your LMS or post to YouTube. It also covers the mistakes that make training videos drag and a few pro tips for keeping viewers awake. If your topic is a pure software walkthrough, there is an honest note near the end on when a screen recorder is the better fit.
What You Need Before You Start
You do not need much to make a training video with Pexo, which is part of the appeal. Before you open the chat, get a few things ready so the first version comes back close to what you want.
- A clear topic and audience: who is being trained and on what (new-hire onboarding, a safety procedure, a product feature).
- One learning objective: the single thing a viewer should be able to do after watching.
- A rough script or talking points: a short outline is enough, since Pexo can expand a few bullet points into a narrated flow.
- Any brand assets you want included: a logo, product photos, or a color the video should match.
If you are teaching a process that lives on a screen, also have your example file or demo account open. You can describe the steps to Pexo, and for the parts that need your real interface, a screen recording can be layered in later.
How to Make a Training Video With Pexo (Step by Step)
Here is the core workflow. Each step happens inside one conversation with Pexo, so you can move between them freely, change your mind, and refine as you go.
Step 1: Outline Your Topic and One Learning Objective
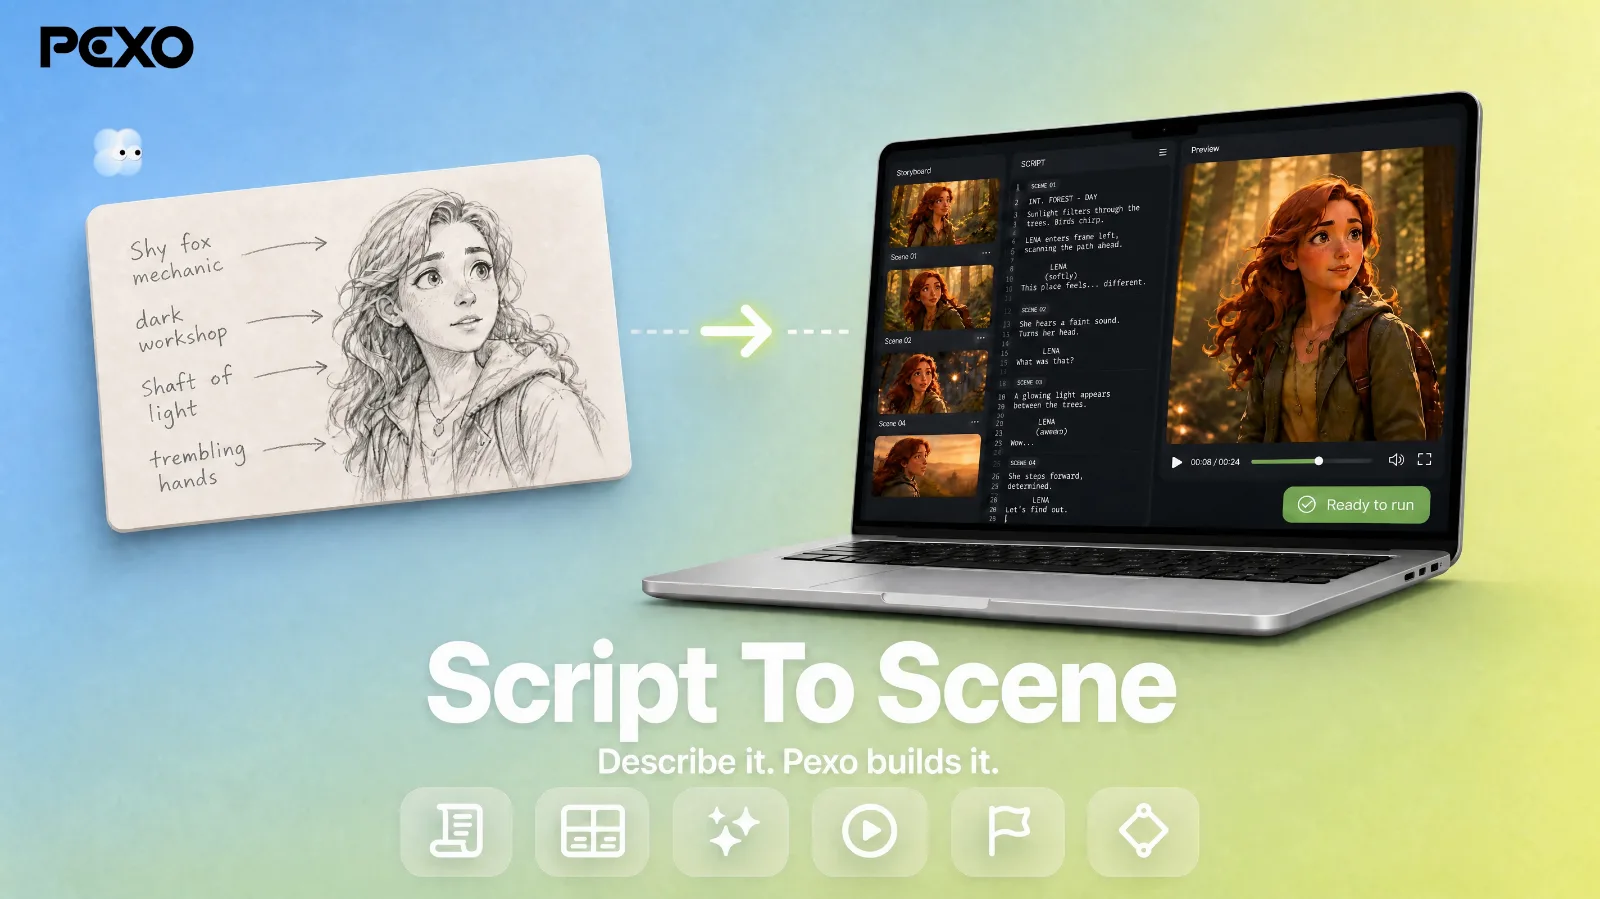
Start outside the app with a quick outline. Write the one thing your viewer should be able to do after watching, then list three to five points that build toward it. Keep it to a single objective per video, because a clip that tries to teach onboarding, payroll, and safety at once teaches none of them well. With your points ready, paste them into the chat and let Pexo's script to video workflow shape them into scenes.
 A few outlined points are enough for Pexo to build a scene-by-scene flow.
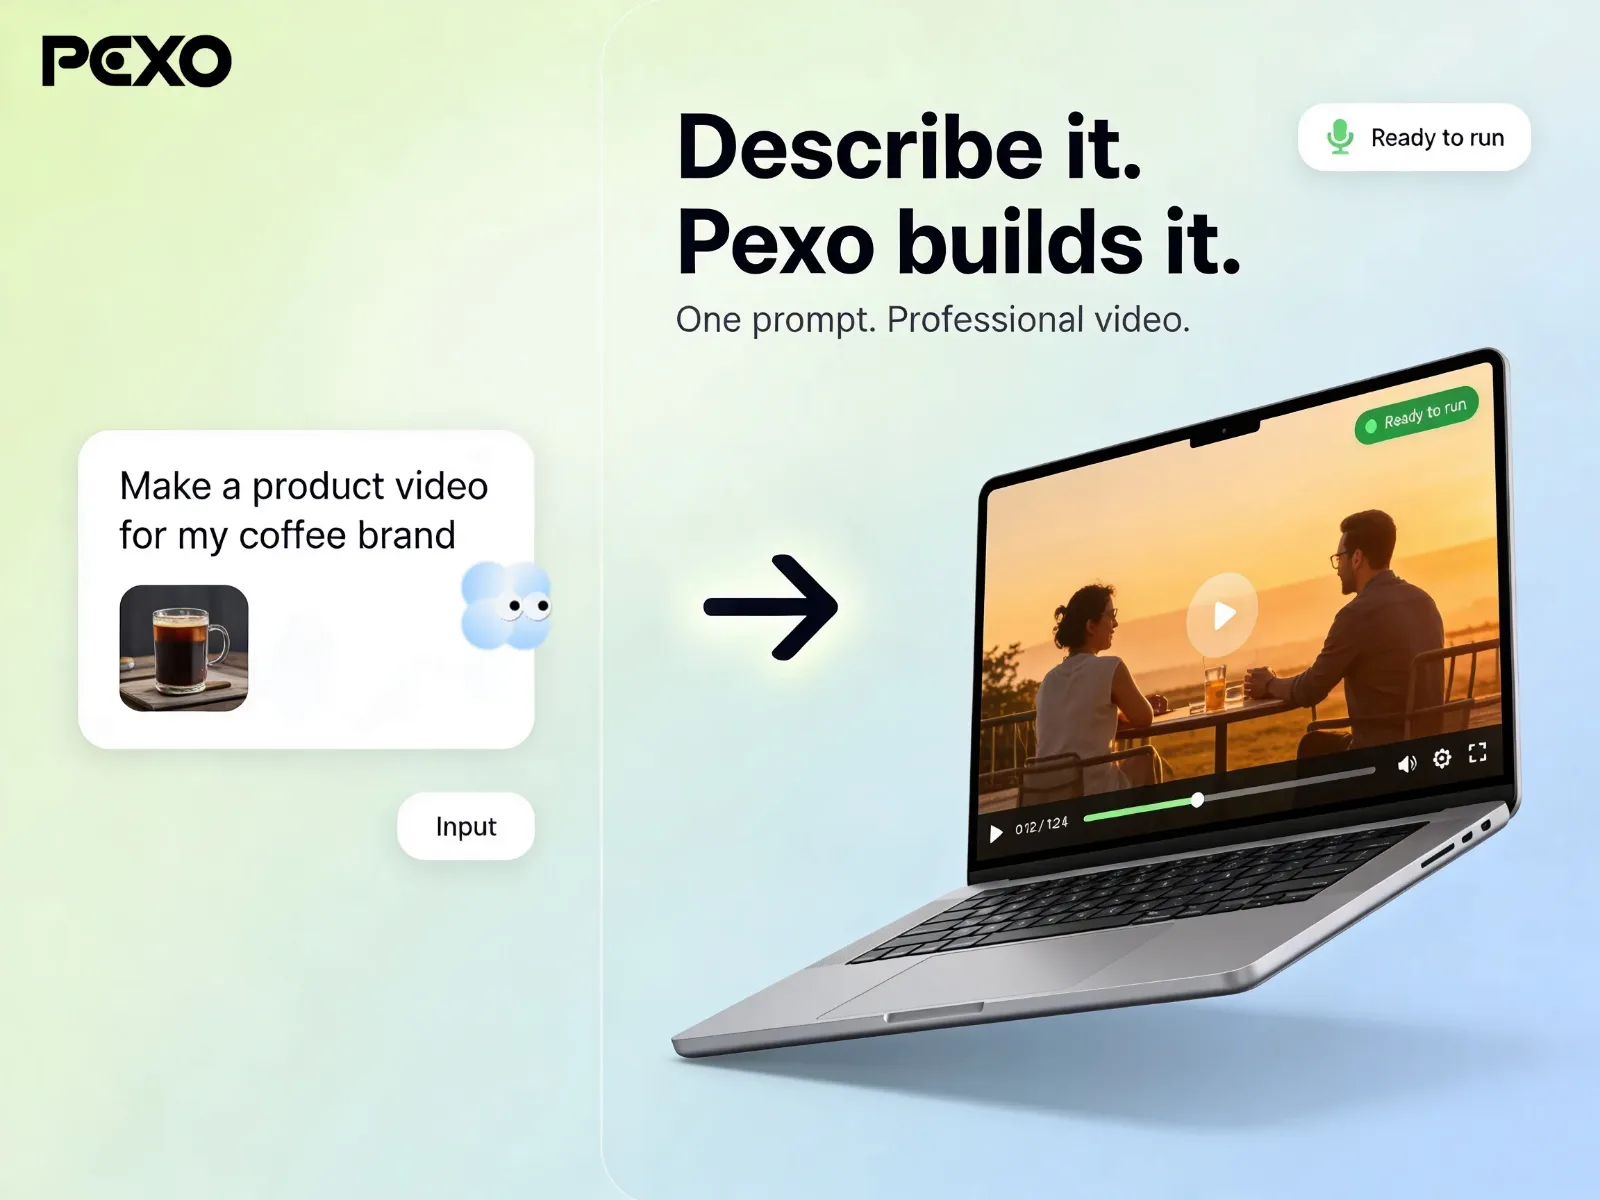
Step 2: Describe the Training Video to Pexo in Plain Language
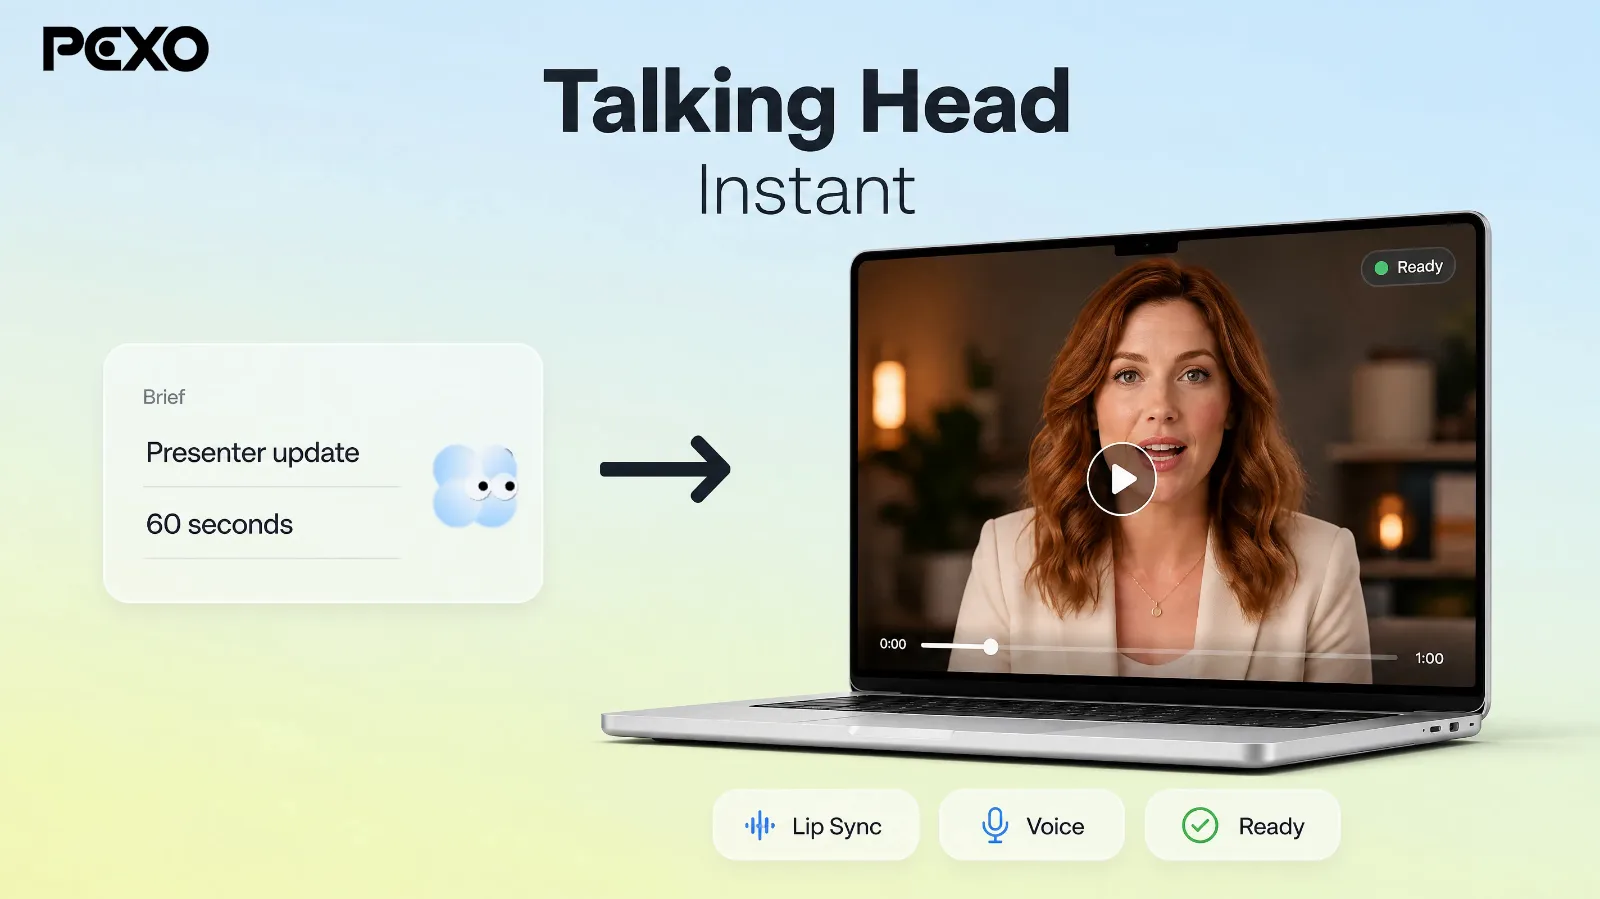
Open Pexo and tell it what you want, the way you would brief a colleague: "Make a 90-second onboarding video that explains how new hires submit a time-off request. Friendly tone, clean corporate look, include our logo." There is no prompt syntax to memorize and no settings panel to configure. Drop your outline, talking points, or a product photo into the same message. You do not have to phrase it perfectly. A rough brief is enough, and Pexo comes back with a proposed structure and a few scene directions you can adjust before anything renders.
 Brief Pexo like a teammate, attach any assets, and it proposes a direction.
Step 3: Review the Plan and Preview, Then Refine by Talking
Before producing the full video, Pexo shows you its plan: a scene-by-scene breakdown with the script, visuals, and pacing it intends to use, plus quick previews. This is where you direct. If scene three drags, say so. If the tone feels stiff, ask for something warmer. Want an on-screen presenter instead of motion graphics? Ask Pexo to add an AI avatar and it routes the scene that way. You are not editing a timeline. You are giving notes and watching Pexo revise.
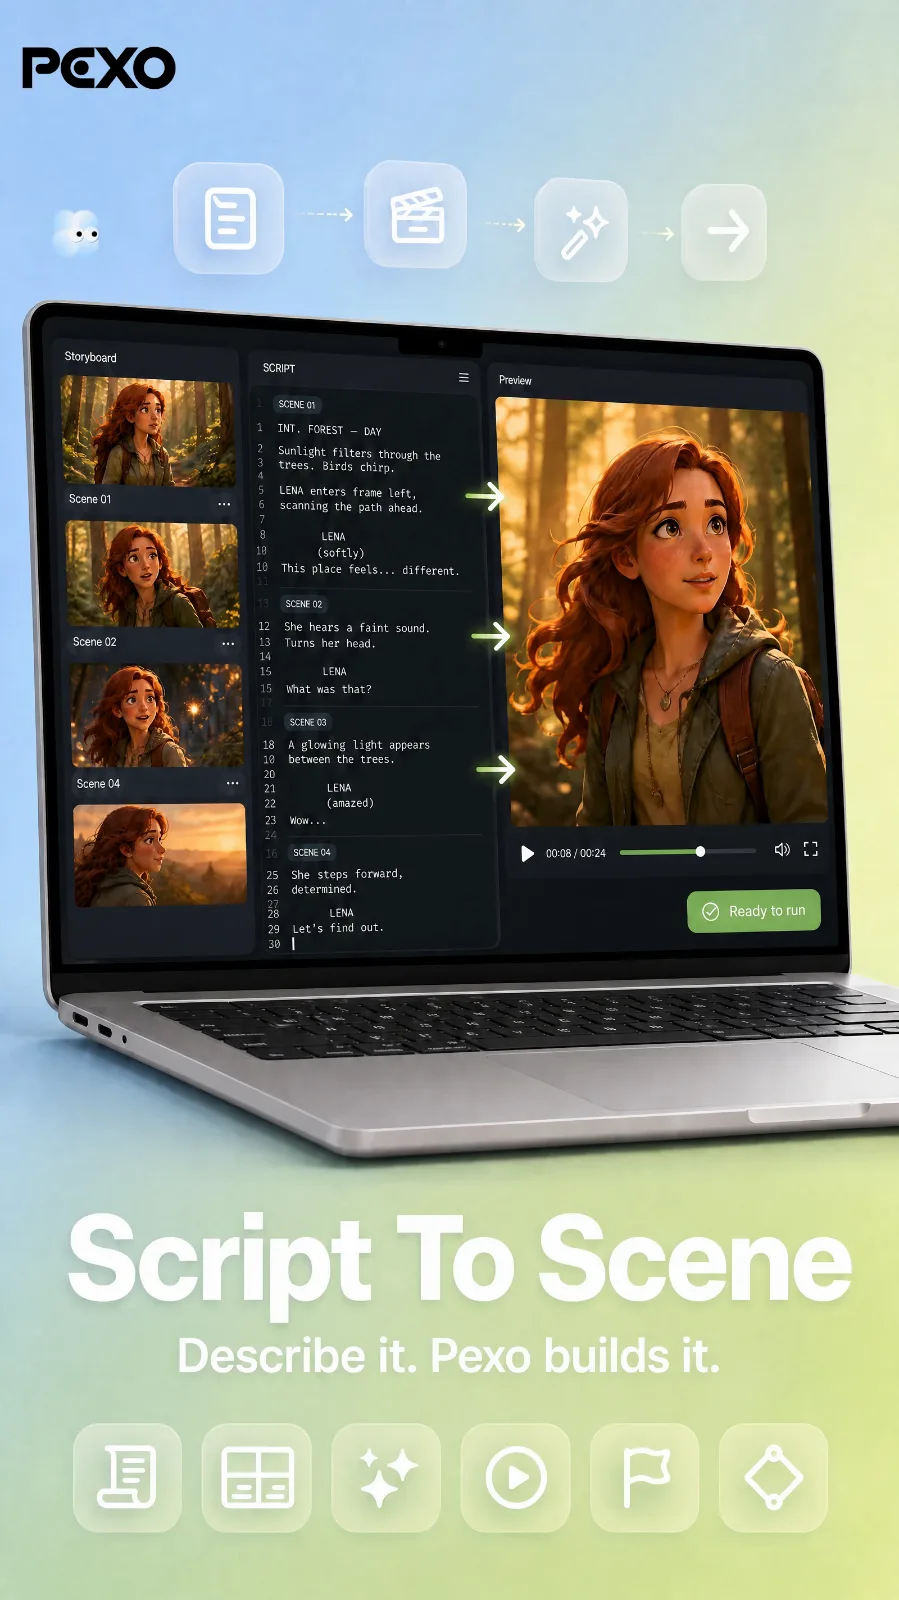 Pexo shows the storyboard, script, and a live preview so you can redirect before it renders.
Step 4: Finalize, Polish, and Export to Share
When the plan looks right, let Pexo produce the full video. It assembles the scenes, adds a voiceover and transitions, and matches pacing to the script, so you get a complete, ready-to-share clip rather than a string of raw shots. Behind the scenes Pexo works with leading video models such as Seedance, Kling, and more, and picks the one that fits your scene, so you never have to compare models yourself. Give the finished video a final watch, request any last changes by describing them, then export and post it to your LMS or YouTube.
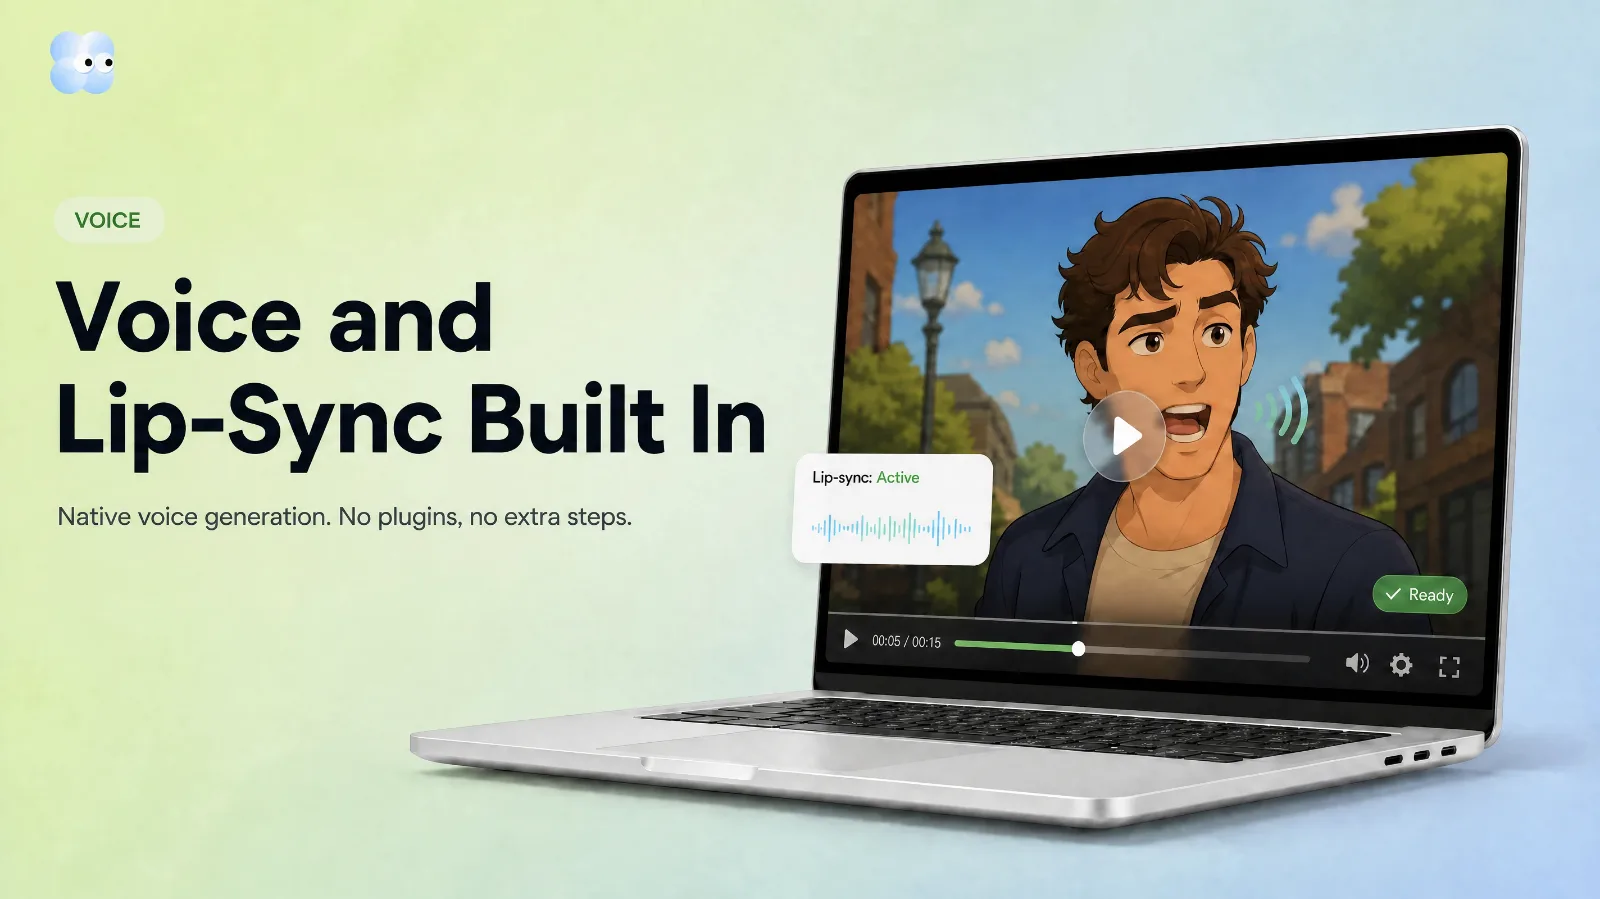 Voiceover and lip sync are built in, so the exported clip is ready to publish.
Common Mistakes to Avoid
A few habits quietly sink training videos. Watch for these before you hit publish.
- Cramming in too much. One video, one objective. Split a long process into a short series instead of a fifteen-minute marathon.
- Burying the point. State what the viewer will learn in the first ten seconds so they know why to keep watching.
- Skipping captions. Many people watch training clips muted at their desk, so on-screen text keeps the lesson legible without sound.
- Writing for the page, not the ear. Long, formal sentences that read fine on paper sound robotic when narrated. Describe the tone you want and read the script aloud once.
- Forgetting the next step. End with what to do next: where to practice, who to ask, or which document to read.
Pro Tips for Better Training Videos
Once the basics work, these lift the quality without adding much effort.
- Keep each video short. Attention drops fast. TechSmith's research finds most people want instructional videos to run under 20 minutes, and tighter, focused clips tend to hold up best, so break longer topics into chapters.
- Use a consistent look across a series. Ask Pexo to match the same style, colors, and presenter so a training library feels like one course, not a pile of one-offs.
- Add a human face when trust matters. For policy or culture topics, an on-screen presenter reads warmer than text over motion graphics.
- Localize by re-describing. Need a Spanish version? Ask Pexo for it instead of re-shooting, because describing the change beats rebuilding from scratch.
- Reuse the workflow for adjacent content. The same describe-and-review loop makes educational videos and product explainers, so your training style carries across formats.
What Else Can You Use
Pexo generates a training video from a description, which is ideal for explainer, onboarding, and concept lessons. For some jobs a different kind of tool fits better, and it is worth knowing where each one shines.
- Loom: a screen recorder for capturing your actual interface. Best when the lesson is a software walkthrough that has to show real clicks on real screens.
- ScreenPal: screen recording plus light trimming, handy for quick how-tos captured from your own desktop.
- Canva: template-based video for laying out slides and stock clips by hand when you want to assemble everything yourself.
Many teams use both approaches: record the screen for the live demo, then let Pexo generate the narrated intro, transitions, and wrap-up around it.
Conclusion
Making a training video no longer means a camera, a studio, or a weekend in an editor. With Pexo you outline one objective, describe the video in plain language, review the plan, and export a finished clip your team will actually watch. The workflow stays the same whether you are onboarding new hires, documenting a process, or refreshing a course each quarter. Describe your next topic and let Pexo build your training video in a single conversation.