You can make an animated explainer video without hiring an animator, booking a studio, or learning a timeline editor. I wanted to see how far a conversational approach could go, so I ran the full workflow in Pexo and screenshotted every step. The clips you will see me build are short brand and product spots I made to test it, but the steps are identical for an explainer, and I will flag the explainer specific choices as we go. Here is the exact workflow, the mistakes I made along the way, and the places where it still falls short.
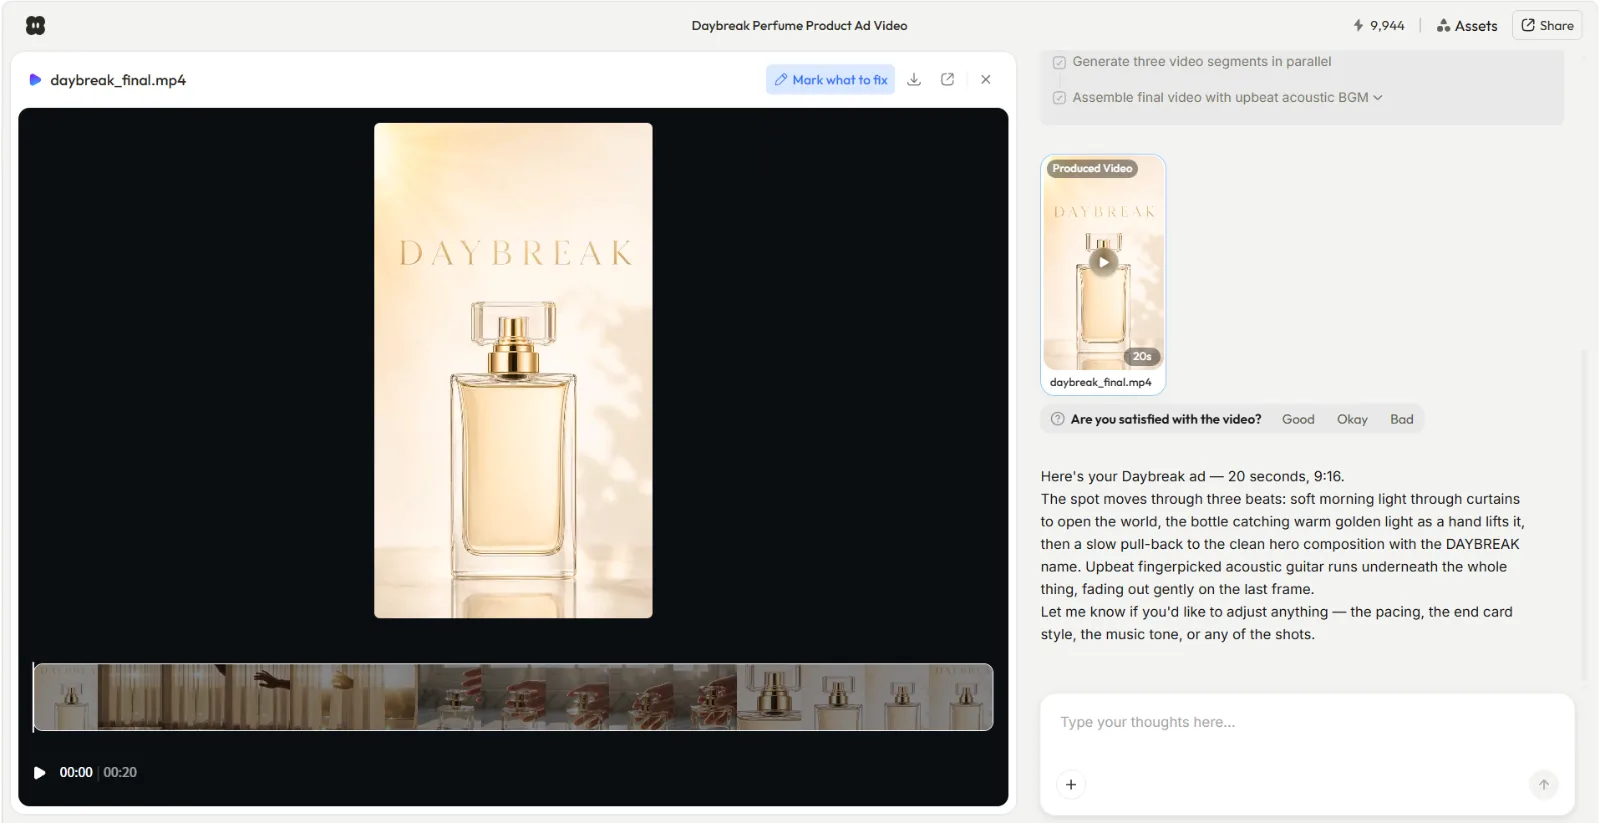 A finished cut in the Pexo workspace, generated from a single paragraph brief.
An animated explainer is mostly a writing job with a production job stapled to the end. Get the message and the script right, and the visuals are the easy part now. So that is the order this guide follows.
What You Need Before You Start
You do not need much, but the two things that matter most are decided before you touch any software.
- One clear message. Not three. The single thing a viewer should understand by the end. If you cannot say it in a sentence, the video will not say it in 60 seconds.
- A tight script. People listen at roughly 150 words per minute, so a 60-second explainer is about 150 words and a 90-second one is about 225. TechSmith's explainer guide is a solid reference on scripting and pacing if you want to go deeper.
- Optional assets. A logo, a product photo, or your brand colors. Helpful, not required.
- A Pexo account. It runs on credits, so each generation and re-roll draws down a balance. Worth knowing before you iterate twenty times.
What Is an Animated Explainer Video?
An animated explainer video is a short video, usually 60 to 90 seconds, that explains a product, service, or idea using motion graphics, illustrated characters, or simple animated scenes instead of filmed footage. It pairs a voiceover or on-screen text with music to walk a viewer through one concept quickly. Because nothing is filmed, you can make one entirely from a script and a few visual cues, which is what makes the conversational workflow below possible.
How to Make an Animated Explainer Video, Step by Step
The whole thing is four steps. You describe what you want, Pexo plans it and checks in, you review the first cut, then you refine until it lands.
Step 1: Open Pexo and Describe Your Explainer
Start on the create home and either type your idea into the box or pick Explainer Videos from the menu underneath it. Write your brief the way you would explain it to a coworker: who it is for, the one takeaway, the length, and the tone. For an explainer that reads like "a 45-second explainer on how a savings app rounds up spare change, calm and friendly, ending on the app name." The screenshot below shows a product brief instead, but the box treats both the same way. No prompt syntax, no settings to configure first. You just describe it.
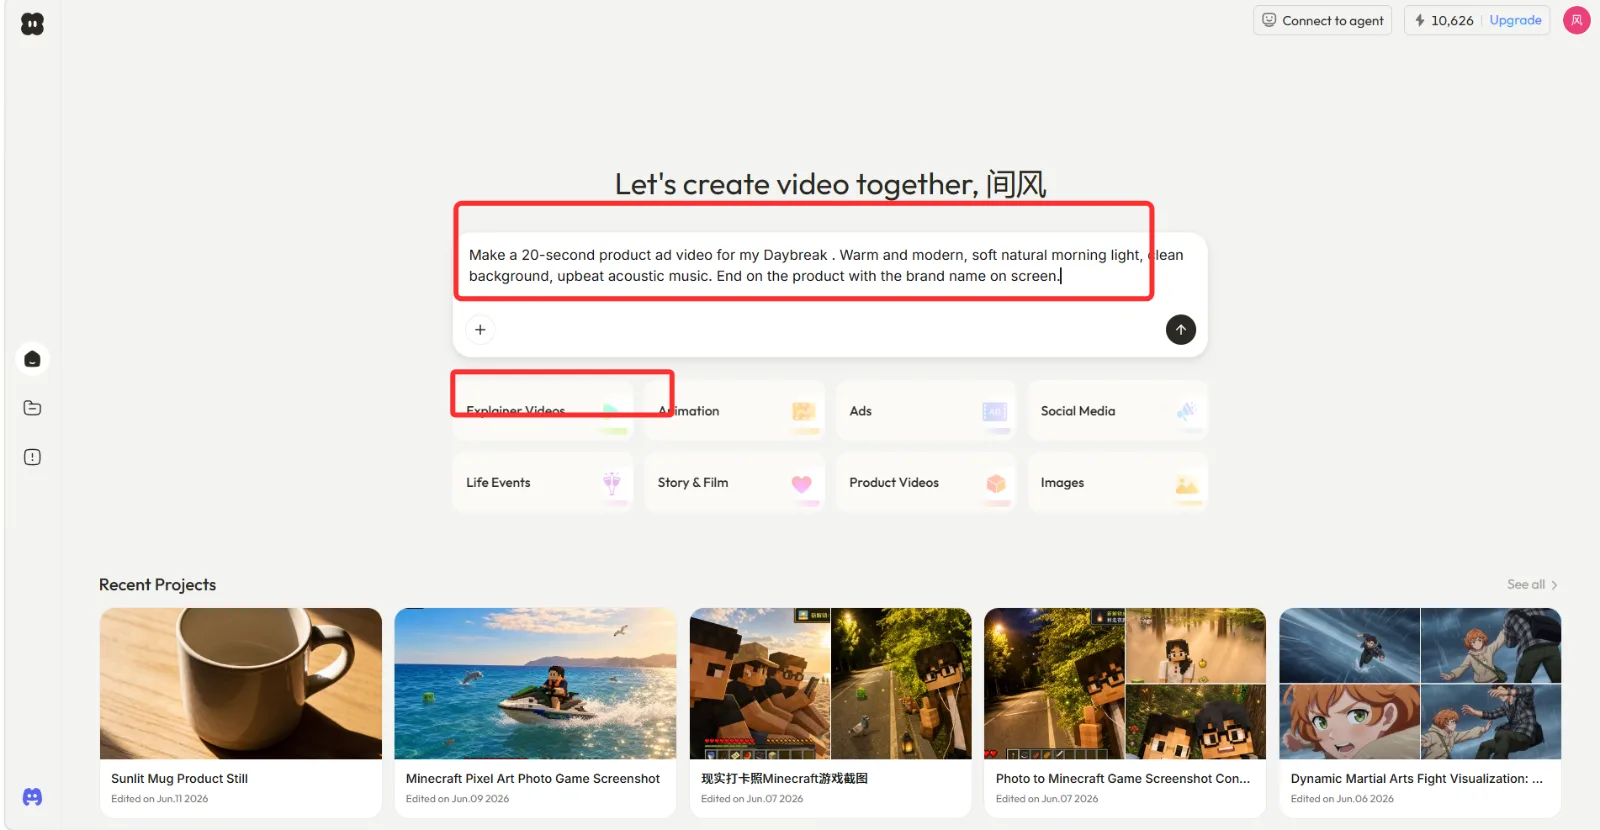 Pexo's create home. Describe the explainer in the box, or pick Explainer Videos from the menu below it.
Step 2: Let Pexo Plan It and Answer Its Question
This was the part that surprised me. Pexo did not start rendering the second I hit send. It read the brief, laid out a short plan, and then asked me one clarifying question before committing to anything. When my brief was vague, it asked what the product actually was and whether I had an image to use. That back and forth is the difference between a guess and a video that matches what was in my head. Answer the question, hand over any asset it asks for, and let it work.
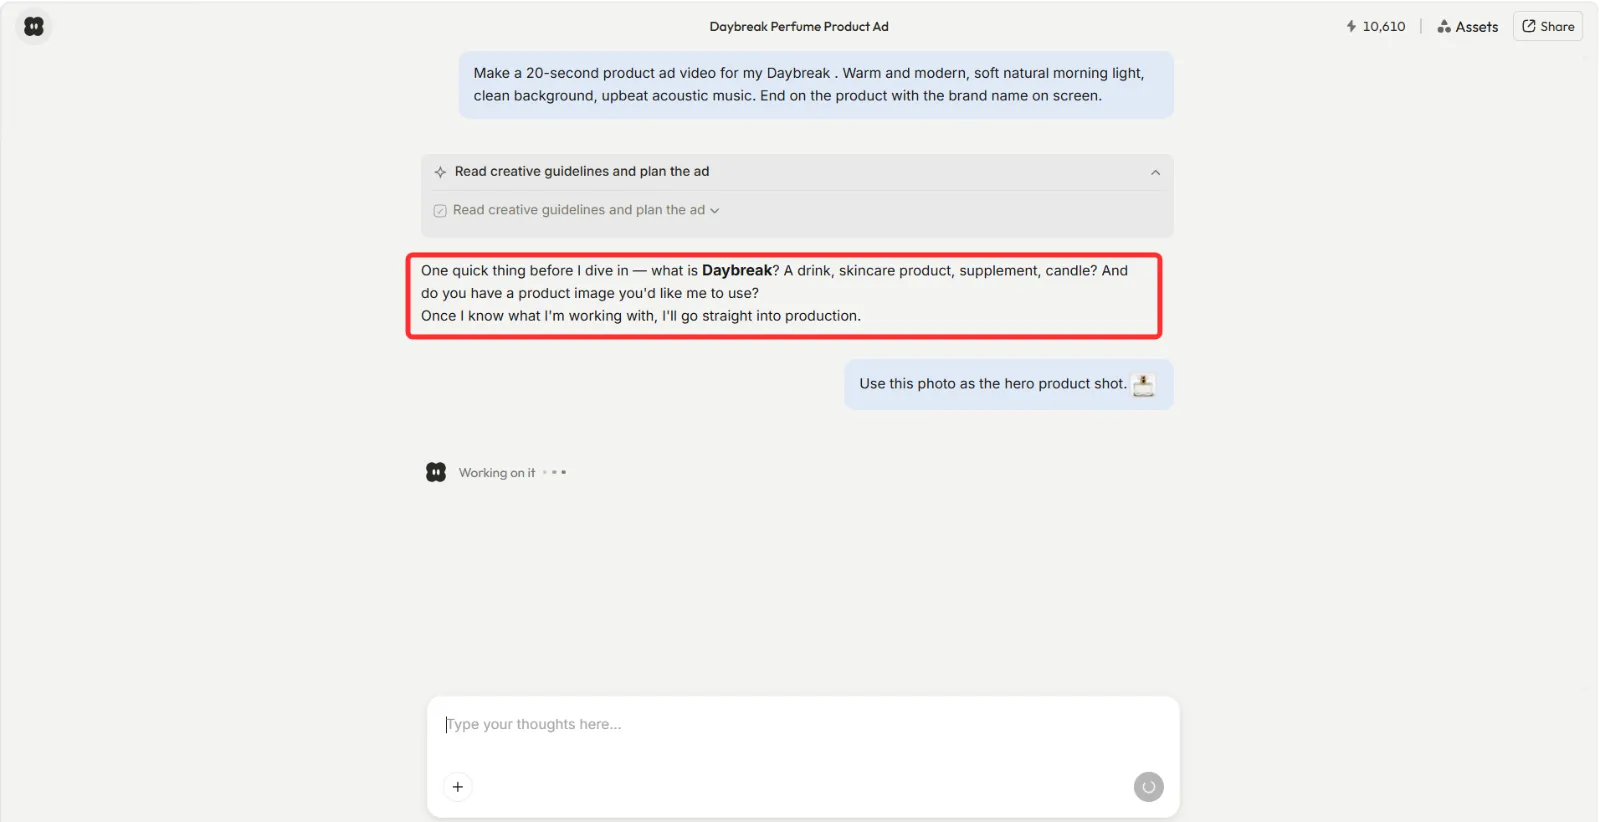 Before it renders, Pexo lays out a plan and asks a clarifying question when the brief leaves room to guess.
Step 3: Review the First Cut
Pexo came back with a finished cut, not a rough storyboard. It plays in the workspace with a scene by scene timeline underneath, so you can scrub through and see exactly which shot covers which line of the script. Treat this as a draft. I watched it twice: once for the message (does a stranger get the point?) and once for the pacing (is any scene too fast to read?). Note what is off before you start changing things.
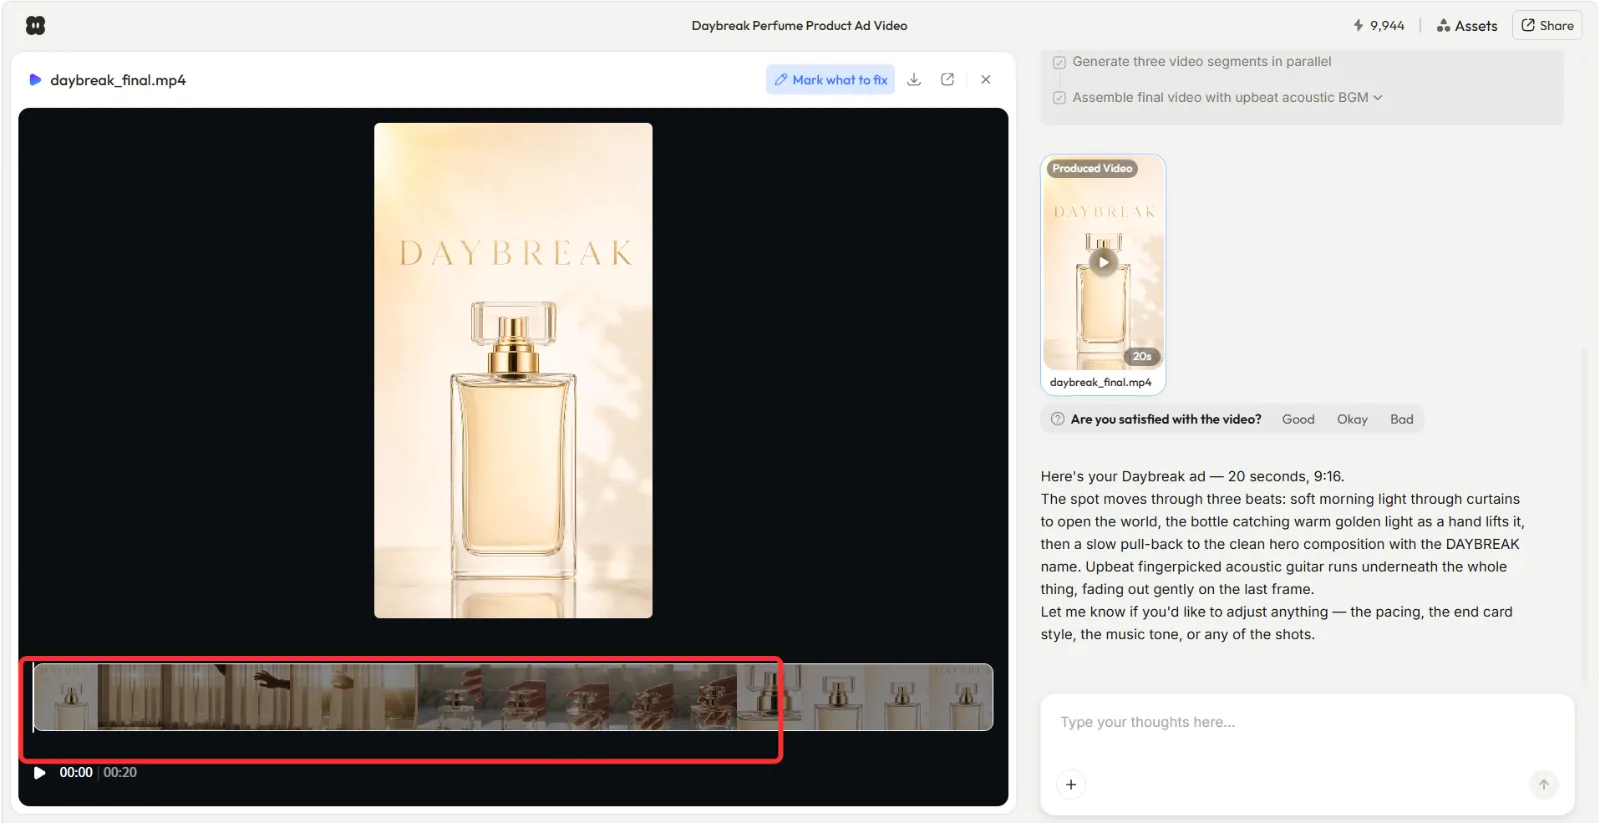 The first cut comes back with a scene by scene timeline you can scrub and replace shot by shot.
Step 4: Refine, Then Export
Every cut comes back with a simple Good, Okay, Bad rating and a short list of concrete refine suggestions, like adjusting the mood, adding ambient sound, or dropping in a text card. You trigger changes by replying in the chat, the same way you briefed it. I changed one thing at a time: tightened the pacing first, then swapped the music, then added an end card with the brand name. When it looked right, I exported. Pexo works with several underlying models, including Seedance, Sora, Kling, and more, and picks one for the job, so you are steering the result rather than choosing an engine.
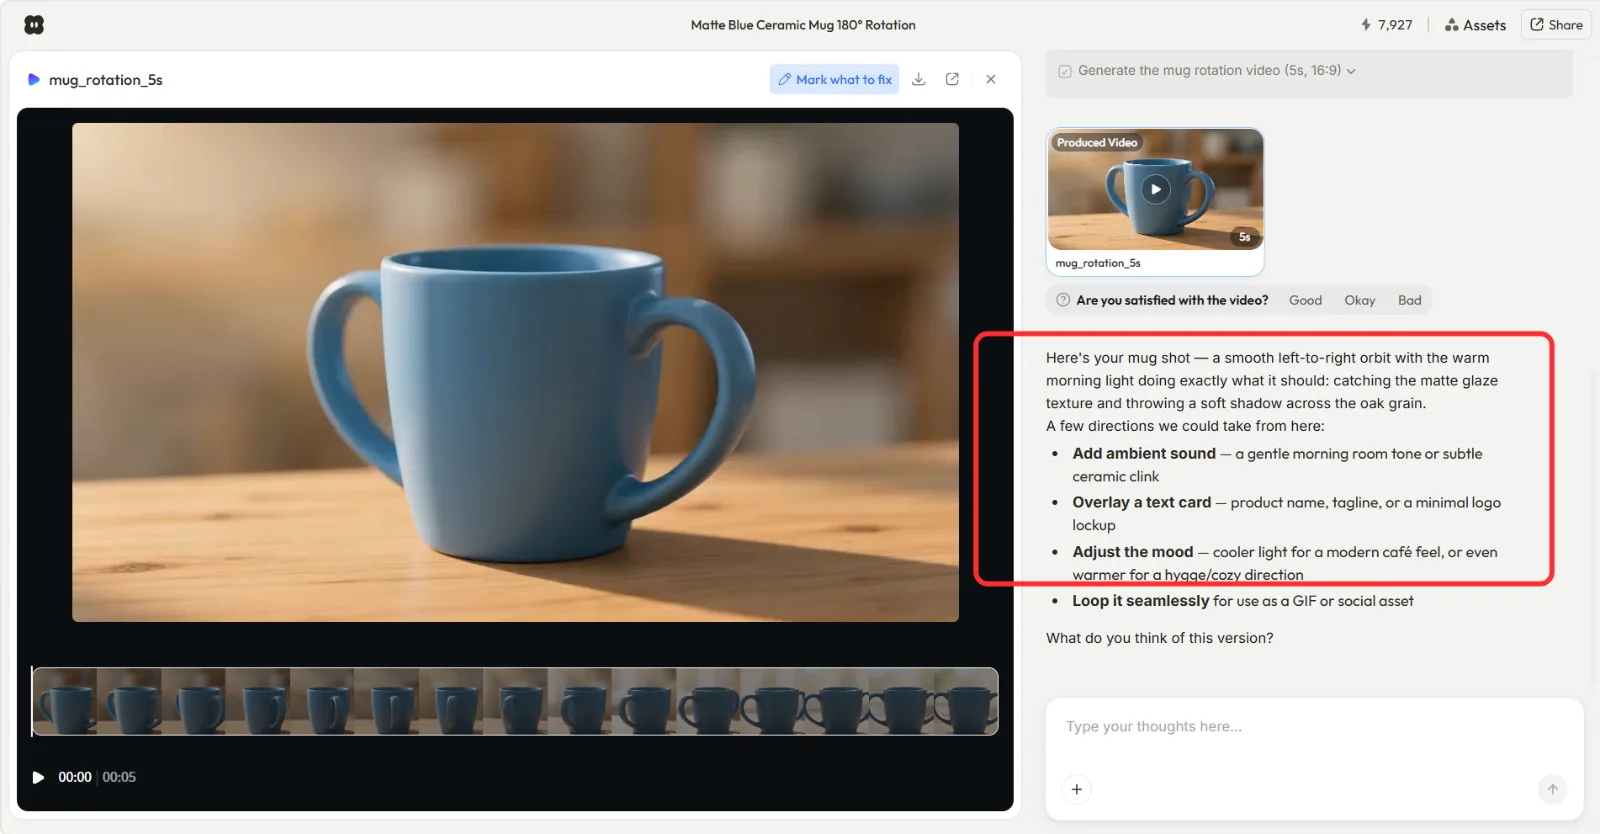 Every cut returns with Good, Okay, Bad and concrete refine suggestions you trigger by replying in the chat.
Common Mistakes I Made (and How to Avoid Them)
A few of these cost me a re-roll or two before I caught them.
- Explaining everything. My first script listed five features. The cut felt like a brochure read aloud. Pick one job-to-be-done and cut the rest. An explainer that explains one thing well beats one that mentions everything badly.
- Writing too much. I wrote 240 words for a 60-second video. At 150 words per minute that is a 96-second read crammed into 60, so the voiceover raced. Write to the clock, then trim 10 percent more.
- Briefing too vaguely. When I gave a thin brief, the result was generic, and Pexo had to stop and ask (Step 2). A specific brief up front saves a round trip.
- Accepting the first cut. The first version is a draft, not the answer. The refine pass is where a decent explainer becomes a good one, and skipping it is the most common way people end up disappointed.
Pro Tips for a Sharper Explainer
These are the things that moved the needle most for me.
- Open on the problem, not the product. The first five seconds should name the viewer's pain, not your features. Attention is earned before it is spent.
- Read the script aloud with a timer before you brief anything. Your ear catches clumsy lines and overruns that your eye skips.
- Hand Pexo a visual metaphor. Instead of "show growth," ask for something concrete like "a jar slowly filling with coins." Concrete imagery gives the animation something to hold onto.
- Bring your own voiceover if the voice matters. A generated narrator is fine for a draft, but if you need an exact brand voice, record the narration yourself and bring the audio in. Pexo accepts audio as an input, so you are not locked into a synthetic read.
Where This Approach Falls Short
Being honest about the limits, because a conversational workflow is not the right tool for every explainer. You steer by describing and re-rolling, not by keyframing, so if you need frame-exact timing, a rigged brand mascot, or pixel-level control over every transition, a manual tool like After Effects or Vyond will give you more command (and take far longer). Generated voiceovers can also miss a specific brand voice, which is why I bring my own audio when precision counts. And because it is credit-based, heavy iteration has a real cost, so it pays to get the script tight before you generate rather than fixing everything in re-rolls.
What Else You Can Use
If the conversational route is not your fit, a few well-known tools cover the same job from different angles.
- Powtoon: template and drag-and-drop based, with a large library of animated characters and scenes. Good when you want to assemble from presets yourself.
- Animaker: character-heavy animation with a long catalog of styles, suited to people who want manual control over each scene.
- Canva: quick and familiar if you already design in Canva, with explainer templates you can edit in the browser.
Conclusion
Making an animated explainer video used to mean a brief, a quote, and a two-week wait. The four steps here collapse that into an afternoon: write one clear message, describe it, review the first cut, and refine until it lands. The script still does most of the work, so spend your time there. When you are ready to build one, the fastest path is to open Pexo, pick Explainer Videos, and just describe the video you want.