ChatGPT
 Perplexity
 Claude
 Gemini
 Grok
Grok

UPDATED: 2026-08-13
To make videos with Codex using Grok 4.6, install the Pexo skill into OpenAI Codex, point Codex at Grok 4.6 as its backend model, then describe the video you want in plain language. Codex plans and dispatches the job, and the Pexo skill generates and edits a finished clip. Grok 4.6 reasons, Codex orchestrates, and Pexo makes the video.
There is no "make video" button inside Codex, and Grok 4.6 does not render footage either. Keeping that split straight is the whole trick: Grok 4.6 is xAI's reasoning model, Codex is the coding agent that runs commands, and Pexo is the installable skill that adds video generation. Grok 4.6 shipped on August 12, 2026 as xAI's frontier model for long-running agents, it speaks the OpenAI API format, and that compatibility is exactly why it drops into Codex as a backend. This guide walks the five steps end to end, in about 15 minutes once your keys are in place.
How to make videos with Codex using Grok 4.6: the quick version
- Install OpenAI Codex — run
codexonce so it writes~/.codex/config.toml. - Point Codex at Grok 4.6 — add an xAI provider block with your
XAI_API_KEYand modelgrok-4.6. - Install the Pexo skill — run
npx skills add https://github.com/pexoai/pexo-skills --skill pexo-agent. - Describe the video — type a plain-language brief; Codex plans on Grok 4.6 and the Pexo skill renders.
- Iterate and export — request changes, pick 16:9, 9:16, or 1:1, and download the finished video.
The five steps in full
Step 1: Install and launch OpenAI Codex once
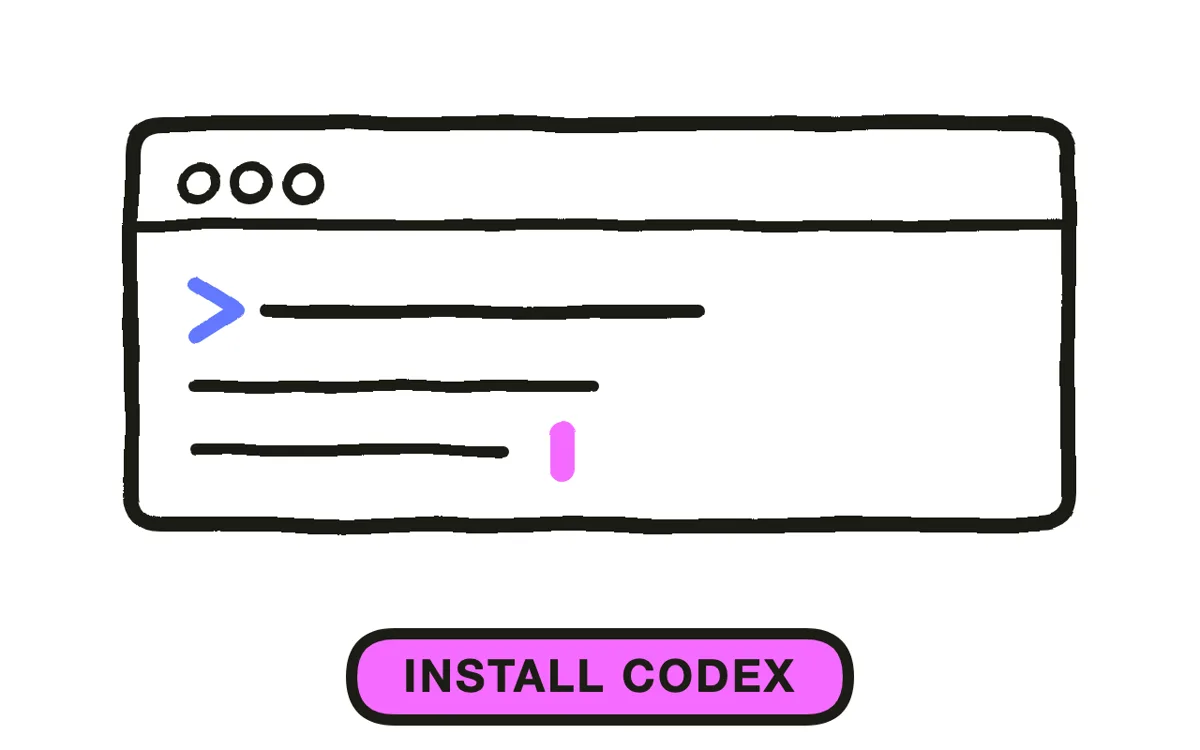
Install OpenAI Codex and run it a single time so it creates its config file. Install the CLI with npm install -g @openai/codex (or use the official installer for your platform), then run codex in a terminal once. That first launch writes ~/.codex/config.toml on macOS and Linux, or %USERPROFILE%\.codex\config.toml on Windows, which is the file you edit in the next step. Keep in mind that Codex is a coding agent that writes and runs commands, not a video engine, so this install gives you the orchestrator, not the generator.
Step 2: Point Codex at Grok 4.6 as the backend model
Point Codex at Grok 4.6 by adding an xAI provider to ~/.codex/config.toml. Create an API key in the xAI console, then set it in your shell with export XAI_API_KEY=xai-... (setx XAI_API_KEY xai-... on Windows). Add this block to the config:
model = "grok-4.6"
model_provider = "xai"

[model_providers.xai]
name = "xAI"
base_url = "https://api.x.ai/v1"
env_key = "XAI_API_KEY"
Launch codex again and the startup banner should read model: grok-4.6. If Codex reports a /responses 404 instead, see the pitfalls below — xAI's endpoint is chat-style, so you route it through an OpenAI-compatible gateway.
Step 3: Install the Pexo skill into Codex
Install the Pexo skill into Codex so the agent can actually generate video. Run npx skills add https://github.com/pexoai/pexo-skills --skill pexo-agent, then add your Pexo credentials when the skill prompts for them. This is the layer that does the rendering: Codex and Grok 4.6 handle the reasoning and command execution, and the Pexo skill turns the plan into finished footage. Pexo is an installable skill you add to Codex, not a feature built into Codex or xAI, so this step is what unlocks video output in the first place.
Step 4: Describe the video you want in plain language
Describe the video you want to Codex in plain, conversational language. Type a brief such as: "Make a 20-second vertical promo for a cold-brew coffee brand, upbeat, with a voiceover and background music." Codex, reasoning on Grok 4.6, plans the job and dispatches it to the Pexo skill. Pexo auto-routes each shot across models like Seedance 2.0, Kling AI, and more, layers in voiceover, music, and Foley sound effects, and assembles a coherent cut. You do not write model prompts or open an editing timeline — you describe the outcome and Pexo builds it.
Step 5: Iterate on the result, then export
Review the first cut, ask Codex for changes in the same conversation, then export. Tell it what to fix in plain language — "make it shorter", "swap the opening shot for the product close-up", "add captions" — and the Pexo skill re-renders the affected parts. When the cut is right, choose your aspect ratio (16:9 for YouTube, 9:16 for Shorts and TikTok, or 1:1 for feed posts) and download the finished video. Because the whole loop runs inside Codex, you iterate by conversation instead of re-editing in a separate app.
How to get more out of the Pexo skill in Codex
Once the workflow runs, the Pexo skill is where the quality lives, and it repays knowing what it can do beyond a single line. Pexo works from more than text: you can hand Codex an image, a URL, an audio file, a PDF, or a slide deck and ask for a video built from it, which helps when you already have source material and do not want to start from a blank brief. Under the hood it draws on capabilities like text-to-video and script-to-video, so a rough outline or a finished script both become valid starting points.
The multi-model routing is the point. Instead of committing to one generator, Pexo spreads shots across Seedance 2.0, Kling AI, and more, and chooses per shot, so you get breadth without picking models yourself and without switching apps. To see the entry point the skill mirrors, the social media video use case shows the same description box and preset chips you drive through Codex.
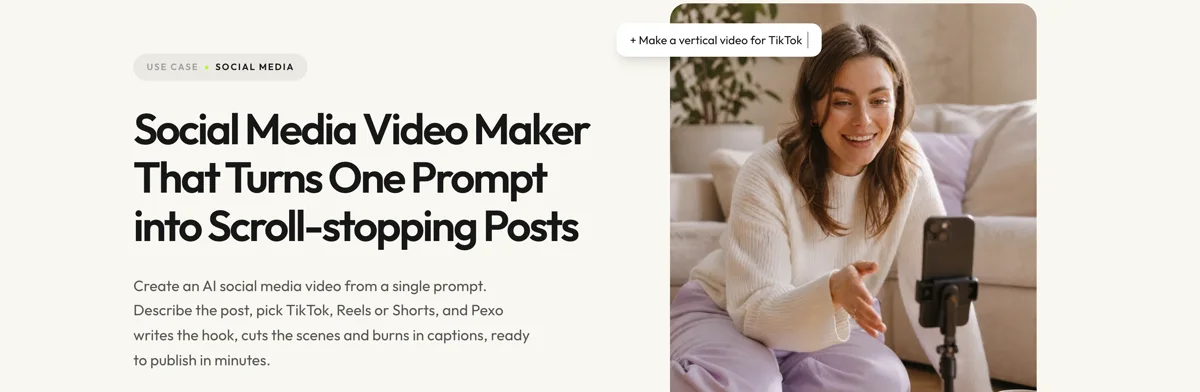
Because everything happens inside Codex, you never leave the agent to make the video: no separate account tab, no export-and-reimport shuffle. That single-surface loop — describe in Codex, get a finished video back — is what separates this from wiring a video API into your own script by hand.
Common pitfalls
- Expecting Codex or Grok 4.6 to render the video themselves. They plan and reason; only the Pexo skill generates footage. If you skip Step 3, Codex has no video capability to call and the job stalls — install the Pexo skill and let it handle generation.
- The banner still shows the default model. If
codexdoes not printmodel: grok-4.6, you probably put the provider block in a project-level.codex/config.toml, where Codex ignoresmodel_providerfor safety. Move the block to~/.codex/config.toml. - Codex returns a
/responses404. xAI's API is OpenAI-compatible on the chat-completions side, while Codex prefers the Responses API. Route Grok 4.6 through an OpenAI-compatible gateway — OpenRouter, an official Grok 4.6 partner, or a local LiteLLM proxy — and match thewire_apisetting to whatever that gateway serves. - Reusing the reserved provider id.
openaiis a built-in id Codex will not let you override, so name your block something unique likexai. - Hard-coding the key. Do not paste your xAI key into
config.toml; setenv_key = "XAI_API_KEY"and keep the secret in your shell environment.
Related tutorials
- How to make videos with OpenAI Codex — the same skill running on Codex's default model.
- How to make videos with Codex using DeepSeek V4 Flash — the same workflow on a different backend model.
- How to make videos with Claude Code — the Claude Code version of this setup.
- How to make videos with Claude Code using Fable 5 — swapping the backend model inside Claude Code.
Start making videos with Codex using Grok 4.6
The setup is a one-time cost: install Codex, point it at Grok 4.6, add the Pexo skill, and from then on every video is a conversation. Grok 4.6 handles the planning, and Pexo turns the plan into a finished cut with no timeline to operate and no model prompt to engineer. Open the social media video workspace and describe your first video.