If you searched "Pictory tutorial," you almost certainly have a script sitting in a doc and you want a video out of it by the end of the day. I do this several times a week, and the fastest route I have found is Pexo, the AI video partner that turns a script into a finished clip through a single conversation. No prompts, just talk. You describe what you want in plain words, with no prompt box to engineer and no timeline to babysit, and Pexo builds it.
This guide covers the whole script to video job in four steps. I will show it inside Pexo because it skips the storyboard and the scene list completely, and I will be straight about the one job where Pictory is the better tool, not mine. Last week I turned a 20 second perfume ad script into a posted 9:16 video in about the time it takes to read this section, so let me walk you through exactly how.
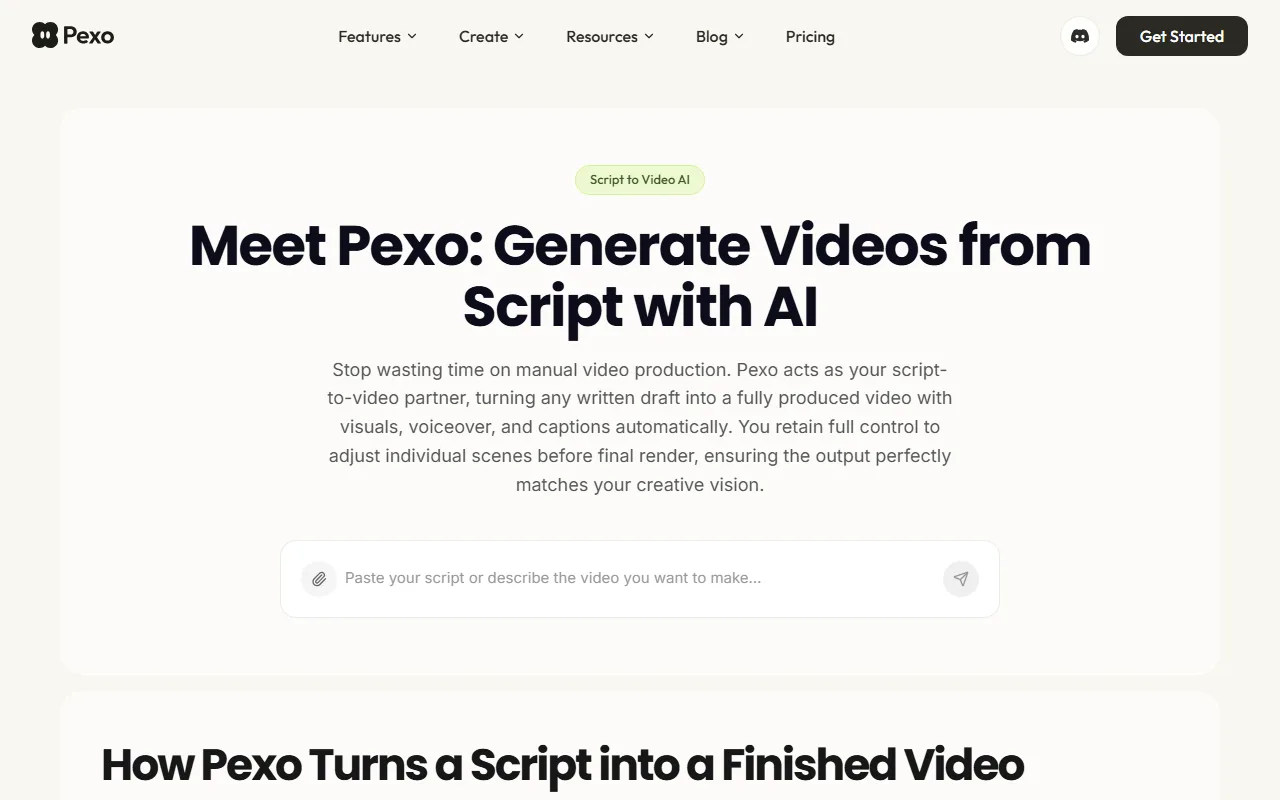 Pexo turns a written script into a fully produced video from one input box, no timeline required.
What Pictory Does (and the Faster Way I Use)
Pictory is a script to video platform. The flow is straightforward: you paste a written script, click generate, and its AI breaks the text into scenes, matches each line to stock footage from a library of more than 18 million assets, and adds an AI voiceover in one of 20+ languages plus automatic captions. You then review the result scene by scene on a storyboard, swap any clips or edit the captions, and export. Pictory also does URL to video, image to video, and transcription based editing that trims filler words out of an existing recording. Plans run from about $19 to $99 per month depending on how many video minutes you need, per Pictory's published pricing. It is a genuine workhorse for stock footage explainers.
The catch is the workflow. Even the smoothest script to video tool still hands you a storyboard, a scene by scene panel, and a timeline you have to babysit before you export. Pexo removes that whole layer. You describe the video the way you would text a friend, Pexo picks the right model and assembles the cut, and you steer it in plain language. If you want to compare the two head to head later, start your first one at Pexo's script to video page and feel the difference for yourself.
What You'll Need Before You Start
You need three things, and none of them is editing experience. First, your script or even a rough outline; if all you have is a product page, Pexo can also work from a blog post or URL instead of a script. Second, any visual assets you want featured, like a product photo or a logo; if you do not have a still yet, you can generate one inside Pexo with its text to image feature and bring it straight into the video without leaving the app. Third, a target format in mind, usually 9:16 for TikTok and Reels, 1:1 for feed posts, or 16:9 for YouTube.
That is the entire prep. Open Pexo, have your script and one image ready, and you are set to start.
How to Turn a Script Into a Video, Step by Step
Here is the full script to video workflow. I will use a real example throughout: a 20 second, 9:16 product ad for a perfume called Daybreak. Every step happens inside one Pexo conversation.
Step 1: Paste Your Script Into Pexo
Open Pexo and drop your script straight into the chat box, or describe the video if your script is still loose. There is no project setup, no template gallery to wade through, and no blank prompt field staring back at you. Pexo reads the script, picks up the intent, and gets to work. You can also pick a starting lane like Ads, Social Media, or Product Videos from the home screen if you want a nudge in the right direction.
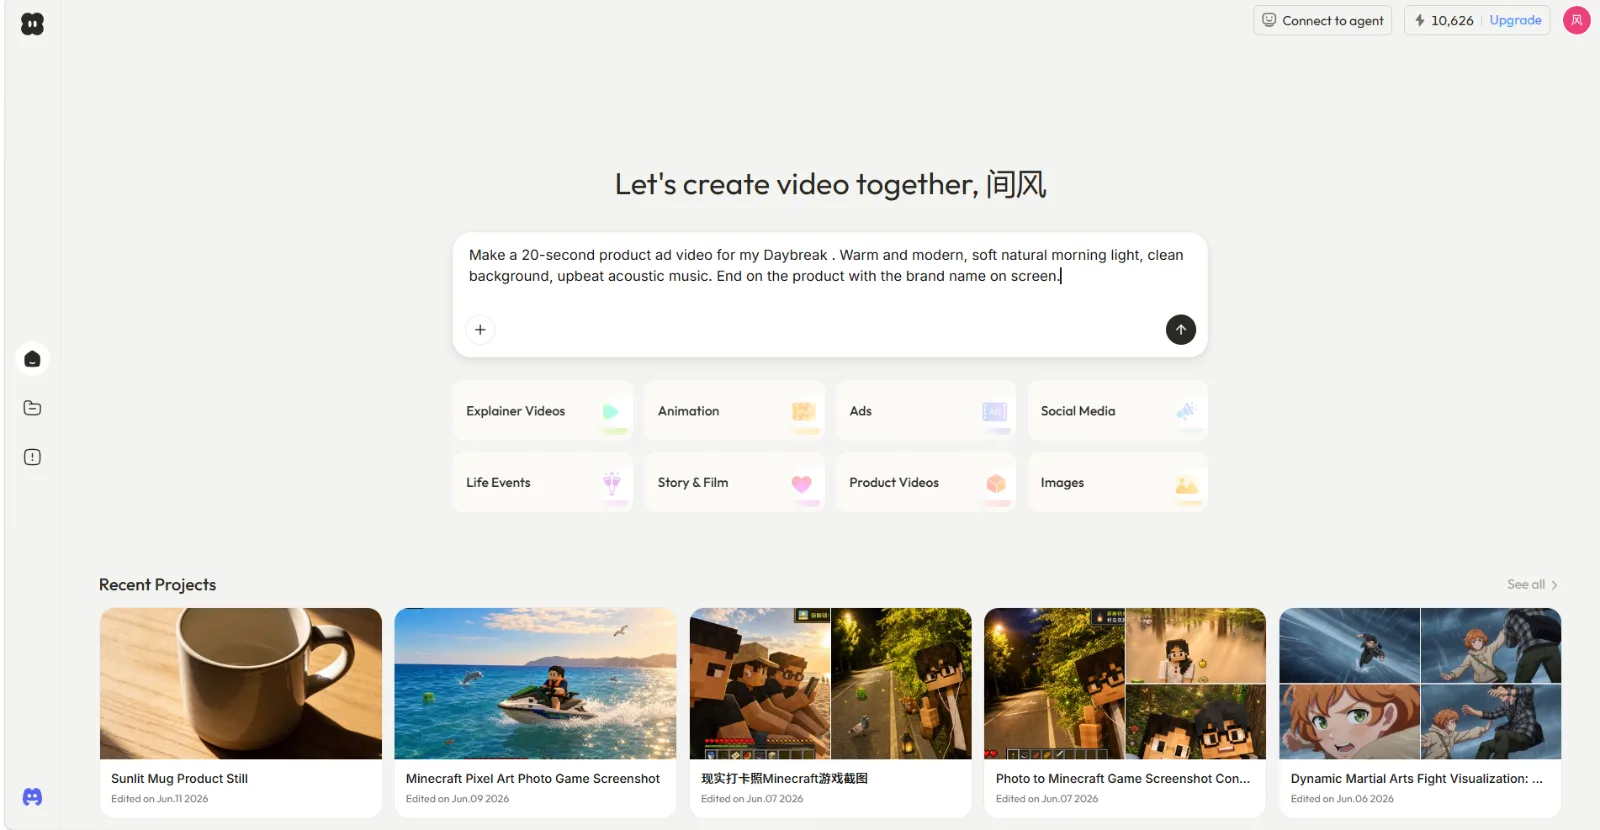 Paste the script or describe the idea in one line, then let Pexo take it from there. Ready to try it? Open Pexo's script to video tool.
Step 2: Describe the Look in Plain Words
Now tell Pexo the vibe in normal sentences: "Make a 20 second product ad for my Daybreak perfume. Warm and modern, soft natural morning light, clean background, upbeat acoustic music. End on the product with the brand name on screen." No prompt syntax, no parameters. Pexo thinks with you rather than waiting for commands, so it will read your creative guidelines, plan the ad, and ask a smart question back, like what exactly the product is or whether you want to attach a hero photo.
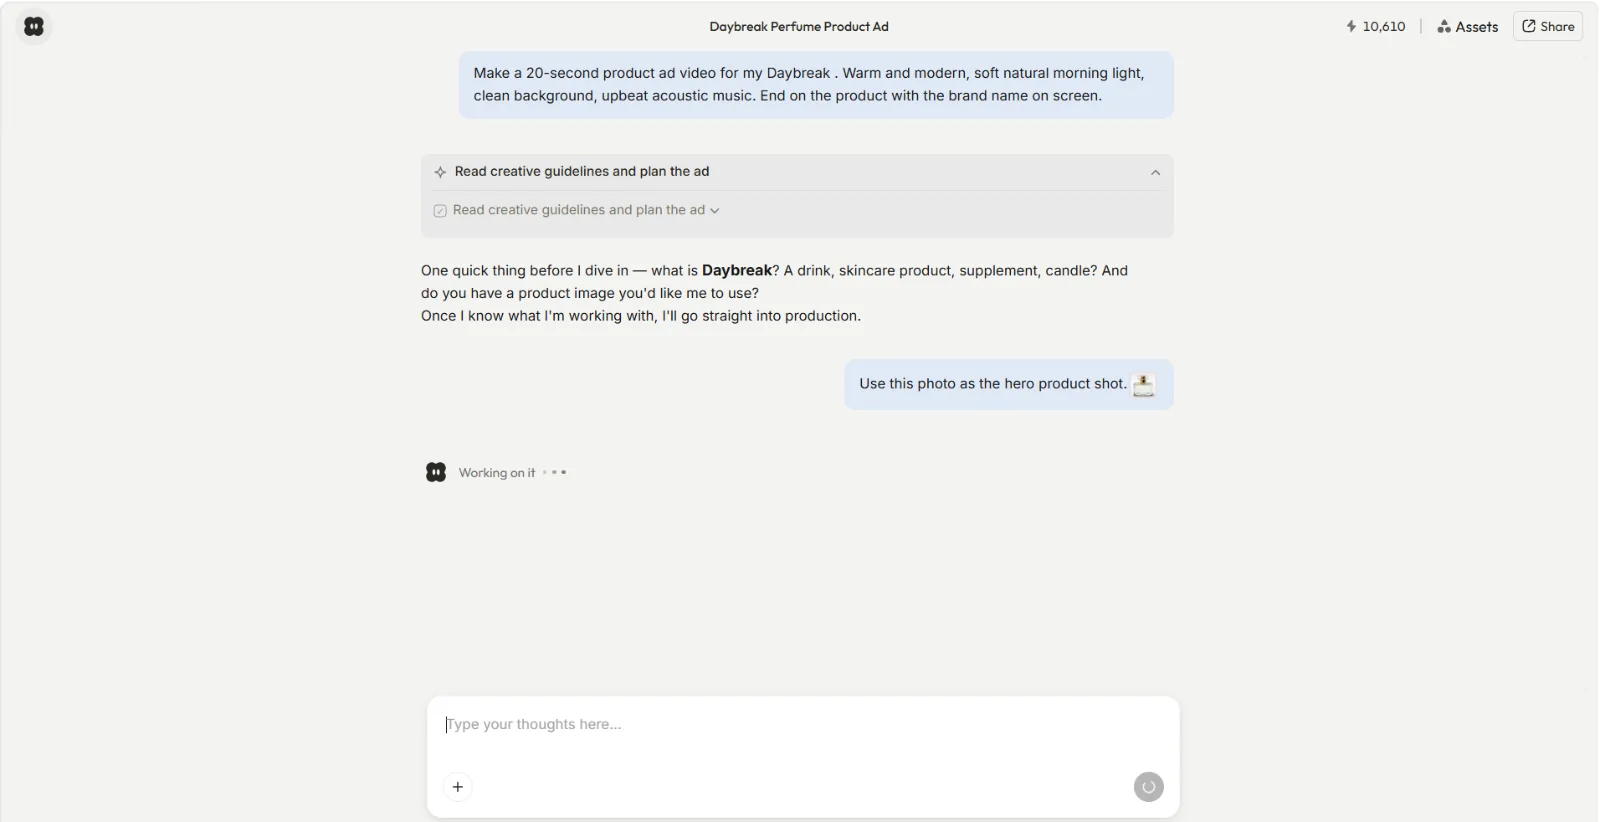 Pexo plans the ad and asks the right question before it builds, the way a creative partner would.
Step 3: Review the Preview and Redirect
Pexo shows its work. Before any full render, it plays back the cut and asks whether you are happy with this version, with Good, Okay, and Bad buttons plus a short list of suggested directions you can take, such as adjusting the mood, overlaying a text card, or looping a section. You do not open an editor to change anything. You just say what to change in the chat, like "make the opening two seconds slower" or "warmer color on the last shot," and Pexo reruns that piece. You can jump around freely and reroll any section without restarting.
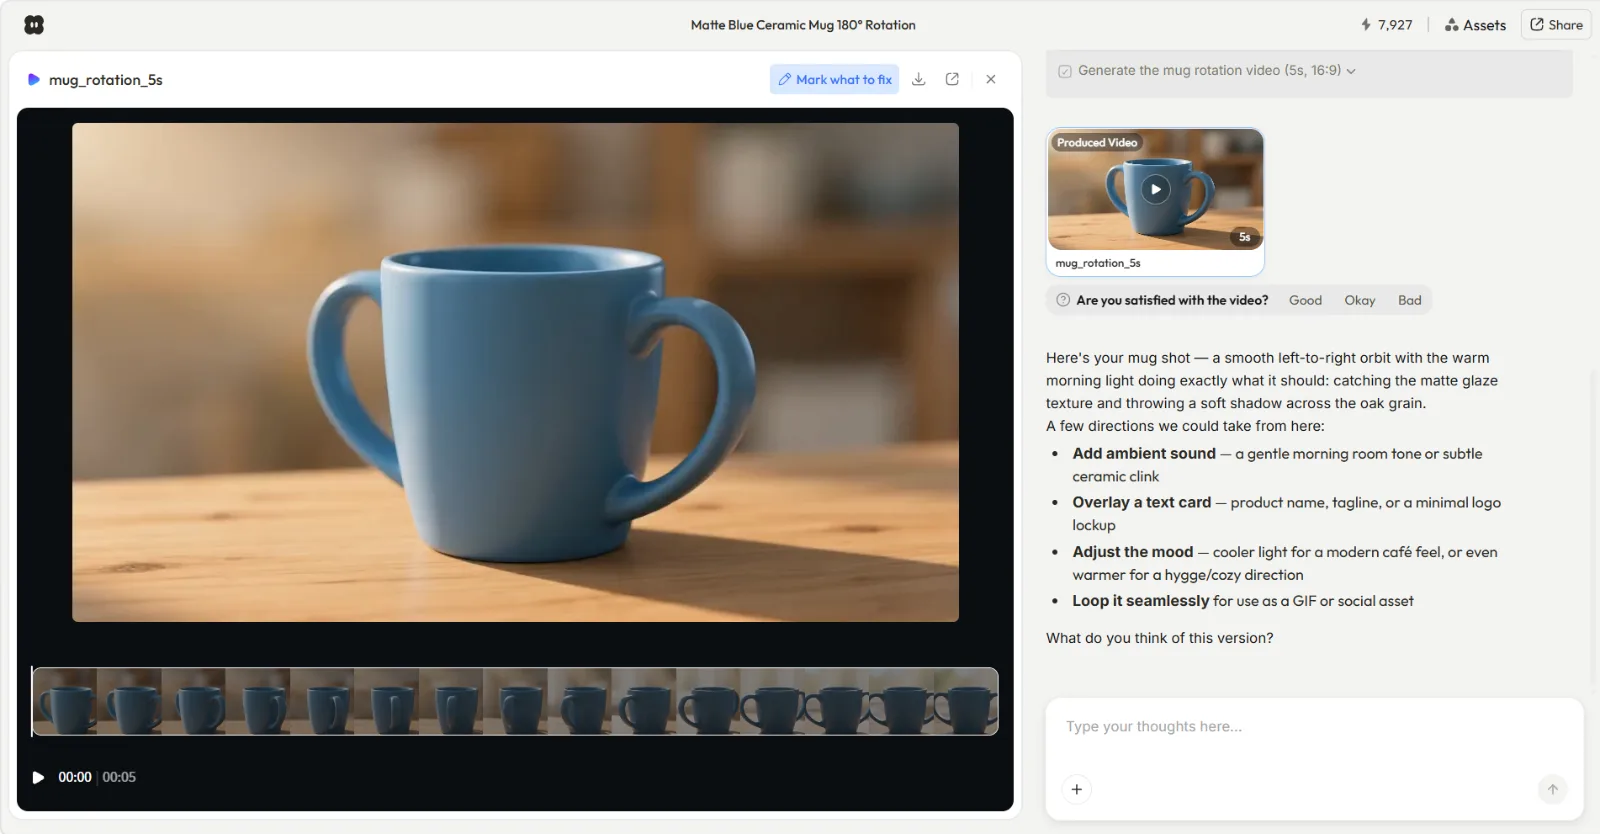 Every version comes back like this: a preview, a yes or no, and plain language directions you can take. No timeline to learn.
Step 4: Export and Post Your Video
When the cut looks right, Pexo hands you the finished video, fully produced with visuals, voiceover, soundtrack, and pacing already in place. My Daybreak ad came back as a complete 20 second, 9:16 file with the brand name on the closing card, ready to download and post. There is no separate export and render dance and no stitching scenes together by hand. From here it goes straight to your feed, or you can ask Pexo for a matching social media cut in a different aspect ratio for another platform.
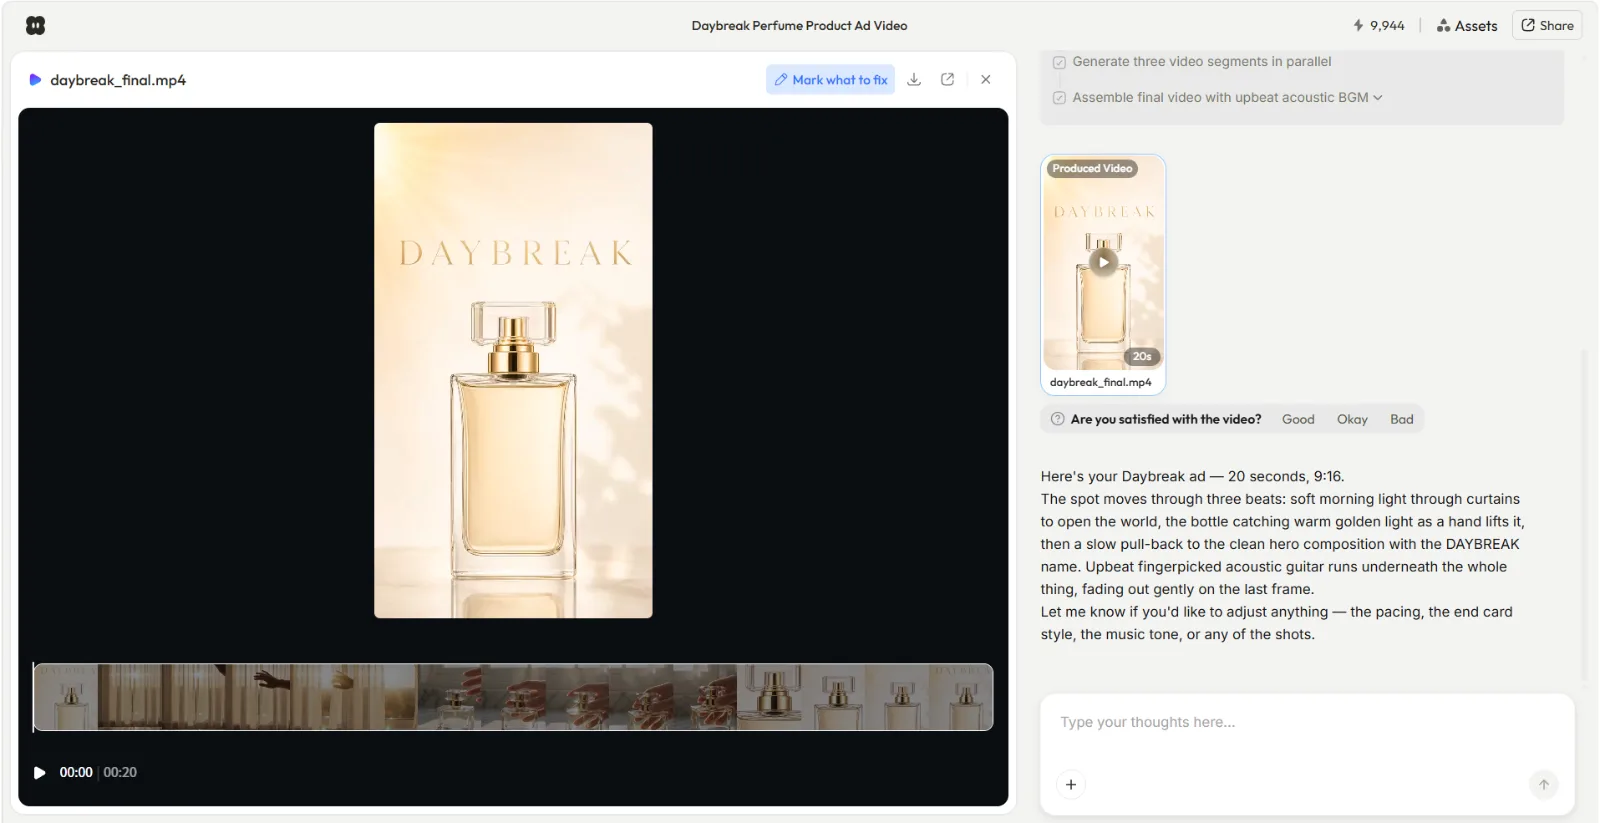 The finished 20 second ad, produced end to end in one conversation and ready to post.
Common Mistakes (and How to Avoid Them)
The most common mistake is writing a wall of text and expecting a tight cut. Pacing follows word count: roughly 150 words of script lands around 60 seconds of video, so trim hard if you want a punchy 20 to 30 second ad. Second, people forget to state the format up front; tell Pexo "9:16 for TikTok" in the first message so it composes for vertical instead of reformatting later.
A third trap is over specifying every shot like a prompt. You do not need to. Describe the outcome and the feeling, let Pexo propose the shots, then redirect the one or two you want to change. Finally, do not skip the preview step. The whole point of Pexo showing its work is that a five second redirect now beats a full re-record later.
Pro Tips for a Better Script to Video
Lead your script with the hook in the first line, because the first two seconds decide whether anyone watches; ask Pexo to "open on the strongest visual" and it will. Give it one real asset when you can, like a product photo, so the video features your actual item instead of generic stock. Need that asset created? Generate it first with Pexo's image generation and feed it in.
Batch your variants in the same chat. Once the master cut is right, ask for a square version for the feed and a vertical Instagram Reel without rewriting the script, since Pexo keeps the context. And when you only have a blog post rather than a script, point Pexo at the URL and let it draft the script to video for you. Each of these takes one sentence in Pexo.
When NOT to Use Pexo (and Pictory Is the Better Call)
I would rather you pick the right tool than force mine, so here is the honest boundary. Pexo generates a video from a script, an image, a URL, or audio. It does not start from footage you already shot. If your job is to take an existing 30 minute recording and clip it, trim it on a multitrack timeline, or strip filler words out of the transcript, that is exactly Pictory's lane, and a transcription based editor will serve you better than a generation workflow.
The same goes for frame precise control. If you need to hand place every cut, keyframe a transition, or manage a layered timeline for a long edit, reach for a traditional editor. Pexo is built for going from idea to a finished short video fast, not for surgical post production on material you already own. For everything from scratch though, the conversation is the faster road.
What Else Can You Use
If Pexo is not the fit, two alternatives are worth a look. Pictory is strong for stock footage explainers and transcript based editing of existing recordings. Fliki leans into AI voiceovers across many languages for faceless content. Both are solid in their lanes, and the linked comparisons break down where each one wins.
For turning a written script into a finished, ready to post video without touching a timeline, my default stays Pexo's text to video workflow. It is the path I keep coming back to.
Conclusion
A Pictory tutorial is really a tutorial about one job: getting a finished video out of a written script. Pictory does it through a storyboard and a timeline, and it is a fine choice when you are editing footage you already have. But if you are starting from a script and you want the video done today, the conversation is faster every time. Paste your script, describe the look, review the preview, and post the result, all in one chat. Open Pexo and turn your next script into a video without touching a timeline.