This Runway tutorial walks through making your first AI video in Runway, step by step, then shows three faster ways to do the same job, including one that skips prompts entirely. By the end you'll know the full Runway workflow and which tool actually fits your project.
What You Need to Get Started
Before you open Runway, line up three things. First, a free Runway account, which you can create with an email or a Google login. Second, a clear idea of the shot you want: a subject, a setting, a mood, and a camera move if you have one in mind. Third, a starting image if you plan to animate a still rather than generate from text. Runway works from either a written description or an image, so a clean reference photo gives you more control over the result. If your reference is blurry, sharpen or crop it in any photo editor before you upload, because the input quality carries straight through to the output. It also helps to know going in that Runway runs on credits: the free tier gives you enough for a handful of test clips, so treat your first few renders as practice rather than the finished piece.
How to Make an AI Video with Runway, Step by Step
Runway's current models, Gen-4 and Gen-3 Alpha, turn a prompt or an image into a short clip. Here is the full path from a blank project to an exported video.
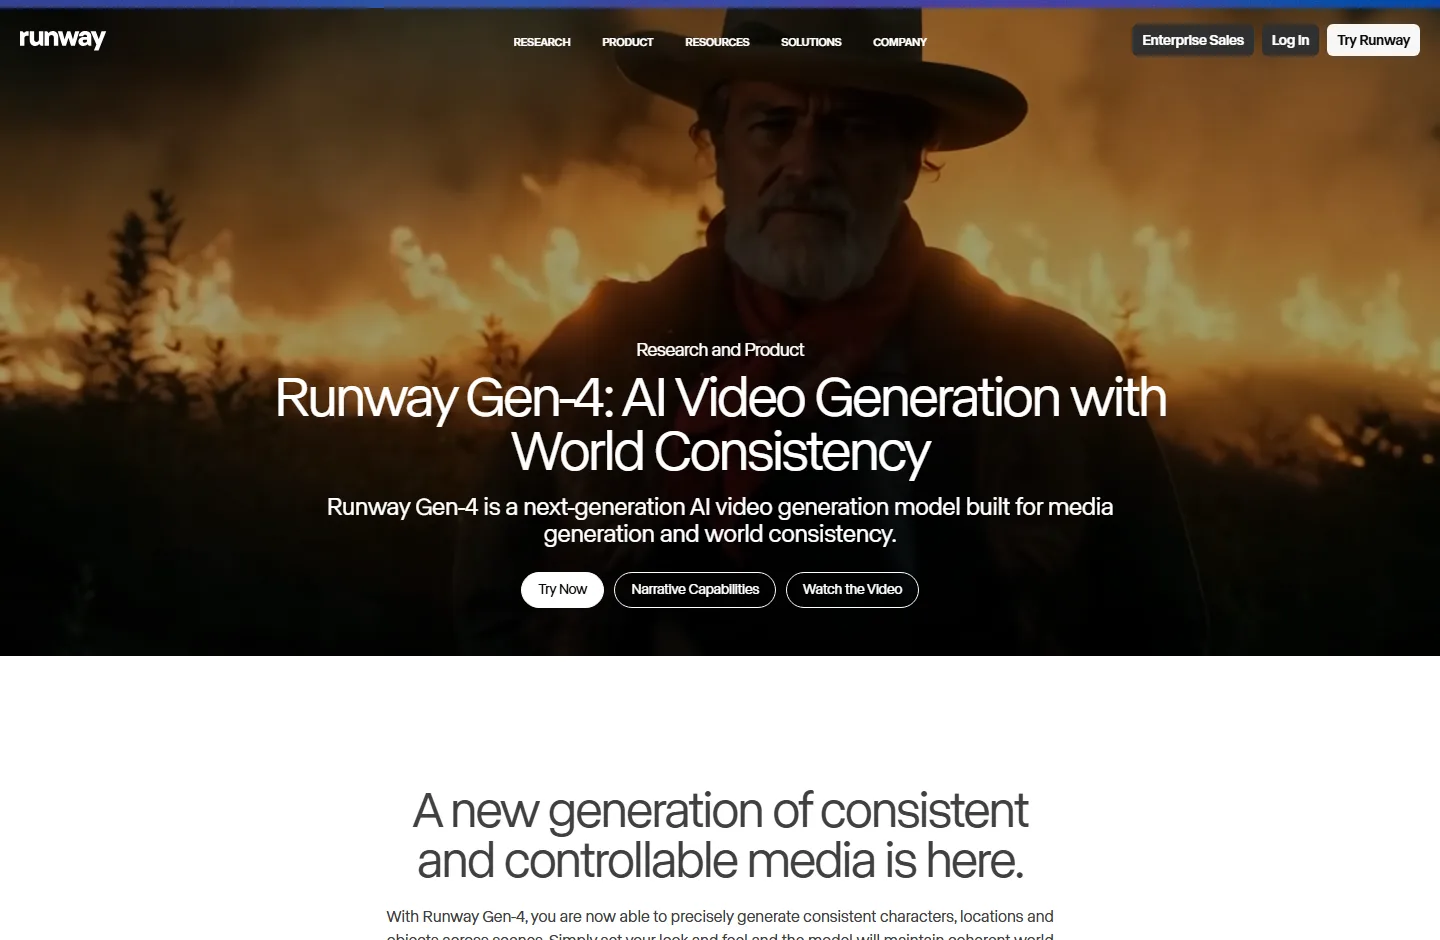 Runway's Gen-4 is the model the steps below use.
Step 1: Sign In and Start a New Generation
Log in at runwayml.com and open the dashboard. Pick the generation type you want: text to video if you're starting from a description, or image to video if you're animating a still. Runway opens a new generation panel with a prompt box, an upload slot, and the model and duration controls along the side.
Step 2: Choose Your Model
Select the model for the job. Gen-4 is the newer, higher-fidelity option and handles motion and character consistency better, while Gen-3 Alpha is faster and lighter on credits. If you're new, leave it on the default for your first few renders, then switch once you can see how each one handles your style and pacing.
Step 3: Write Your Prompt or Upload an Image
For text to video, describe the scene in plain, specific language: the subject, the setting, the lighting, and the camera movement. For example, "a slow dolly-in on a red sports car on a wet city street at night, neon reflections." For image to video, upload your starting frame and add a short motion prompt describing how it should move, such as "gentle handheld sway, leaves drifting past." Keep each prompt to one clear action, because stacking three different movements into a single generation is the fastest way to get a muddy result.
Step 4: Set the Duration and Generate
Choose a clip length. Runway generates in short segments, usually a few seconds at a time, so start short. Then run the generation. A render spends credits and takes anywhere from under a minute to a few minutes, depending on the model and current demand. Runway shows a preview as soon as it finishes.
Step 5: Review, Re-roll, and Extend
Watch the preview at full size. If the motion drifts or a detail breaks, adjust the prompt and re-roll instead of accepting the first attempt, since one or two small changes usually fix it. To make the clip longer, use Runway's extend option, which generates a continuation from your last frame so the motion stays consistent.
Step 6: Export Your Video
When you're happy with the result, download the clip. Runway exports a standard video file you can drop straight into an editor or post as is. If it's headed for a specific platform, set or crop to the aspect ratio that platform expects (vertical for Reels and TikTok, wide for YouTube) before you publish.
Common Runway Mistakes to Avoid
A few errors trip up almost everyone on their first Runway video, and all three are easy to sidestep.
- Vague prompts. "A nice landscape" gives the model nothing to anchor on. Name the subject, the lighting, and the motion, and you'll roughly halve the number of re-rolls it takes to get a keeper.
- Burning through credits. Every generation and every re-roll spends credits, and the free allowance runs out faster than people expect. Sketch your idea with one or two cheap test renders before the version that counts.
- Forcing long clips. Asking for too much motion in a single generation is where artifacts and warping creep in. Generate in short segments and extend, rather than demanding a long clip in one pass.
Pro Tips for Sharper Runway Results
A few habits separate a usable Runway clip from a frustrating afternoon of re-rolls.
- Describe the camera, not just the scene. Runway responds well to motion language. Add "slow pan left," "push in," or "static locked-off shot" and the result feels intentional instead of random.
- Use an image as your anchor. Starting from a reference frame in image-to-video mode gives you far more control over composition and characters than text alone, which tends to drift between renders.
- Keep a prompt log. Save the exact wording of prompts that worked. Small phrasings like "cinematic," "shallow depth of field," or "35mm" repeat well across projects and save you credits hunting for them again.
A Faster Way: Just Describe It With Pexo
If the prompt-and-model routine feels like a lot of overhead just to get one clip, there's a different approach. No prompts. Just talk. Pexo is an AI video partner that builds the whole thing from a normal sentence, with no model-picking or settings to learn.
Step 1: Describe the Video in Plain Language
Tell Pexo what you want the way you'd brief a friend: "a 15-second moody ad for a black coffee brand, slow close-ups, soft jazz in the background." You can drop in a product photo or a link instead of, or alongside, the text.
Step 2: Review the Plan and Previews
Pexo thinks with you. It proposes a direction and shows quick previews before committing to a full render, so you can redirect early instead of waiting and hoping. Behind the scenes it routes to the right model for the shot, from a range that includes Seedance, Sora, Kling, and more.
Step 3: Refine by Talking, Then Ship
Change anything by saying it: "make it warmer," "cut the intro," "add captions." Pexo hands back a finished, ready-to-post video with audio and pacing handled. You can also turn an image into a video the same way, starting from a still instead of a description.
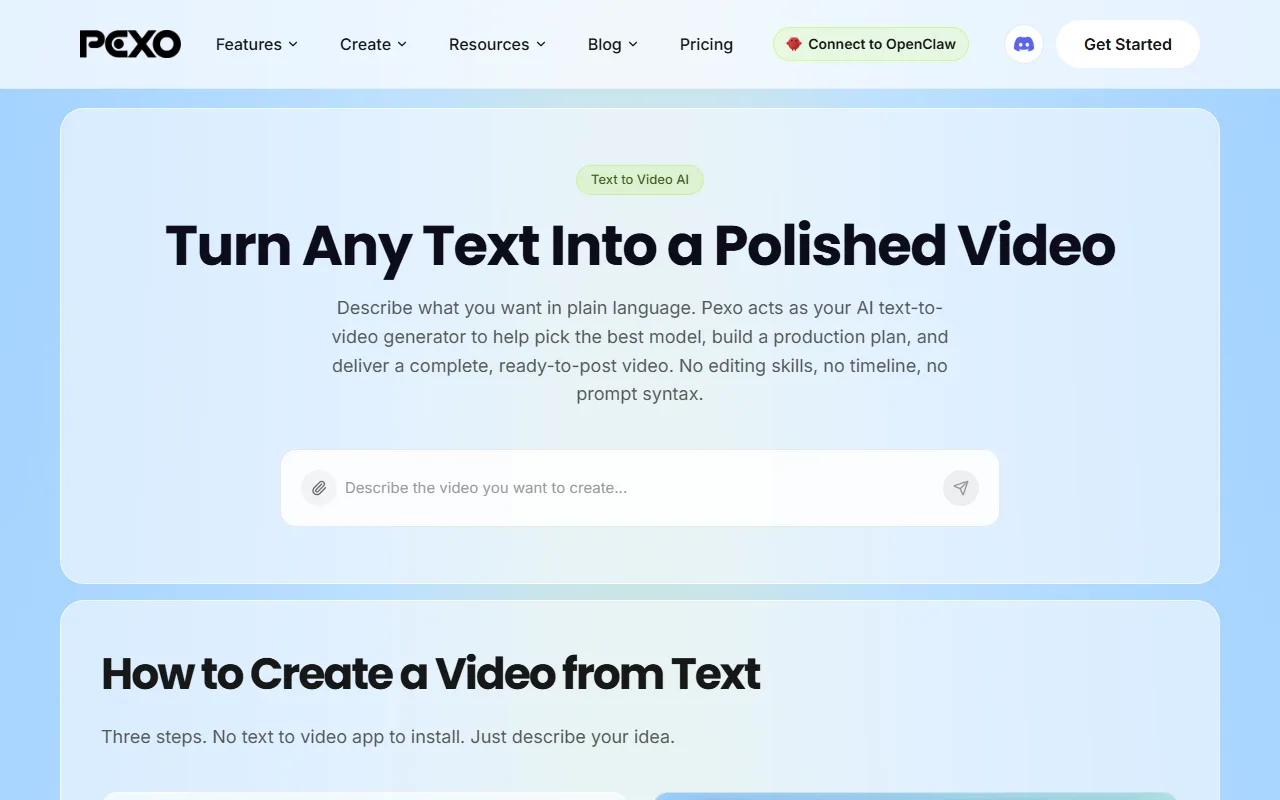 With Pexo you describe the video in a sentence instead of prompting and configuring a model.
Other Tools Worth Knowing: Kling and Pika
Runway and Pexo aren't the only options. Two more are worth a look depending on the style you're after.
- Kling AI is known for fluid, realistic motion and strong physics, which makes it a favorite for cinematic and character-driven shots. It's prompt-based like Runway and offers a free daily credit allowance. (Pexo can also route to Kling when a shot calls for it.)
- Pika leans playful and fast, with fun effects and quick turnarounds that suit short social clips and memes more than polished ad work. It's the lightest of the four to pick up, and a good first taste of AI video if Runway's controls feel like too much at the start.
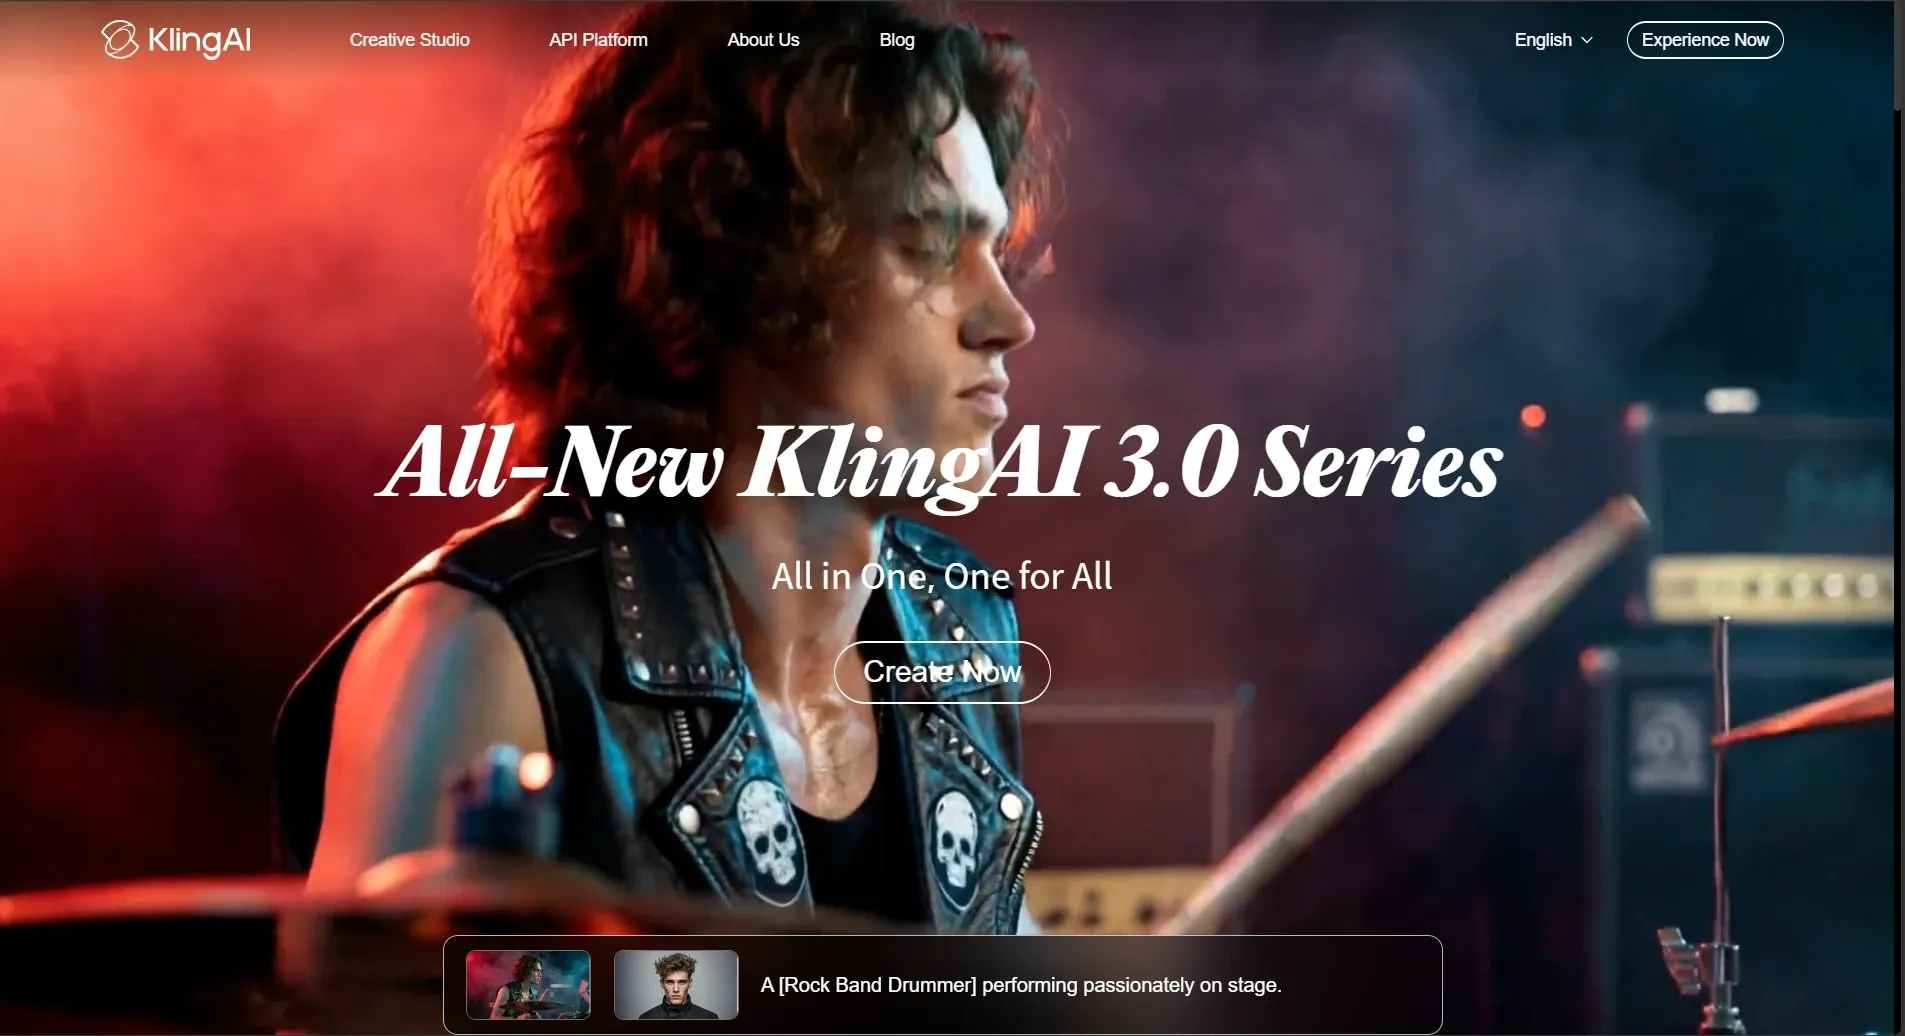 KlingAI leans into realistic, cinematic motion.
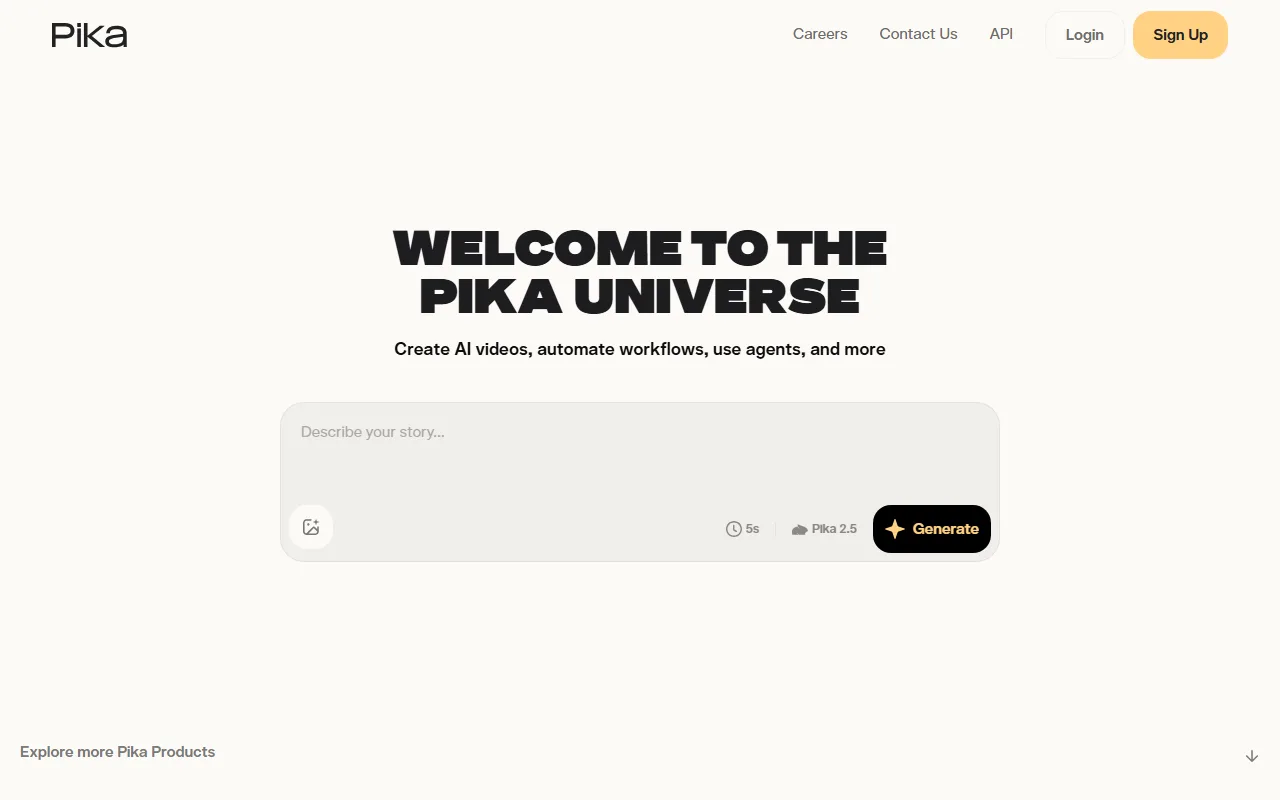 Pika keeps it light: describe a story and generate.
Which Tool Should You Use?
Here's how the four compare at a glance, followed by a quick rule of thumb.
| Tool | Price (from) | Ease of use | Speed | Best for |
|---|---|---|---|---|
| Runway | Free tier; paid ~$15/mo | Moderate (prompt + controls) | Medium | Frame-level control, longer edits |
| Pexo | Free to start; Pro $30/mo | Easiest (just describe it) | Fast | A finished video with no learning curve |
| Kling AI | Free daily credits; paid varies | Moderate | Medium | Realistic, cinematic motion |
| Pika | Free tier; paid varies | Easy | Fast | Quick, playful social clips |
Prices are approximate as of June 2026 and change often, so check each site. Pexo's figure is from its pricing page.
Pick Runway if you want fine control and don't mind learning the workflow. Choose Pexo if you'd rather describe the video and get a finished result without prompts or settings. Go with Kling for realistic, cinematic motion, and Pika for fast, fun social clips. Most beginners are happiest starting with the tool that asks the least of them and moving to Runway when they need its precision.
Conclusion
Runway is a powerful way to make AI video once you're comfortable with prompts, models, and the generate-extend-export loop, and this tutorial covers that full path. But it isn't the only way, and for plenty of projects it isn't the fastest. If you'd rather skip the learning curve and just say what you want, you can start creating for free with Pexo and get a finished clip back from a single conversation.