I had a clean two minute voiceover sitting in a folder and absolutely nothing to put on screen behind it. So I opened Pexo, my AI video partner, dropped the file in, told it the mood I wanted, watched the first preview, swapped the one scene that missed, and exported. No timeline, no editor. That is the whole pitch of this guide: with Pexo you create audio to video by describing it, not by learning software. Below are the exact four steps, plus the mistakes that cost me the most time so you can skip them.
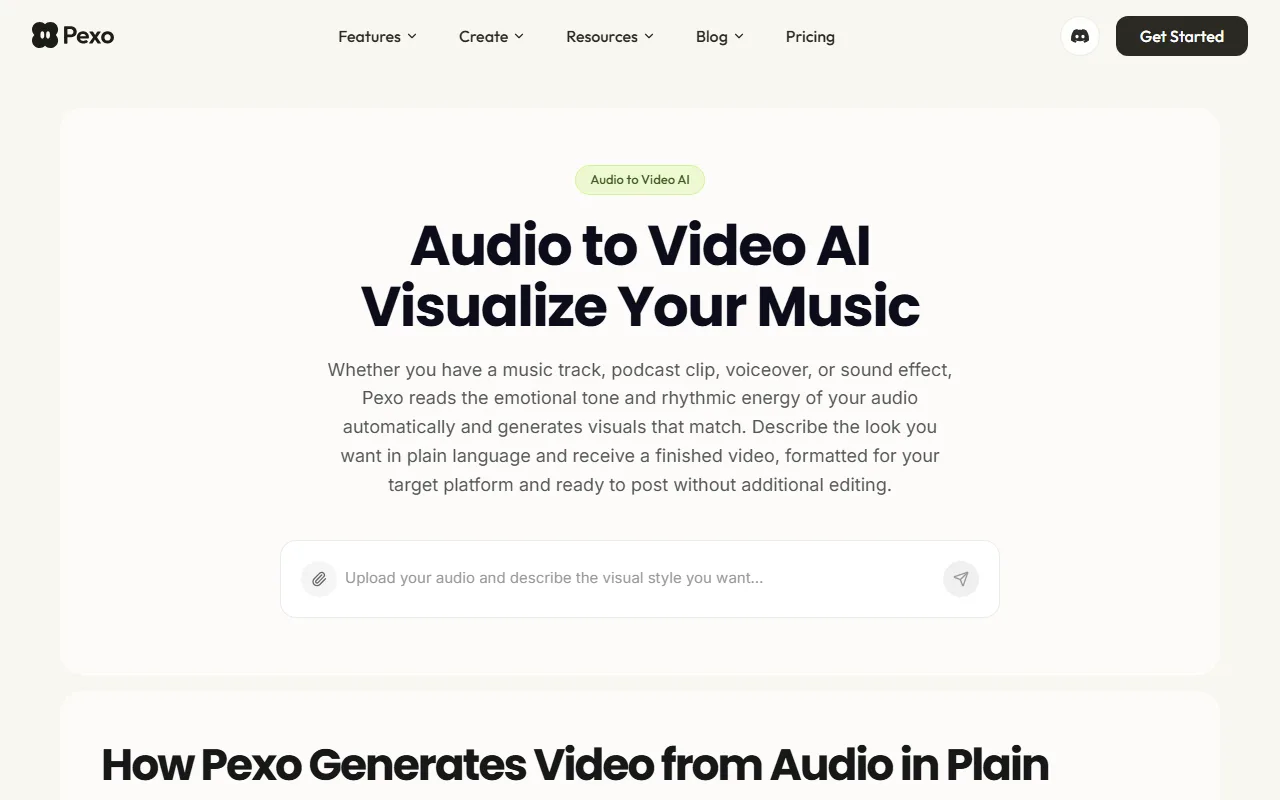 Pexo's audio-to-video workspace: upload your audio, describe the look, and get a finished video.
What Is Audio-to-Video?
Audio-to-video is the process of taking a sound file (a voiceover, a podcast clip, a song, a narrated script) and producing a watchable video from it. There are two very different versions of this job, and knowing which one you want saves a lot of time.
The first is a plain convert audio to video task: you slap a static cover image or a waveform animation over an MP3 and export an MP4. The second, the one most people actually mean when they search "how to create audio to video," is richer: you want real visuals (scenes, motion, an on-screen presenter) timed to the sound. That second job used to need an editor and hours of work. With Pexo you get there by describing it in plain language. Want to try it right now? Start at Pexo's audio-to-video.
The people who search this usually fall into three camps: podcasters who want a 60 second audiogram for social, marketers who recorded a 15 to 30 second voiceover and need an ad to wrap around it, and musicians who want a music video for a track. All three start with audio and end wanting a real video. That is exactly the gap Pexo closes, so the rest of this guide walks the richer version step by step.
What You Need Before You Start
You need surprisingly little. Pexo accepts audio as a direct input, so the heavy lifting is already covered.
Here is the short checklist:
- An audio file, in a common format (an MP3 or WAV voiceover, a podcast export, a music track). Aim for clean sound, since clear audio gives the visuals something solid to sync to.
- A rough idea of the look you want, even a vague one. "Calm, soft colors, slow b-roll" is enough to start.
- A Pexo account. Pexo runs on a self serve, credit based plan, so you can open it and start a conversation in seconds. No software to install.
- No editing skills. That is the point. If you can describe a scene to a friend, you can direct this.
Don't have a track yet? You can generate a track inside Pexo first, then carry it straight into the video. Ready with your file? Jump into Pexo and let's build it.
How to Create Audio to Video With Pexo (Step-by-Step)
The whole workflow is four steps and one conversation. Here is exactly how I do it.
Step 1: Bring Your Audio Into Pexo
Open Pexo and start a new conversation, then add your audio file the same way you would attach a file in any chat. Tell Pexo what the audio is in one line: "This is a 30 second product voiceover" or "This is a 90 second podcast clip about morning routines." That single sentence gives Pexo the context it needs about length and intent. You can drop the file straight into Pexo's audio-to-video to begin.
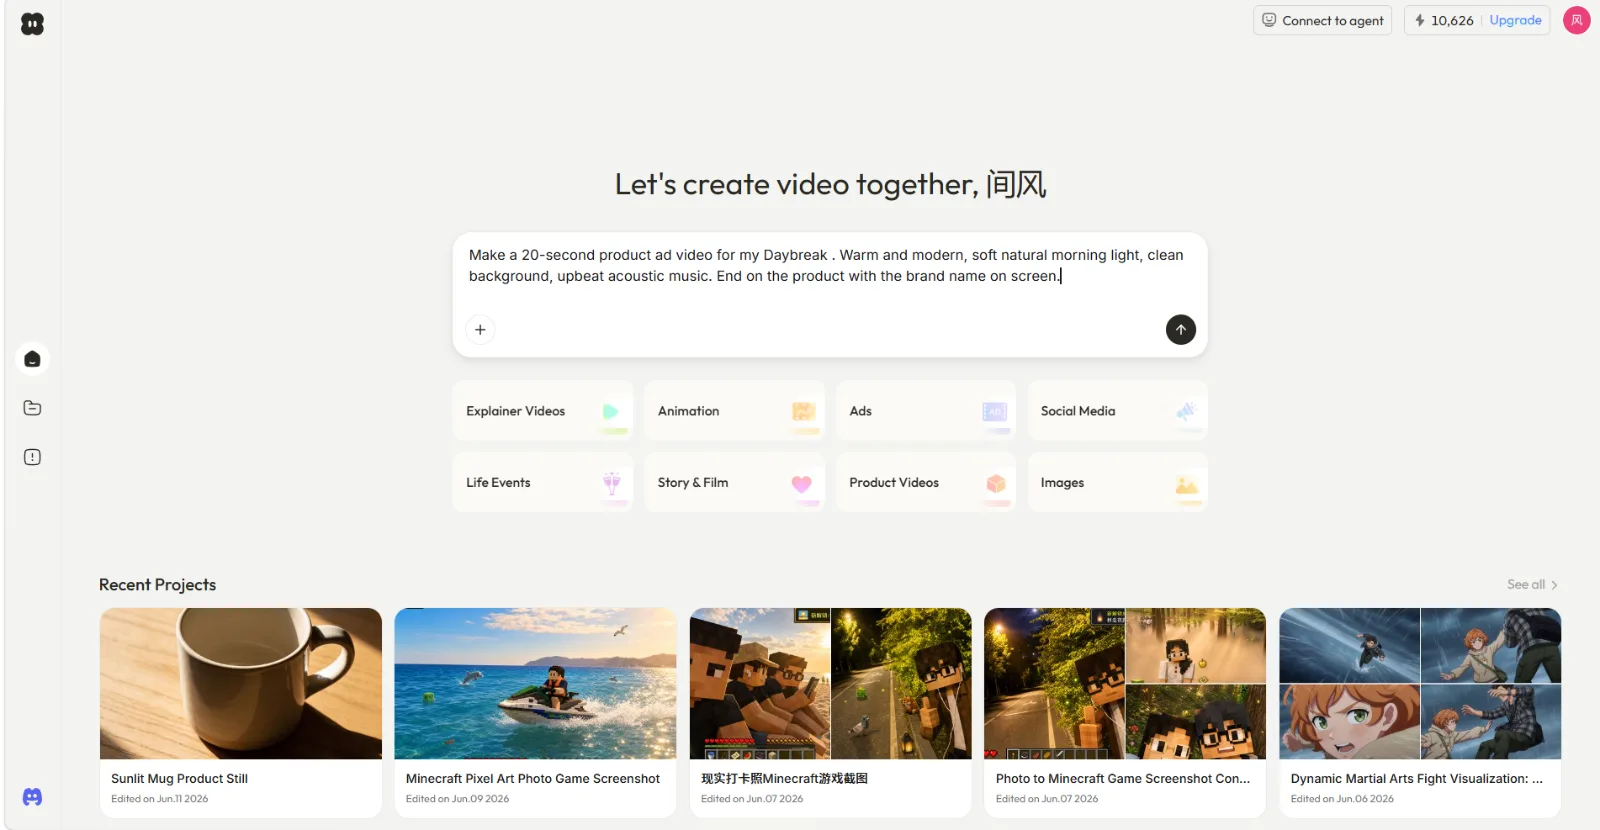 Step 1: open Pexo, start a new conversation, and bring your audio in.
Step 2: Describe the Visuals You Want
Now just say what you want on screen, the way you would describe it to a friend. There is no menu and no prompt box to wrestle with, so resist the urge to over-explain. On my first run I typed a dense paragraph ("warm nostalgic morning, soft film grain, slow dolly across a sunlit kitchen, steam rising off the coffee, muted pastel grade, gentle vignette") and the preview came back cluttered and fighting itself. The line that actually worked was one sentence: "soft, aesthetic b-roll of a morning kitchen, warm light, slow pace, vertical 9:16 for Reels."
Pexo picks up your intent from that and fills in the rest. It also routes your scene to the right model on its own (it works with Seedance, Kling, and more), so you never have to choose one. If the audio is a talking voice, ask for an AI avatar with lip-sync so the mouth matches your track. Then describe your scene and let Pexo build the first pass.
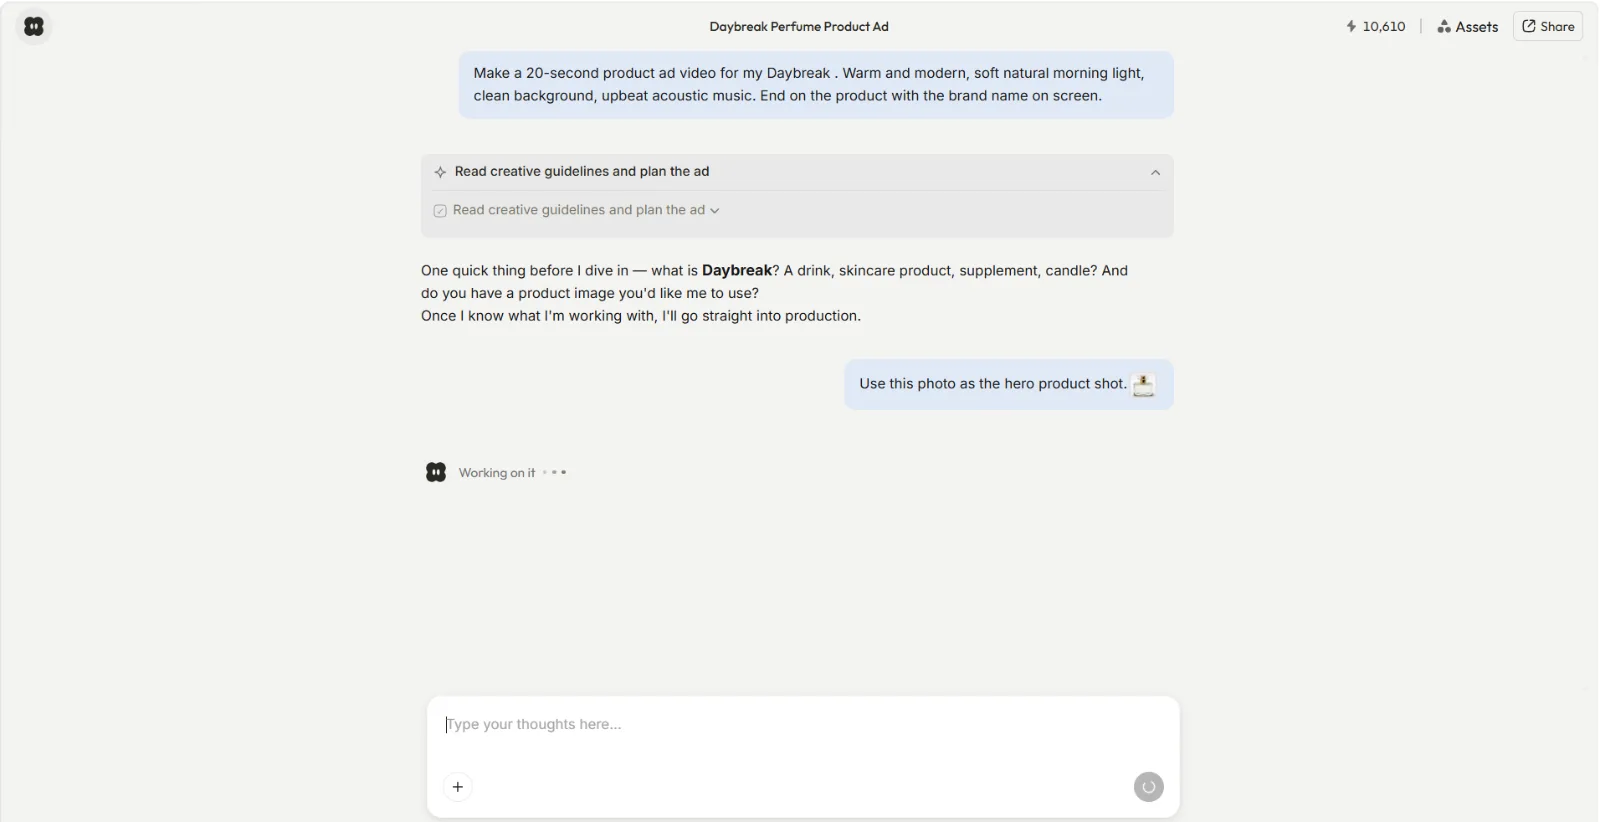 Step 2: say what you want on screen in plain language. No prompts.
Step 3: Review the Preview and Direct Changes
Before building the full piece, Pexo shows you its plan and quick previews, so you are never waiting in the dark. You see the direction it is taking, then you redirect in plain words: "make the second scene brighter," "swap the city shots for a beach," "tighten the pacing on the intro." Each note changes the next preview, so you shape the video by reacting to what you see instead of guessing everything up front. This is where most of my edits happen, and it is faster than it sounds: keep iterating in the Pexo chat until the preview matches what is in your head.
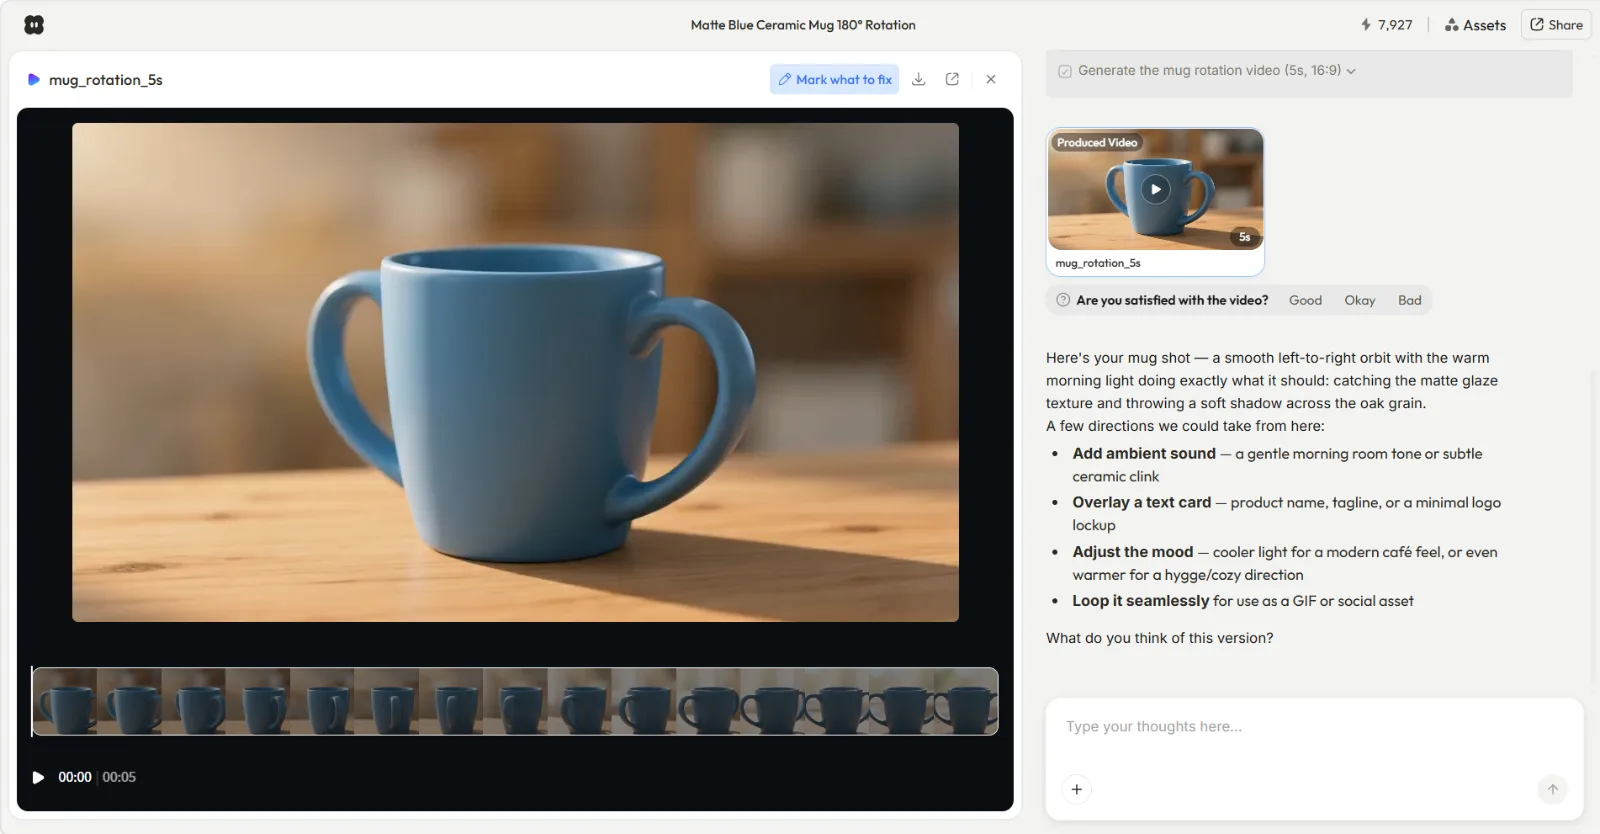 Step 3: review the preview and redirect in plain words. No black box.
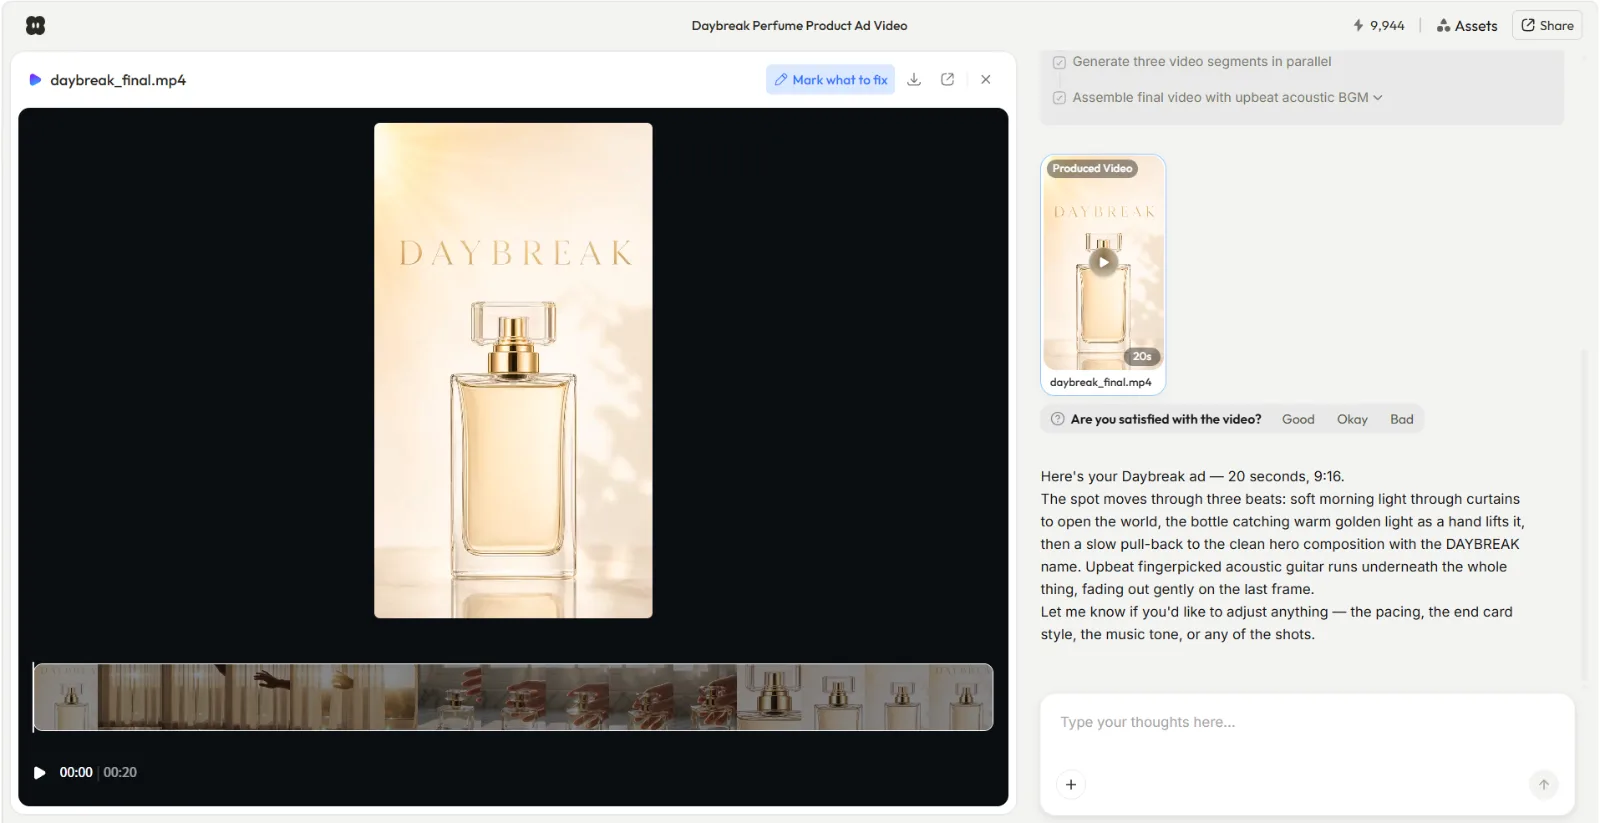
Step 4: Export and Share Your Video
When the preview looks right, ask Pexo to finish the job. It delivers a complete video with your audio synced, transitions, and pacing handled, in a standard video file with no watermark. Pick the aspect ratio you need (tall 9:16 for TikTok and Reels, square 1:1 for feeds, wide 16:9 for YouTube) and download your finished clip, ready to post. Make your first one now at Pexo.
 Step 4: export your finished video in the aspect ratio you need.
What Changes for Music vs. a Talking Voice
The four steps are the same whichever audio you bring, but what you ask for shifts with the type of sound. With a talking voice (a voiceover or a podcast clip), the words carry the meaning, so lean on visuals that illustrate what is being said, and add an AI avatar with lip-sync when you want a presenter on screen reading the lines.
With a music track there are no words to follow, so Pexo leans on rhythm and mood instead. It reads the beat and times the scene changes and motion to it on its own, then matches the look to the track's emotional tone. You can upload your own track, paste a streaming link, or generate a royalty-free one inside Pexo first. Either way, name the platform (TikTok, a square for Instagram, a wide cut for YouTube) and Pexo sizes the output to fit.
Common Mistakes to Avoid
These are the errors that cost me the most time, so start here.
- Forgetting the aspect ratio. I left the ratio unspecified on my first run and got a 16:9 clip that looked tiny dropped into a vertical feed. Now I name the platform (Reels, TikTok, YouTube) up front and let Pexo size it from the start.
- Not saying what the audio is. Pexo paces the visuals to the sound, so a one-line label ("a 30 second upbeat product voiceover") helps it match energy from the first preview. Skip it and the cut can feel out of step with the track.
- Starting with messy audio. Background hiss and clipping carry into the final video and make the whole thing feel cheap. Clean the track first, or generate a track in Pexo.
- Treating it like a one shot. The first preview is a starting point, not the final cut. Redirect freely.
Pro Tips for Better Audio-to-Video Results
Once the basics click, these push the quality up fast.
- Match the energy of the visuals to the audio. A punchy 15 second ad voiceover wants quick cuts; a calm 60 second narration wants slow b-roll. Say which one in step 2.
- Use a presenter when the audio is a voice. For a talking voiceover, ask for an AI avatar and let Pexo handle lip-sync. It reads far more naturally than abstract shapes over a human voice.
- Build platform-native versions in the same chat. Ask Pexo for a 9:16 cut for Reels and a 16:9 cut for YouTube in one go, instead of re-doing the work. It is great for turning one podcast episode into social video.
- Bring a reference. A line like "in the style of a calm skincare ad" gives Pexo a clear target.
- Make and send without leaving your workflow. Pexo also lives inside Slack, Lark, and WhatsApp, so you can spin up a version and hand it to a client or teammate without switching apps or re-uploading the file.
When NOT to Use Audio-to-Video
Honest part. Generating a video from audio is the right move when you have sound but no footage. It is the wrong move in a few cases, and knowing them keeps you from fighting the tool.
- You only need a bare waveform export. If all you want is an MP3 with a static cover image and a wiggling waveform, that is a simple file conversion, not video creation. A plain converter does it in one click.
- You already have finished footage to cut. If your raw clips exist and you just need to trim and arrange them on a timeline, that is editing, and you want an editor, not a generator. Pexo starts from text, an image, a URL, or audio, not from existing video.
- You need frame-exact, manual control. If your project demands hand-placed keyframes and precise multi-track timing, a traditional editor will serve you better than any conversational workflow.
If your job is "I have sound, I need a real video out of it," though, Pexo is built for exactly that.
What Else Can You Use
A quick, fair survey for the cases above. These are not what this guide recommends, but they fit specific jobs.
- Descript is solid if you mainly want a podcast style video with captions and a cover, plus transcript based editing. See descript.com.
- Clideo is a lightweight online converter for the simple "audio plus a background image to MP4" task. See clideo.com.
- Pictory focuses on turning scripts and long content into clip style videos with stock footage. See pictory.ai.
For generating a real, visually rich video from your audio through plain conversation, Pexo is still the fastest path I have found.
Conclusion
Creating audio to video used to mean opening an editor and burning an afternoon. With Pexo it is four steps and one conversation: bring in your audio, describe the visuals, review the preview, and export. No prompts, no timeline, no editing skills, and Pexo picks the model for each scene so you never have to. If you have an audio file waiting for a video, open Pexo and just say what you want to see.