ChatGPT
 Perplexity
 Claude
 Gemini
 Grok
Grok



I produced a 60-second whiteboard-style explainer last month without touching a marker or a camera. I wrote a 140-word script, described the drawing-reveal style I wanted to Pexo in plain English, reviewed a preview, and had a finished clip the same afternoon. In this guide I will show you exactly how to make a whiteboard explainer video: why the format holds attention so well, the script-first process that decides 80% of your result, and 3 production routes, from dedicated whiteboard tools to DIY filming to the conversational AI route I used.
What Is a Whiteboard Explainer Video?
A whiteboard explainer video is a short video, usually 60 to 120 seconds, where a hand appears to draw simple black-line illustrations on a white background while a voiceover explains an idea. The drawings build up progressively, sketch by sketch, in sync with the narration.
The format works because of that progressive reveal. Viewers instinctively want to see what the hand finishes drawing, which keeps them watching through moments where a static slide would lose them. Researchers call this effect anticipatory attention, and it is the reason whiteboard videos have been a staple of explainer marketing since Common Craft popularized the style in 2007 and RSA Animate pushed it mainstream in 2010. The visuals are also deliberately simple: black lines, one or two accent colors, no clutter. That simplicity forces the message itself to carry the video, which is why the format suits complex topics like software, insurance, medical processes, and training content.
A typical whiteboard explainer runs 90 seconds, uses a 130 to 150 word-per-minute voiceover, and covers exactly one idea: one problem, one solution, one call to action.
What You Need Before You Start
- One core message. Finish this sentence before anything else: "After watching, the viewer should understand ___ and do ___."
- A script. 130 to 220 words for a 60 to 90 second video. This is the single biggest quality lever, and Step 1 below covers it.
- A production route. A dedicated whiteboard tool subscription, a camera rig and a real whiteboard, or a Pexo account if you want to generate the whole thing from a written brief.
- A voiceover plan. Your own voice with a decent microphone, a hired voice actor, or AI narration generated alongside the visuals.
How to Make a Whiteboard Explainer Video in 6 Steps
Step 1: Write the script first, before you open any tool
Every good whiteboard video is a script with pictures attached, not the other way around. Write yours in this 4-part structure:
- Hook (0 to 10 seconds). Name the viewer's problem in one sentence. "Every month, your team wastes 20 hours copying data between spreadsheets."
- Agitate (10 to 25 seconds). Show the cost of the problem. Keep it to 2 or 3 concrete consequences.
- Solve (25 to 70 seconds). Introduce your solution and walk through how it works in 3 beats maximum.
- Call to action (70 to 90 seconds). One specific next step, spoken and drawn on screen.
Hard rules that save you later: keep it under 220 words for a 90-second video, read it aloud twice and cut anything you stumble on, and write one visual note per sentence in a second column. That two-column script (words left, sketch ideas right) becomes your storyboard for free.
Step 2: Choose your production route
There are 3 realistic ways to produce the visuals. I have tested all three, and they suit different situations.
Route A: Dedicated whiteboard animation tools. Products like Doodly and VideoScribe exist specifically for this format. You drag pre-drawn assets onto a canvas, and the software animates a hand drawing them in sequence. The honest picture: they are genuinely good at the classic whiteboard look, the learning curve is a few hours, and a first video typically takes 3 to 6 hours of assembly. The trade-offs are equally real. You are limited to each tool's asset library unless you import and rig your own drawings, timing every draw-on to your voiceover is fiddly manual work, and the output can look recognizably template-like because thousands of videos use the same stock hands and sketches. If you plan to make whiteboard videos every month in the strict classic style, they earn their subscription. For a one-off, the assembly hours add up fast.
Route B: DIY filming. Mount a phone or camera on a tripod above a real whiteboard, draw while recording, then speed the footage up 4x to 12x in an editor and lay narration over it. This costs almost nothing if you can draw, and it has an authentic, human feel no software replicates. Budget realistically though: a 90-second video means drawing, re-drawing mistakes, lighting the board evenly to avoid glare, and editing, which usually lands at 1 to 2 full days for a first attempt. Handwriting legibility on camera is the failure point most people discover too late.
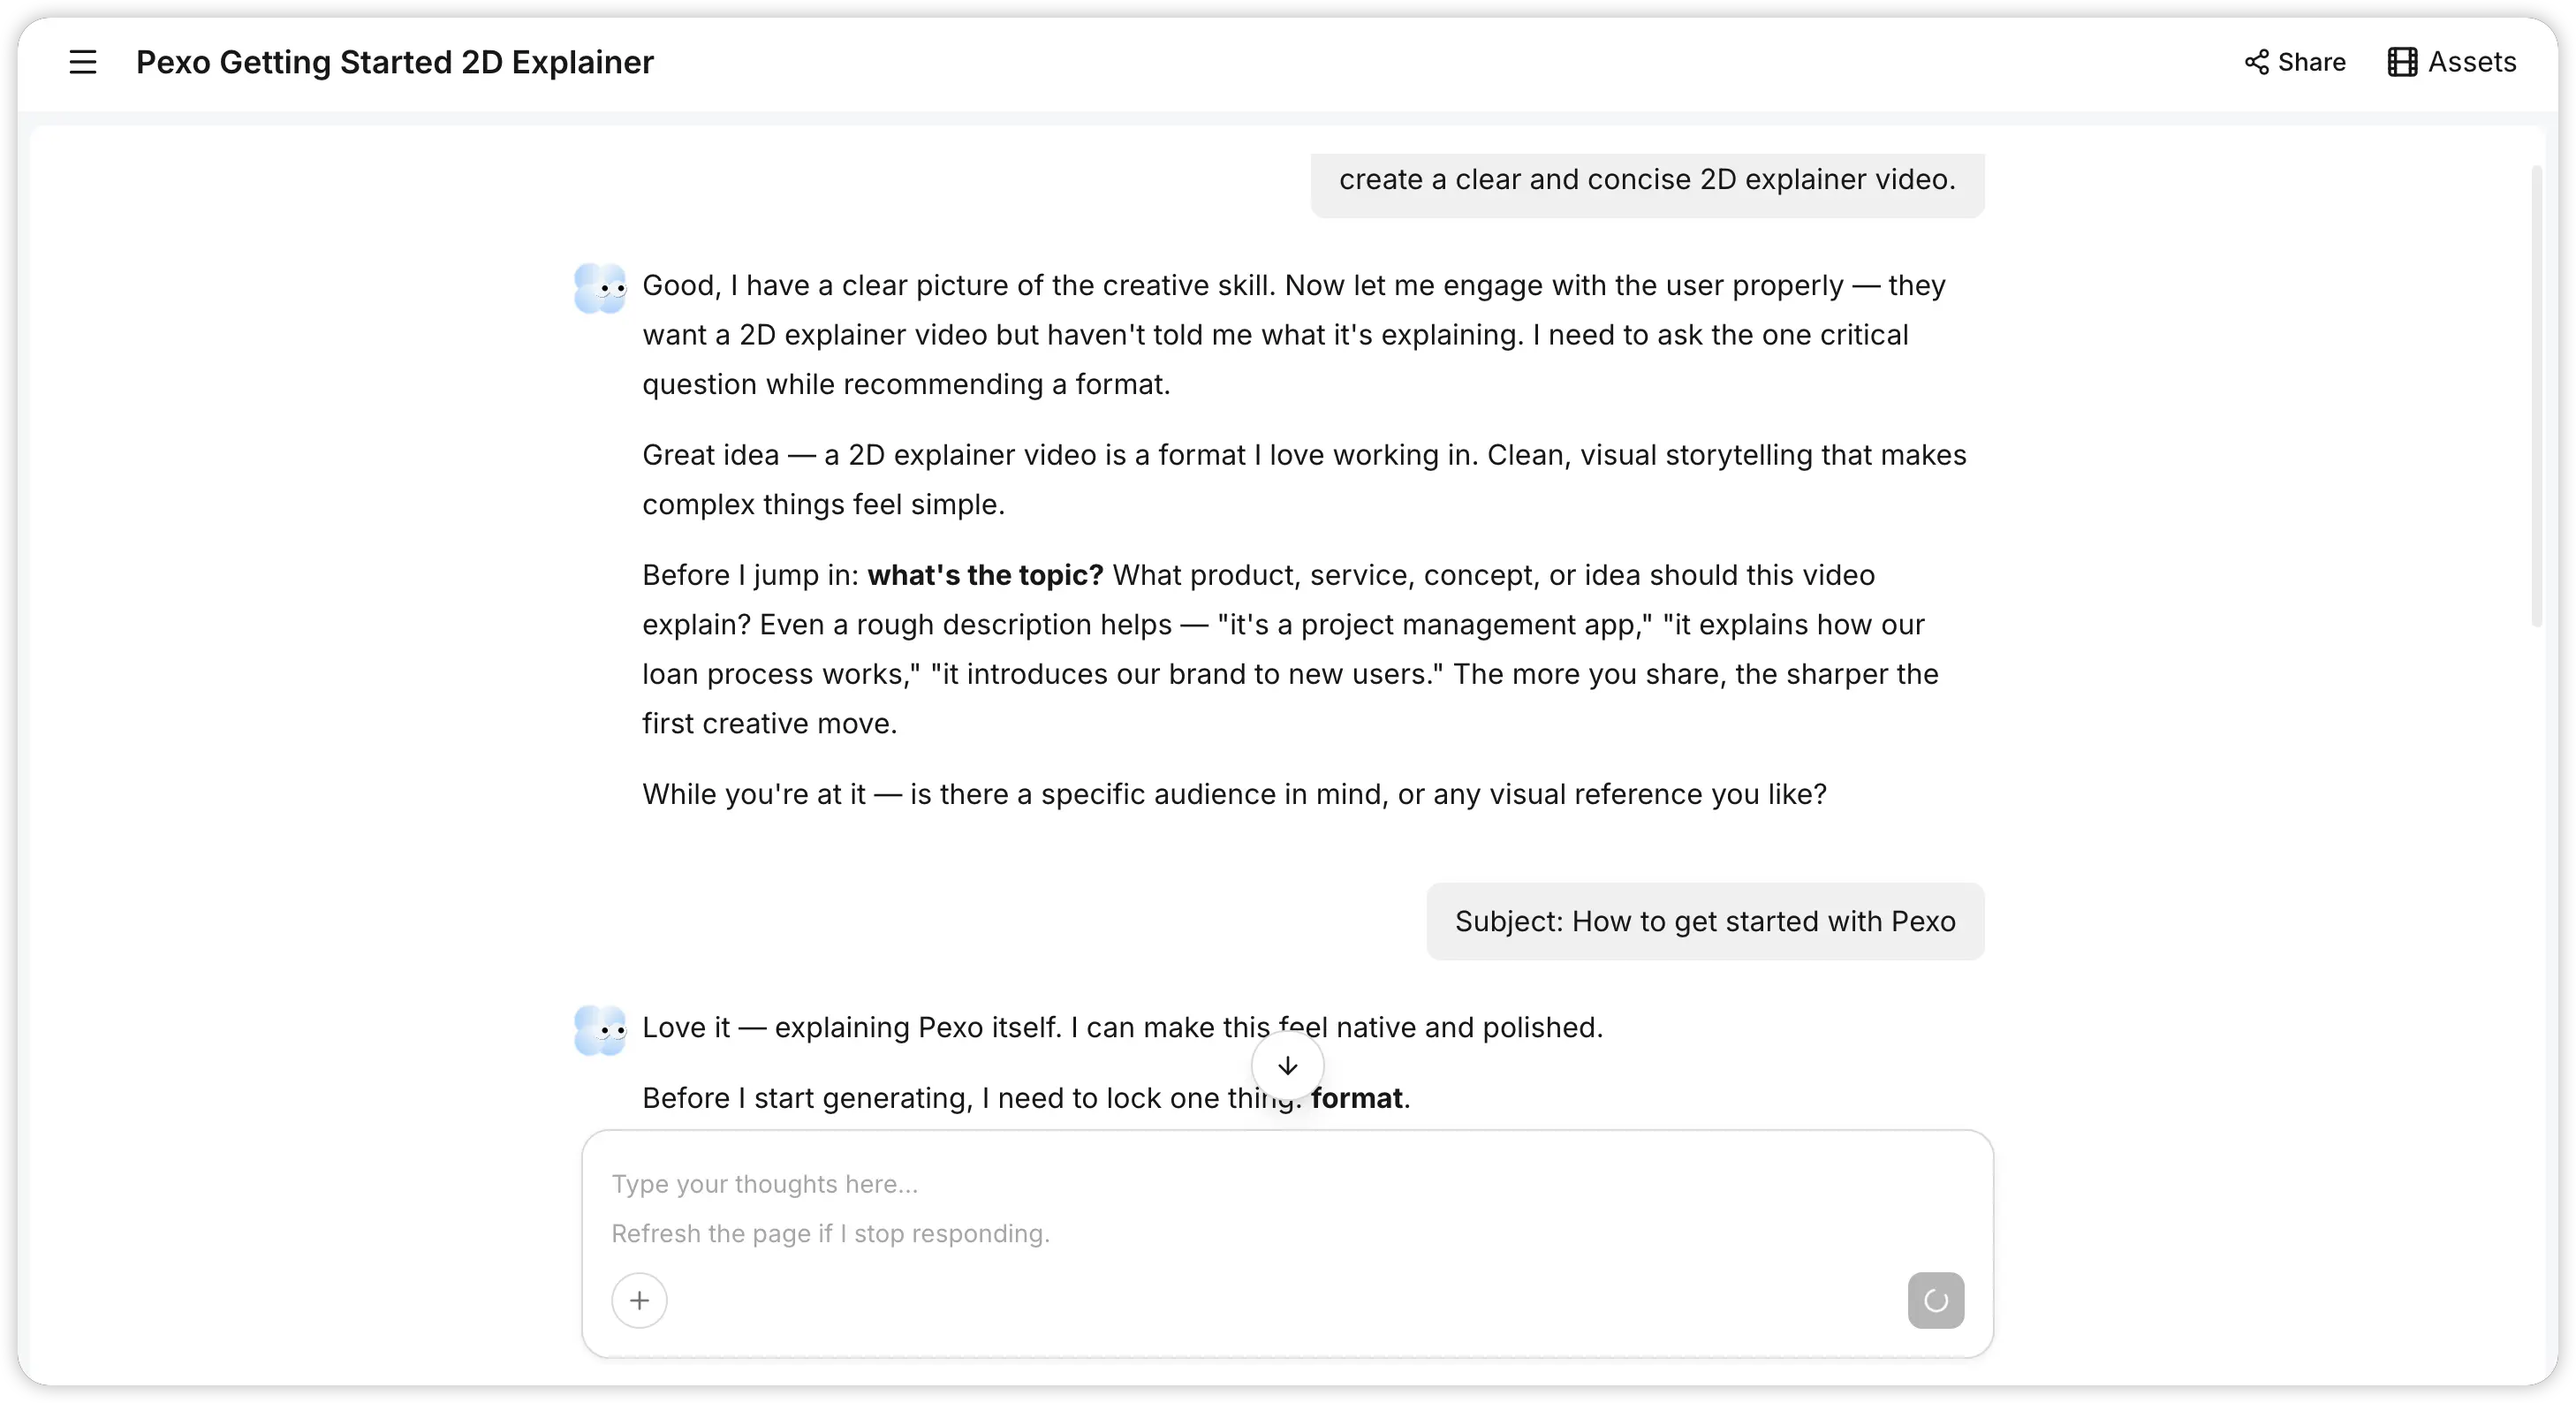
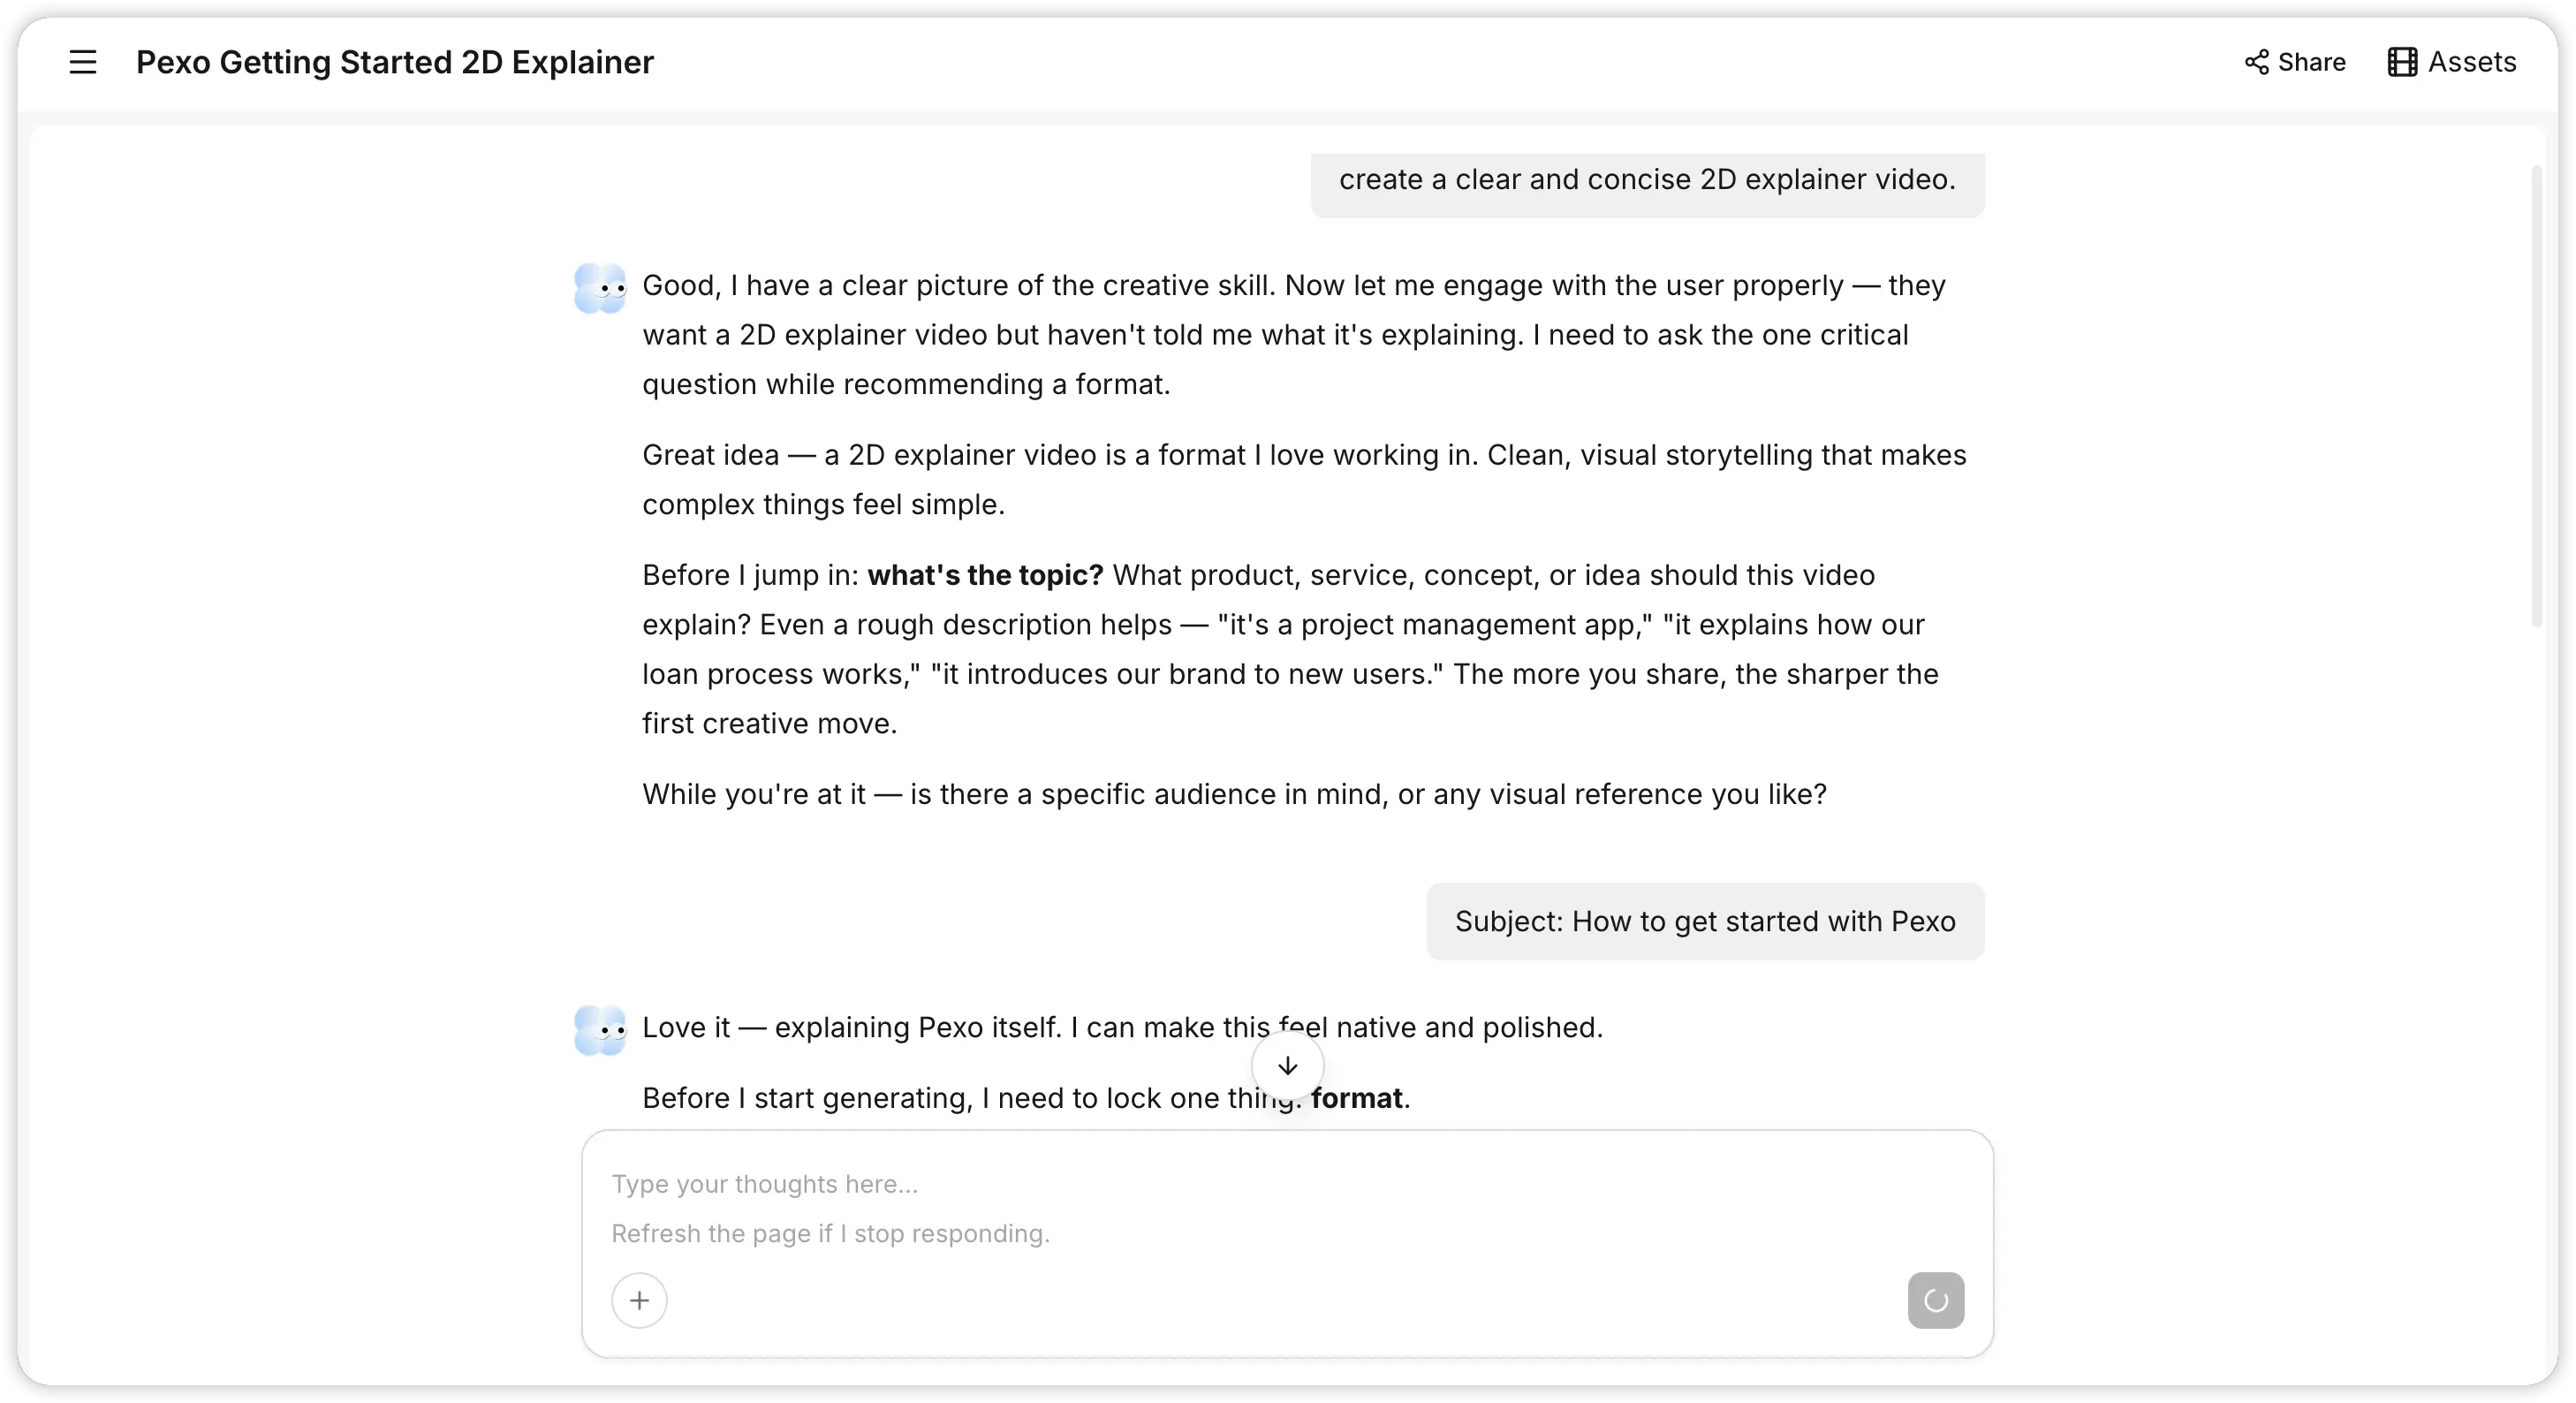
Route C: The conversational AI route. This is how I made mine. Pexo is an AI video partner: you describe the video you want in a chat, it produces script, visuals, voiceover, and pacing together, and you refine by replying. To be honest about what it is not: Pexo is not a literal whiteboard animator, and it will not simulate a stock hand drawing library assets stroke by stroke the way Doodly does. What it does is generate whiteboard-style and sketch-style animated explainers, hand-drawn line aesthetics, progressive visual builds, clean white or paper backgrounds, from a single written brief. If your goal is "an explainer that feels like a whiteboard video and holds attention," rather than "a pixel-faithful clone of RSA Animate," this route took me from script to finished 60-second video in about 25 minutes of active work. You can try Pexo's explainer video maker free and test your own script before committing to any route.
Step 3: Brief the visuals scene by scene
Whichever route you chose, translate your two-column script into scenes. A 90-second whiteboard video needs 6 to 10 scenes, each 8 to 15 seconds, each with one visual idea.
In Doodly or VideoScribe, this means placing assets on a timeline scene by scene. Filming yourself, it means rehearsing each drawing on paper first. With Pexo, it means writing the brief. Here is a shortened version of the one I sent:
"Make a 60-second whiteboard-style explainer for a scheduling app. Hand-drawn black line illustrations on a white background, one accent color (blue), drawings build in progressively scene by scene. Friendly female voiceover, around 140 words per minute. Scene 1: a frazzled stick-figure manager surrounded by floating calendar pages..."
I specified the style, the pacing, the accent color, and one visual per scene. Pexo came back with a full preview, and because it keeps the whole conversation in context, my follow-up "make scene 3's drawing simpler and slow the voiceover 10%" applied cleanly without starting over.
Step 4: Record or generate the voiceover
The voiceover carries a whiteboard video, because the visuals are intentionally sparse. Three options:
- Record yourself. Use a USB microphone in a soft-furnished room, speak 10% slower than feels natural, and target 130 to 150 words per minute. Record 3 full takes and pick the best.
- Hire a voice actor. Marketplaces deliver a 90-second read within 24 to 48 hours. Give them your script with pronunciation notes and one reference video for tone.
- Generate it. If you go the Pexo route, narration is produced with the video from the same brief, already timed to the scenes, and you can request a different voice, pace, or tone in one reply. This is the step where the conversational route saves the most coordination time, since syncing an externally recorded voiceover to drawing animations is the fiddliest part of Routes A and B.
Step 5: Sync the timing so drawings finish with the sentence
The signature satisfaction of a whiteboard video is a drawing completing exactly as the narrator finishes the matching sentence. Timing rules that separate professional results from clumsy ones:
- A drawing should start 0.5 to 1 second before its sentence begins and finish with it, never after.
- Leave 1 to 2 seconds of stillness after a completed scene before wiping to the next. Viewers need a beat to absorb.
- Never let the hand draw in silence for more than 2 seconds. Dead air plus a moving hand reads as lag.
- Keep total wipes and scene clears to one per scene. Constant erasing feels chaotic.
In manual tools this step is an hour or more of nudging keyframes. In Pexo I handled it with review-and-reply: I watched the preview, told it "scene 4's drawing finishes 2 seconds after the line ends, tighten it," and got a corrected version.
Step 6: Review, add captions, and export
Watch the full video 3 times: once for message clarity, once with sound off (can you follow it from drawings alone?), and once at 1.5x speed to catch pacing sags. Then add burned-in captions, since 69% of people watch video with sound off in public per Verizon Media research, and export. For most uses that means 1080p MP4, 16:9 for websites and YouTube, with a 9:16 vertical cut if you are posting to Reels or TikTok. Pexo delivers download-ready MP4s and can produce the vertical version from the same conversation, so ask for both formats in one go rather than re-briefing. Start your own explainer with script to video and run this exact checklist on the first preview.
Common Mistakes to Avoid
- Writing the script last. Building visuals first and narrating over them produces rambling videos that run 3+ minutes. Script first, always.
- Cramming two messages into one video. One video, one idea. If your script has "and also," cut it or make a second video.
- Over-detailed drawings. Whiteboard visuals work because they are simple. If a sketch takes more than 8 seconds to draw on, simplify it.
- Voiceover racing at 170+ words per minute. Viewers process drawn visuals and speech together; 130 to 150 wpm is the comfortable band.
- No captions. You lose the majority of social viewers instantly without them.
When a Whiteboard Explainer Is the Wrong Choice
Honest scoping: this format is not universal. Skip it when you need to show a real product interface in detail (use a screen recording), when emotional brand storytelling is the goal (live footage or rich animation carries feeling better than line sketches), or when your audience expects premium polish, as some high-end B2B buyers read the classic stock-hand whiteboard look as dated. And if your video depends on footage you already have, none of the generation routes here apply; whiteboard explainers are built from scratch, not edited from existing clips.
Conclusion
Making a whiteboard explainer video comes down to a disciplined script, one idea per video, and a production route that matches your time and skills. Dedicated tools like Doodly and VideoScribe earn their place if you want the classic stock-hand look and make videos regularly. DIY filming wins on authenticity if you can draw and have a weekend. And if you want the fastest path from idea to a finished whiteboard-style explainer, the conversational route is hard to beat: I briefed Pexo in a paragraph, refined it in three replies, and shipped a 60-second video in under half an hour of my own time.
Write your 200-word script today, then head to Pexo's text to video generator, paste it in, and describe the whiteboard style you want. Your first preview will tell you more than any further reading.