This is a step-by-step guide to making an AI avatar video in Synthesia, from a blank project to an exported file, in about five steps. It is written by the Pexo team, so you will also find an honest look at a faster, conversational alternative near the end. The bulk of this tutorial, though, is Synthesia itself: how its editor works, where people get stuck, and how to land a clean result on the first render.
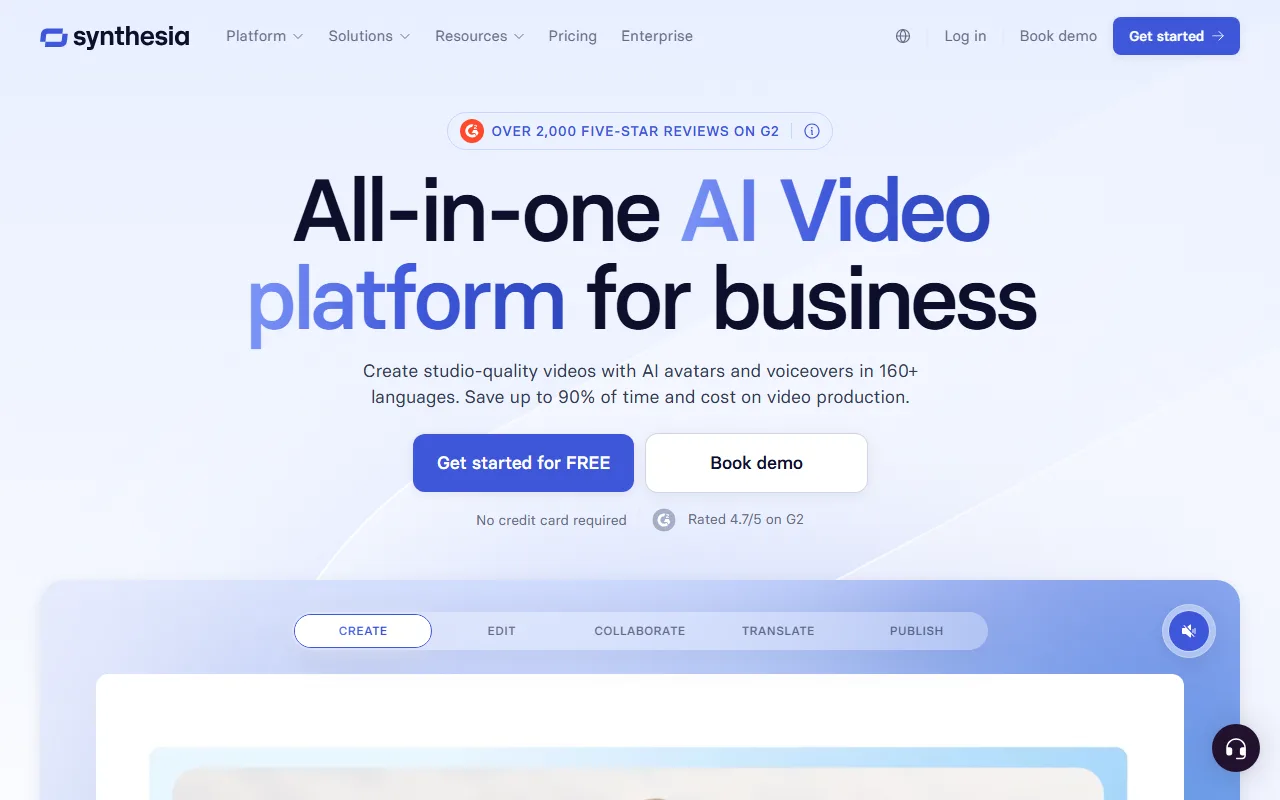 Synthesia is a browser-based AI video platform, used by 50,000+ teams and rated 4.7 on G2 (Synthesia, 2026).
What You Need
Before you start, get three things ready. First, a Synthesia account. The Basic plan is free and does not ask for a card, which is enough to follow along, though paid plans (Starter from $14/mo and Creator at $59/mo, billed yearly, as of 2026) remove limits and add avatars and minutes. Second, a script. Synthesia reads your text aloud through an AI voice, so write the way you want it spoken: short, clear sentences. Third, any brand assets you want on screen, like a logo, a few images, or a background color.
If your script is still rough, tighten it in a doc first. A cleaner script means fewer re-renders later, and it is the single biggest lever on how good the final video sounds.
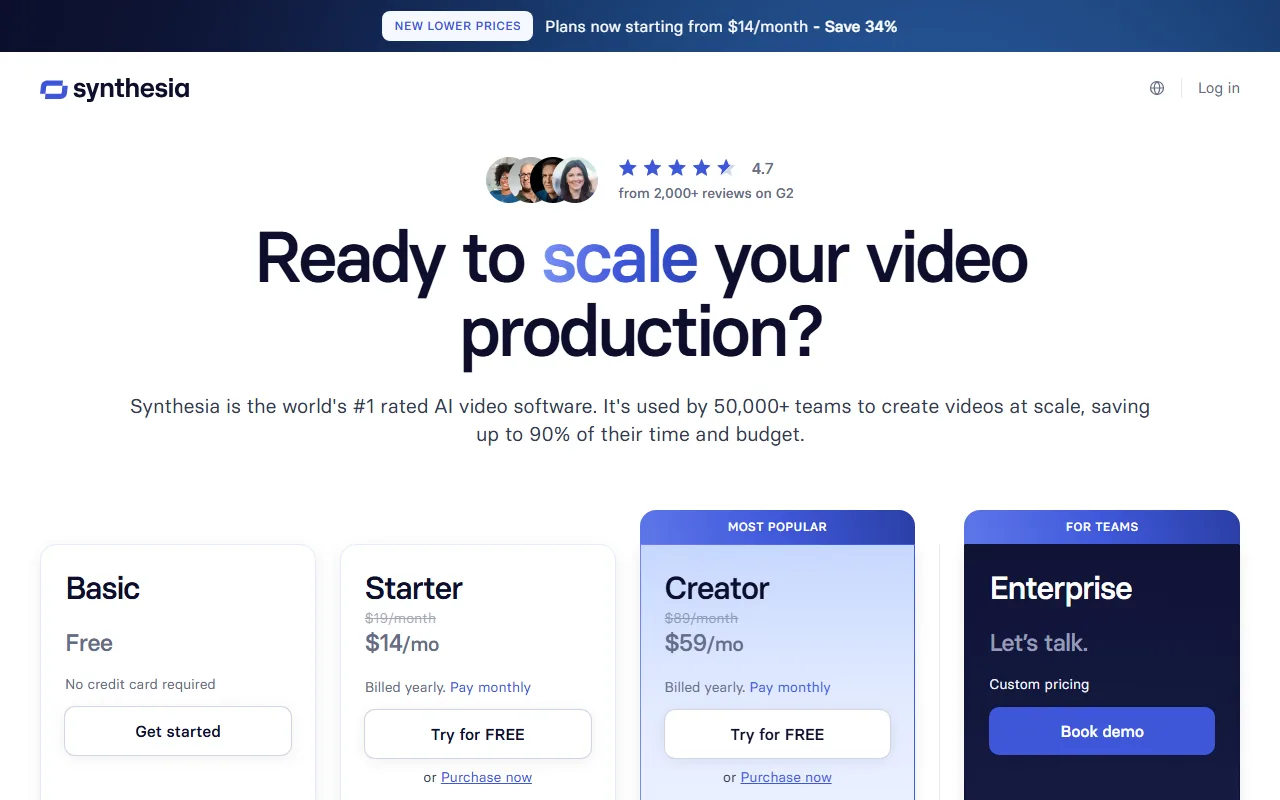 Synthesia's Basic plan is free with no credit card, so you can follow this tutorial before paying anything (Synthesia, 2026).
How to Make an AI Avatar Video in Synthesia, Step by Step
Synthesia builds videos scene by scene. You pick a presenter, paste your script, lay out each slide, and let it render. Here is the full flow.
Step 1: Start a New Video and Pick a Template
From the Synthesia dashboard, click New video in the top-right corner. You can start from a blank scene or choose one of the templates, which are pre-built layouts for explainers, training, product updates, and social clips. Use the tags on the left to filter templates by use case. For a first video, a template saves time because the fonts, spacing, and transitions are already set, and you can change any of it later.
Step 2: Choose Your AI Avatar
Open the Avatar panel on the left and browse the library. Synthesia offers 230+ stock avatars (per Synthesia, 2026) that you can filter by age, gender, and style, and it can also create a custom avatar of yourself if you want a consistent on-camera brand. Pick an avatar whose tone matches your topic: a casual presenter for social content, a more formal one for corporate training. Place the avatar in the scene and resize it, or set it as a floating circle in the corner when the slide content should lead.
 Synthesia's avatar library lets you filter presenters by style, or build a custom avatar of yourself.
Step 3: Add Your Script and Pick a Voice
Click into the script box under the scene and paste your text for that slide. This is the exact text the avatar will speak, so keep each scene to a few sentences. Then open the Voice dropdown and choose a voice; Synthesia supports 140+ languages and accents, so you can match the voice to your audience. If a word comes out wrong, highlight it in the script to set a phonetic respelling; to fix rushed pacing, add a pause between sentences instead of leaning on punctuation. If you would rather start from a document, Synthesia's AI Video Assistant can turn a PDF, a URL, or a prompt into a first draft you then edit.
Step 4: Build Your Scenes
A Synthesia video is a sequence of scenes, much like slides. Click Add scene to create the next one, then use the toolbar to drop in text, images, shapes, screen recordings, or background video. Keep one idea per scene so the viewer is not reading and listening to two different things at once. Reorder scenes by dragging them in the timeline at the bottom. This is where most of your time goes, and it is the part that most resembles building a slide deck.
Step 5: Preview, Generate, and Export
Before you commit, click Preview to watch the timing of the narration against your scenes. Fix anything that feels off now, because changes are far cheaper before rendering. When it looks right, click Generate. Rendering usually takes a few minutes, roughly 3 to 20 minutes depending on length and quality (per Synthesia). Once it is done, download the MP4 or share a link, and you have a finished AI avatar video without a camera, a mic, or an editing timeline.
Common Mistakes to Avoid
A handful of mistakes cause most re-renders:
- Cramming a paragraph into one scene. The avatar reads every word, so long blocks drag. Keep each scene's script under about 50 words, roughly 20 seconds of narration, and split anything longer across scenes.
- Skipping the preview. Narration and on-screen text can drift out of sync, and preview catches it before you spend a render.
- Leaving the default voice and accent. A mismatched voice is the fastest way to make a polished video feel generic. Audition two or three.
- Over-animating. Too many transitions and moving elements pull attention off the message. Restraint reads as professional.
Pro Tips for Better Synthesia Videos
Small habits lift the quality noticeably:
- Write for the ear, not the page. Read your script aloud; if you stumble, the avatar will too.
- Use pauses deliberately. A short pause after a key point gives it weight.
- Match the avatar framing to the platform. A centered presenter suits training, while a corner avatar suits screen-share tutorials.
- Build a reusable template. Once your fonts, colors, and intro scene are set, save them so the next video starts at 80 percent done.
- Plan the export. For YouTube, a 16:9 1080p file is standard; for a learning platform, check the upload size limit before you render.
What Else Can You Use
Synthesia is strong, but it is not the only way to get a talking-head video, and depending on your workflow another tool may fit better.
- Pexo is the conversational alternative. Instead of choosing an avatar, building scenes, and configuring a voice in an editor, you describe the video you want and Pexo, an AI video partner, plans and produces it. That is the difference in one line: no menus, just one conversation. It fits when you want a finished talking-head video fast and would rather not learn a scene editor. The trade-off: Pexo is newer and credit-based, and it gives up Synthesia's granular, slide-by-slide control for speed, so if you need to place every element on every scene, the editor route still wins. You can turn a script into a video or make a talking-head video the same way.
- HeyGen is the closest like-for-like to Synthesia, with realistic avatars, voice cloning, and translation. Worth comparing if avatar realism is your top priority.
- Colossyan leans into workplace learning, with built-in quizzes and SCORM export for training teams.
 A presenter-style visual made with Pexo by describing it in one conversation, no avatar-and-scene editor.
Conclusion
Making an AI avatar video in Synthesia comes down to five moves: start a video, choose an avatar, add your script and voice, build your scenes, and render. Preview before you generate and you will avoid most re-renders. If the scene-by-scene editor feels like more steps than you want, the conversational route is worth a look: with Pexo you describe the talking-head video and get it back finished, with no avatar-and-scene editor to learn. Try it on a talking-head video and see which workflow you prefer.