

 ChatGPT
 Perplexity
 Claude
 Gemini
 Grok
Grok

How to Make Stop Motion Animation
UPDATED: 2026-08-04 By Lan He, Senior Video Producer at Pexo
Making stop motion animation takes six steps: plan the story and shot list, choose a style and materials, build the set and lock the lighting, shoot or generate the frames, assemble and clean up the sequence, then add sound and export. A short traditional sequence takes about an hour, or minutes with AI generation.
Quick Version: How to Make Stop Motion Animation
- Plan the story and break it into a numbered shot list.
- Choose the style and materials: clay, paper cutout, toys, or everyday objects.
- Build the set, lock the camera on a tripod, and fix the lighting so it never changes.
- Shoot one frame per small movement at 12 frames per second, or generate the frames from a description.
- Assemble the frames into a sequence, remove rigs, and fix any flicker.
- Add music and sound effects, then export in the ratio your platform needs.
How to Make Stop Motion Animation Step by Step
Step 1: Plan your story and shot list
Write the story in one paragraph, then break it into numbered shots with the action in each one. Stop motion is expensive per second of finished footage, so anything cut in the edit was hours wasted at the set. Planning is where that waste gets prevented.
Estimate the frame count before shooting. At 12 frames per second, a 10-second shot needs 120 exposures. Seeing that number written down changes what people choose to animate, usually for the better. Simplify any shot whose count feels unreasonable.
Step 2: Choose your style and materials
Pick the stop motion type that fits the story and the resources available. Claymation uses posable clay and suits characters with expression. Cutout animation uses flat paper layers and suits storybook and graphic looks. Object animation uses everyday items and suits product and concept work. Brickfilm uses LEGO and toys. Puppet animation uses armatured figures for the most controlled movement.
Match the material to the movement required. Clay holds a pose but degrades under handling and warm lights. Paper is fast to produce and limited to flat motion. Toys hold position perfectly and are limited to the joints they came with. On AI platforms, materials like clay, paper, plastic, fabric, glass, and metal are rendered on demand rather than sourced.
Step 3: Build the set and lock your lighting
Mount the camera on a tripod and do not touch it again for the duration of the shot. Any camera movement between frames reads as a jolt on playback, and there is no way to fix it afterward without reshooting. Weight the tripod legs if the surface can flex.
Lock the lighting completely. Use continuous artificial light, block every window, and turn off anything on a dimmer or a motion sensor. Then set the camera to full manual: fixed aperture, shutter speed, ISO, and white balance. Auto-exposure is the single largest cause of flicker, because it re-meters between frames and produces a sequence that pulses.
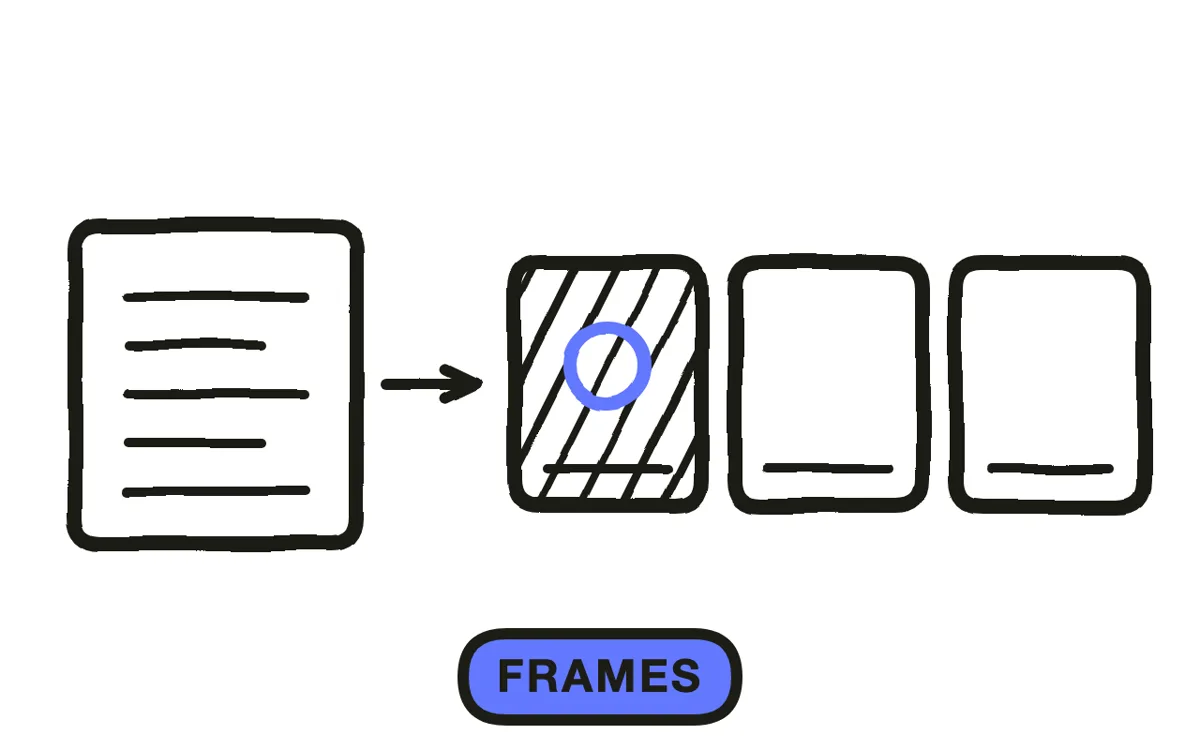
Step 4: Shoot or generate the frames
Move the subject a small, consistent distance, take one photo, then repeat. Twelve frames per second is the stop motion standard and produces the format's characteristic staccato. Use onion-skinning, which overlays the previous frame faintly, to judge how far to move between exposures. Movements that are too large read as jumpy, and movements that are too small waste hours.
The AI path removes the shooting entirely. Text-to-video generation produces every frame from a written description, including the inter-frame timing that makes stop motion read as stop motion rather than as smooth animation. For animating a real object or product, image-to-video conversion builds the sequence from an uploaded photo.
Step 5: Assemble and clean up the sequence
Import the frames in order and set the sequence to 12 frames per second. Watch it through once at full speed before fixing anything, because defects that look severe frame by frame often disappear in motion, and vice versa.
Then clean up three things. Remove any rig, support wire, or hand that appears in a frame. Correct flicker by matching exposure across the sequence if the lighting drifted despite the precautions. Smooth any movement that jumps by duplicating or removing frames at that point. Most stop motion apps and editors handle all three.
Step 6: Add sound and export
Add music, sound effects, and captions. Stop motion benefits disproportionately from foley: a soft thud when a clay figure lands, a paper rustle on a cutout transition. The visuals are silent by construction, so every sound is a deliberate choice rather than something captured incidentally.
Export in 16:9 for YouTube and web embedding, 9:16 for TikTok and Reels, or 1:1 for feeds. Pexo generates and syncs music, sound effects, and captions in the same pass as the frames, and exports HD MP4 in all three ratios. Keep the finished piece short: 5 to 30 seconds for social, up to two minutes for an explainer.

How to Make AI Stop Motion Animation with Pexo
The six steps above assume clay, a tripod, and several hundred exposures. The stop motion animation page removes all three.
Describe the piece in plain language: "A claymation short of a small blue character planting a seed that grows into a tree, warm lighting, thumbprints visible in the clay, 20 seconds." Pexo generates the script, every frame, the props, the characters, and the lighting, with inter-frame timing tuned to the stop motion staccato rather than smooth interpolation.
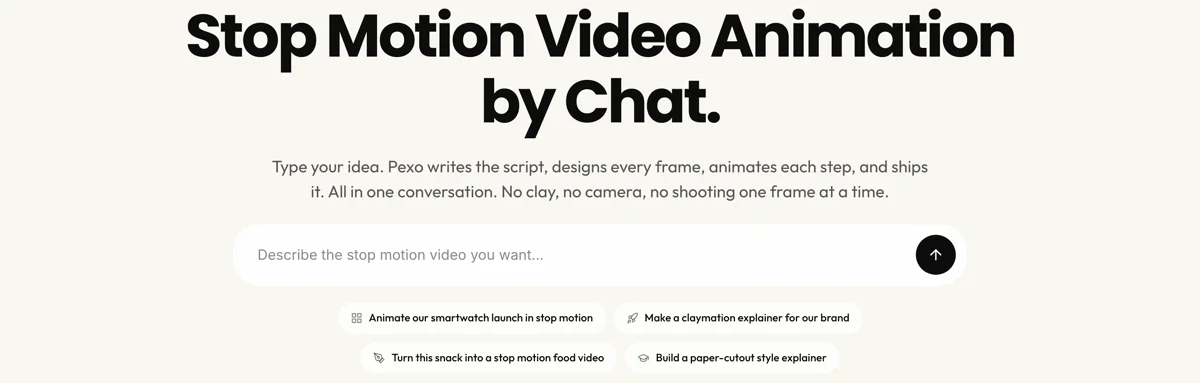
Styles cover claymation with visible thumbprints, product stop motion for packaging and hardware, food stop motion, paper cutout, object animation, toy and brickfilm work, and puppet animation. Hybrids work too, described rather than picked from a menu. Materials including clay, paper, plastic, fabric, glass, and metal are rendered rather than sourced.
Refine by replying in plain words rather than adjusting keyframes. Output runs from 5-second loops through 2-minute explainers, in 16:9, 9:16, or 1:1 HD MP4. For longer narrative pieces the animated short film page runs the same pipeline at greater length, the explainer video page suits concept-driven work, and the product video page covers packaging and hardware reveals.
5 Common Mistakes That Ruin Stop Motion
1. Moving the camera between frames. A tripod bump of a few millimeters produces a visible jolt that cannot be corrected in editing. Lock the tripod, weight it, and never adjust framing mid-shot.
2. Letting the lighting change. Auto-exposure, a window, or a light on a dimmer produces flicker across the sequence. Set the camera fully manual and block every uncontrolled light source before the first frame.
3. Moving the subject too far between frames. Large movements read as jumpy rather than animated. Use onion-skinning to keep each step small and consistent, and accept that smoothness costs exposures.
4. Shooting without a shot list. Stop motion takes roughly one to two hours per finished second for character work. Improvising on set means animating footage that gets cut, which is the most expensive mistake available in this format.
5. Leaving hands or rigs in frame. A support wire or a stray finger in one frame flashes visibly on playback. Check each frame as you shoot rather than discovering it after 300 exposures.
Related Tutorials
- How to make an animated short film for longer narrative animation
- How to make an anime video for a different stylized animation route
- How to make explainer videos for concept-driven pieces
- How to make a short video for social-length loops




