

 ChatGPT
 Perplexity
 Claude
 Gemini
 Grok
Grok


How to Make Videos With Claude Code Using DeepSeek V4 Pro
UPDATED: 2026-08-17
To make videos with Claude Code using DeepSeek V4 Pro, point Claude Code at DeepSeek's Anthropic-compatible API as its backend model, install the Pexo skill, and describe the video you want in plain language. Claude Code plans the job on DeepSeek V4 Pro, and the Pexo skill renders and edits the finished clip. The whole setup takes about 25 minutes across six steps.
The quick version: make videos with Claude Code using DeepSeek V4 Pro
- Install the Claude Code CLI in your terminal.
- Create a DeepSeek API key at the DeepSeek platform.
- Set three environment variables so Claude Code calls
deepseek-v4-proinstead of a Claude model. - Install the Pexo skill from the
pexoai/pexo-skillsrepository. - Type a plain-language video brief and let the Pexo skill generate the clip.
- Review the draft, ask for changes in plain language, and export 16:9, 9:16, or 1:1.
DeepSeek V4 Pro is the reasoning model that drives the agent, and the Pexo skill is the layer that turns your request into a finished video. DeepSeek V4 Pro left preview in mid-August 2026 with stronger agent behavior and a one-million-token context, which is what makes it usable as the brain behind a coding agent like Claude Code. It does not render video itself. The Pexo skill does that part. Here is the full workflow.
Step 1: Install the Claude Code CLI
Install the Claude Code CLI in your terminal or through the VS Code extension. Claude Code is a command-line coding agent, and this workflow only works on the CLI and VS Code surfaces, because they read the environment variables you will set in Step 3. The Claude Desktop app signs in with OAuth and ignores those variables, so it cannot be pointed at DeepSeek. Once the CLI is installed, run it once to confirm it launches, then close it before you change the backend model.
Step 2: Create a DeepSeek API key
Create a DeepSeek API key from the DeepSeek platform. Sign in at the DeepSeek platform, open the API keys section, generate a new key, and copy it somewhere safe, because the platform shows the full key only once. DeepSeek V4 Pro is an open-weights model released under the MIT license, and its hosted API is billed per token, so the key you create here is what meters your usage. Keep this key private, because anyone who has it can spend against your account.
Step 3: Point Claude Code at DeepSeek V4 Pro
Point Claude Code at DeepSeek V4 Pro by setting three environment variables before you launch it. Export ANTHROPIC_BASE_URL=https://api.deepseek.com/anthropic, set ANTHROPIC_AUTH_TOKEN to your DeepSeek key, and set ANTHROPIC_MODEL=deepseek-v4-pro. DeepSeek exposes an Anthropic-compatible endpoint and maps Claude model names to its own, so a request for an Opus-class model resolves to DeepSeek V4 Pro, as described in DeepSeek's Claude Code integration docs. Leave ANTHROPIC_API_KEY empty so Claude Code does not fall back to Anthropic. Launch Claude Code again and confirm it reports the DeepSeek model.
Step 4: Install the Pexo skill in Claude Code
Install the Pexo skill into Claude Code so the agent can actually produce video. DeepSeek V4 Pro reasons and plans, but it does not generate frames, so the video work comes from the Pexo skill you add on top. Install it from the pexoai/pexo-skills repository with the skills installer, then restart Claude Code so it registers the new skill. Pexo ships as an installable skill for Claude Code, and the same skill also runs in Codex, Cursor, and OpenClaw, so this workflow carries across those agents without changes.
Step 5: Describe your video and generate it
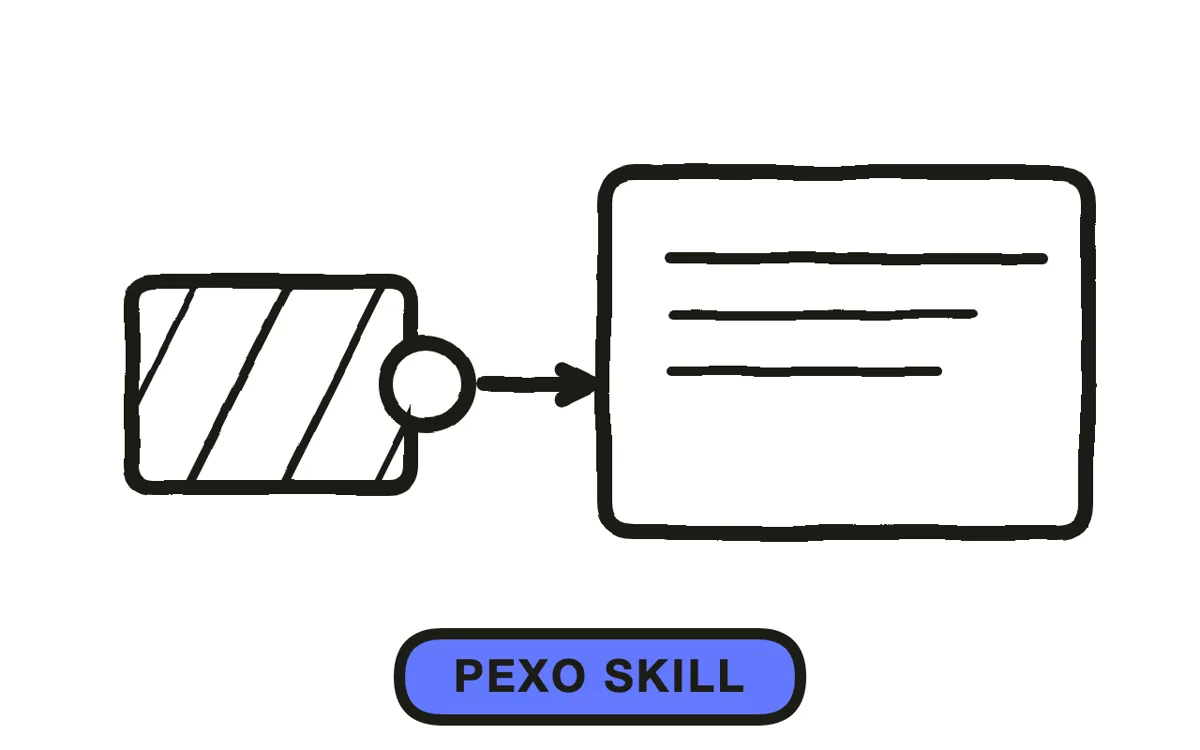
Describe the video you want in one plain-language brief and let the agent build it. Tell Claude Code what the video is about, who it is for, the mood, and the length. Claude Code, running on DeepSeek V4 Pro, plans the shot list and hands each shot to the Pexo skill. Pexo routes each shot to a suitable video model such as Seedance 2.0, Kling AI, and more, sequences the clips, and layers voiceover, music, and sound effects. A short clip of roughly fifteen seconds usually comes back in about eight to ten minutes.

Step 6: Review, revise, and export your video
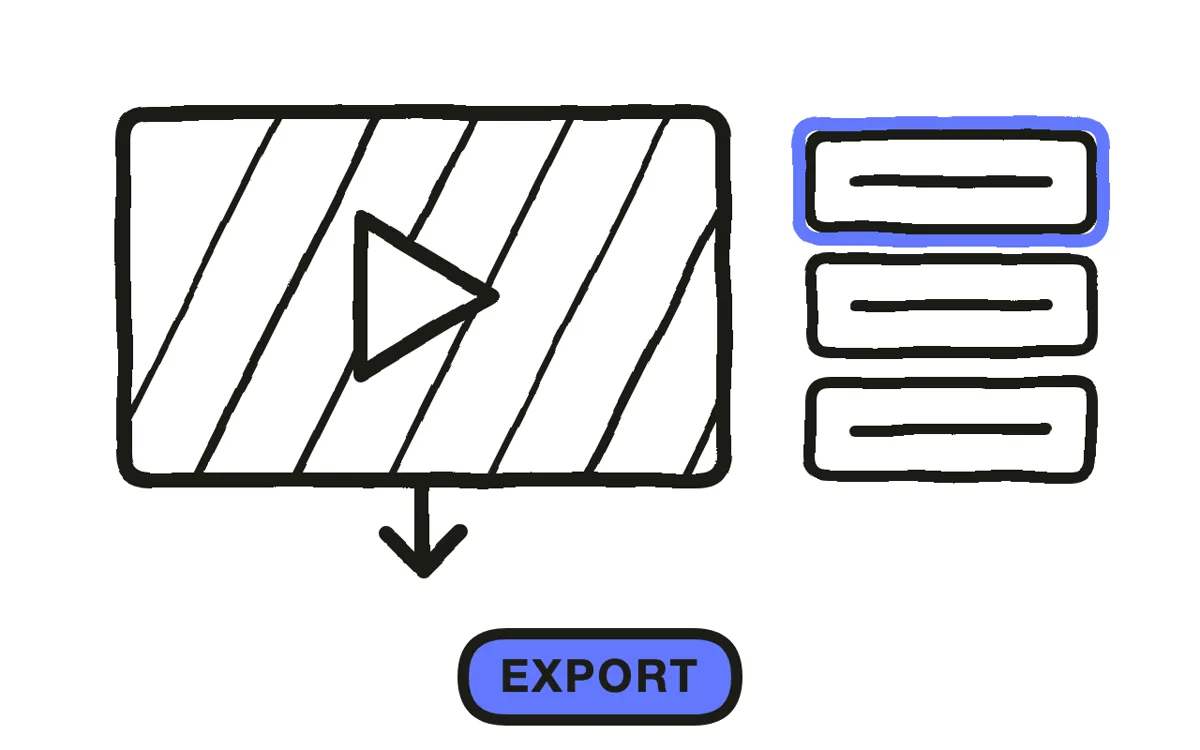
Review the draft, request changes in plain language, and export the format you need. If a shot is wrong, tell the agent what to change instead of opening a timeline. Pexo revises through conversation, so you can adjust the pacing, swap a scene, or rewrite the voiceover by describing the fix. When the cut is right, export 16:9 for YouTube, 9:16 for TikTok and Instagram Reels, or 1:1 for a square feed post. You can produce more than one aspect ratio from the same brief by asking for each one.
How the Pexo skill makes the video inside Claude Code
The reason this workflow ends in a finished clip rather than a script is the Pexo skill. Pexo is an AI video agent you drive by conversation, and it does per-shot model selection for you. Instead of picking one generator, Pexo routes each shot to a suitable model across Seedance 2.0, Kling AI, and more, then sequences the shots and composes a three-layer soundtrack of voiceover, music, and sound effects. That routing matters here because the video-model field changes every few weeks, and Pexo keeps the output current without you tracking releases.
The Pexo skill accepts more than text. You can animate a still with image-to-video, start from a written script, or generate straight from a description with text-to-video. For platform-native cuts, the YouTube video use case walks the same finished-clip flow with presets you can click.
Because Pexo ships as an installable skill for four agents, the setup transfers. If you prefer OpenAI Codex, the make videos with Codex using DeepSeek V4 Flash guide covers the same idea with the lighter DeepSeek model, and the general make videos with Claude Code tutorial is the starting point if you have not set an alternate backend yet.
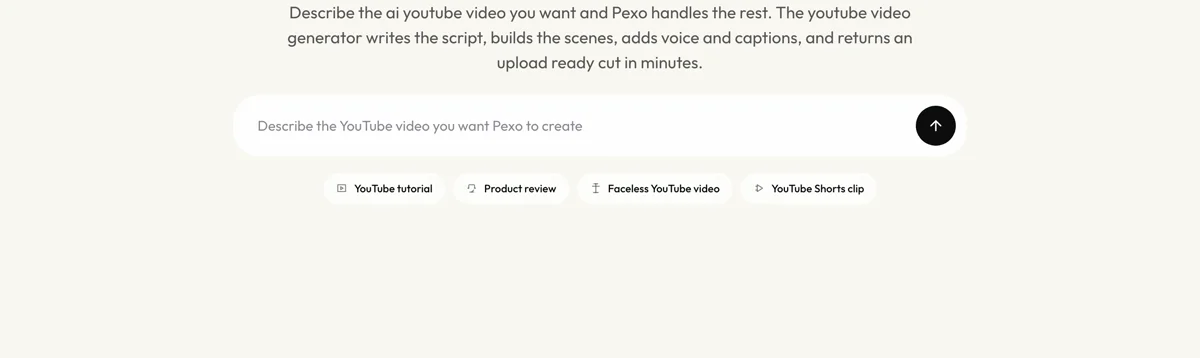
If you would rather skip the configuration entirely, the standalone Pexo app runs the same finished-video flow with no API key, no environment variables, and no model setup. The Claude Code plus DeepSeek V4 Pro route is for people who want video generation inside a terminal agent, or who specifically want an open, MIT-licensed model as the backend brain.
Common pitfalls when using Claude Code with DeepSeek V4 Pro
- Using Claude Desktop instead of the CLI. The desktop app authenticates with OAuth and ignores
ANTHROPIC_BASE_URLandANTHROPIC_AUTH_TOKEN, so it silently stays on Anthropic's models. Run this setup in the terminal or the VS Code extension. - Expecting DeepSeek V4 Pro to render frames. DeepSeek V4 Pro is the reasoning brain that plans the job, and the Pexo skill is what generates the actual video. Skip the skill and the agent can only describe a video, not make one.
- Expecting the model to read your images. DeepSeek V4 Pro has no vision input, so it cannot look at a reference photo. To work from an image, use the Pexo skill's image-to-video path rather than asking the model to interpret the picture.
- Leaving
ANTHROPIC_API_KEYset. A leftover Anthropic key can make Claude Code fall back to Anthropic auth instead of DeepSeek. Clear it so only the DeepSeek variables are active. - Trusting an unreviewed proxy tool. Community proxies that promise one-click model switching can carry risky instructions. Read the source before you hand any third-party tool your API key.
Related tutorials
- Make videos with Claude Code using Opus 5
- Make videos with Claude Code using Qwen 3.8 Max
- Can Claude Code make videos
- Best text-to-video skill for Claude Code
- Turn photos into AI video with Claude Code
Conclusion
You can make videos with Claude Code using DeepSeek V4 Pro once you point the agent at DeepSeek's API and add the Pexo skill that does the rendering. DeepSeek V4 Pro supplies the low-cost, long-context reasoning, and Pexo supplies the finished, edited clip. Start your first video on Pexo and describe what you want to see.
Written by Liora Adler, Content Lead.





