

 ChatGPT
 Perplexity
 Claude
 Gemini
 Grok
Grok

How to Storyboard an Animated Video
UPDATED: 2026-08-10 By Lan He, Senior Video Producer at Pexo
Storyboarding an animated video takes six steps: break the script into shots, draw the panels, time each one against the narration, add camera and motion notes, review for scope, then hand off. Storyboarding a 90-second explainer takes about one to three hours.
Quick Version: How to Storyboard an Animated Video
- Break the finished script into distinct shots.
- Draw a panel per shot, badly and quickly.
- Time each panel against the narration line it carries.
- Add camera and element motion notes.
- Review for scope, then treat sign-off as the lock.
- Hand off as an animatic rather than a static board.
How to Storyboard an Animated Video Step by Step
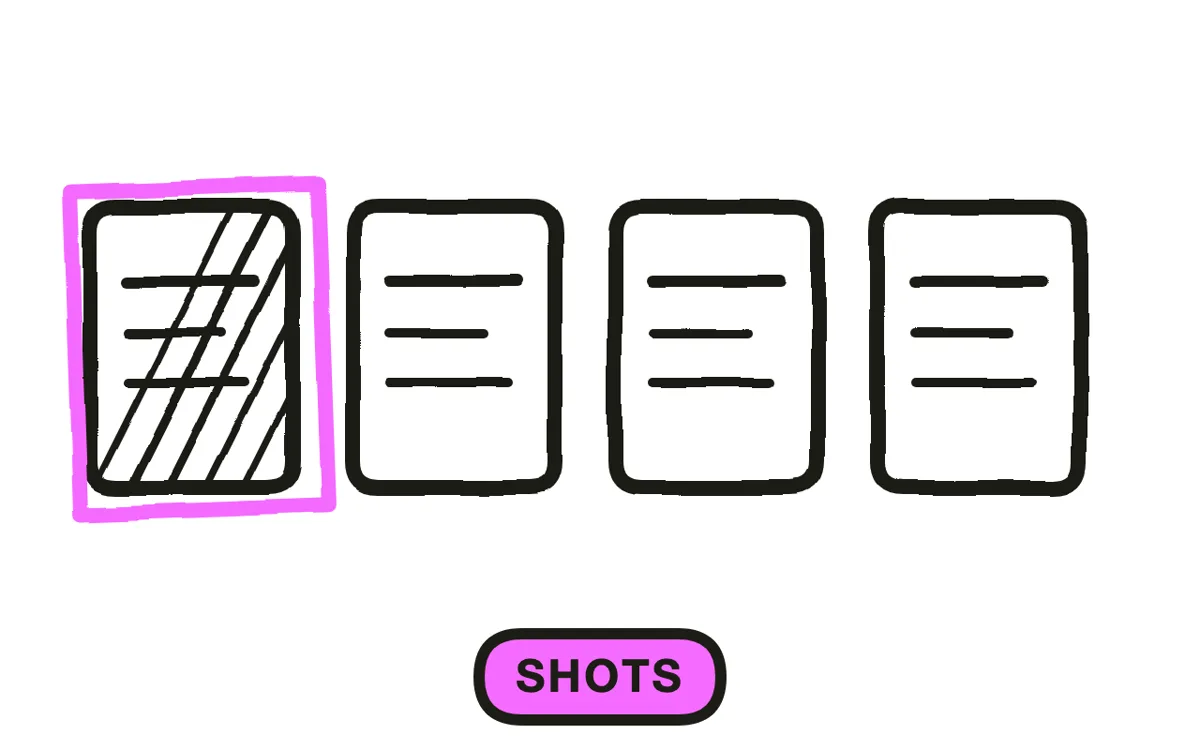
Step 1: Break the script into shots
Start from a finished script, not an outline. Storyboarding an unsettled script means redrawing panels for every wording change, and wording changes are free while panels are not.
Mark a new shot wherever what is on screen changes substantially: a new location, a new subject, a new idea. For most explainers that lands at one shot every three to six seconds, so a 90-second video breaks into 15 to 30 shots. If you are getting eight, the board is hiding decisions that will surface during animation instead.
Step 2: Draw the panels badly
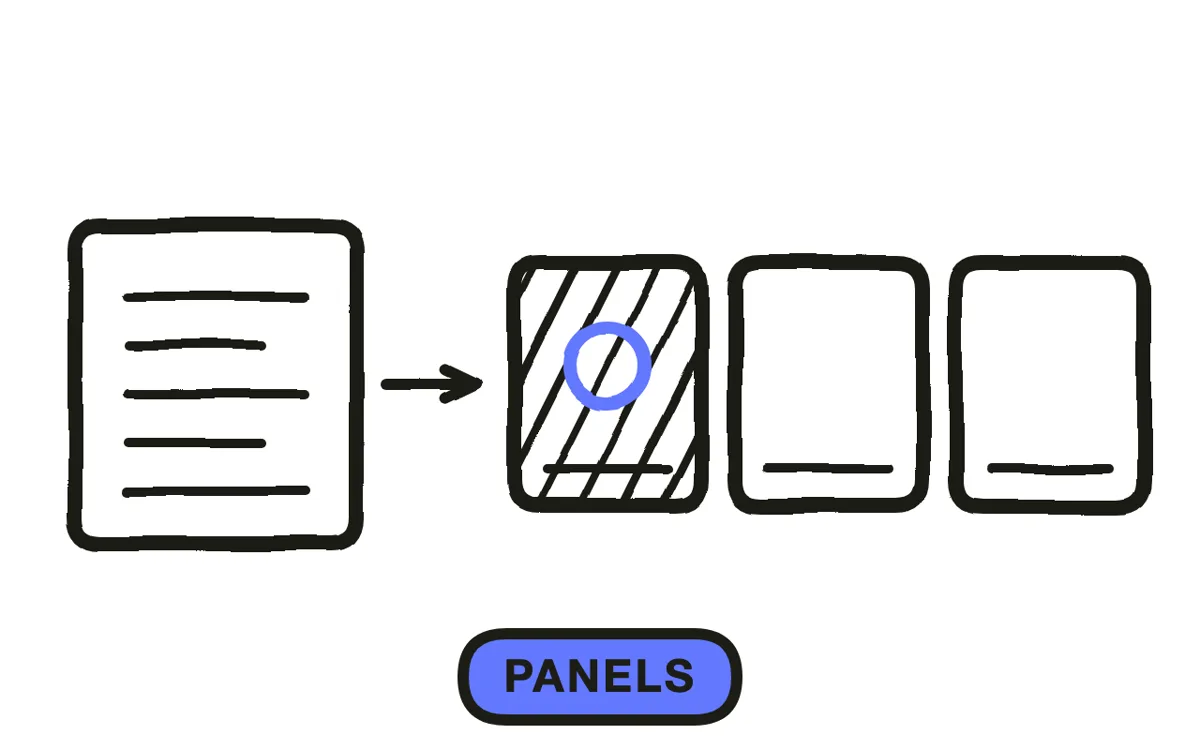
Draw stick figures and boxes. A storyboard's job is to settle what happens and when, and drawing skill contributes almost nothing to that. Time spent making panels attractive is time not spent testing whether the sequence works, which is the only thing the board is for.
Draw fast enough that redrawing a panel feels free, because the point is to try three versions of a sequence in the time one careful version would take. A board that took a day to draw is a board nobody wants to change, and that resistance is where storyboarding stops helping.
Step 3: Time each panel
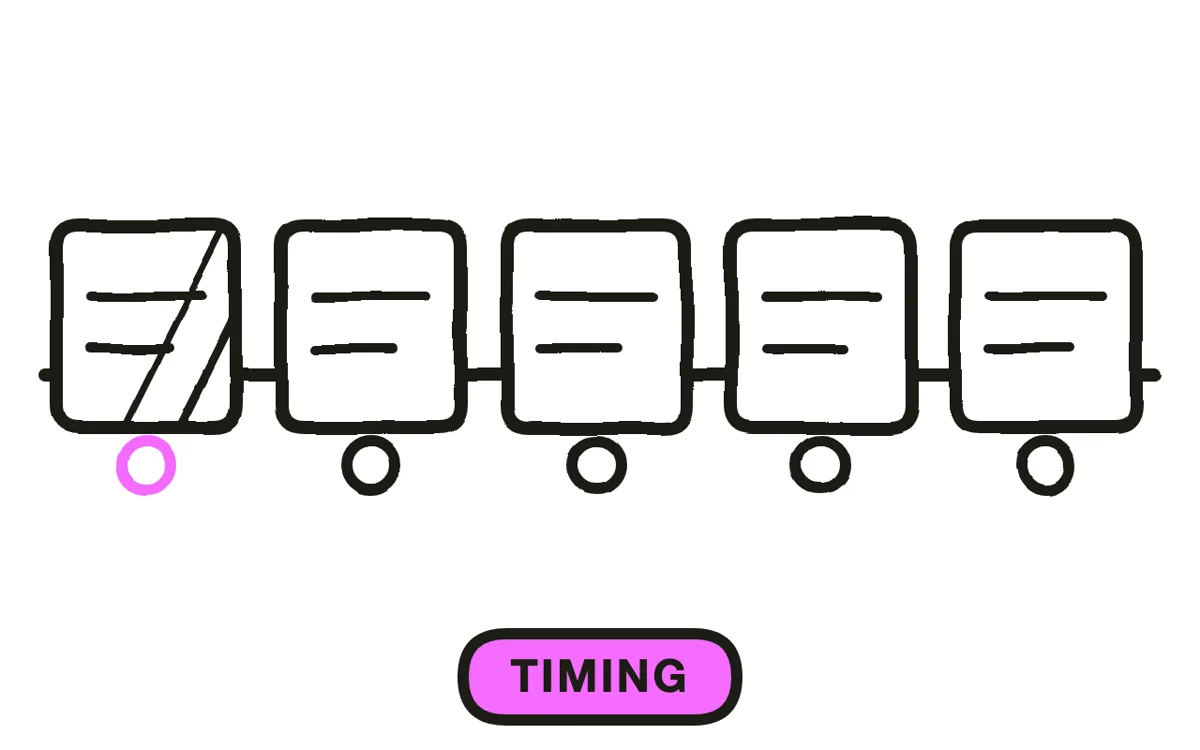
Write a duration on every panel and the line of narration it carries. This is what separates a storyboard from a set of sketches: a board with timings predicts the finished runtime, and a board without them predicts nothing.
Add the durations up and compare against the target. A 90-second video whose panels total 140 seconds is a problem you can fix now by cutting a shot, or a problem you fix later by cutting animation you already paid for. This check alone justifies the whole exercise.
Step 4: Add camera and motion notes
Mark what moves and how: an arrow for a pan, a box-within-box for a zoom, a note for which element enters when. An animator reading an unannotated panel has to invent the motion, and invented motion is where a board and a finished video diverge.
Note the transition into each panel as well. Cut, dissolve, or a continuous move from the previous shot are three different amounts of work, and deciding at the board stage is free while deciding during animation is not.
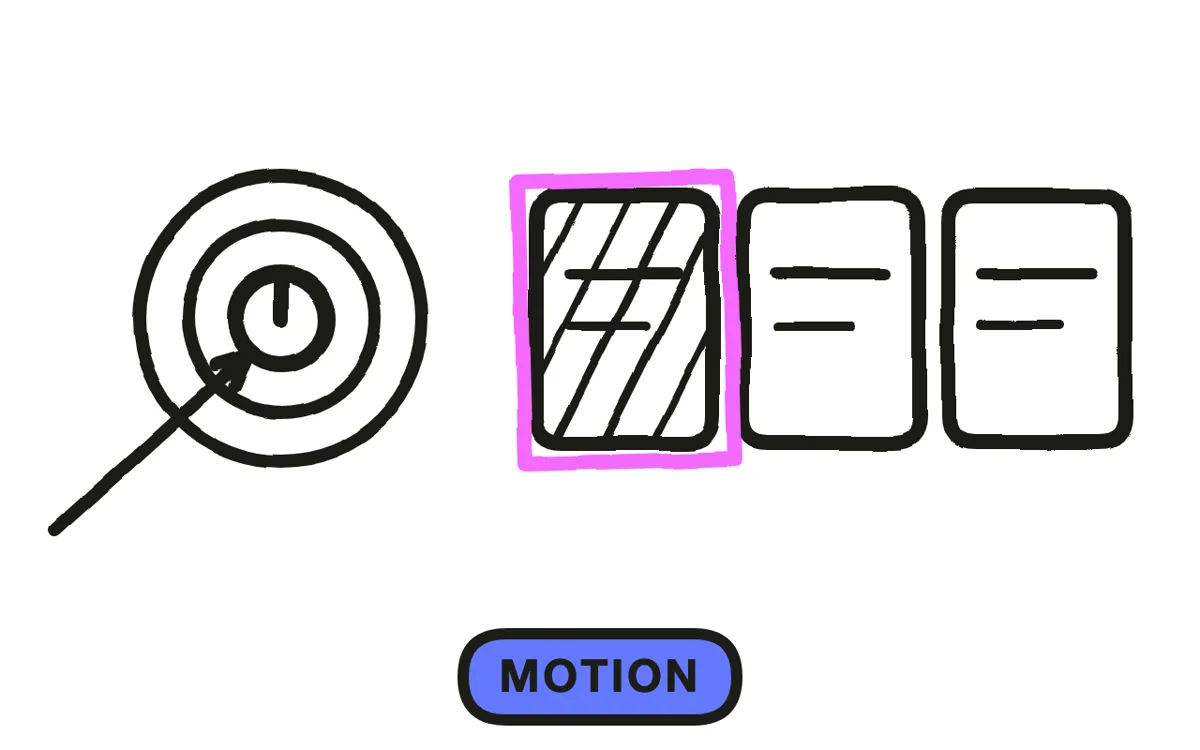
Step 5: Review for scope
Walk the board with whoever approves the final video, and treat their sign-off as the scope lock. Changes to a storyboard cost a redrawn panel; the same change after animation starts costs a re-render and, in an agency relationship, a change order.
Look specifically for expensive panels: character animation, complex transitions, anything with many moving elements. Trading two elaborate shots for four simple ones often buys a longer video for the same effort, and the board is the only place that trade is visible before the money is spent.
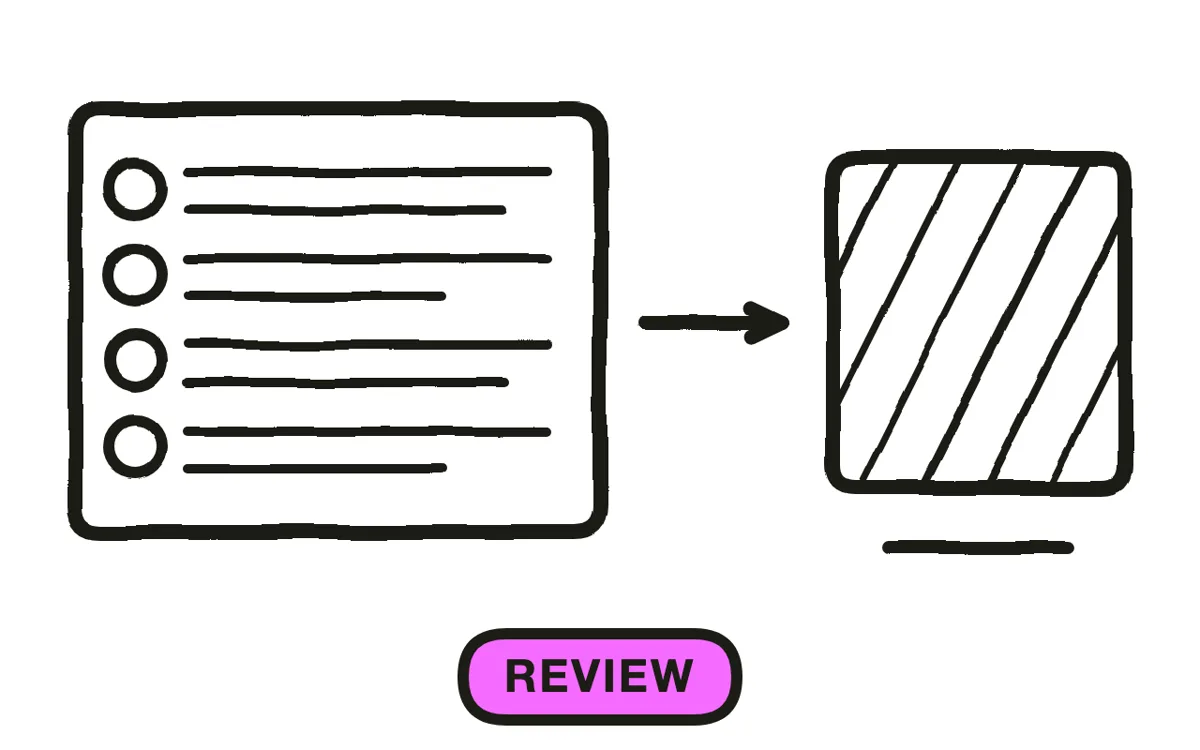
Step 6: Hand off as an animatic
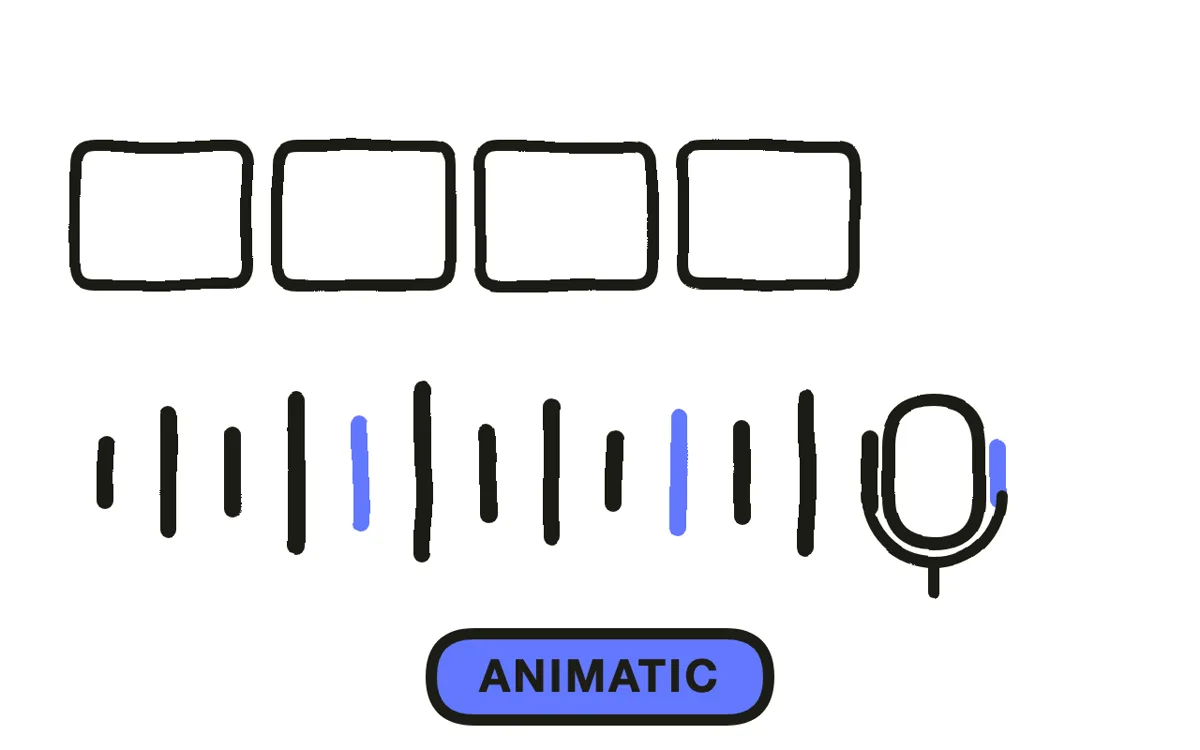
Cut the panels to their timings with scratch narration over them. An animatic is the cheapest possible version of the finished video, and it exposes pacing problems that a static board cannot: a shot that reads fine on paper and drags for four seconds on screen.
Where the video will be generated rather than hand-animated, the board still does its job. Pexo's script-to-video workflow takes the script and produces the scenes, and the board is what tells you which scenes to ask for and how long each should run. Cheap production makes planning more valuable, not less, because it removes the excuse to iterate on finished renders instead.
How to Storyboard an Animated Video with Pexo
The six steps above work with any tool. Once the board is settled, Pexo turns it into finished scenes in a single conversation, which is where a board stops being paperwork and starts being a production plan.
Open the animated explainer video page and describe each boarded shot: "Shot 4, five seconds: wide of an empty warehouse aisle, slow push toward a scanner on a shelf, flat illustrated style matching the previous shots." Pexo generates each scene to the duration and framing the board specified.
Adjust any shot by describing the change in the chat, and Pexo regenerates that scene alone, which keeps the board and the finished video in sync as revisions come in.
For related formats, the 2D explainer video page covers the most common animation style and explainer video covers the general format.
5 Mistakes That Make a Storyboard Useless to an Animator
1. Boarding an unsettled script. Wording changes are free; redrawn panels are not. Finish the script first.
2. Drawing carefully. A board that took a day is a board nobody wants to change, which removes the reason to make one.
3. Panels with no duration. Without timings the board predicts nothing, including whether the video fits its runtime.
4. No motion notes. An animator reading a static panel has to invent the movement, and invented movement is where the video stops matching the plan.
5. Skipping the animatic. A shot that reads fine on paper can drag for four seconds on screen, and only a timed cut shows that.
Related Tutorials
- How to make a 2D explainer video for the animation stage that follows
- How to make a cartoon explainer video for character-led animation
- How to produce an explainer video for the full production process
- Explainer video storyboard for the explainer-specific version




