

 ChatGPT
 Perplexity
 Claude
 Gemini
 Grok
Grok

How to Make a 2D Explainer Video
UPDATED: 2026-08-06 By Lan He, Senior Video Producer at Pexo
Making a 2D explainer video takes six steps: choose a concept that suits flat animation, write the script, build style frames, animate the scenes, add voiceover and sound, then export. A 2D explainer video takes about 25 minutes when generated, or weeks by hand.
Quick Version: How to Make a 2D Explainer Video
- Choose a concept that gains from flat animation rather than footage.
- Write a script where every line has something animatable attached.
- Build style frames locking character design, palette, and line weight.
- Animate the scenes by hand, from templates, or by generating them.
- Add voiceover, sound design, and music timed to the motion.
- Export 16:9 for site and YouTube, 9:16 and 1:1 for social.
How to Make a 2D Explainer Video Step by Step
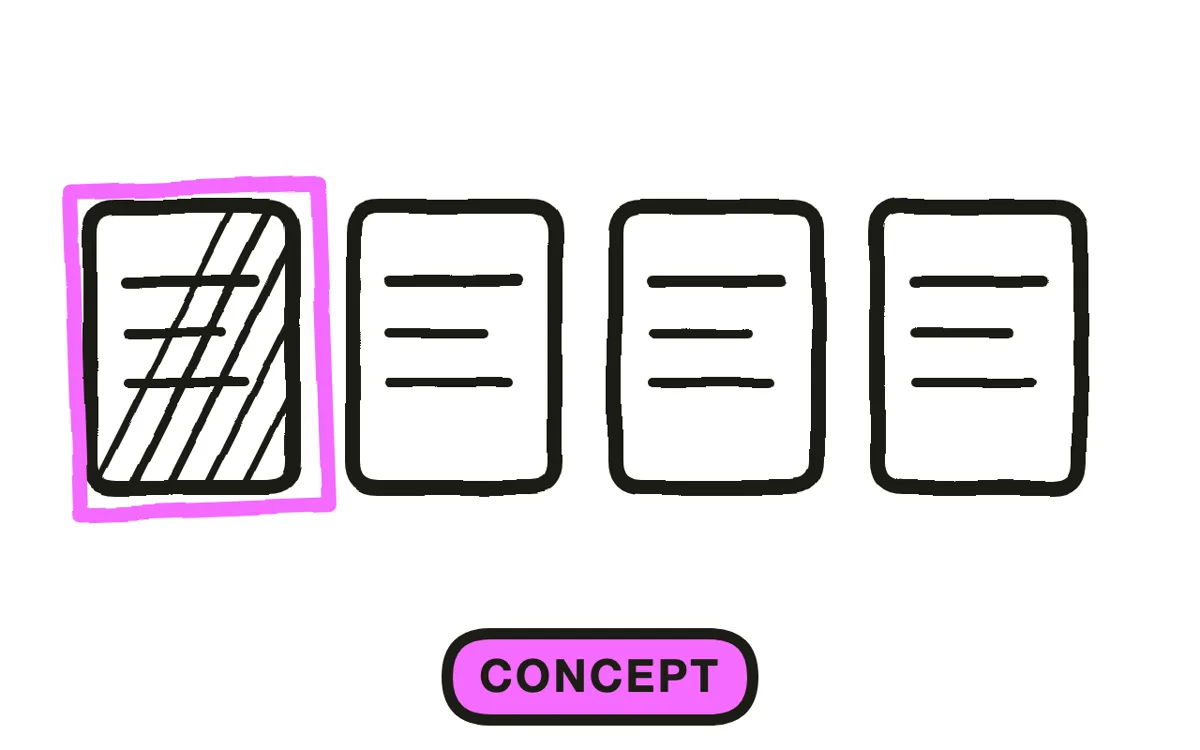
Step 1: Choose a concept that suits 2D
Pick a subject that benefits from being drawn flat: an abstract idea, a process with stages, a comparison, or a person's experience of a problem. 2D reads clearly at small sizes and carries concepts that have no physical form to film.
Check whether another style serves better. Anything where the viewer needs to understand how a physical object is built belongs in 3D. Anything where showing the real interface is the point belongs in screen recording. 2D wins when the subject is a relationship rather than a thing.
Step 2: Write the script with animation attached
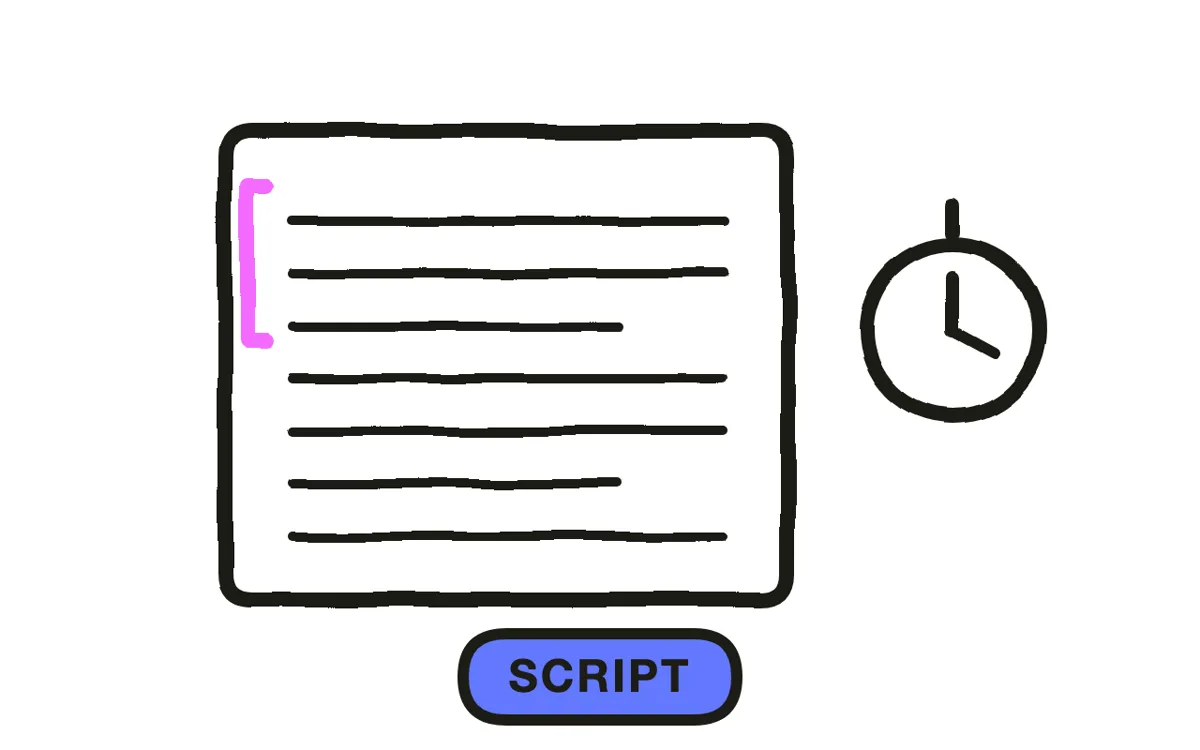
Write at roughly 150 words per minute, then mark what animates on every line. "Costs rose sharply" needs a drawable form, such as a line climbing off the edge of a chart. A sentence with nothing attached produces a stretch of video where the animation is decorative rather than explanatory.
Structure it in four beats: the problem the viewer recognises, the shift your product introduces, how it works, then the action. Count the words before anything is drawn, because a script that runs two minutes cannot become a 90-second video without cutting content already approved.
Step 3: Build style frames
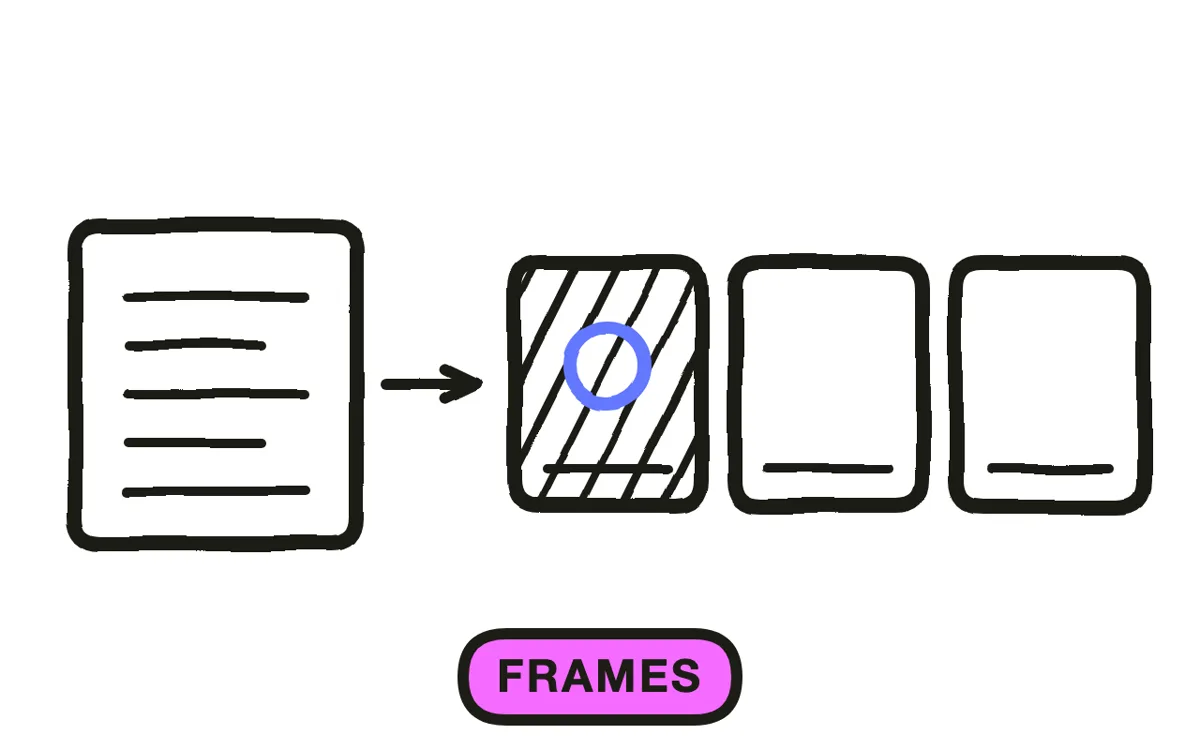
Design two or three static frames before animating anything. Lock the character design, the palette, the line weight, and the typography in those frames. Motion amplifies design decisions rather than rescuing them, and a weak static frame animates into a weak scene.
Line weight is the detail that most often gives away amateur work. A character drawn at 3px outline next to an icon drawn at 1px reads as two different videos spliced together, even when both are well drawn on their own. Set one value and hold it everywhere.
Step 4: Animate the scenes
Three routes work. Hand animation in After Effects gives frame-level control and takes weeks. Template tools such as Vyond or Powtoon are fast, with the tradeoff that a template explainer is recognisable as one. Generation produces the scenes from the script in minutes.
Pexo's script-to-video workflow generates 2D scenes directly from the approved script. Character consistency is where generated animation usually breaks, so define each character once at the start and reference that same identity in every subsequent scene rather than describing them again. Hyperframe holds the design across the whole piece.
Step 5: Add voiceover and sound
Record the voiceover before timing anything, then fit the animation to it. Cast the voice to the audience rather than to taste: a developer tool and a children's service need different registers, and the wrong one undermines an otherwise correct script.
Put a sound on each significant element entry. A click, a soft whoosh, or a tonal note synchronised to motion roughly doubles the perceived production value of the identical sequence played silently. Pexo generates narration with natural AI voices and composes a score aligned to the motion beats.
Step 6: Export for your placement
Export 16:9 at 1080p or higher for a website, YouTube, and presentations. Export 9:16 for Reels, TikTok, and Shorts. Export 1:1 for feed posts.
Pexo exports all three ratios from one project. Recompose the vertical version rather than cropping: 2D scenes are built on the spatial relationships between elements, and a centre crop discards exactly the relationships the scene existed to show. Check every export on a phone for type legibility before publishing.
How to Make a 2D Explainer Video with Pexo
The six steps above work with any tool. Pexo handles steps 4 through 6 in a single conversation, which compresses the animation stage that otherwise takes weeks.
Open the 2D explainer video page and paste the script, or describe the piece: "A 90-second 2D explainer for an expense app aimed at small business owners, flat vector style, teal and cream palette, one recurring character, warm conversational voice." Pexo generates the scenes, holds the character consistent, records the narration, and scores it.
Adjust any scene by describing the change in the chat, and Pexo regenerates that scene alone. The platform runs across Seedance 2.0, Kling AI, and more.
For other styles, the 3D explainer video page suits physical products, whiteboard animation covers hand-drawn explanation, and motion graphics suits data and typography.
5 Mistakes That Make 2D Animation Look Cheap
1. Linear motion. Constant-speed movement is the clearest amateur signal. Ease every entry and exit.
2. Mixed line weights. A 3px character beside a 1px icon reads as two videos spliced together. Set one value and hold it.
3. Adding characters the story does not need. Characters are the most expensive element to animate well. Shapes and typography carry most explainers fine.
4. Animating before counting the script. A two-minute script cannot become a 90-second video without cutting approved content.
5. Cropping landscape into vertical. The spatial relationships are the explanation. Recompose the vertical version separately.
Related Tutorials
- How to make a 3D explainer video for physical products and spatial concepts
- How to make a product explainer video for product-focused pieces
- How to make a motion graphics explainer video for data and typography-led explanation
- Explainer video styles for choosing between styles




