 ChatGPT
 Perplexity
 Claude
 Gemini
 Grok


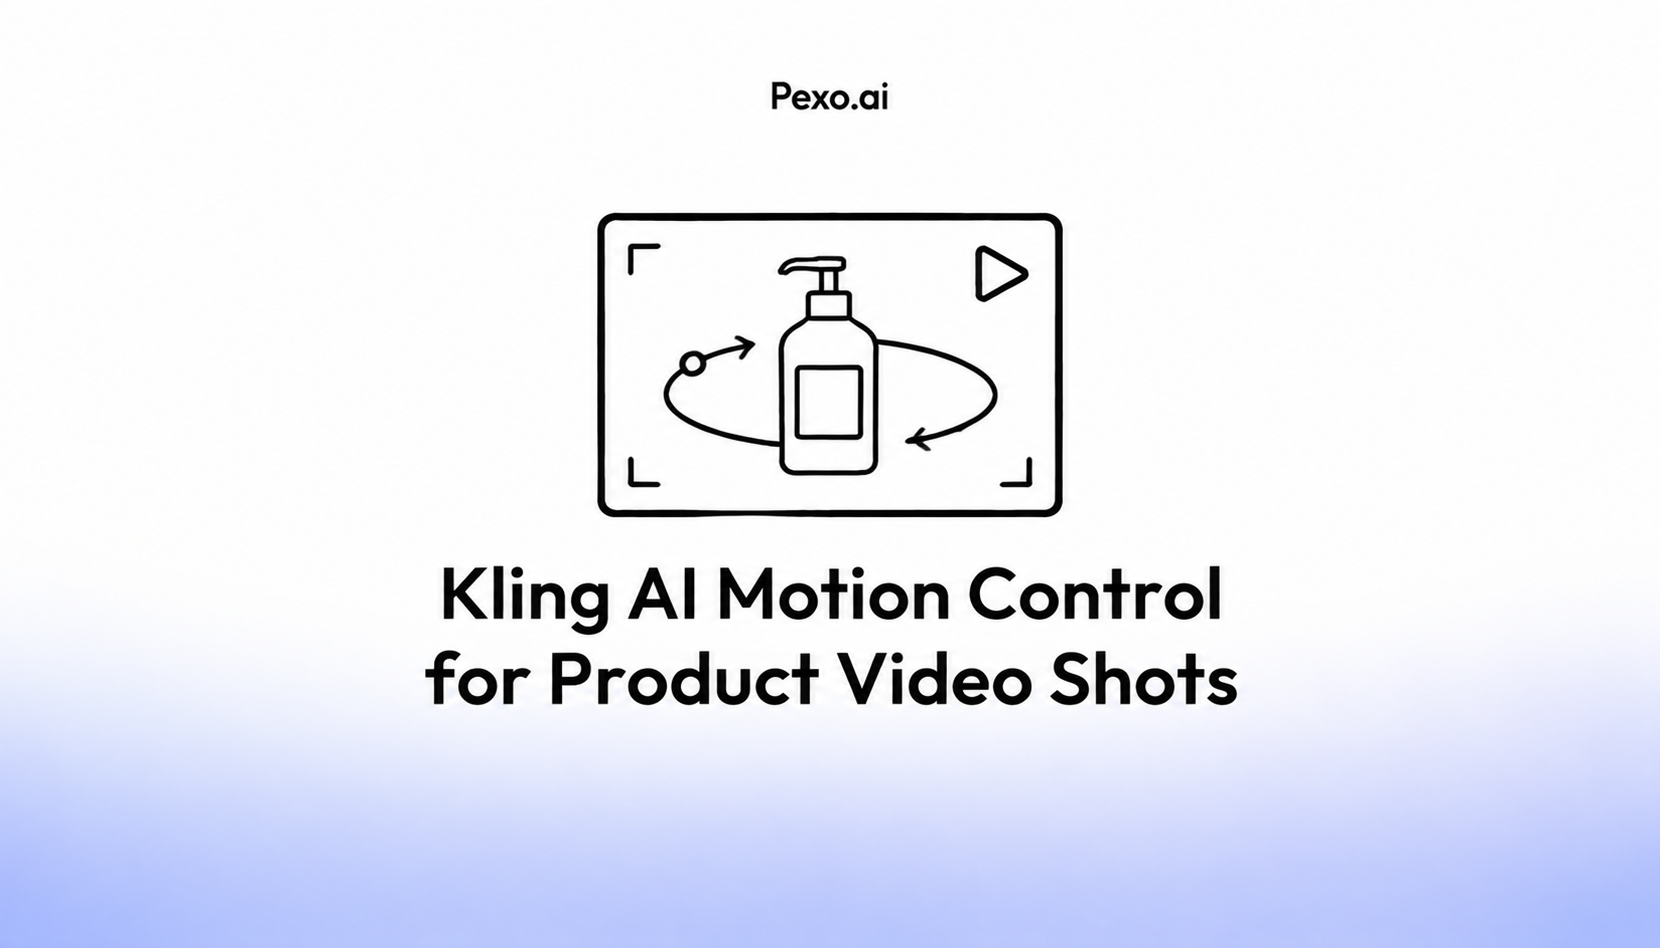

A hand lifting a tube toward the camera gives a product shot a clear destination: the label should face the buyer. The useful review happens along the way, as fingers cross the packaging and the tube changes angle.
Use Kling AI motion control to explore that movement with an approved subject image and a cleared performance reference. Judge the resulting shot against both. A convincing gesture still needs to show the product you're selling.
What Can Kling AI Motion Control Use as a Reference?
As checked on October 29, 2026, the Motion Control user guide covers VIDEO 3.0 and 2.6. Kling 4.0 has already launched as the current flagship video model, with improved dynamic motion stability and longer native generation. However, the dedicated Motion Control workflow (character image + motion reference video) remains based on the 2.6 and 3.0 versions. Confirm the selected version’s upload checks and available options in the current interface before preparing the final files.
It uses a character image and motion from a reference video; Kling also offers a motion library. The image supplies the subject to animate, while the clip supplies the performance to follow.
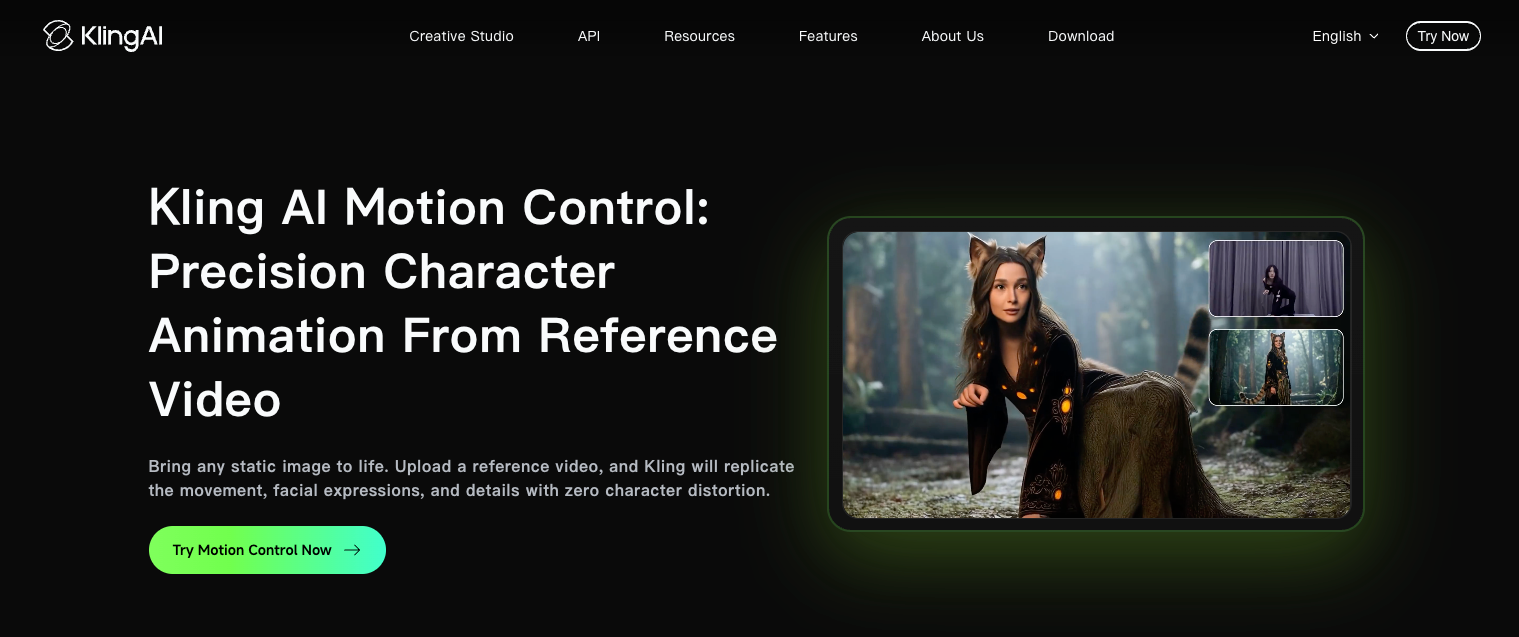
As checked on October 29, 2026, the Motion Control user guide covers VIDEO 3.0 and 2.6. Its 2.6 instructions specify continuous 3–30-second action references. Confirm the selected version's upload checks before preparing the final files.
For product work, one distinction matters immediately: the guide says 3.0's facial element library references faces, excluding clothing and props. A facial reference cannot verify packaging. The Kling team's technical report describes character animation; its research claims do not establish how your product will survive a particular shot.
Prepare a Motion Clip and Subject Image
Consider Hollis, a fictional hand cream tube, for this planning example. The shot shows a presenter raising the closed tube from waist level and holding its front toward the camera. It makes no claim about the cream's effects.
Use cleared, non-confidential source material. Record a permitted performer making that simple movement in one steady take. Keep the face, hands, and tube visible. Choose a subject image with a compatible body crop and enough space for the lift. A tight portrait leaves the product action outside the available picture.
| Material | What to prepare | What it establishes |
|---|---|---|
| Motion reference | One continuous, moderate-speed lift with a clear ending | Intended movement and timing |
| Subject image | Approved presenter appearance, visible hands, and the correct tube | Visual starting point |
| Product reference | Current front and side photographs, including cap and label | Product details to check independently |
| Approved copy | Exact product name and any verified claim | Words permitted in the ad |
| Permission record | Source ownership and consent covering the planned processing and promotional use | Whether the team can use the material |
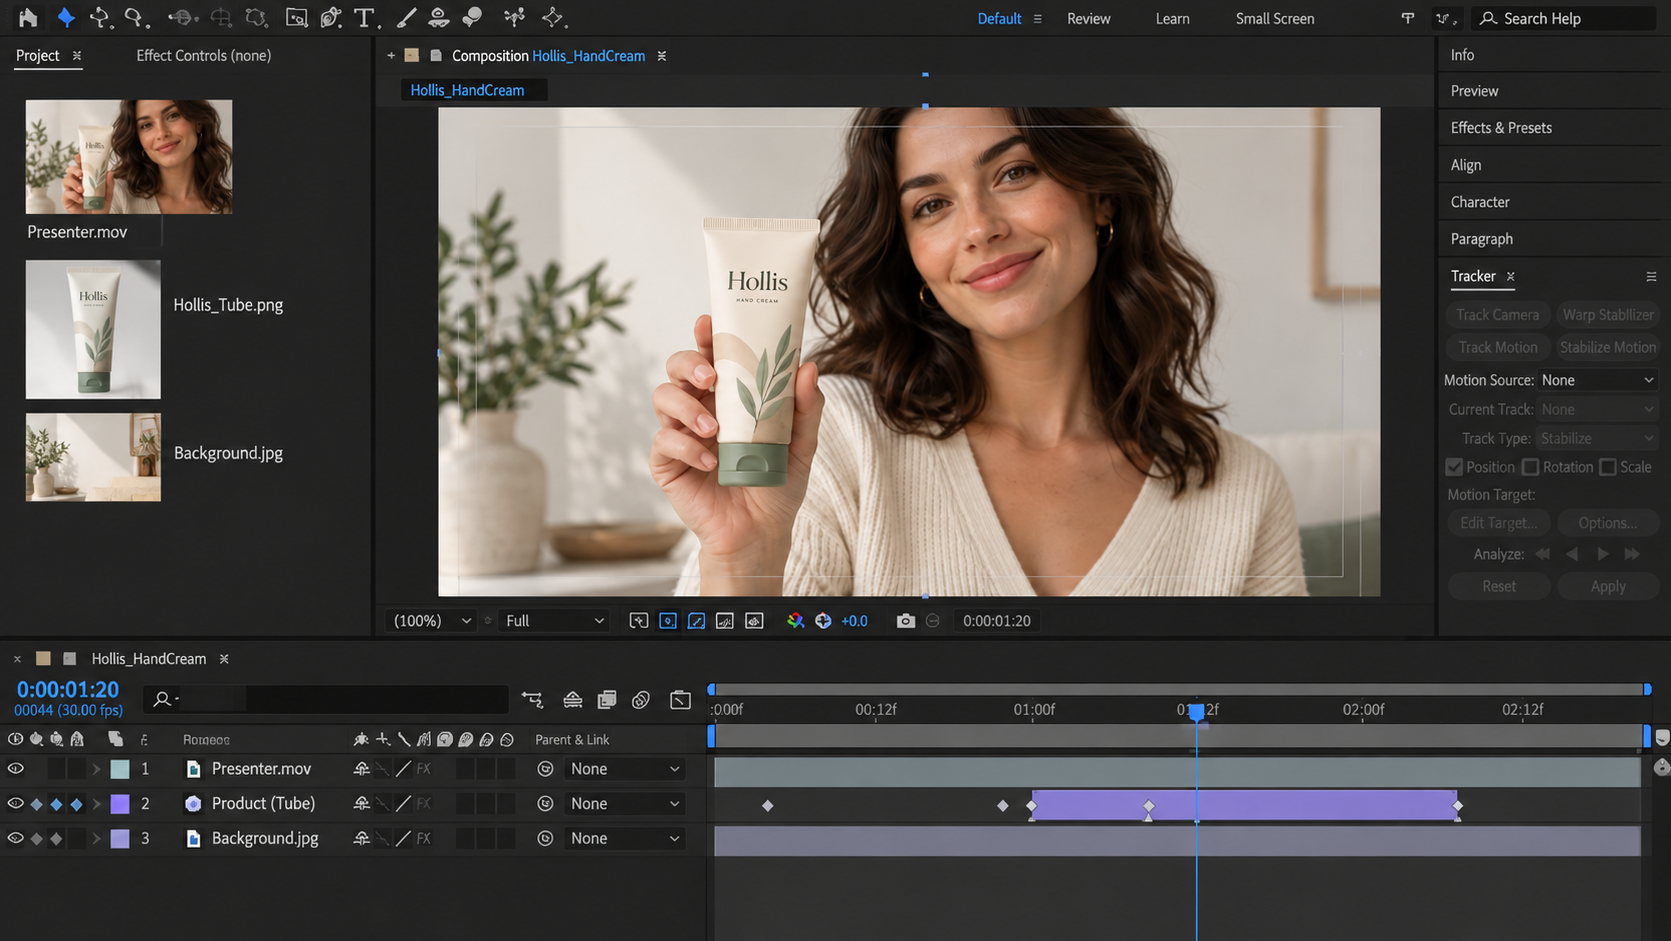
Kling recommends matching full-body or half-body framing across the inputs. Leave room around the moving hand and product, and remove unnecessary background distractions from the setup.
If the recorded reference already delivers the approved shot, consider using it directly. Motion transfer earns its place when you need a different approved visual treatment and can review the generated result.
Separate Product Facts From the Movement Brief
Write the movement and the fixed product details separately. “Raise the tube and pause with the front visible” describes an action. “The cap is white and stays closed” describes something the result must preserve.
For Hollis, the direction could read:
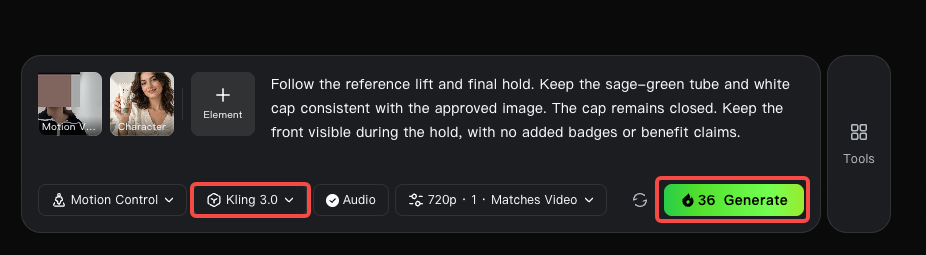
Follow the reference lift and final hold. Keep the sage-green tube and white cap consistent with the approved image. The cap remains closed. Keep the front visible during the hold, with no added badges or benefit claims.
This is a review brief, not a guarantee that every constraint will survive generation. Compare the result with the current product photographs, including details the subject image doesn't show clearly.
Select the character-orientation setting deliberately. The documented video-oriented option follows the reference's orientation; the image-oriented option retains the image's orientation. Neither choice is a vertical-versus-horizontal output switch. Check the selected mode and its displayed credit cost before generating.
Review Hands, Face, and Product Details in the Result
Watch once at normal speed to judge whether the lift reads naturally. Then inspect the contact between fingers and packaging, particularly where the tube turns or briefly disappears behind a hand.
| Review point | What to inspect | Reason to reject or revise |
|---|---|---|
| Hands and grip | Fingers, contact, and the tube's position | Fingers merge into packaging or the tube slips without a release |
| Face | Identity through turns and expressions | The presenter changes appearance during the action |
| Product | Tube shape, cap, color, and label | A different package or invented text appears |
| Ending | Front visibility and time to read | The tube turns away before the viewer can identify it |
| Adjacent shots | Product state, hand position, and screen direction | The next cut suggests an action that never occurred |
A clean final frame does not excuse an altered label during the lift. If exact packaging cannot be maintained, use an approved product recording or a separate packshot for the detail. Do not blur a false claim and treat the shot as corrected.
Listen separately. Check whether reference speech or music appears in the output and whether its use is cleared. A usable visual does not establish audio permission.
Revise a Shot Without Losing the Video Story
Identify the cause before spending on another attempt. If the reference hides the tube behind a hand, record a clearer performance. If the image crops out the wrist, replace the image. More descriptive prose cannot supply a dependable view of a missing product detail.
For a timing problem, a useful note is: “Keep the lift, but hold the front toward the camera before lowering the tube.” If the source clip doesn't contain that hold, change the reference rather than assuming the next generation will invent it correctly.
Keep the previous candidate and record the changed input, mode, and actual credits used. Review the replacement in the surrounding ad. A longer hold may help identification while delaying the next explanation.
Stop when repeated attempts change the package or fail at the same hand contact. A simpler movement or real product footage may answer the buyer more clearly.
Where Does the Controlled Shot Fit in a Finished Ad?
It fits where the viewer needs to notice the product or follow a particular gesture. The ad still needs an opening, a supported message, and a next step.
For Hollis, use the lift to introduce the tube, then cut to an approved packshot with readable product information. End with the next action appropriate to the campaign. The generated presenter should not imply a personal customer experience that never happened.
If you want help shaping that sequence, bring the reviewed clip, packshot, and approved copy to Pexo, this guide's publisher. Give a concrete direction: “Use the lift as the introduction. Let the packshot carry the exact product wording.” Review the preview for a clear transition between the two.

Send the approved export as source footage, and compare the returned preview with that clip. Before uploading, confirm file acceptance and clear the material for processing. Check any written consent required for promotional use under Pexo's current terms.
Before releasing the ad, verify your account's commercial-use entitlement against Kling's paid-service terms. Clear the source footage, likeness, and audio separately. These are general production checks, not legal advice.