

 ChatGPT
 Perplexity
 Claude
 Gemini
 Grok




A feature visual should make one mechanism easier to see while keeping the product and labels within approved evidence.
That is the useful boundary for MiniMax H3 Image product features. H3 Image creates and edits stills. An approved still can start a later video scene, but it is not a product test.

Which product feature needs a visual explanation?
Choose one feature that benefits from a picture rather than another sentence. For a fictional Vela travel mug, that might be the locking tab on the lid. The visual can show the lid, hinge and closed position. It cannot prove that the mug survives a measured drop unless you have separate evidence for that claim.
Write the viewer takeaway in one line:
The locking tab closes over the lid and keeps the drinking opening covered during a commute.
List the facts the illustration must preserve: lid shape, tab position, seal color, finish and model number. Decide whether the feature needs a cutaway, exploded view or callout.
Gather approved photos and specifications
Start with the clearest approved product photo. Add the specification sheet, a useful second angle and a style or layout reference only when its role is clear.
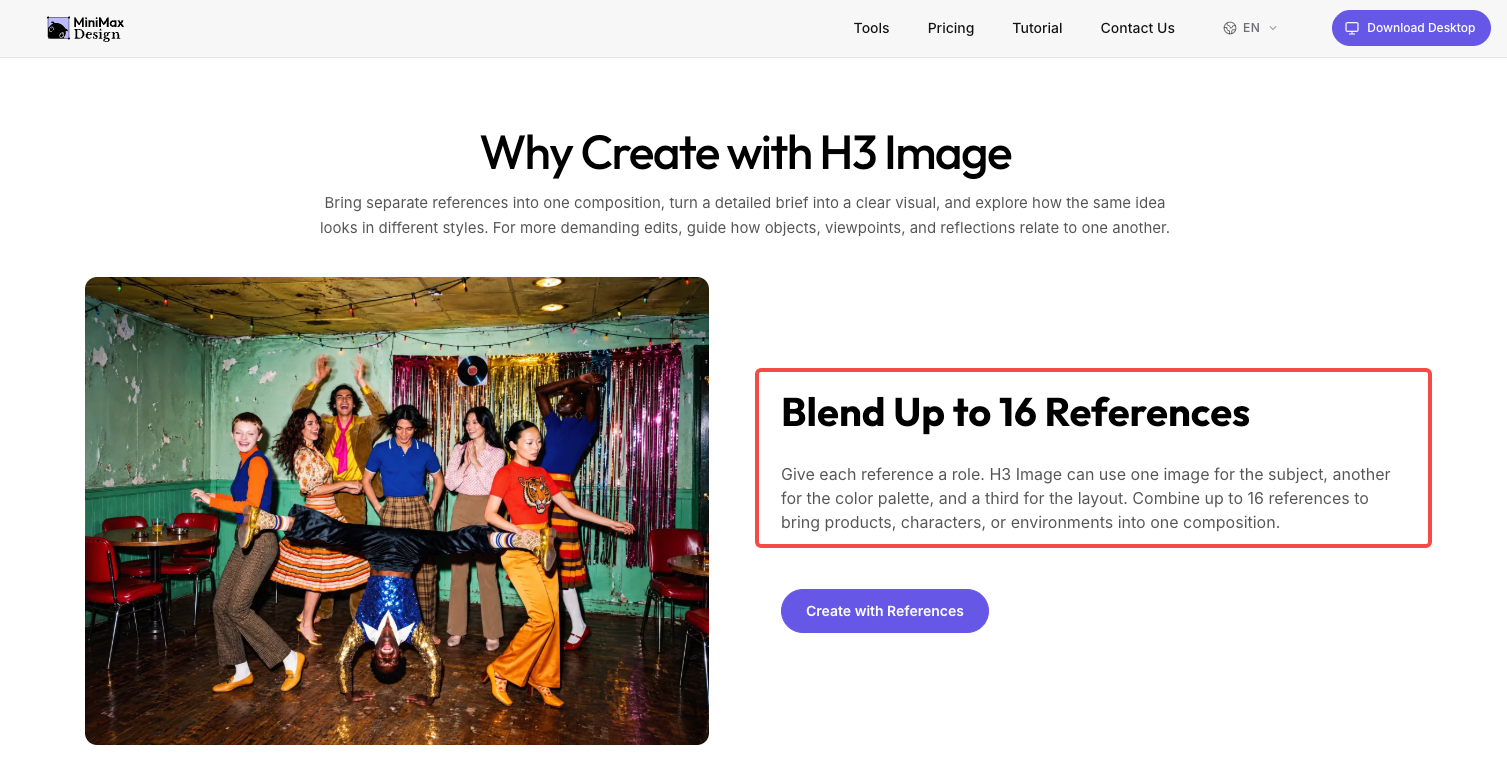
The H3 Image product page says the model can combine up to 16 references and recommends assigning each image a role. Do not attach every image in the asset folder.
Prepare a small reference packet:
| Reference | Role | What it may control | What it may not change |
|---|---|---|---|
| P01 product photo | Subject | Mug shape, lid, finish | SKU identity or label |
| P02 side view | Feature detail | Hinge and locking tab | Approved proportions |
| S01 style board | Layout | Background color and diagram language | Product claims |
| F01 fact sheet | Source of truth | Names, measurements and approved wording | The appearance of the real product |
Keep the originals beside the generated work so reviewers can compare them directly.
Make one feature illustration with H3 Image
Use a prompt that names the feature, the reference roles and the limits of the scene. For Vela, the first request could be:
Use P01 as the exact product subject and P02 for the side-view hinge. Create a clean three-quarter product illustration showing the locking tab closed over the lid. Use S01's warm gray background and one thin callout line. Keep the mug shape, finish, seal color and printed model number unchanged. Do not add liquid, impact marks or performance symbols.
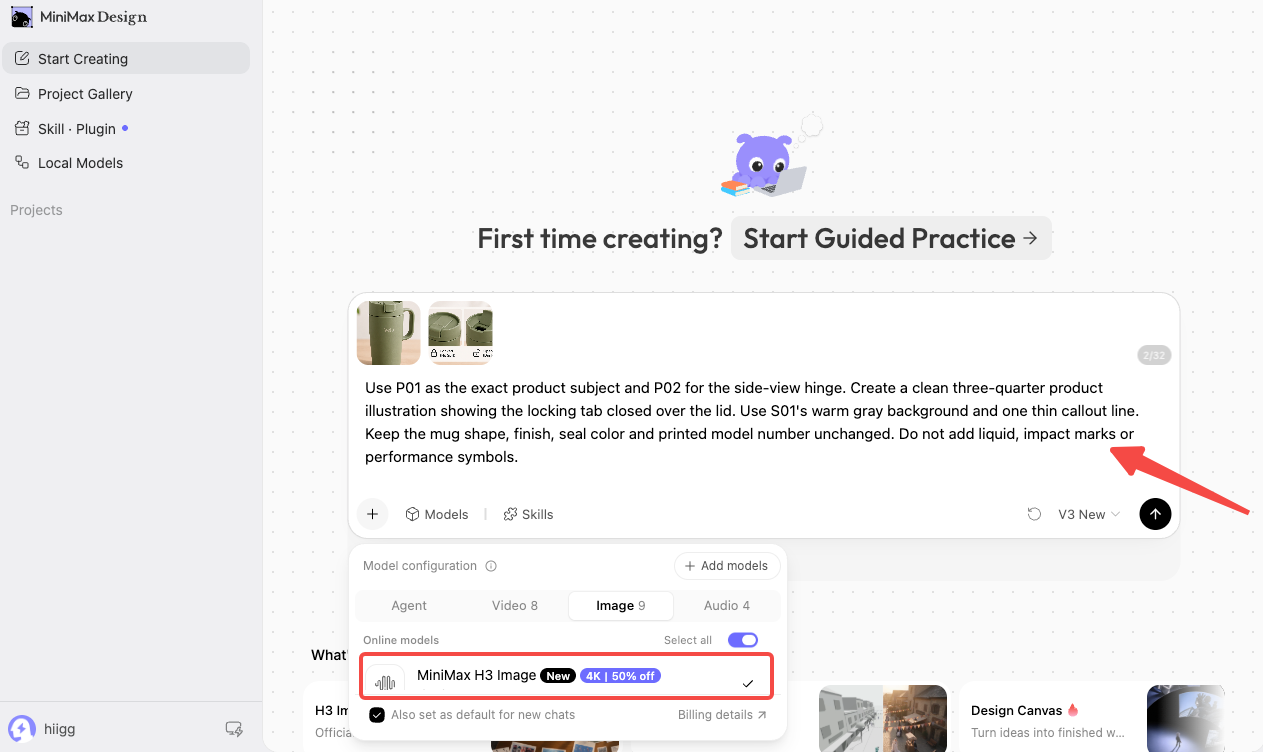
H3 Image lists image editing, up to 4K output, 1:3–3:1 aspect ratios, and PNG, JPEG or WebP export. Pick the canvas around the later placement.
Its FAQ warns that long paragraphs and dense text are less reliable. Keep visual copy short; put longer explanations in the script or design layer.
Assign a clear role to each reference image
Name the role in the prompt and in the handoff note. One image should anchor the product. Another can guide the hinge or camera angle. A style reference can influence color or composition. It should not silently rewrite the SKU.
If references disagree, resolve the conflict before generating. Keep the image with the approved product fact and remove the one that introduces a competing label, accessory or shape.
Check shape, labels, and implied performance
Review the illustration against the source packet in five passes:
-
Shape: Does the body, lid, tab and hinge match the approved product?
-
Labels: Are the model number, logo and callout words exact?
-
Materials: Does the finish still look like the real surface rather than a new material?
-
Mechanism: Does the visual show a plausible relationship between the parts?
-
Claim: Does the image suggest a result that the approved evidence does not support?
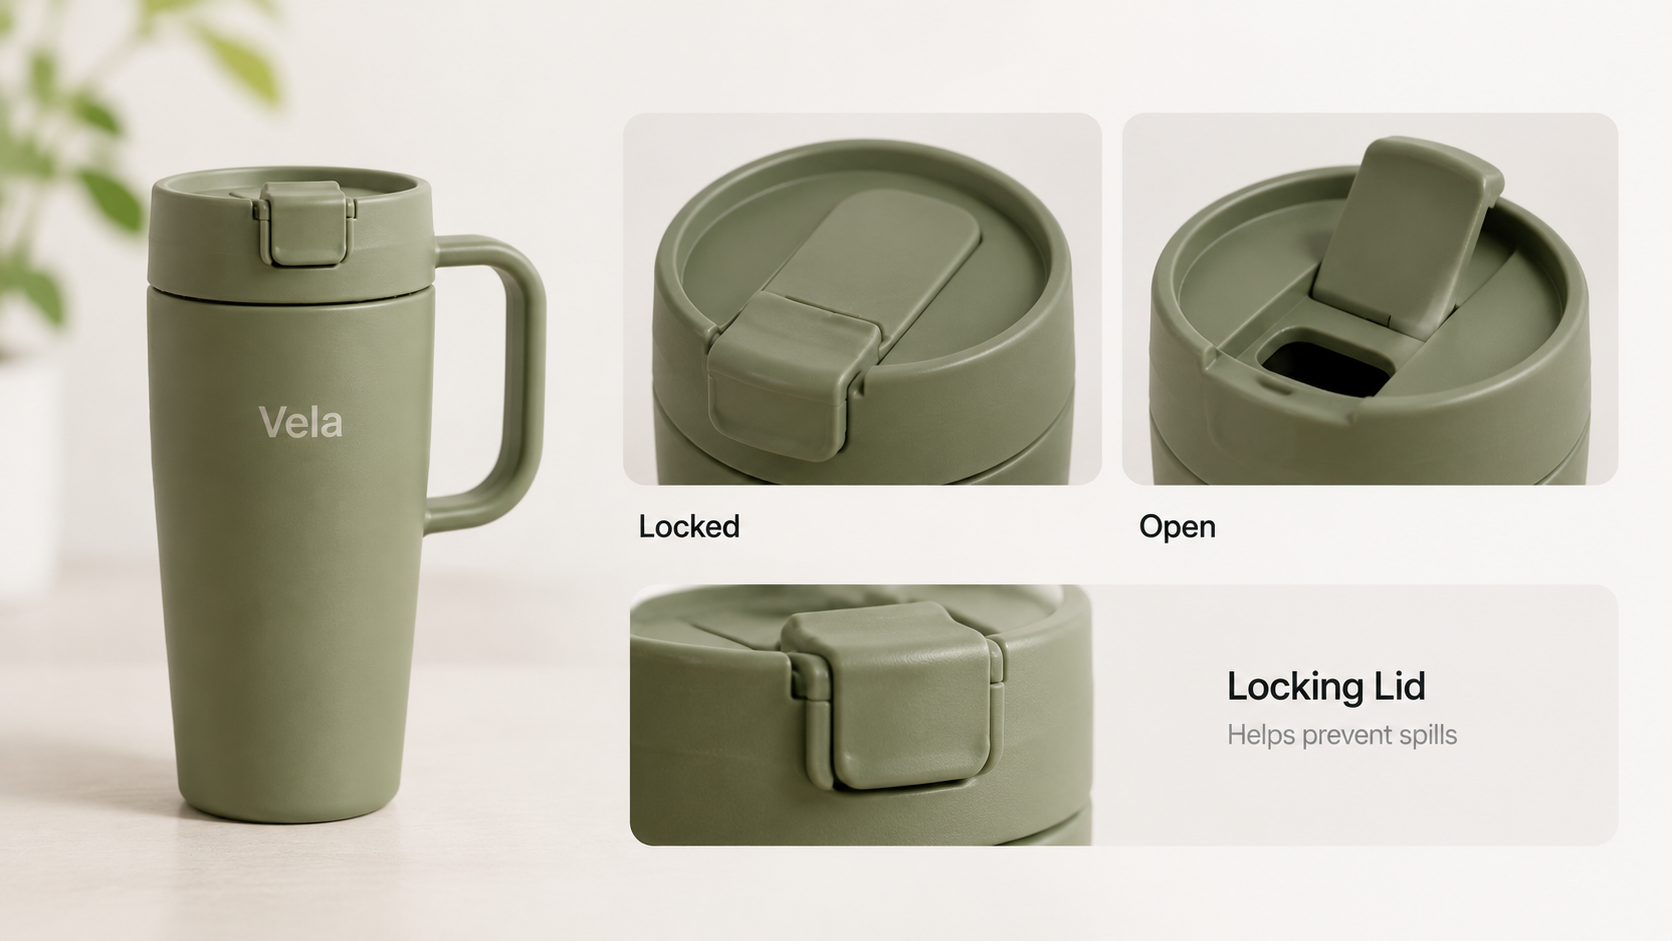
The Vela image is a fictional illustration. Its spill-prevention callout shows how a diagram can imply a claim that the picture itself cannot verify. Remove shield icons, splash rings or impact lines unless the product owner approved the evidence.
If the label is wrong, return to the source image or replace the text in a controlled design layer. Do not hand a video editor a frame that is attractive but factually unstable.
Hand the verified still to a video scene plan
The approved still should arrive with a scene note:
-
accepted filename and image version;
-
feature being explained;
-
product facts that must stay visible;
-
approved narration or on-screen wording;
-
intended aspect ratio and placement;
-
motion that may be added later;
-
reviewer and approval scope.
Keep a slow lid close as a video direction. H3 Image has not animated the action or proved locking force.
For downstream production, Pexo's product video workflow can use an approved product visual as part of a fuller video direction. Pexo does not claim native H3 Image project integration here. Keep the image packet and fact sheet as the source of truth when you review the preview.

What can the image show without proving the claim?
It can show arrangement, material, viewpoint, component relationships and a clearly labeled hypothetical cross-section.
It cannot establish durability, safety, capacity, speed, waterproofing, medical effect or engineering tolerance. Those claims need separate evidence.
For a regulated feature, send the still and wording to the responsible reviewer. This article does not provide legal advice.
Conclusion
Use H3 Image to make one product feature easier to see, then stop at the verified still. Assign every reference a role, protect the SKU details, remove implied claims, and give video production a scene note that says what may move later. The image earns its place when it clarifies the feature without pretending to test it.