I turned one still photo of a perfume bottle into a 20 second vertical ad without writing a single prompt or opening a timeline, and I did it inside Pexo just by talking to it. That is the whole promise of image to video: you bring a picture, you say what you want to see happen, and you get a finished clip back. Most tools bury that promise under a blank "describe the motion" prompt box and a model picker. This AI image to video tutorial walks the five steps I use in Pexo to animate any photo, where you say what you want in plain words and Pexo routes the shot to the right model (Seedance, Kling, and more). Start your first clip free.
What Is AI Image-to-Video?
AI image-to-video is the process of taking a static image, a product photo, an illustration, a screenshot, a piece of art, and generating a short video clip from it. The AI reads the picture, then adds motion: a slow push-in on the subject, a 360 degree product spin, drifting light, a character that blinks and turns. You end up with a few seconds of moving footage built from a single frame you already had.
It matters because video outperforms stills almost everywhere people scroll, and most of us are sitting on photos, not footage. A product photographer has the hero shot but not the ad. A small brand has the packaging render but no studio budget. Image-to-video closes that gap: one image in, a scroll-stopping clip out, no camera and no editing suite.
There are two ways tools approach it. The common one hands you an upload button and a text box and asks you to write a motion prompt, then pick a model and hope. The other is Pexo's: no prompts, just talk. Pexo is built to be an AI video partner you talk to rather than a tool you operate, so you describe the clip the way you would explain it to a friend, and it figures out the rest. See how Pexo's image-to-video workflow handles it.
What You Need Before You Start
You need surprisingly little. Here is the full list:
- A still image. A product photo, a portrait, an illustration, a logo lockup, anything with a clear subject. Higher resolution and clean lighting give the model more to work with. In my perfume example I used a single packshot of the bottle.
- A rough idea of the motion. Not a script, not a storyboard. Just a sentence: "slow zoom on the bottle, warm morning light, end on the brand name." If you only have a vibe, that is enough; Pexo will ask follow-up questions and suggest directions.
- A Pexo account. Pexo is self-serve and credit-based, so you can start without a sales call. Open Pexo and start free.
Do not have a usable image yet? You do not need a separate tool for that either. You can generate the still inside Pexo with text-to-image, then carry it straight into the image-to-video step without leaving the app. One workspace, picture and video both.
How to Turn an Image Into a Video With Pexo: Step by Step
Here is the exact five step flow I ran to turn the perfume photo into a finished 9:16 ad. Each step is one short action, and the whole thing happens in a single conversation.
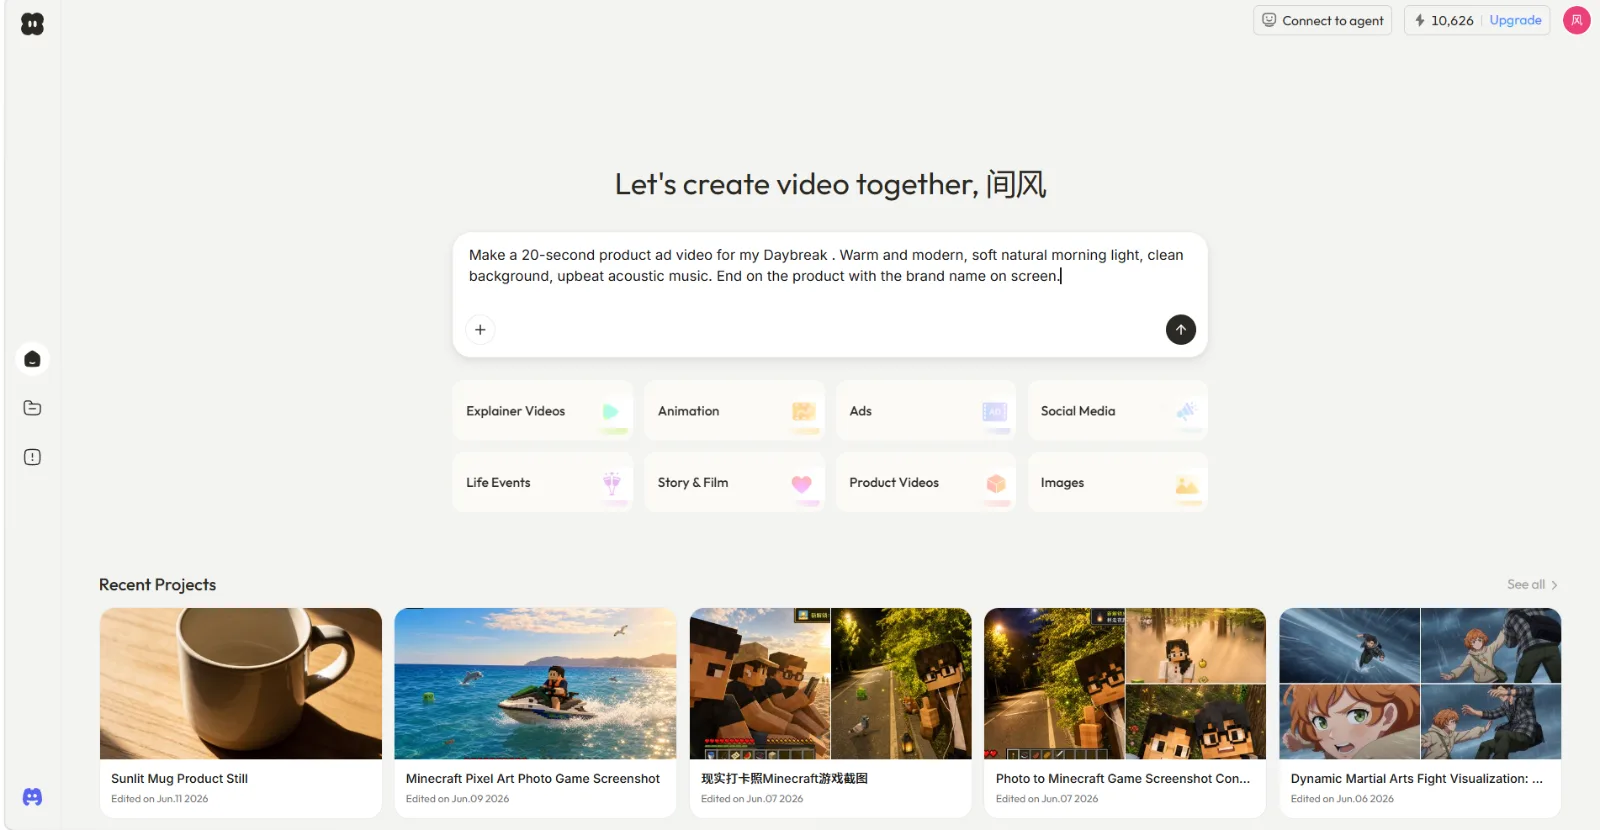
Step 1: Open Pexo Where You Already Work
Open Pexo and start a new project. You can work on the web, or pull Pexo up right inside the tools you already use, Slack, Lark, WhatsApp, and Claude, so there is no new tab to learn and nothing to export back and forth. The first thing you see is a plain chat box that says "Tell me your idea." That is the whole interface. No menus, no 200 button timeline, just one conversation from start to finish. You are ready in seconds.
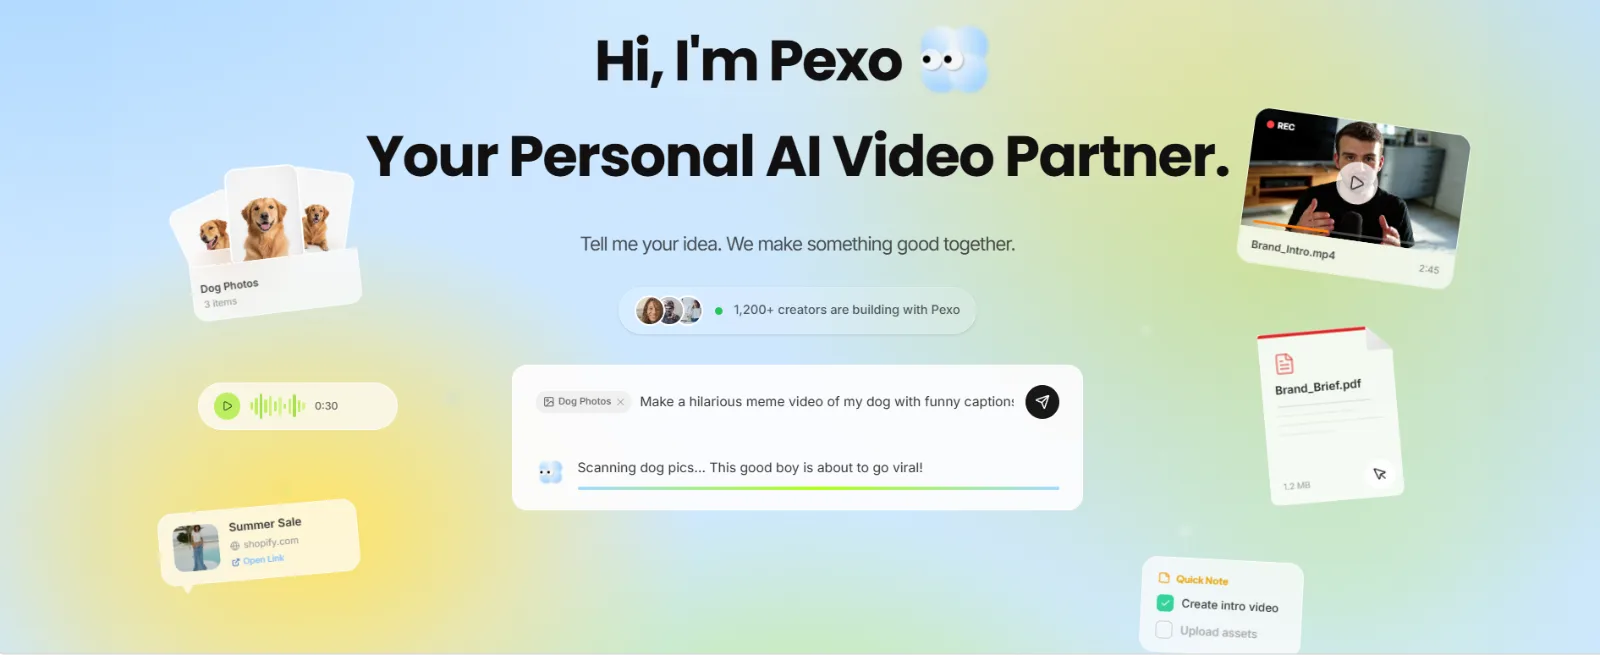 Pexo opens on a single chat box instead of a feature-stuffed editor. You start by saying what you want, not by hunting for tools.
Step 2: Add Your Image
Drop your photo into the conversation. In my run I attached the perfume packshot and told Pexo, "Use this photo as the hero product shot." Pexo reads the image, confirms what it is looking at, and asks one or two smart questions before it commits, in my case it checked what "Daybreak" actually was so it would not guess wrong. That is the partner behaving like a partner: it plans the shot with you instead of silently spitting out whatever it assumes. You can add more than one still here too if your clip needs several frames.
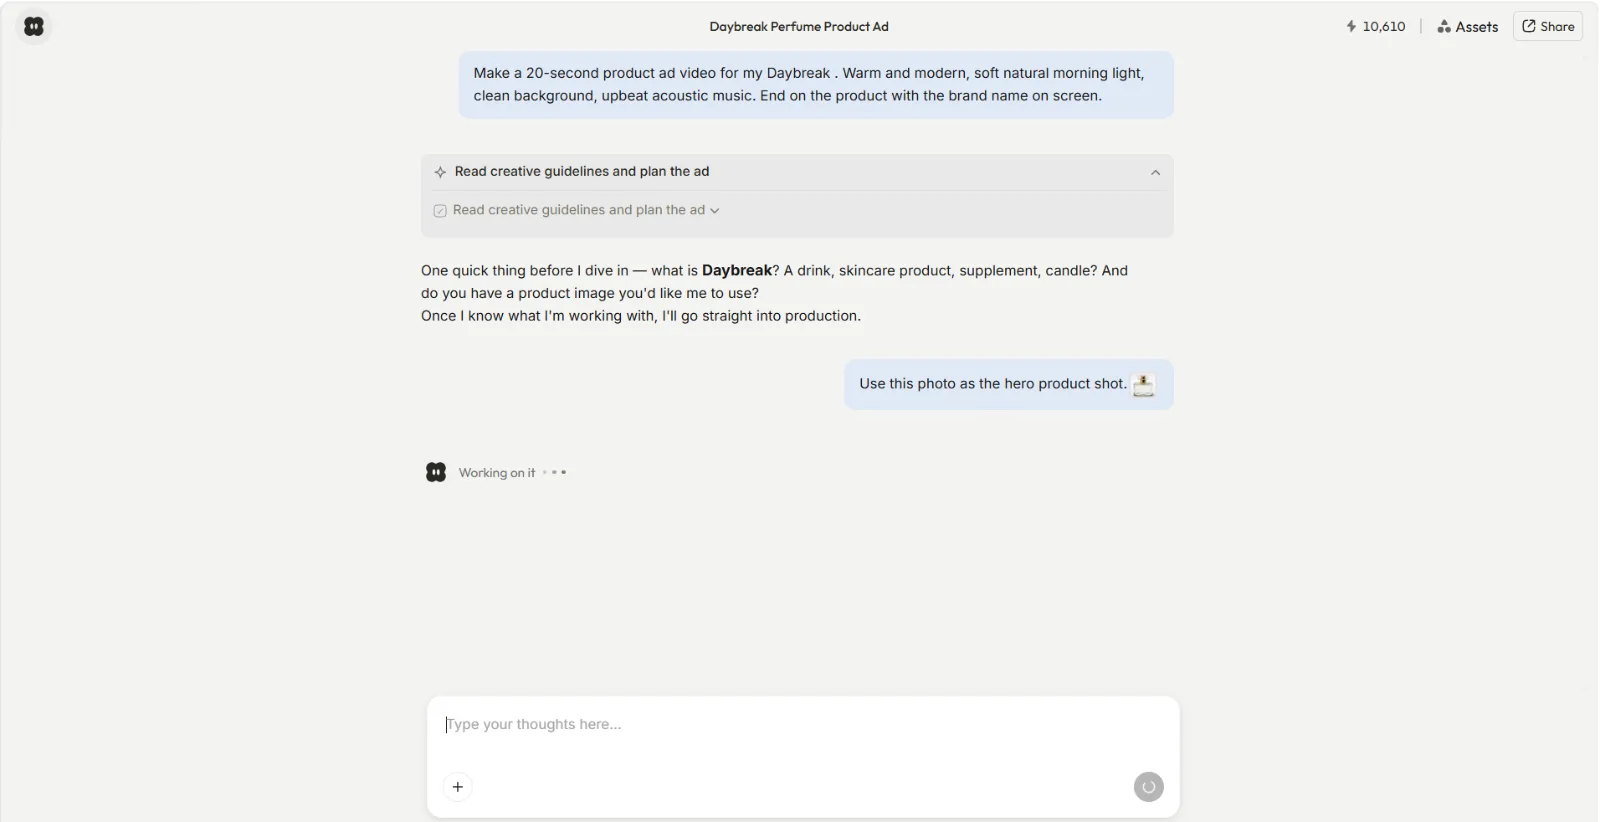 I attached the bottle photo right in the chat and said to use it as the hero shot. Pexo confirmed the image and asked a clarifying question before producing anything.
Step 3: Describe the Motion in Plain Words (No Prompt Needed)
Now say what you want to happen, the way you would describe it out loud. My exact line was: "Make a 20-second product ad video for my Daybreak. Warm and modern, soft natural morning light, clean background, upbeat acoustic music. End on the product with the brand name on screen." No prompt syntax, no weighting tokens, no negative prompts. That no-prompt, just-talk approach is the single biggest reason I reach for Pexo over a classic motion-prompt box.
That line is not random, and you can reuse its shape on any photo. A description Pexo can act on cleanly covers four things:
- Subject and length: what the clip is and how long. "A 20-second product ad."
- Mood and light: how it should feel. "Warm and modern, soft natural morning light."
- Action and setting: what moves and where. "Clean background," with the camera easing toward the bottle.
- Payoff: the last frame the viewer should remember. "End on the product with the brand name on screen."
Hit those four and Pexo has what it needs. You can also pick the format here, vertical, square, or wide, depending on where the clip is going, and behind the scenes Pexo selects the right model for the shot so you never have to, working across leading video models like Seedance and more. Try describing your own clip.
 The whole brief is one plain-English sentence. Pexo reads the intent, picks the best model, and starts producing. No prompt engineering required.
Step 4: Review Pexo's Preview and Redirect
Pexo shows its work. While it produces, you see a "Working on it" status, and when the clip lands you get a full preview plus a row of suggested next moves. On a quick test clip, a ceramic mug spinning in a smooth 3 second 360 degree loop, Pexo handed me four concrete options right under the video: add ambient sound, overlay a text card, adjust the mood, or loop it seamlessly. If something is off, you do not dig through an editor. You just point at it and say the change: "make the light warmer," "hold on the logo longer." That feedback loop is the real difference here: you direct, you do not operate. Redirect as many times as you want before you commit.
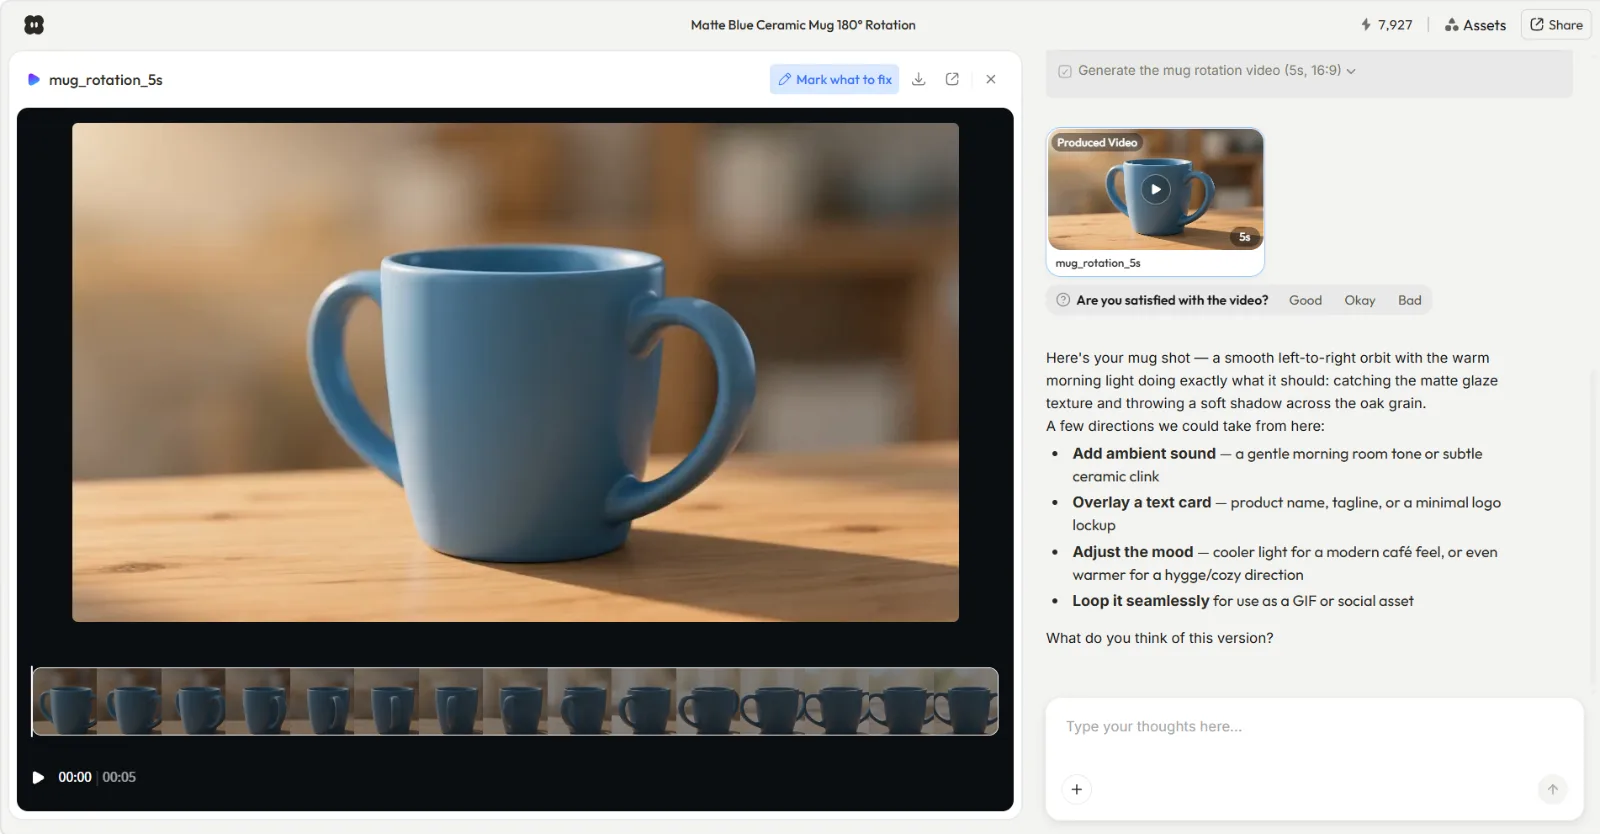 Pexo shows the preview and offers concrete next moves like adjusting the mood or adding sound. You redirect by talking, not by editing.
Step 5: Ship Your Finished Clip
When the preview is right, you have a finished video, not a 5 second teaser you still have to assemble. My first Daybreak pass came back a touch cool and cut away from the bottle too early, so I said "warmer light, and hold on the bottle at the end," and the next version landed it: a complete 20 second, 9:16 clip with the soft morning light, the acoustic track, and the brand name on the final frame. That second round took one sentence, not a re-edit. Pexo handles the transitions, pacing, and soundtrack as part of the job, so the file you download is ready to post. Drop it straight onto TikTok, Reels, or a product page. Make your first clip now.
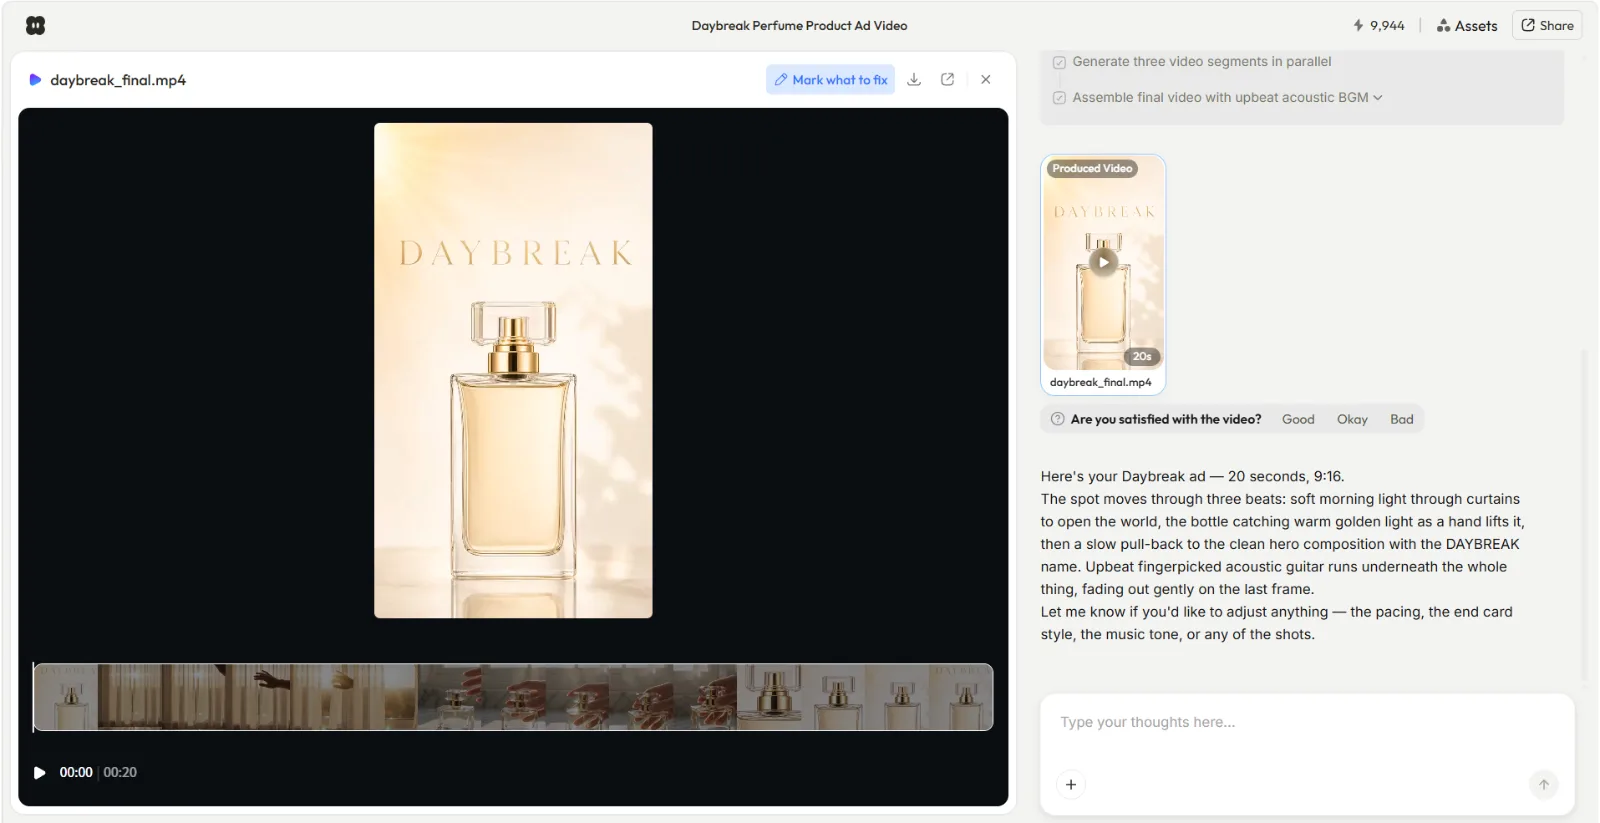 The finished clip: a single perfume photo turned into a complete 20 second 9:16 ad, soundtrack and brand-name end card included, ready to post.
Common Mistakes to Avoid
Even with a workflow this simple, a few things trip people up. Here are the ones I see most:
- Starting with a low-quality image. A blurry, dim, or heavily compressed photo gives the model less to animate. Use the sharpest, best-lit still you have. If it is weak, regenerate a cleaner one with Pexo's text-to-image first.
- Over-specifying like it is a prompt box. You do not need a 200 word motion prompt with camera jargon. One clear sentence about the feeling and the action works better with Pexo than a wall of keywords.
- Cramming five ideas into one clip. A 20 second ad doing one thing well beats a 20 second clip doing five things badly. Pick one motion and one message per video.
- Skipping the preview. The redirect step is where good clips become great ones. Do not download the first pass; spend one round telling Pexo what to nudge.
- Picking the wrong aspect ratio for the platform. Decide vertical, square, or wide before you ship, a 9:16 clip stuffed into a wide slot looks amateur.
Pro Tips for Better Image-to-Video Results
Once you have the basics down, these are the moves that lift the quality:
- Describe the mood, not just the motion. "Warm and modern, soft natural morning light" tells Pexo how the clip should feel, and that drives better model choices than "zoom in" alone.
- End on the payoff. For ads, tell Pexo to land on the product with the brand name on screen. A clear final frame is what makes a clip feel finished instead of looped.
- Use the suggested next moves. When Pexo offers to add ambient sound or a text card, take it, those one-tap directions are tuned to the clip you just made.
- Batch variations by talking. Want a square cut for Instagram and a wide cut for YouTube? Ask for them in the same conversation instead of starting over. Pexo lets you jump around without rebuilding.
- Match the model to the job by trusting the routing. You do not need to memorize which model nails realism versus anime. Pexo picks the best one each time, and you can compare looks across models like Kling AI if you are curious. Spin up a variation.
How to Fix a Bad Image-to-Video Result
AI motion has a handful of predictable failure modes, and the first pass is not always the keeper. The good news: in Pexo you do not start over, you describe the fix and it re-rolls that part. Here are the ones I hit most and the plain-language redirect that clears each:
- Warped faces or melting hands. The model lost track of a fine-detail area. Tell Pexo to "keep the face still and move only the background," or ask for slower, subtler motion so there is less for it to reinvent.
- Jittery or robotic movement. Usually too much asked of one frame. Say "make the movement slower and smoother," or cut the action to one thing, a gentle push-in instead of a push-in plus a pan.
- The background drifts or morphs. Common when only the subject should move. Ask Pexo to "lock the background and animate only the product."
- The subject changes shape or identity. Tell Pexo to "stay faithful to the original photo," which anchors it to your still instead of improvising new details.
- Motion looks generic or flat. Add intent: name the camera move ("slow orbit," "gentle parallax," "push-in") and the mood, so Pexo routes to a model that matches the look you want.
The reason this is quick is that you fix by talking, not by re-editing a timeline. Point at what is wrong, say the change, and review again until it lands.
When NOT to Use AI Image-to-Video
I would rather you trust this tutorial than oversell it, so here is where image-to-video, and Pexo, is not the right call:
- You already have footage and just need it cut. Pexo generates video from a still; it does not import your existing long video to trim or clip. If your job is "take this 20 minute recording and pull highlights," that is a video editor's or clipping tool's job, not an image-to-video flow.
- You need frame-perfect manual control. If your project demands hand-placed keyframes, multi-track compositing, and exact timeline edits, a traditional editor like Premiere or DaVinci will serve you better than a conversational workflow.
- You need zero-cost with no account. Pexo is self-serve and credit-based, so if your hard requirement is no cost and no sign-up at all, a no-account web toy fits that constraint better, you will just trade away quality and control.
Naming the limits is the point: for turning a photo you own into a polished short clip, image-to-video is the fastest path there is. For editing footage you already shot, reach for a different kind of tool.
Other AI Image-to-Video Tools You Can Try
Pexo is what I use, but it is worth knowing the landscape. A few alternatives in the image-to-video space:
- Runway is a capable generation suite popular with motion designers; it leans on a prompt-and-parameter workflow rather than a conversation. See how it stacks up in this hands-on Runway comparison.
- getimg.ai offers image-to-video across several models with a first-frame plus motion-prompt setup. Official site.
- Adobe Firefly bundles image-to-video into the wider Adobe ecosystem, a fit if you already live in Creative Cloud. Official site.
The honest difference: each of those still asks you to write a motion prompt and, often, to choose a model. Pexo's pitch is that you do neither. You talk, it routes.
Conclusion: Your First Clip Starts With a Sentence
Image-to-video used to mean wrestling a motion-prompt box and gambling on a model. It does not have to. With Pexo, the whole workflow is a conversation: add your photo, say what you want to see, review the preview, and ship a finished clip, no prompts, no editing, no app-switching. I turned one perfume photo into a complete 20 second vertical ad in a single chat, and you can run the same five steps on whatever still is sitting on your phone right now. Animate your first photo with Pexo.