

 ChatGPT
 Perplexity
 Claude
 Gemini
 Grok
Grok

How to Make a Faceless YouTube Video (7 Steps)
UPDATED: 2026-07-26 By Lan He, Senior Video Producer at Pexo
You can make a faceless YouTube video in seven steps: choose a format, write a script, generate the visuals with an AI video app, add narration, layer in music, design a thumbnail, and upload. No camera, no editing timeline, and about 30 minutes for a first video.
How to make a faceless YouTube video: quick version
- Pick a faceless format your niche supports (listicle, documentary, tutorial, explainer).
- Write a script with a hook in the first 15 seconds.
- Generate the visuals from that script, one scene per script block.
- Add narration, then background music and burned-in captions.
- Design a thumbnail that still reads at the size it appears in search.
- Upload at 1080p or higher with your target phrase in the title, then point the end screen at the next video in the same format.
How to create a faceless YouTube video step by step
Step 1: Pick your faceless format
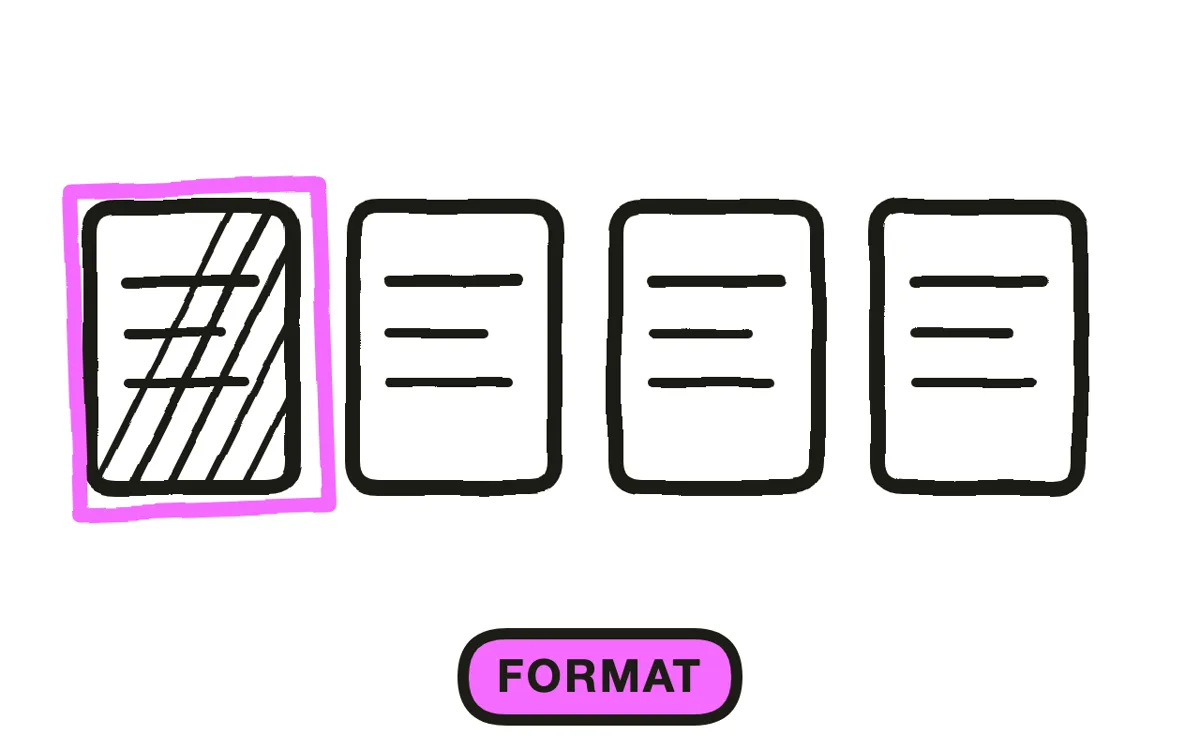
Pick your faceless format before writing a single line. Four formats reliably carry a faceless channel: the ranked listicle, the documentary voiceover, the screen tutorial, and the animated explainer. Choose on production capacity rather than on interest — a documentary needs fresh footage sourced every week, while a listicle reuses one template indefinitely. Write down how many videos of the chosen format you can actually finish in a month, then commit the channel to that number.
Step 2: Write a script built for listening
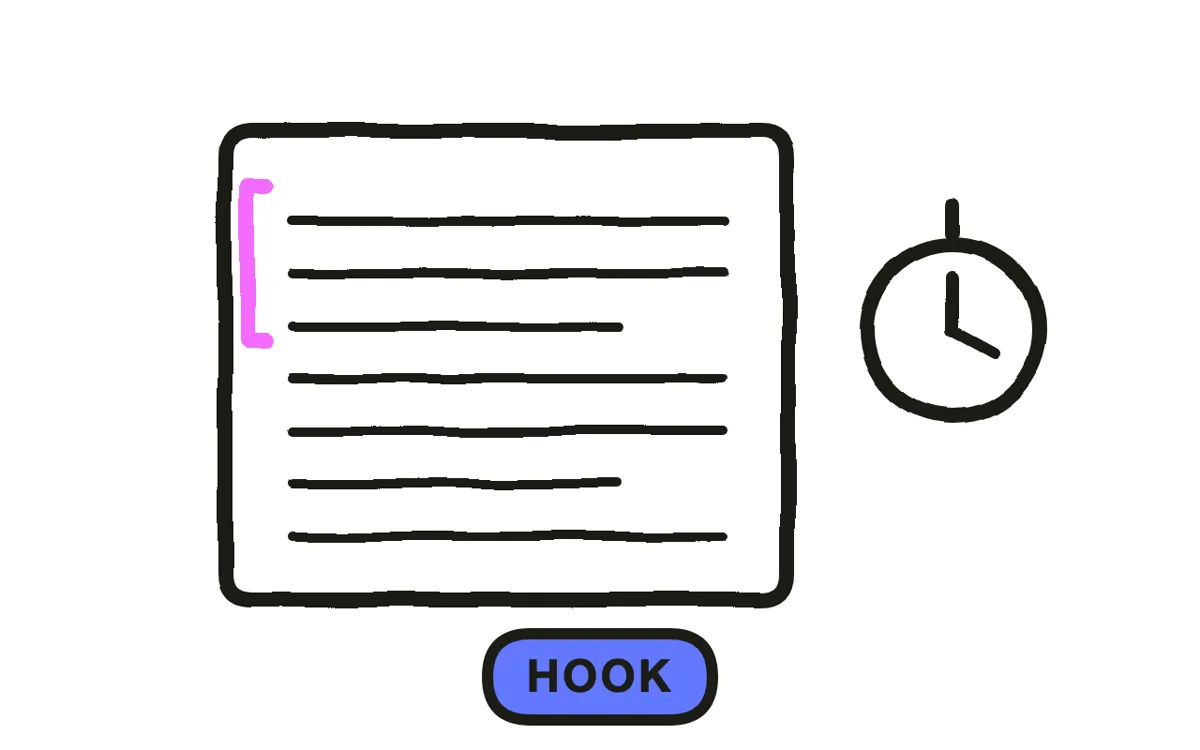
Write a script built for listening, not for reading. Open with a hook in the first fifteen seconds that states what the viewer gets by staying, because a faceless video has no presenter charisma to hold attention and the promise has to do that work alone. Keep one idea per sentence and cut any clause a narrator would stumble over. Read the finished script out loud and time it — that timing, not a word count, tells you whether the video runs long. Mark every point where the visual has to change; those marks become the shot list.
Step 3: Generate the visuals from your script
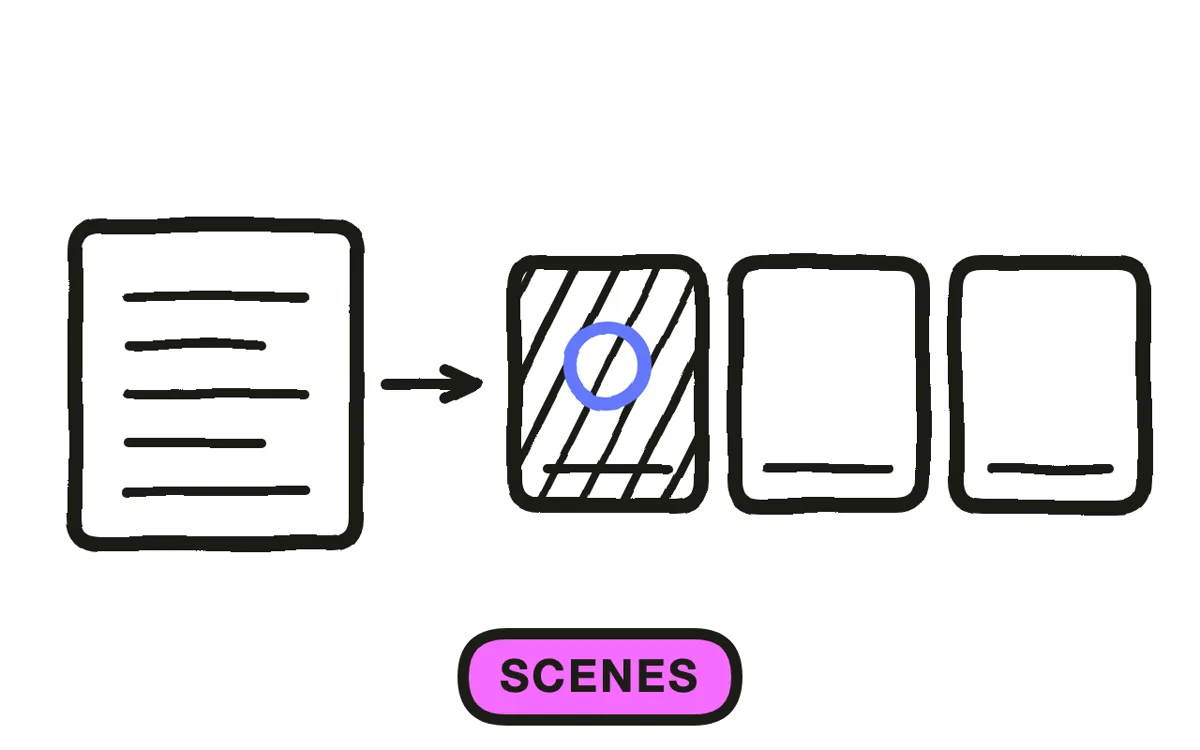
Generate the visuals from the script one marked block at a time. Feeding each block as its own scene keeps the pacing tied to the narration instead of fighting it, and scenes of roughly three to six seconds hold attention unless the narration deliberately lingers. Lock one visual style — colour palette, motion intensity, subject framing — and reuse it across every scene, because inconsistency is what makes a faceless video feel assembled rather than produced. Export 16:9 for a long-form upload, or 9:16 if the video is headed for Shorts.
Step 4: Add the narration
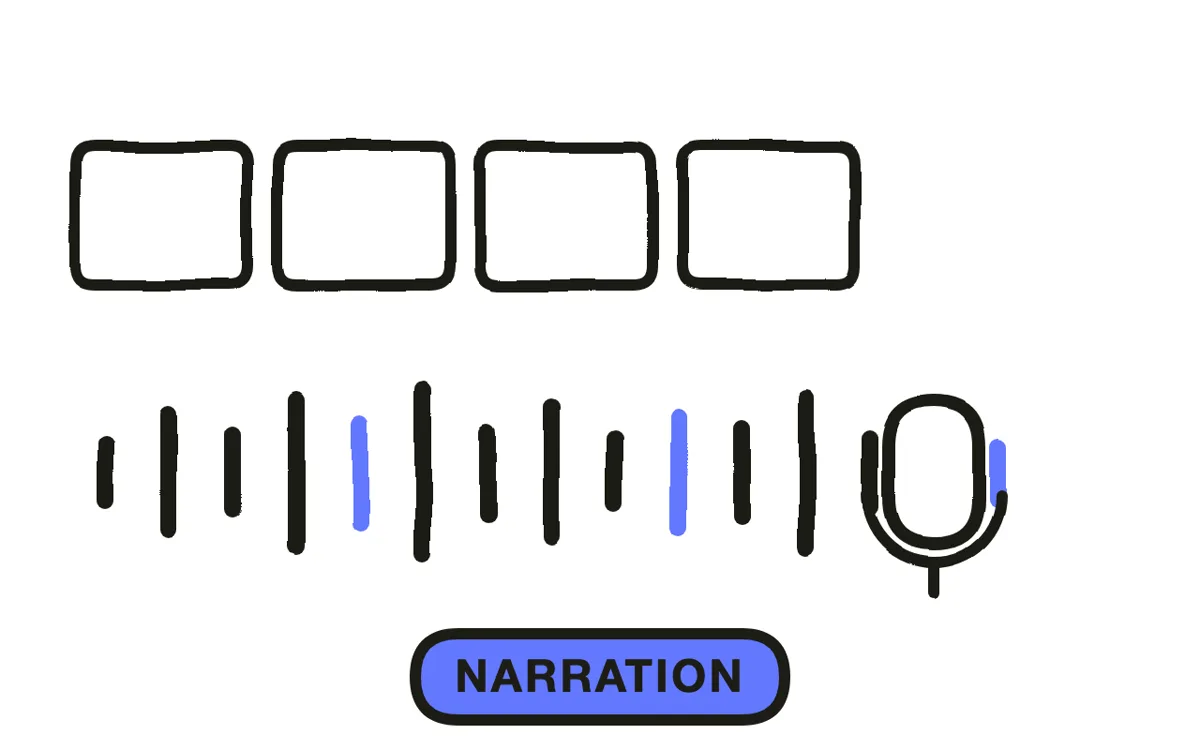
Add the narration to the finished visuals. Three routes work: generate a voice from the script, record your own, or use AI voice cloning to keep one consistent narrator across a channel. Generated narration is the fastest of the three and follows the script's punctuation, so write in the pauses rather than expecting them. If recording instead, work in a soft-furnished room, stay about a hand's width from the microphone, and leave half a second of silence at each scene change so the cut has room to land. Whichever route you take, listen once through phone speakers before moving on — most faceless viewing happens without headphones.
Step 5: Layer in music and captions
Layer in background music and burned-in captions. Sit the music far enough under the narration that speech stays intelligible on a phone at half volume, and pick a track whose length matches the finished cut so it never fades out mid-sentence. Burn the captions into the frame rather than relying on auto-captions: faceless content gets watched muted more often than presenter-led video, and on-screen text is the only thing carrying the message when the sound is off.
Step 6: Design a thumbnail that works without a face
Design a thumbnail that works without a face. Faces do the heavy lifting in most thumbnails, so replace that pull with one oversized subject, four or five words of text, and colours that separate cleanly from YouTube's light and dark interfaces. YouTube's thumbnail guidance asks for 3840 × 2160 pixels at 16:9, accepts JPG, GIF, and PNG, treats 640 pixels as the minimum usable width, and caps thumbnail uploads at 2 MB from mobile or 50 MB from desktop. Shrink the file to the size it will appear in search results and check it there before uploading.
Step 7: Upload with settings that match the format
Upload with the settings the format needs. Send long-form videos at 1080p or higher in 16:9, and Shorts at 9:16 — noting that a 16:9 custom thumbnail on a vertical video gets swapped for an auto-generated 4:5 crop on mobile discovery surfaces. Put the target phrase in the first half of the title and again in the opening two lines of the description, where it stays visible before the fold. Add an end screen pointing to the previous video in the same format, so a viewer who finishes one has an obvious next one.
How to make a faceless YouTube video with Pexo
Pexo is an AI video partner, so the production half of this workflow happens in conversation rather than across three apps. Paste the script from Step 2 and describe the look you want in plain language — no prompt syntax to learn, no editing skills needed. Pexo thinks with you: it proposes a visual direction, shows the plan before it renders anything, and works with Seedance, Sora, Kling, and more behind the scenes, so a style that is not landing can be redirected by saying what to change.
The AI YouTube video generator page is where this starts, and it carries a Faceless video preset next to the input box, so the format from Step 1 is set before you type anything.
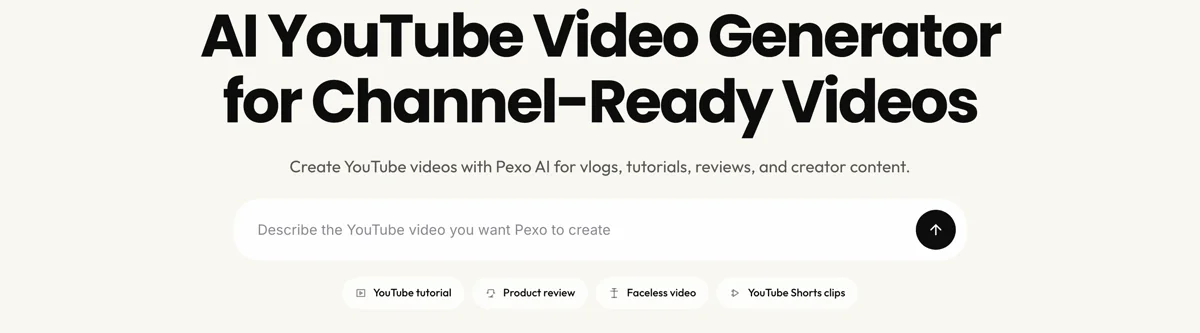
Four steps of this tutorial map onto Pexo directly: script-to-video for Step 3, narration for Step 4, music generation for the soundtrack in Step 5 (generated to the length of the cut), and text-to-image for the Step 6 thumbnail.
Narration stays inside the same conversation: Pexo adds narration with AI voices and can clone a specific voice, so the script from Step 2 gets spoken without you recording anything. If you would rather use a voice you have already recorded, bring that track in through audio-to-video and let the visuals be built around it.
Common mistakes to avoid
- Every scene pulled from the same stock library. Viewers recognise a stock pattern within seconds, and recognition reads as low effort. Vary the source or generate the visuals instead.
- A script written for the page. Clauses that look fine in text turn into stumbles when narrated. Reading aloud catches this before production, not after.
- Narration drifting from the visuals. When a scene changes mid-sentence, the viewer loses the thread. Cutting on the silence gaps left in Step 4 prevents it.
- A thumbnail only ever checked at full size. A design that works at full width can collapse into noise at search-result size, which is the only size that matters.
- Assembling material without adding anything of your own. YouTube's channel monetization policies name image slideshows with minimal narrative and AI-generated content built from generic templates as reused content, and the rule applies to the channel as a whole rather than to single uploads. Original scripting and original narration are what separate a faceless channel from a compilation channel.
Putting it together
A faceless YouTube video is a pipeline problem, not a talent problem: pick a format you can sustain, write for the ear, keep one visual style, and let the thumbnail carry the click. Run the seven steps once end to end on a short video before scaling the channel — the first pass is where the format choice gets tested. Describe your first video to Pexo and see what comes back.
Related tutorials
- What is a faceless video — the format explained, and the types worth building a channel on
- AI explainer video maker — for the animated-explainer format from Step 1
- AI video generator for YouTube Shorts — if the 9:16 route from Step 3 is your main format
- Best AI video generator for YouTube — tools compared for long-form uploads




