

 ChatGPT
 Perplexity
 Claude
 Gemini
 Grok
Grok

How to Make a How-To Video in 6 Steps
UPDATED: 2026-08-03 By Lan He, Senior Video Producer at Pexo
You can make a how-to video in six steps: narrow it to one task, write the steps out before recording, choose whether to capture or generate the visuals, take each step separately, cut for clarity, and publish with a title that names the task. About an hour for a first one.
How to make a how-to video: quick version
- Narrow the video to one task with one visible outcome.
- Write every step out before you record anything.
- Choose your route: screen capture, camera, or generated visuals.
- Record each step as its own take so a mistake costs one take.
- Cut the dead air, then add captions and on-screen step labels.
- Publish with a title that names the task the viewer wants done.
How to make a tutorial video step by step
Step 1: Narrow the video to one task
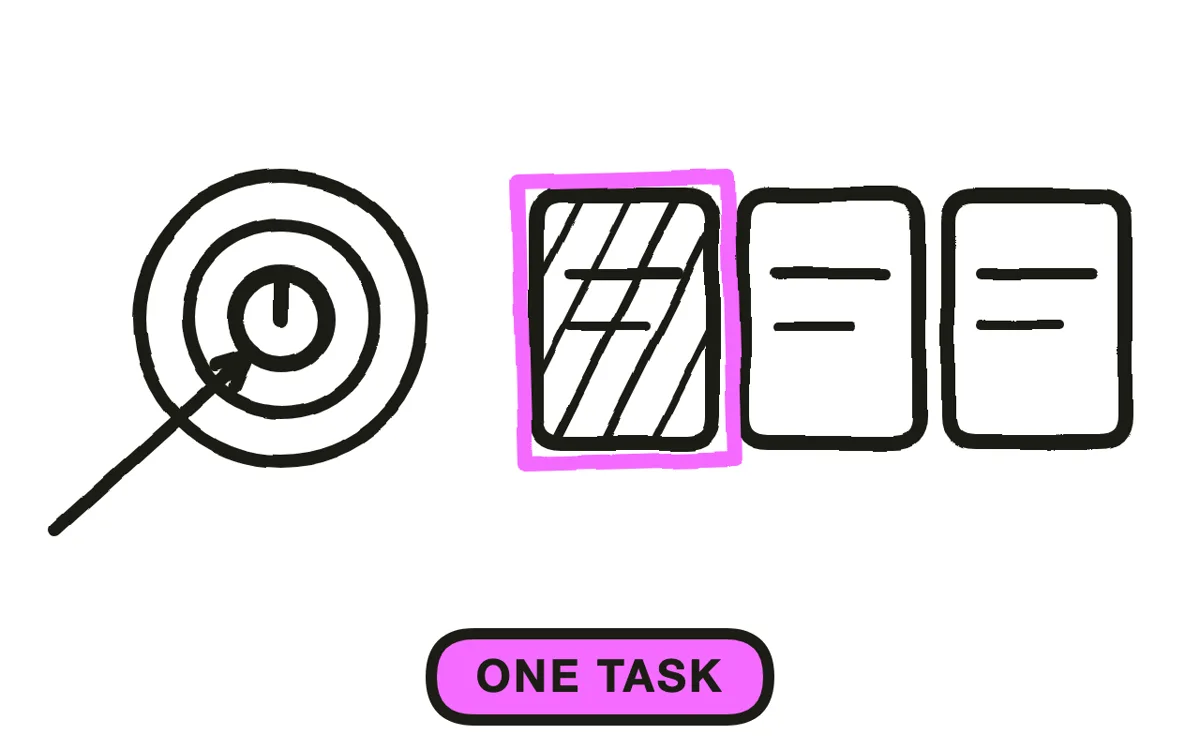
Narrow the video to one task with one visible outcome. "How to export a monthly sales report" is a video; "how to use our reporting tool" is a product tour that will sprawl past ten minutes and rank for nothing. The test is whether you can name the finished state in a single phrase — a downloaded file, a published page, a repaired seam. If naming it takes two clauses, you have two videos.
Step 2: Write the steps before recording
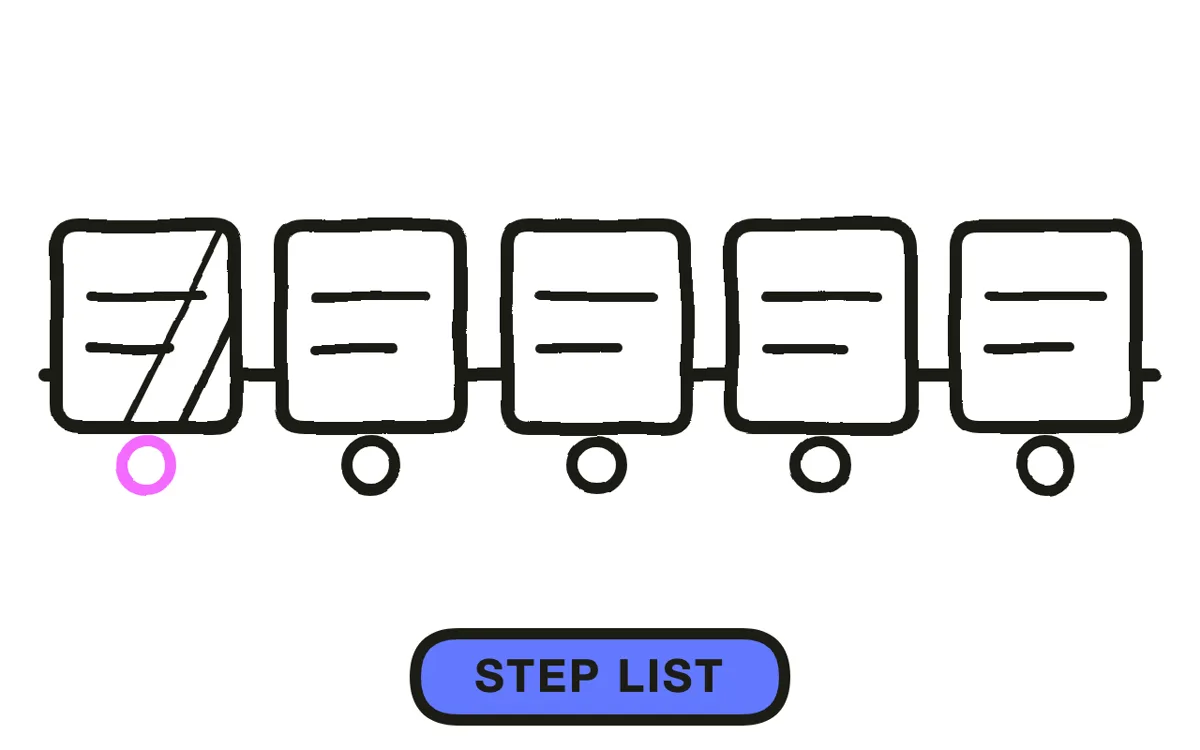
Write every step out before recording anything. One imperative sentence per step, in the order a viewer performs them, with the exact menu names and values you will use. Writing the list is also the cheapest way to find the step you have been doing from muscle memory and cannot actually explain — that gap always surfaces here or on camera, and here it costs a minute. The video scripting workflow covers the longer form if narration matters more than the demonstration.
Step 3: Choose your capture route
Choose the capture route before you set anything up. Screen capture suits software and anything with an interface. A camera suits physical tasks where hands and objects carry the explanation. Generated visuals suit processes you cannot film — an interface that does not exist yet, a workflow holding real customer data, or a tutorial that needs six language versions. Pick one route per video; mixing capture styles mid-tutorial reads as two videos stitched together.

Step 4: Record each step as its own take
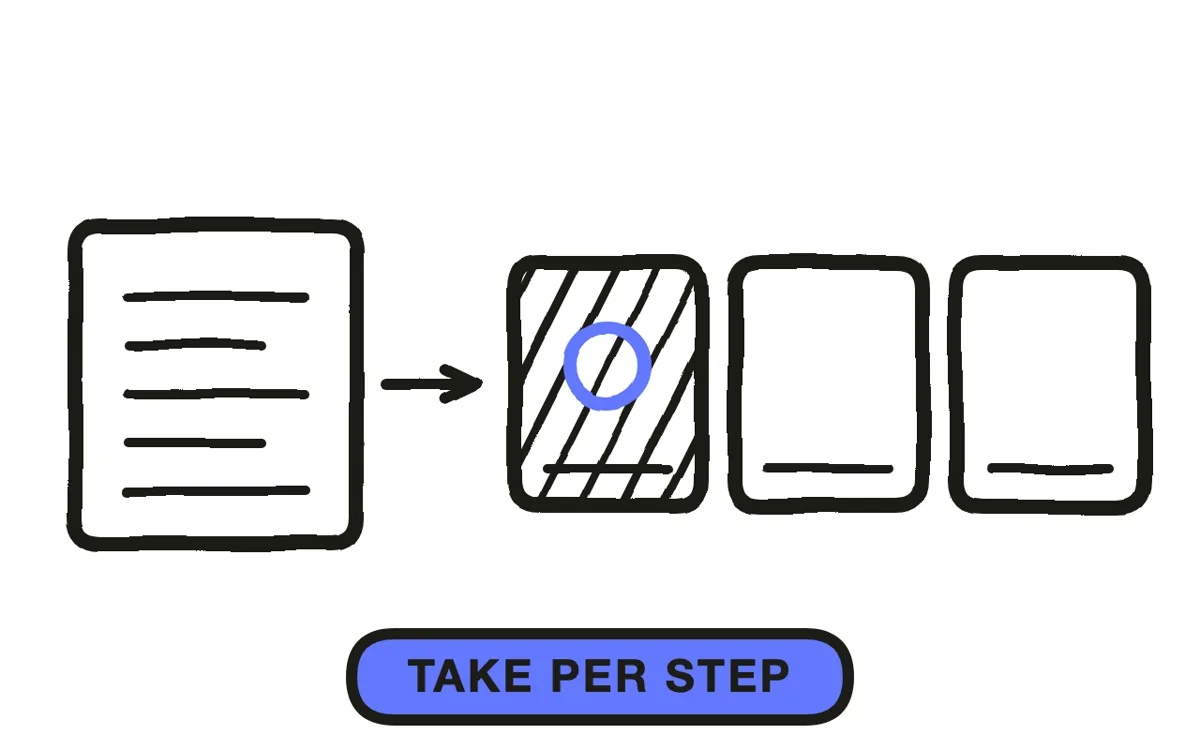
Record each step as its own take. A mistake in step four then costs one take instead of the whole run, and the takes assemble in the order your step list already fixed. Leave two seconds of silence at the start and end of every take so the editor has handles to cut on. Narrate while you demonstrate rather than afterwards, because commentary recorded later drifts out of sync with what the hands are doing.
Step 5: Cut for clarity, not for style
Cut for clarity rather than for style. Remove every stretch where nothing changes on screen — menu hunting, page loads, the pause before you remember the next step — because dead air is what makes tutorials feel slow, not step count. Add burned-in captions and a small step number in the corner so anyone who joins mid-video knows where they are. Keep transitions plain; a tutorial is judged on whether the viewer finishes the task.

Step 6: Publish with a title that names the task
Publish with a title that names the task the viewer wants done, not the topic you covered. "How to export a monthly sales report in Sheets" earns the click that "Sheets reporting tips" does not. Put the step list in the first two lines of the description where it is visible before the fold, add chapter markers at each step boundary, and upload at 1080p or higher following YouTube's recommended upload settings.

How to make a how-to video without recording
Pexo covers the third route in Step 3: turning a written step list into a finished video with no capture at all. Paste the steps from Step 2 and it breaks them into scenes, generates the visuals, adds narration and captions, and assembles the cut — useful when the interface is not built yet, when the real screen holds customer data, or when the same tutorial needs several language versions.
The tutorial video use case is the entry point, and script-to-video handles shorter pieces of the same job.

This route does not replace a screen recording of a live product — Pexo generates video rather than capturing your screen, so a walkthrough of a specific interface still needs Step 4. It replaces the cases where recording is impossible or has to be redone for every language.
Common mistakes to avoid
- Covering two tasks in one video. A viewer searching for one outcome bounces when the first ninety seconds are about something else. Two tasks, two videos, two titles.
- Recording before writing the steps. Whatever you cannot explain in a written list you will not explain on camera either, and finding that out mid-take costs a full run.
- Leaving the hunting in. The seconds spent finding a menu feel instant while recording and interminable on playback. Cut every gap where the screen does not change.
- Naming the video after the topic. Titles that describe subject matter rather than the finished task lose the click to competitors who name the outcome.
- Skipping captions because the narration is clear. Tutorials get watched muted more than most formats, and menu names are the exact detail a viewer cannot guess from the picture.
Putting it together
Making a how-to video is mostly decided before the camera or recorder starts: one task, a written step list, and a capture route chosen on purpose. Run the six steps on a short task first — the take-per-step discipline in Step 4 is what turns a re-record into a one-minute fix instead of an afternoon. Describe the tutorial you need to Pexo when recording is not an option.
Related tutorials
- How to make a script for a video — the scripting workflow in full
- How to make a faceless YouTube video — for tutorials with no presenter on camera
- How to make explainer videos — when the goal is understanding rather than a completed task




