

 ChatGPT
 Perplexity
 Claude
 Gemini
 Grok
Grok

How to Make an AI Movie
UPDATED: 2026-08-04 By Lan He, Senior Video Producer at Pexo
Making an AI movie takes seven steps: write a concept and script, break it into scenes, design your characters and visual style, generate video scene by scene, add voiceover and dialogue, layer in music and sound, then review and export the finished film. A short AI movie takes about 30 minutes from idea to final cut.
Quick Version: How to Make an AI Movie
- Write a concept as a one-paragraph premise, then expand it into a full script with dialogue and direction.
- Break the script into individual scenes, each with a location, characters, and action.
- Design your characters and lock a visual style so faces and settings stay consistent.
- Generate video for each scene using AI, reviewing and adjusting as you go.
- Add voiceover narration and character dialogue with AI voices or voice cloning.
- Add background music and sound effects that match each scene's mood.
- Review the full sequence, refine transitions, and export in your target format.
How to Make an AI Movie Step by Step
Step 1: Write your concept and script
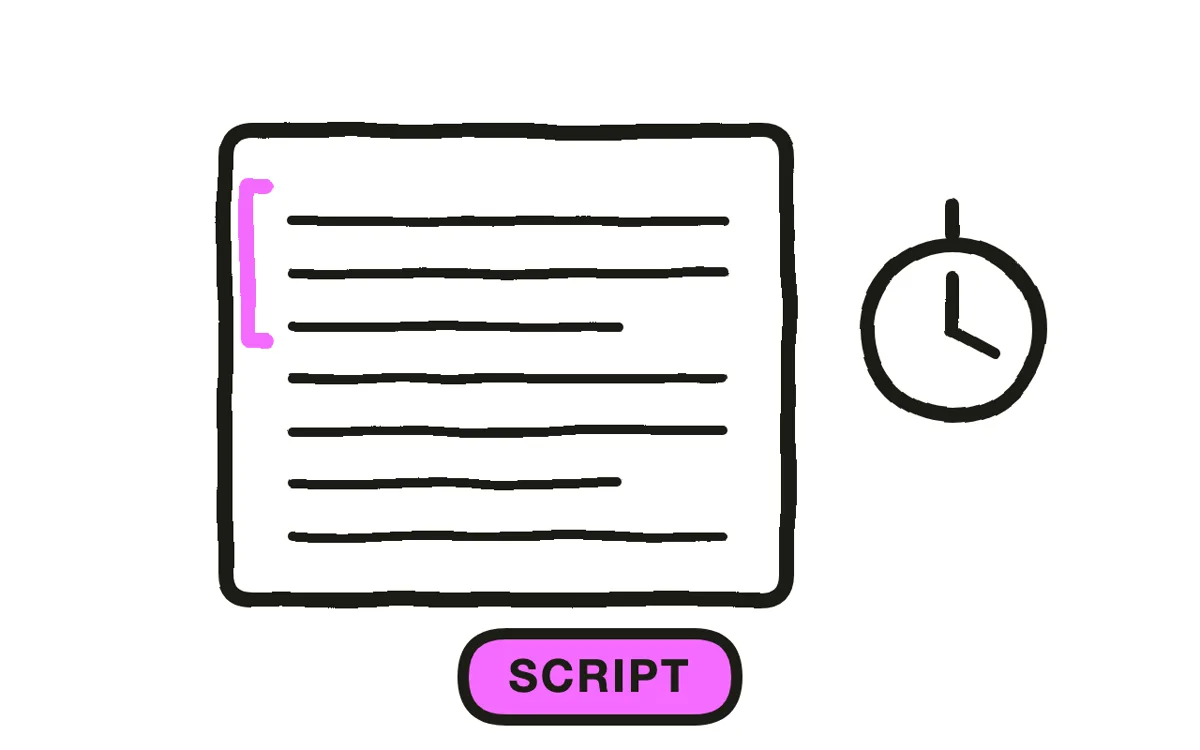
Write a one-paragraph premise that captures the story, the main character, and the ending. Then expand it into a scene-by-scene script with dialogue, action lines, and camera direction. A 5-minute AI movie needs roughly 600 to 750 words of script, split across 8 to 15 scenes.
Keep the script visual. Every sentence should describe something the camera can show. "Maria feels conflicted" gives the AI nothing to generate. "Maria stares at the letter, then crumples it and drops it into the fire" gives it a shot. For AI filmmaking, script-to-video workflows convert written scripts directly into visual sequences, so the script is also the generation input.
Step 2: Break the script into scenes
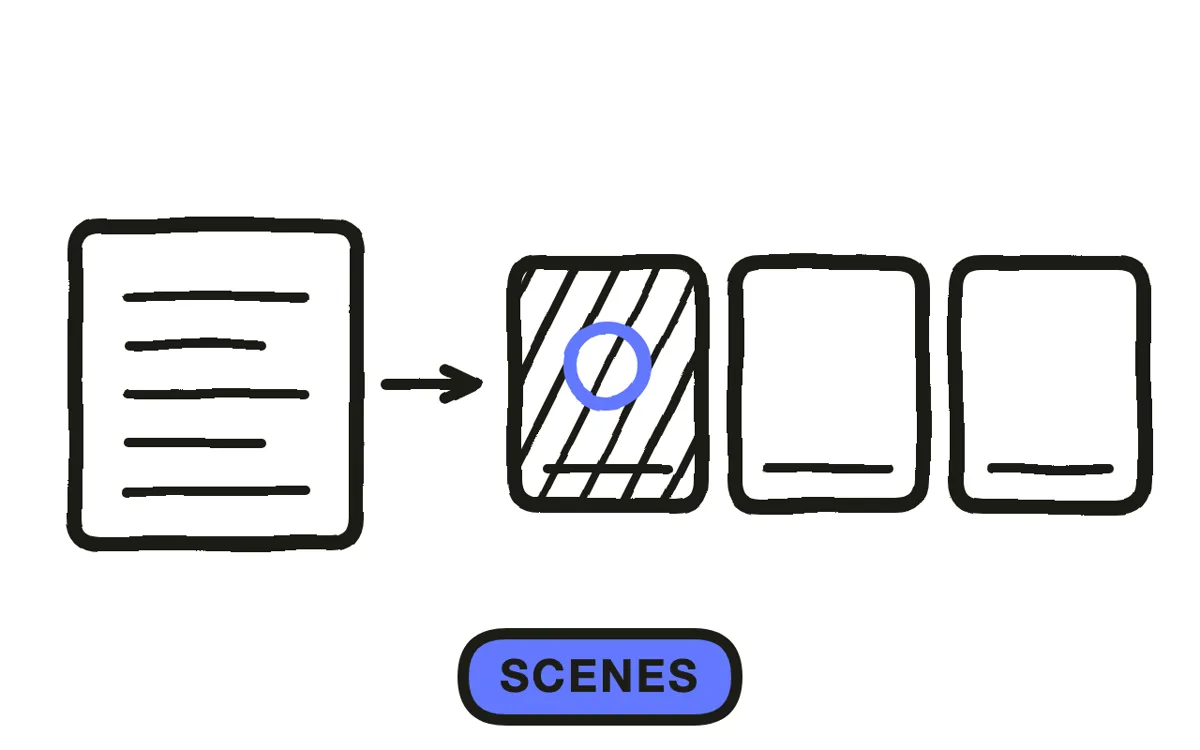
Divide the script into individual scenes, each defined by a single location and a continuous stretch of action. Label every scene with a number, a location, the characters present, and the core action. A 5-minute film typically has 8 to 15 scenes. A 10-minute film can reach 20 to 30.
Scenes are the production unit for AI filmmaking. Each scene becomes a separate generation request, so clear boundaries between them prevent overlapping content and make regeneration painless. If a scene has more than one location change, split it. If two scenes happen in the same place with no time jump, merge them.
Step 3: Design characters and choose a visual style
Define each character before generating any footage. Write a physical description (age, build, hair, clothing) and, if the platform supports it, upload a reference image. Lock the visual style for the whole film: cinematic realism, anime, stylized illustration, or a specific color palette. Changing style mid-production creates a patchwork that no amount of editing can fix.
Character consistency is the biggest challenge in AI filmmaking. Without identity locking, the same character looks different in every scene. Pexo's Hyperframe feature solves this by binding a character's face, body, and wardrobe to a reference so every generated scene matches. For cinematic video projects, lock the lighting and camera style alongside the characters.
Step 4: Generate video scene by scene
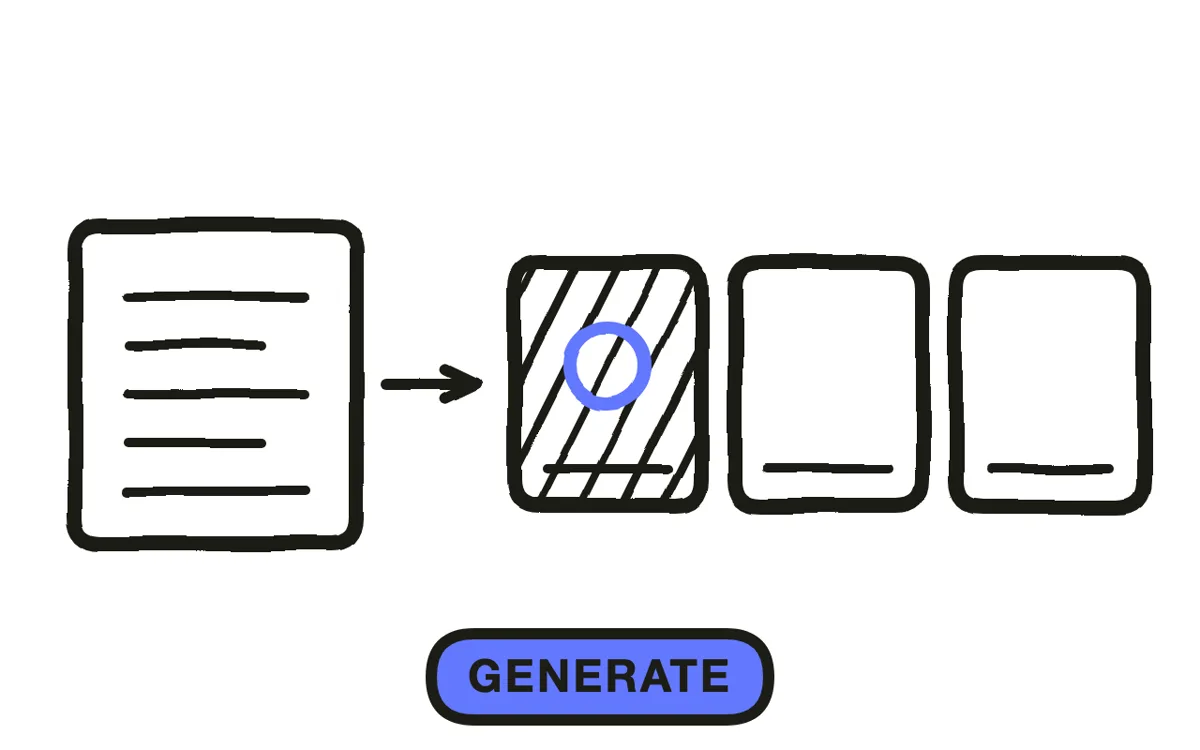
Generate each scene individually rather than the entire movie at once. Feed the scene description, character references, and style settings into the platform and review the output before moving to the next scene. Expect to regenerate 20 to 40 percent of scenes at least once to get the framing, motion, or timing right.
Pexo's text-to-video workflow accepts scene descriptions in plain language and routes each shot to the model that handles it best. Seedance 2.0, Kling AI, and more run under the hood. For scenes built from a product photo, a still image, or existing artwork, image-to-video conversion turns the static asset into motion with camera movement and environmental animation.
Step 5: Add voiceover and dialogue
Record or generate the audio layer after the visuals are locked. Three options work for AI movies: type the dialogue and let the platform generate voices with text-to-speech, clone a real voice for a specific character, or record narration manually with a USB microphone.
Pexo generates voiceover from the script automatically using natural AI voices and supports voice cloning so a single voice stays consistent across the entire film. Match the pacing of the voiceover to the scene length. A scene that runs 12 seconds needs roughly 25 to 30 words of dialogue, not a paragraph.
Step 6: Add music and sound design
Add background music that follows the emotional arc of the film. A suspenseful opening needs different scoring than a resolution scene. Match tempo changes to scene transitions, and keep the music volume low enough that dialogue stays clear.
Pexo composes an original AI-generated score matched to each scene's mood and pacing. The music sits cleanly under voiceover and subtitles without manual mixing. For manual workflows, royalty-free music libraries work, but you lose the automatic scene-level synchronization. Sound effects (footsteps, doors, ambient noise) add realism. Layer them sparingly so the mix stays clean.
Step 7: Review, refine, and export
Watch the full movie end to end at normal speed before exporting. Check scene-to-scene continuity: does the character look the same, does the lighting shift unnaturally, does a scene end mid-action? Regenerate any scene that breaks continuity. Then add subtitles and export.
Pexo exports in widescreen (16:9 at up to 4K), vertical (9:16 for social), and square (1:1 for feeds) from a single project. For film festival submissions or YouTube premieres, export at the highest resolution available. Watch the exported file on a large screen to catch compression artifacts and caption placement issues before publishing.
How to Make an AI Movie with Pexo
The seven steps above work with any AI filmmaking platform. Pexo handles steps 1 through 7 in a single conversation, so you never leave one workspace.
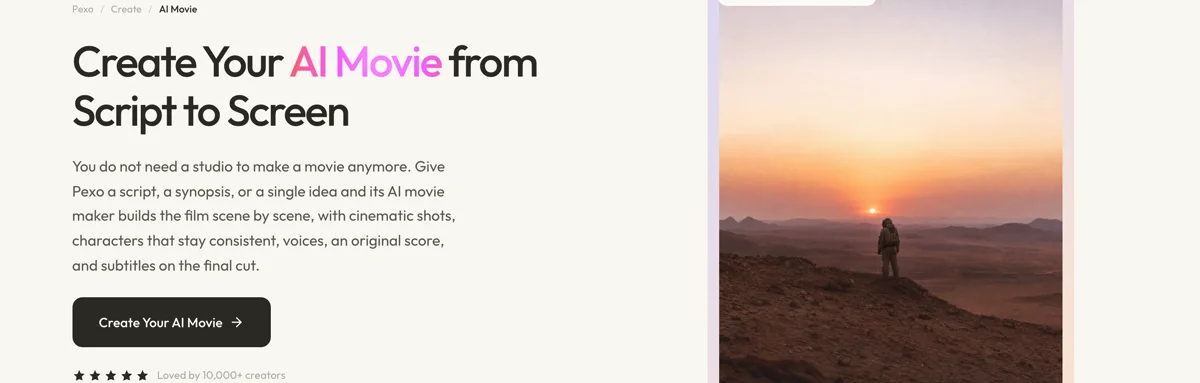
Open the AI movie page and describe your film: "A 5-minute sci-fi short about an astronaut who discovers a signal from a planet that mirrors Earth, cinematic style." Pexo writes the script, breaks it into scenes, generates consistent characters with Hyperframe, produces cinematic video for each scene, adds voiceover and an original score, and assembles everything into a finished cut.
Review any scene by clicking it in the timeline. To adjust a shot, describe the change in the chat: "Make the lighting warmer in scene 3" or "Add a slow zoom on the astronaut's face." Pexo regenerates that scene without touching the rest of the film.
For movie trailers, Pexo builds a cut-down version with faster pacing and a separate score. For shorter formats, the mini movie page produces complete stories in under two minutes. For animation, the animated short film page applies stylized visual treatments while keeping the same end-to-end pipeline. And for franchise-inspired projects, the fan film page keeps your hero on-model across every shot.
5 Common Mistakes That Break AI Movies
1. Generating random clips instead of planning scenes. Skipping the script and scene breakdown produces a collection of disconnected shots, not a movie. Plan the full structure before generating any footage.
2. Ignoring character consistency. Without identity locking, the main character looks like a different person in every scene. Use a platform with character persistence (Hyperframe on Pexo) or upload the same reference image for every generation.
3. Writing prompts that are too vague. "A dramatic scene in a city" gives the AI too many options. "A woman in a red coat stands at a rain-soaked crosswalk at night, neon signs reflecting in the puddles, medium shot" gives it a composition.
4. Skipping sound design. A silent AI movie feels like a demo reel. Voiceover, music, and ambient sound are what turn generated footage into something that holds a viewer's attention for more than a few seconds.
5. Exporting in the wrong format. A widescreen film posted as a TikTok appears letterboxed. A vertical short embedded on a website wastes two thirds of the frame. Match the export aspect ratio to where the audience will watch.
Related Tutorials
- How to make explainer videos for concept-driven educational content
- Text-to-video AI tutorial for a deep dive into text-driven video generation
- How to write an explainer video script for scriptwriting fundamentals




