

 ChatGPT
 Perplexity
 Claude
 Gemini
 Grok
Grok

How to Make an Animated Video for YouTube
UPDATED: 2026-08-06 By Lan He, Senior Video Producer at Pexo
Making an animated video for YouTube takes six steps: choose a topic and format, script for retention, pick a sustainable style, animate the sequence, get the audio right, then upload with the settings that matter. An animated YouTube video takes about 30 minutes when generated.
Quick Version: How to Make an Animated Video for YouTube
- Choose a topic that gains from animation and a format that fits.
- Script for retention, putting the payoff promise in the first 30 seconds.
- Pick an animation style you can sustain weekly, not once.
- Animate the sequence by hand or generate it from the script.
- Get the audio to a standard that matches the animation quality.
- Upload at 1080p or higher with chapters, thumbnail, and end screen.
How to Make an Animated Video for YouTube Step by Step
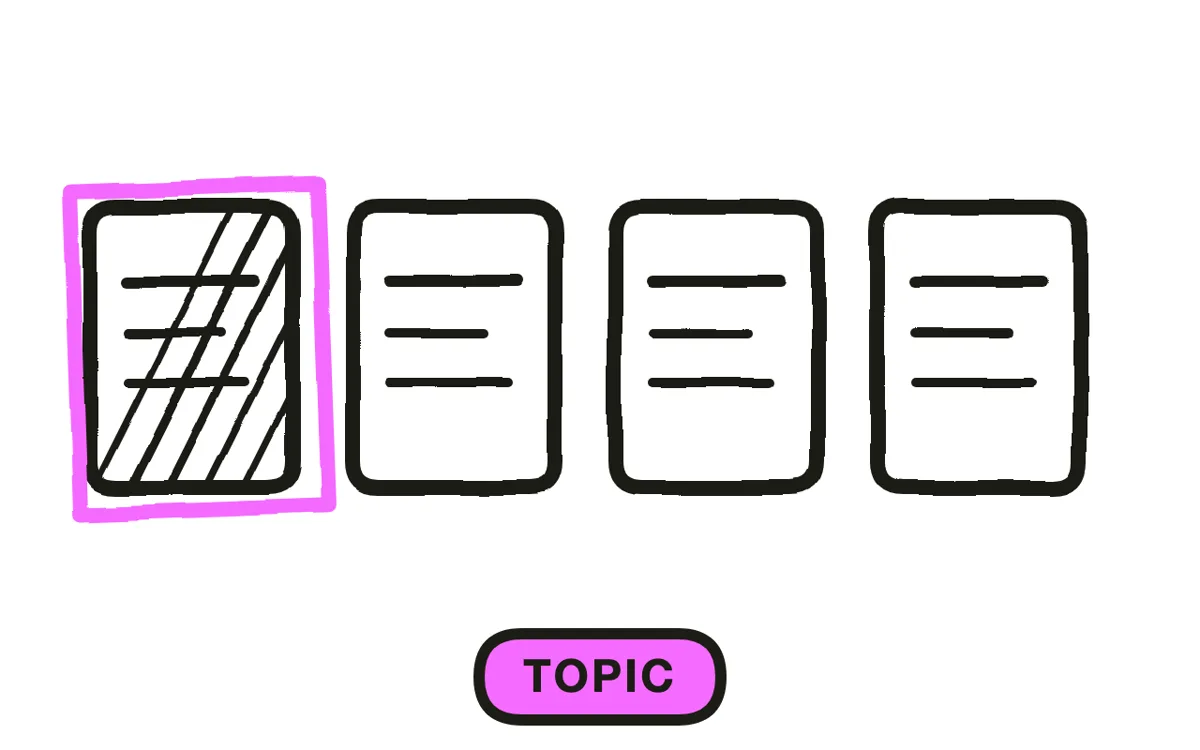
Step 1: Choose the topic and format
Pick a topic animation genuinely serves: something with no footage available, an internal process, a historical event, an abstract idea, or a story that would be expensive to film. Animating a subject that a camera would cover better spends effort on nothing.
Decide long-form or Shorts before scripting. Long-form runs eight to twelve minutes with room for mid-roll ads and a developed argument. Shorts run under 60 seconds, vertical, and usually muted. The two need different scripts, and converting between them afterward rarely works.
Step 2: Script for retention
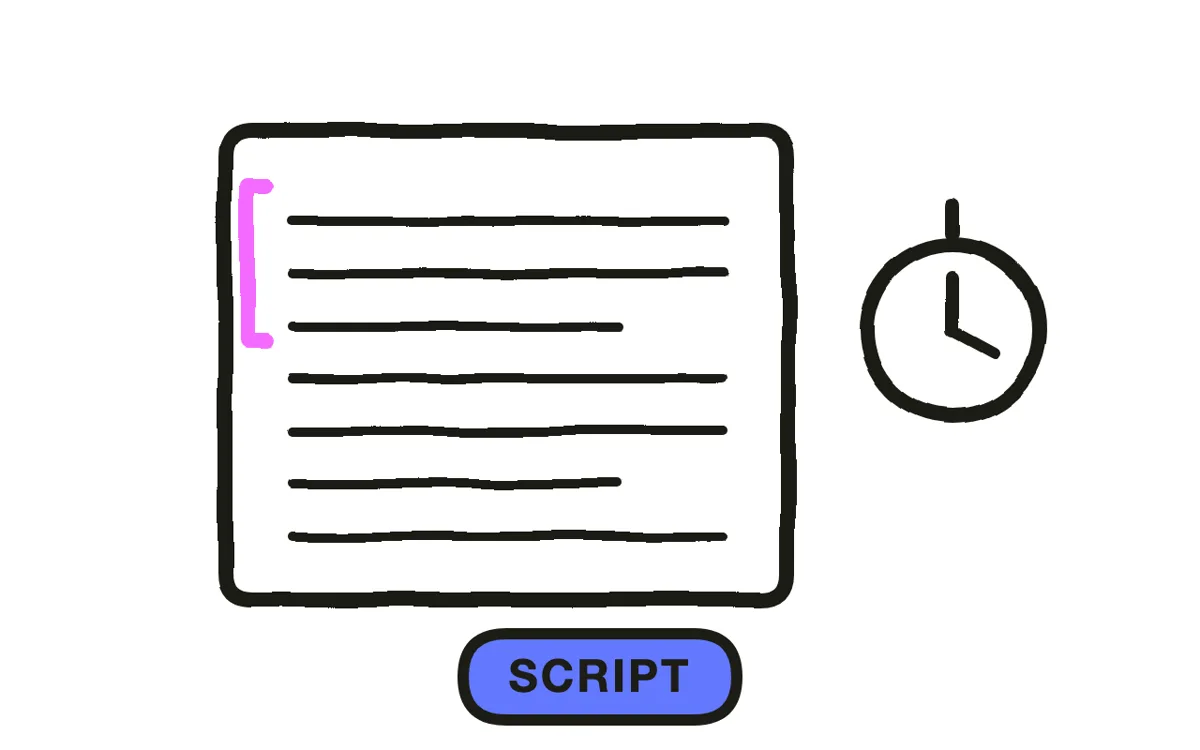
Open by promising the payoff. YouTube weighs early retention heavily when deciding whether to show a video more widely, which makes the first 30 seconds the highest-leverage part of the script. State what the viewer will get, then start delivering it.
Put any channel intro after that opening rather than before it. An animated intro sequence in the first frame asks for brand loyalty from a viewer who has not decided to watch, and it sits exactly in the window being measured. Write the whole script before animating anything, since retention problems are cheap to fix in text and expensive in animation.
Step 3: Pick a sustainable style
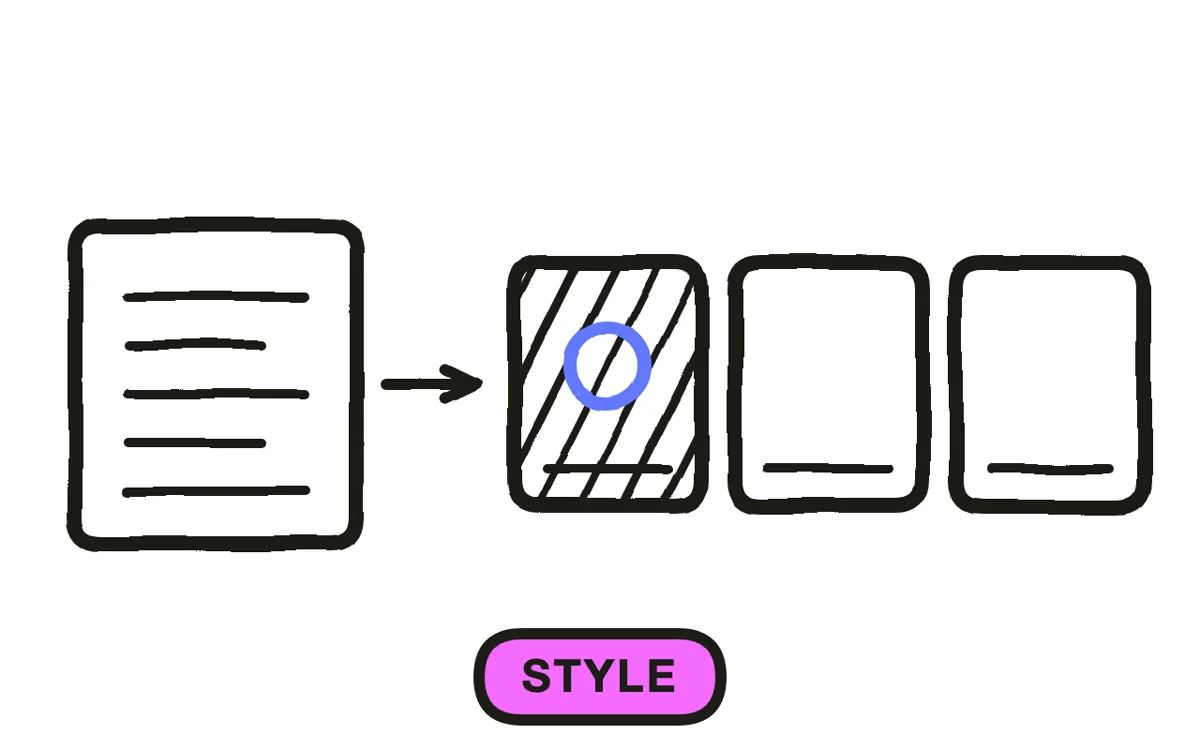
Choose a style you can produce on your publishing schedule. This is the decision that decides whether a channel survives: a style taking forty hours per video produces a channel that publishes twice and stops, and consistency of output beats sophistication of any single upload.
Build a reusable kit rather than starting each video fresh. A fixed palette, a set of character poses, a title treatment, and a transition library turn every subsequent video into assembly rather than design. Most channels that publish weekly are running on a kit, not on inspiration.
Step 4: Animate the sequence
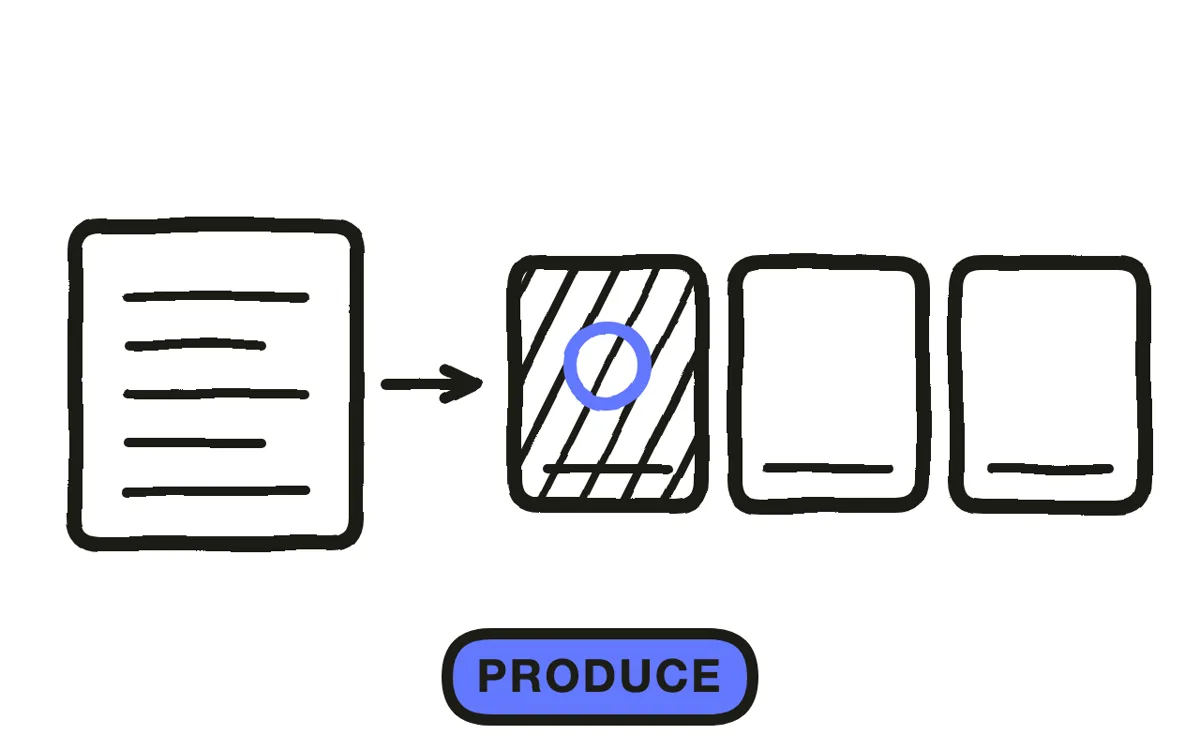
Hand animation in After Effects or Blender gives full control at the cost of the hours that make weekly publishing hard. Template tools trade distinctiveness for speed. Generation produces the scenes from the script directly.
Pexo's script-to-video workflow generates the sequence from the finished script, with Hyperframe keeping characters and style consistent across a whole video and across episodes, which is what makes a channel recognisable. Publishing generated animation on YouTube requires your own editorial input and original script to satisfy the reused-content policy.
Step 5: Get the audio right
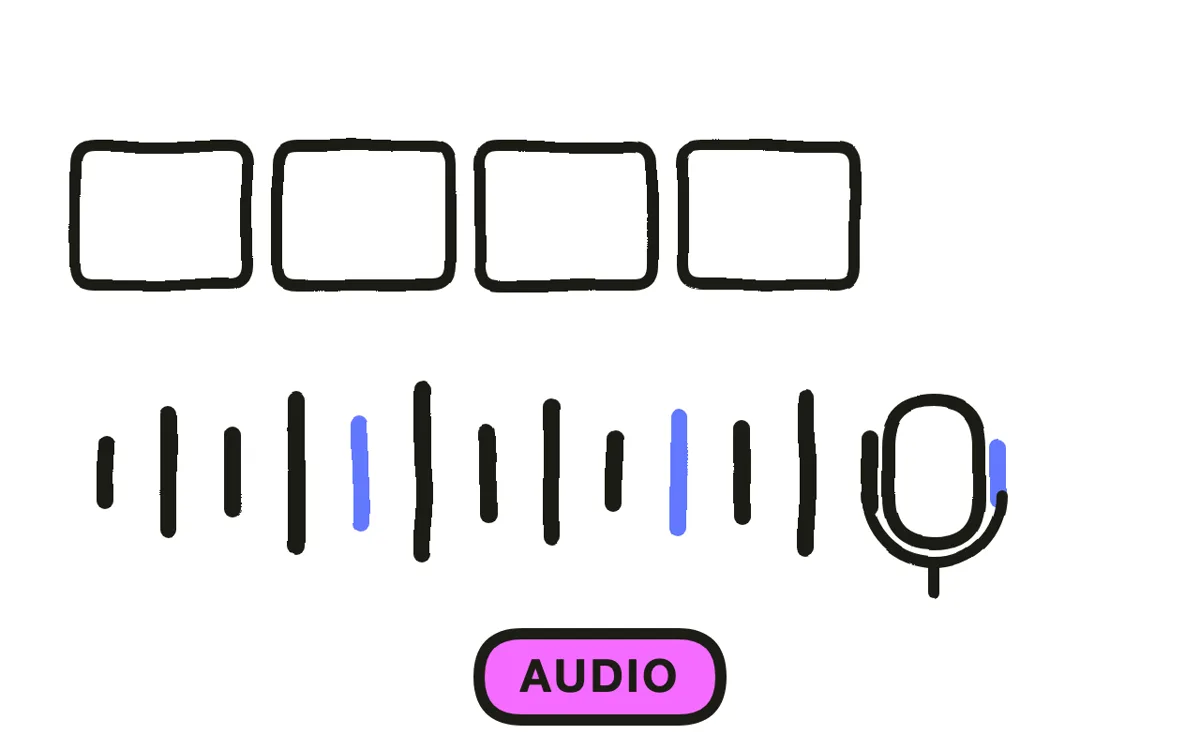
Match the audio quality to the animation quality. Viewers forgive rough animation and abandon rough audio, which is why a clean voiceover matters more than an extra week of polish on the visuals.
Record in a treated space or generate the narration, keep the voice consistent across episodes so the channel is recognisable by sound, and mix music well under the voice. Add sound effects on significant motion. Pexo generates narration with natural AI voices and composes a score matched to the pacing.
Step 6: Upload with the settings that matter
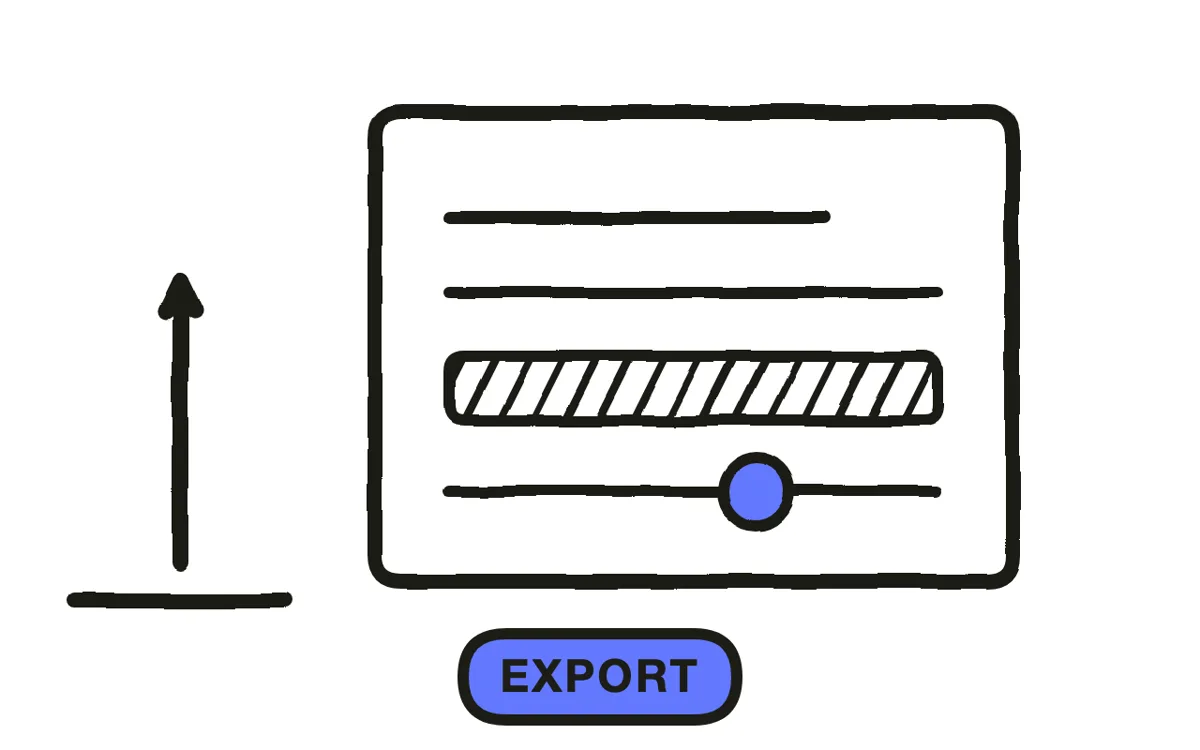
Export 1920x1080 or higher, H.264 MP4, at 24, 30, or 60fps. Upload the highest-quality file you have, since YouTube re-encodes and starting from an already-compressed export compounds the loss.
Design the thumbnail as its own frame rather than pulling a still: a shot that works in context rarely survives at roughly 300 pixels wide against a page of competitors. Add chapters for anything over five minutes, and leave 5 to 20 seconds at the end for end screen elements. Pexo exports up to 4K, plus 9:16 for the Shorts cut-down.
How to Make an Animated Video for YouTube with Pexo
The six steps above work with any tool. Pexo handles steps 4 through 6 in a single conversation, which is what makes a weekly animated schedule realistic for one person.
Open the animated video page and paste the script, or describe the episode: "A 10-minute animated explainer on how ocean currents move heat around the planet, flat illustrated style, cool blue palette, calm documentary narration, chapters every two minutes." Pexo generates the scenes, holds the style across episodes, records the narration, and exports.
Adjust any scene by describing the change in the chat, and Pexo regenerates that scene alone. The platform runs across Seedance 2.0, Kling AI, and more.
For related formats, the YouTube intro page covers the channel sting, and 2D explainer video covers the most common animation style for this format.
5 Mistakes That Kill Animated Channel Growth
1. Putting the channel intro in the first frame. It sits exactly in the retention window YouTube measures, asking for loyalty from someone who has not decided to watch.
2. Choosing a style you cannot sustain. Forty hours per video produces a channel that publishes twice. Pick what you can ship weekly.
3. Starting each video from scratch. Channels that publish consistently run on a reusable kit, not on fresh design every time.
4. Rough audio under good animation. Viewers forgive rough visuals and leave over rough sound.
5. Pulling the thumbnail from a frame. A shot that reads in context disappears at 300 pixels wide. Design the thumbnail separately.
Related Tutorials
- How to make a YouTube intro for the channel sting
- How to make a 2D explainer video for the most common style
- How to make a short video for the Shorts cut-down
- How to make a faceless YouTube video for channels without on-camera presence




