

 ChatGPT
 Perplexity
 Claude
 Gemini
 Grok
Grok

How to Make a 3D Explainer Video
UPDATED: 2026-08-06 By Lan He, Senior Video Producer at Pexo
Making a 3D explainer video takes six steps: confirm the subject needs 3D, write the script, plan camera and lighting, produce the footage, add sound, then export. A 3D explainer video takes about 30 minutes when generated, or weeks through a modelling pipeline.
Quick Version: How to Make a 3D Explainer Video
- Confirm the subject actually needs depth, not just polish.
- Write the script around what the viewer has to see in space.
- Plan the camera moves, lighting, and any cutaway or exploded view.
- Produce the footage by modelling and rendering, or by generating it.
- Add sound design that matches the material and mechanism.
- Export 16:9 for site and screens, 9:16 and 1:1 for social.
How to Make a 3D Explainer Video Step by Step
Step 1: Confirm the subject needs 3D
Apply one test: does the viewer need to understand how something is constructed, or see it from more than one angle? A pump, a medical device, a piece of hardware, or an architectural space all pass. A subscription workflow, a pricing model, or a software feature does not.
Cost is the reason the test matters. 3D commonly runs several times the price of comparable 2D, and the gap comes from modelling and render time rather than creative judgment. Choosing 3D for a subject 2D would explain equally well spends the entire premium on nothing.
Step 2: Write the script around what must be seen
Write at roughly 150 words per minute, and against every line note what the camera is looking at and from where. 3D scripts fail differently from 2D ones: the narration is usually fine and the camera is doing nothing that justifies the format.
Mark the two or three moments where depth carries the explanation, such as a cutaway into the mechanism or a rotation that reveals a port. Those moments are what the budget buys. Everything else can be a held shot, and holding is cheaper than moving.
Step 3: Plan camera and lighting
Plan each shot as a real camera move: a slow orbit, a push toward a detail, a rack of focus. Continuous unmotivated motion is the most common way a 3D explainer becomes tiring; a camera that settles between moves reads as deliberate.
Light with three-point lighting plus a soft environment map. The clearest giveaway of an amateur render is a single hard light producing black shadows, which no real object has because real environments bounce light. Plan the cutaway or exploded view here too, since both need the model built to support them.
Step 4: Produce the footage
Two routes work. The modelling pipeline builds geometry in Blender, Cinema 4D, or Maya, then textures, lights, and renders it, often starting from engineering CAD files. Render time alone can run hours per finished second on complex scenes, which is why 3D timelines run in weeks.
Pexo's text-to-video workflow generates 3D-style footage with camera movement, materials, and lighting from a written description. For an existing product, upload photographs and image-to-video conversion builds a moving representation. Generation approximates geometry rather than reproducing it exactly, so use the modelling route where dimensional accuracy is the point.
Step 5: Add sound that matches the material
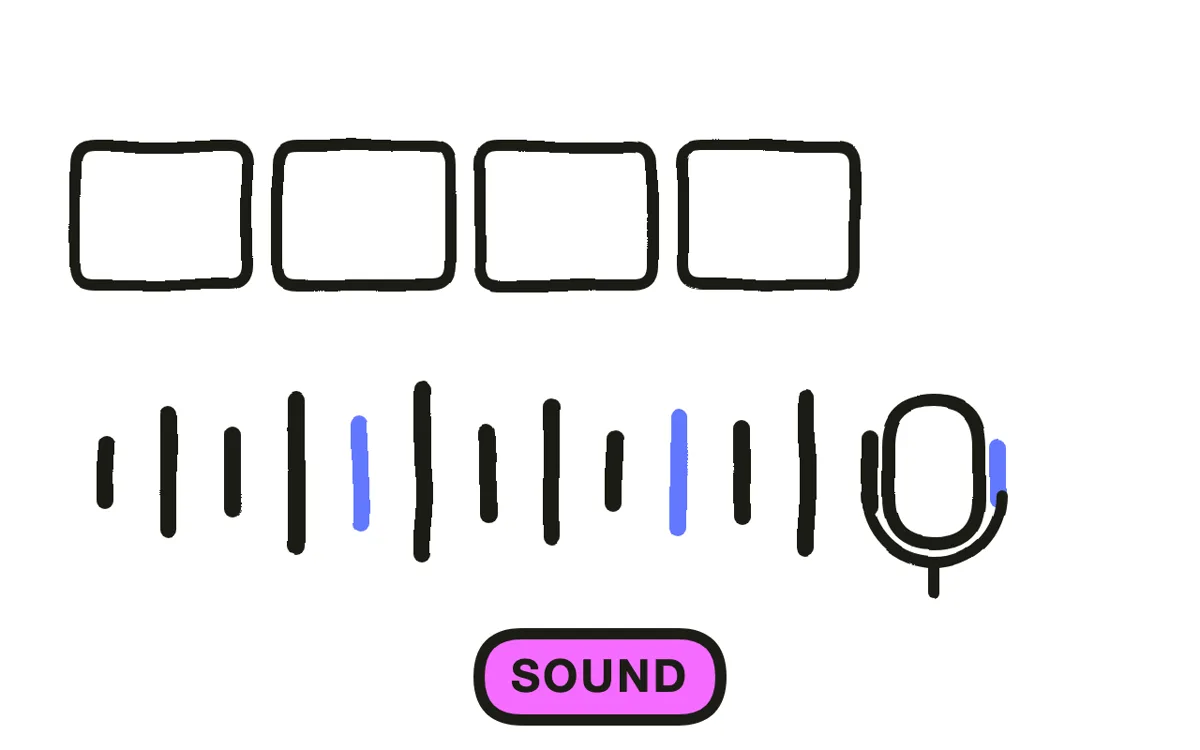
Give the object a sound. A metal housing, a plastic clip, and a hydraulic actuator each sound different, and matching the audio to the material is what makes a render read as a physical thing rather than a picture of one.
Put a distinct cue on each reveal, especially the cutaway or exploded view where the viewer's attention has to follow the geometry apart. Keep music underneath rather than competing. Pexo composes an original score matched to the camera movement and generates narration with natural AI voices.
Step 6: Export for your placement
Export 16:9 at 1080p or 4K for a website, YouTube, and trade show screens, where 3D camera movement has room to work. Export 9:16 for social by reframing each shot rather than cropping, since a centre crop of an orbiting product usually loses the product.
Pexo exports all three ratios up to 4K. Check the export for compression artefacts on gradients and reflections: smooth shading is exactly the kind of detail heavy compression breaks, and it is the detail that makes a render look expensive.

How to Make a 3D Explainer Video with Pexo
The six steps above work with any production route. Pexo handles steps 4 through 6 in a single conversation, which removes the modelling and rendering pipeline that makes 3D expensive.
Open the 3D explainer video page, upload product photographs, and describe the piece: "A 60-second 3D explainer for a water filtration cartridge, slow orbit then a cutaway into the filter layers, clean studio lighting, calm technical narration." Pexo generates the sequence, scores it, and exports.
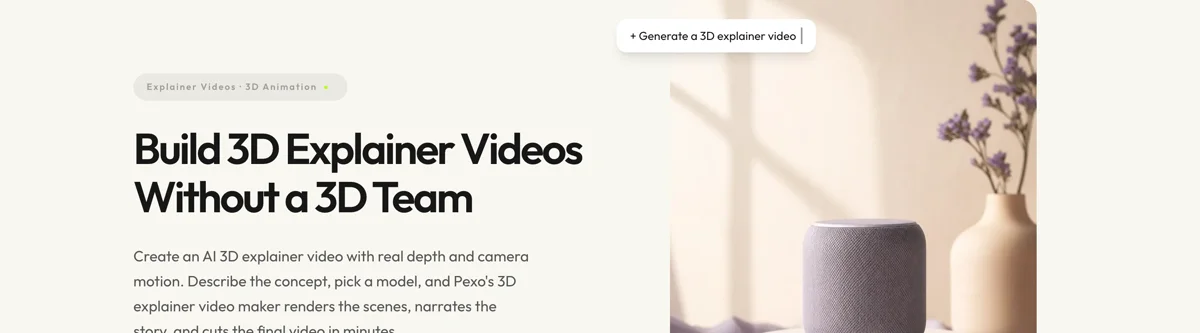
Adjust any shot by describing the change in the chat, and Pexo regenerates that scene alone. The platform runs across Seedance 2.0, Kling AI, and more.
For other styles, the 2D explainer video page suits abstract concepts and software, and product explainer video covers the product-focused format generally.
5 Mistakes That Make 3D Look Like a Stock Render
1. Choosing 3D for a subject 2D explains equally well. The premium buys depth. If depth adds nothing, it buys nothing.
2. One hard light with no bounce. Black shadows are the clearest render giveaway. Three-point plus an environment map.
3. Continuous unmotivated camera motion. A camera that never settles is exhausting. Move deliberately, then hold.
4. Silence, or generic music over a mechanism. Material-matched sound is what makes a render feel like an object.
5. Cropping an orbit into vertical. A centre crop of a rotating product usually loses the product. Reframe each shot.
Related Tutorials
- How to make a 2D explainer video for abstract concepts and software
- How to produce an explainer video for the full production process
- How to make a product launch video for launch-focused product footage
- How to make motion graphics for data and typography-led explanation




