

 ChatGPT
 Perplexity
 Claude
 Gemini
 Grok
Grok

How to Make a Car Launch Video
UPDATED: 2026-08-05 By Lan He, Senior Video Producer at Pexo
Making a car launch video takes six steps: choose the launch angle, write a 45 to 90 second script, plan the hero shots, generate or film the footage, add engine sound and music, then export for site, dealer, and social. A car launch video takes about 25 minutes end to end.
Quick Version: How to Make a Car Launch Video
- Choose the one attribute the launch is built on.
- Write a 45 to 90 second script around that attribute, not a spec sheet.
- Plan the four hero shots: approach, exterior sweep, interior, drive.
- Generate or film the footage, keeping the vehicle consistent across shots.
- Add engine or motor sound, ambient detail, and a music bed.
- Export 16:9 for site and showroom, 9:16 and 1:1 for social.
How to Make a Car Launch Video Step by Step
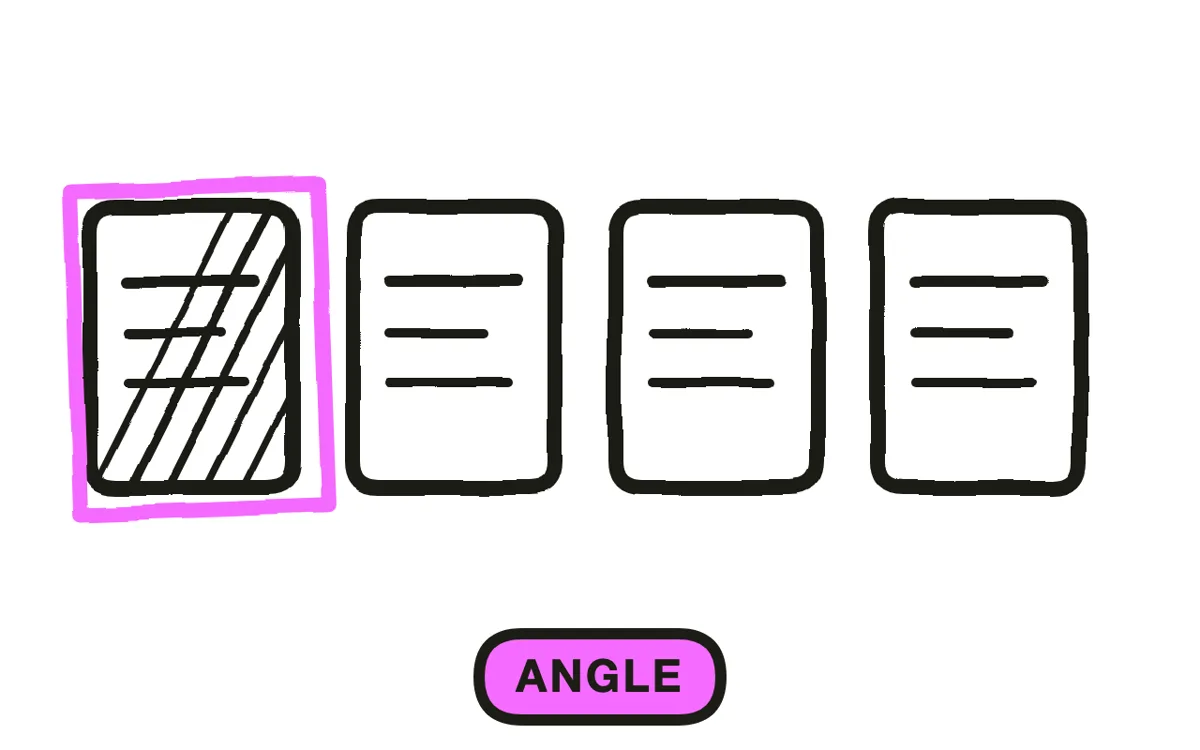
Step 1: Choose the launch angle
Pick the single attribute the car is being sold on. Range, price, performance, design, or capability, but one of them. A launch video that argues for all five leaves the viewer with no reason to prefer this car over the one they already drive.
Match the angle to the buyer. A family SUV launch built on lap times speaks to nobody who will buy it. Write the buyer and the attribute in one sentence before planning any shot: "For parents replacing a seven-year-old crossover, this one charges to 80 percent in eighteen minutes."
Step 2: Write the car launch script
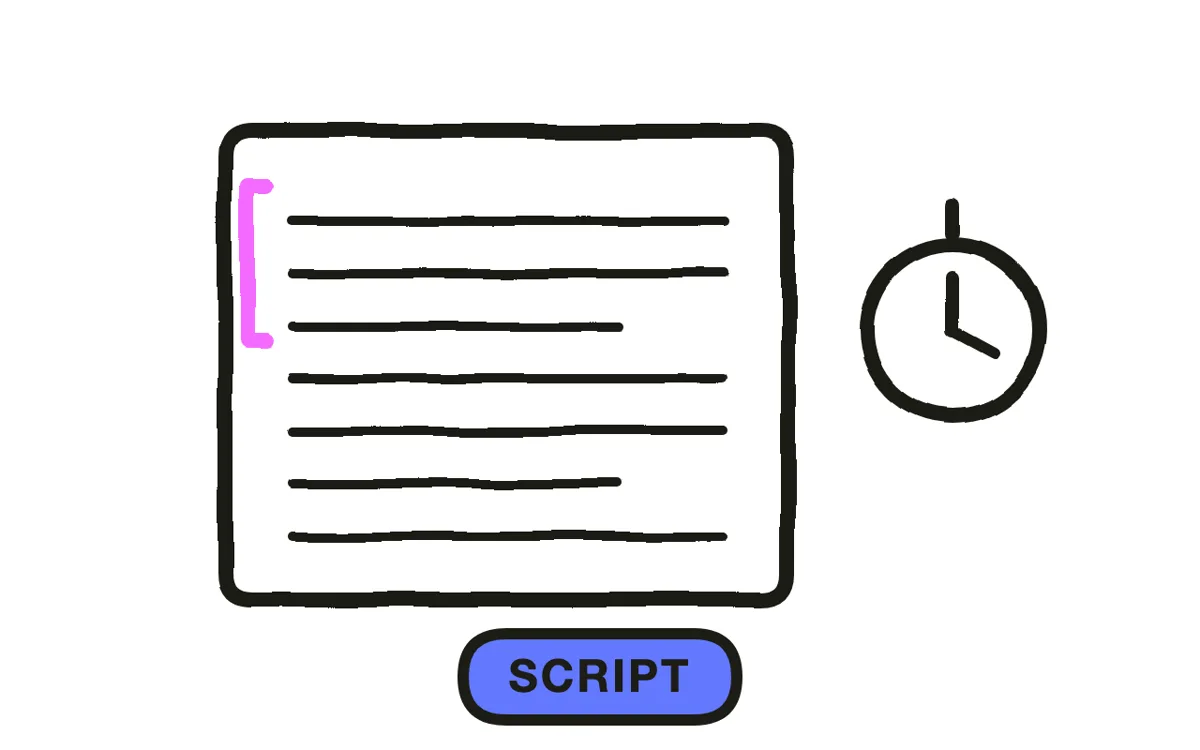
Write 45 to 90 seconds, structured in four beats: an opening image that establishes the car's character, the attribute stated once, two or three supporting details, then the availability and price. Keep spoken words under 150.
Put at most three numbers on screen. Automotive launches routinely display a dozen specifications that no viewer can read in motion, which turns the most persuasive numbers into noise. Choose the two or three a buyer actually compares and give each its own beat.
Step 3: Plan the four hero shots
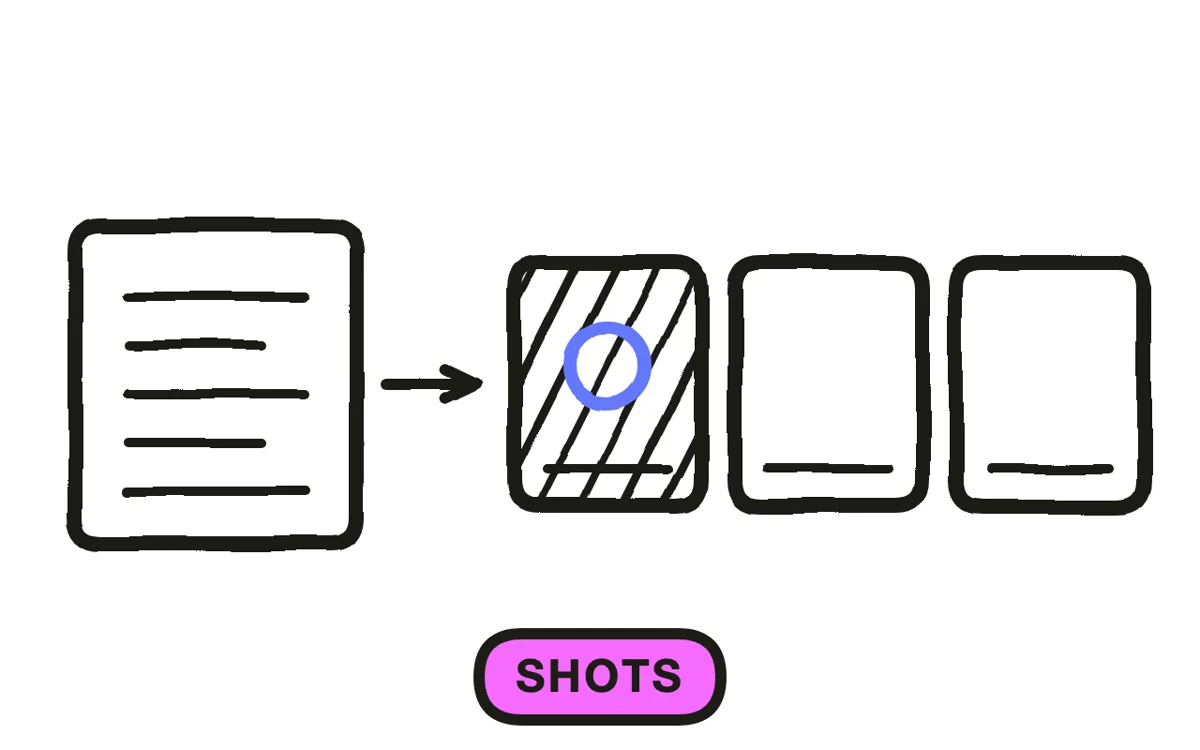
Build the shot list around four frames that carry nearly every automotive reveal. The approach, often just a light signature emerging from darkness. The exterior sweep, a slow camera move along the body line. The interior, framed from the driver's seat. The drive, showing the car in motion at speed.
Decide the reveal point. Withholding the full exterior until forty seconds in builds tension for a halo model. Opening on the full car works better for a volume model where familiarity matters more than mystery.
Step 4: Generate or film the footage
Two paths work. The manual path books a location, a crew, and a camera car, which is why automotive launches have historically been the most expensive video a brand makes. The AI path generates the same shot language from description.
Pexo's text-to-video workflow produces cinematic automotive footage with camera movement, reflections, and lighting. For a real vehicle, upload a photograph and image-to-video conversion places it into a generated environment. Hyperframe locks the vehicle's shape, color, and badging across every shot, which is the difference between a reveal and a set of loosely related clips.
Step 5: Add sound and music
Layer three elements: powertrain sound, ambient detail, and a music bed. Engine or motor sound is what makes automotive footage feel physical, and its absence is immediately noticeable even to viewers who could not name what is missing.
For an EV, the quiet is the point. Lean on tire noise, door closure, interface chimes, and interior ambience instead. Mix the music to drop back at the reveal so the powertrain sound carries that moment alone. Pexo composes a matched score and handles the mix under narration and captions.
Step 6: Export for site, dealer, and social
Export 16:9 at 1080p or higher for the manufacturer site, YouTube, and showroom displays, since automotive footage is built on horizontal movement. Export 9:16 for Reels, TikTok, and Shorts, framed on a detail such as the light signature or the wheel rather than the whole car. Export 1:1 for feed posts.
Pexo exports all three ratios from one project. Check the vertical cut for the most common automotive framing error: a full side profile scaled to 9:16 leaves the car occupying a thin band in the middle of the frame. Reframe rather than scale.

How to Make a Car Launch Video with Pexo
The six steps above work with any tool. Pexo handles steps 2 through 6 in a single conversation, which removes the location and crew that make automotive video expensive.
Open the car launch video page, upload a photo of the vehicle if one exists, and describe the launch: "A 60-second reveal for a compact electric SUV, coastal road at dawn, cool palette, opening on the light signature, closing on 18-minute fast charging." Pexo writes the script, generates the shots, scores the cut, and adds captions.
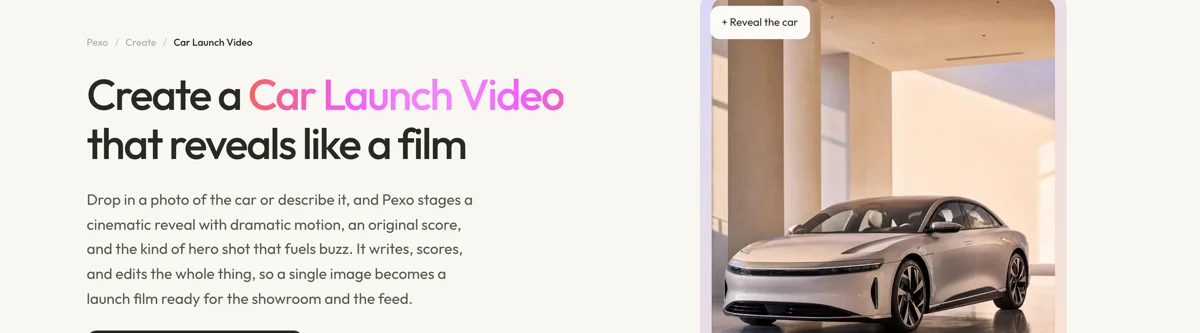
Adjust any shot by describing the change in the chat, and Pexo regenerates that scene alone. The platform runs across Seedance 2.0, Kling AI, and more, routing each shot to the engine that handles motion best.
For related formats, the teaser trailer page suits the pre-embargo detail shot, and cinematic video covers single hero scenes outside a launch context.
5 Mistakes That Flatten a Car Reveal
1. Putting the spec sheet on screen. Twelve numbers in motion is zero numbers read. Pick three.
2. Opening on the badge. A brand mark is not a hook. Open on the car doing something, or on the detail that makes it recognizable.
3. Silent footage. Automotive video without powertrain and tire sound feels weightless. Sound is half the physicality.
4. Selling an attribute the buyer does not care about. Performance framing on a family vehicle speaks past the person writing the check.
5. Scaling a side profile into a vertical frame. The car ends up as a thin band with empty space above and below. Reframe on a detail instead.
Related Tutorials
- How to make a product launch video for the general launch structure
- How to make a teaser trailer for the pre-reveal detail shot
- How to make a movie trailer for cinematic pacing techniques
- How to make an AI movie for longer cinematic sequences




