

 ChatGPT
 Perplexity
 Claude
 Gemini
 Grok
Grok

How to Make a Paper Animation
UPDATED: 2026-08-05 By Lan He, Senior Video Producer at Pexo
Making a paper animation takes six steps: choose the paper style, storyboard within the limits of cut-out movement, design the pieces with joints, animate the sequence, add lighting and texture, then export. A paper animation takes about 25 minutes when generated, or hours per minute when shot physically.
Quick Version: How to Make a Paper Animation
- Choose the paper style: flat cut-out, layered craft, or origami.
- Storyboard within the movements cut-out pieces can actually perform.
- Design characters as separate pieces overlapping at the joints.
- Animate the sequence physically, digitally, or by generating it.
- Add directional lighting and shadow so flat layers read as dimensional.
- Export 16:9 for YouTube and embeds, 9:16 and 1:1 for social.
How to Make a Paper Animation Step by Step
Step 1: Choose the paper style
Pick one of three approaches. Flat cut-out uses simple silhouettes moving in a plane, which is the classic children's television look. Layered paper craft builds depth from stacked shapes with visible shadows. Origami style uses folded forms that unfold and transform.
Match the style to the story. Layered craft suits atmospheric storytelling and bedtime narratives. Flat cut-out suits comedy and fast action, since simple shapes tolerate quick movement. Origami suits transformation, where one object becoming another is the point.
Step 2: Storyboard within the format's limits
Storyboard knowing what cut-out pieces can do. Paper characters rotate, slide, and swap between a small number of poses. They do not turn to face away from the camera, and they do not change perspective without a new piece being drawn.
Plan side-on or three-quarter staging for this reason. Paper animation traditions across many countries settled on flat, theatrical staging because it is what the material supports, not as a stylistic accident. Storyboards that assume camera freedom produce shots that cannot be built.
Step 3: Design the pieces with joints
Cut each character into separate overlapping pieces: head, torso, upper arm, forearm, thigh, shin. Overlap them at the joints so each rotates around its pivot without opening a gap in the silhouette.
Cut backgrounds as three or four separate depth layers rather than one flat sheet. Separated layers can be moved at different speeds for a parallax effect, which is what makes a paper scene feel like a space rather than a picture.
Step 4: Animate the sequence
Three paths work. Physical stop motion photographs real paper under a rig, one frame at a time, at twelve frames per second. Digital compositing layers scanned or drawn textures in an editor. Generation produces the sequence from a description.
Pexo's text-to-video workflow generates paper-style animation with consistent texture and lighting across shots. For scenes built from real cut-outs, photograph the assembled frame and use image-to-video conversion to animate it, which keeps genuine paper texture while removing the frame-by-frame capture.
Step 5: Add lighting and texture
Light the scene from one clear direction and let every layer cast a soft shadow on the one behind it. Shadow separation is the entire illusion: without it, layered paper reads as flat clip art no matter how well the pieces are designed.
Keep the paper grain visible. Slight texture, uneven edges, and small imperfections are what signal handmade rather than vector. A perfectly clean edge is the fastest way to lose the quality the style exists for.
Step 6: Export for your platform
Export 16:9 at 1080p or higher for YouTube and site embeds, where layered scenery has room to read. Export 9:16 for Reels, TikTok, and Shorts. Export 1:1 for feed posts.
Pexo exports all three ratios from one project. Compose the vertical version rather than cropping, since paper scenes are built on horizontal layering. Check the export for compression damage: fine paper grain is exactly the kind of detail heavy compression destroys, and it is the detail the style depends on.
How to Make a Paper Animation with Pexo
The six steps above work with any tool. Pexo handles steps 2 and 4 through 6 in a single conversation, which replaces hours of frame-by-frame capture.
Open the paper animation page and describe the piece: "A 60-second layered paper animation of a fox walking through an autumn forest at dusk, warm side lighting, visible paper grain, gentle narration." Pexo generates the sequence, holds the texture and lighting consistent, and scores it.
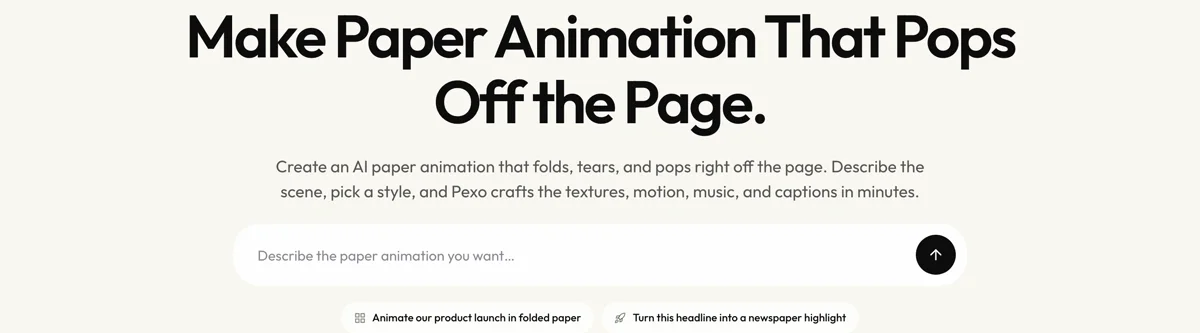
Adjust any shot by describing the change in the chat, and Pexo regenerates that scene alone. The platform runs across Seedance 2.0, Kling AI, and more.
For related handmade styles, the stop motion page covers objects and clay, and animated short film suits longer narrative work in any animation style.
5 Mistakes That Break the Paper Illusion
1. Flat lighting with no shadows. Without shadow separation between layers, paper reads as clip art. One directional light source fixes most of it.
2. Cutting characters as a single piece. A one-piece character can only slide and rotate whole. Separate limbs at the joints.
3. Storyboarding camera moves paper cannot support. Perspective changes require new pieces for every angle. Stage flat.
4. Removing the texture. Clean vector edges discard the handmade quality that is the entire reason to choose the style.
5. Animating at 24fps by default. Twelve frames per second gives the format its characteristic stutter. Smooth motion looks like a different medium.
Related Tutorials
- How to make stop motion animation for the broader frame-by-frame technique
- How to make a whiteboard animation for a related hand-drawn style
- How to make motion graphics for graphic rather than handmade animation
- How to make a short film for longer narrative work




