

 ChatGPT
 Perplexity
 Claude
 Gemini
 Grok
Grok

How to Make a Product Explainer Video
UPDATED: 2026-08-06 By Lan He, Senior Video Producer at Pexo
Making a product explainer video takes six steps: name the one problem, write a 60 to 90 second script, decide how much product to show, produce the footage, place the proof, then cut per placement. A product explainer video takes about 25 minutes end to end.
Quick Version: How to Make a Product Explainer Video
- Name the one problem the product solves for one buyer.
- Write 60 to 90 seconds in four beats.
- Show one workflow completed, not a tour of every feature.
- Produce the footage by screen recording, animation, or generation.
- Place one piece of proof where the claim is hardest to believe.
- Cut per placement: homepage, paid social, onboarding.
How to Make a Product Explainer Video Step by Step
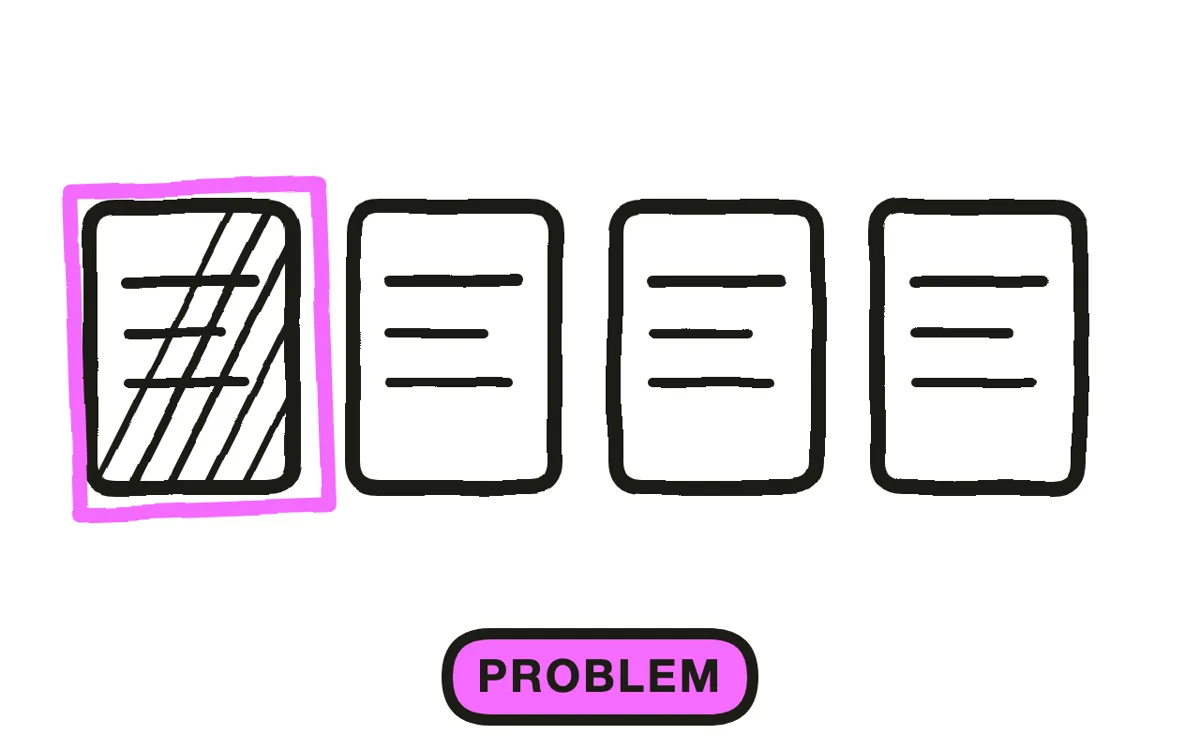
Step 1: Name the one problem
Write the single problem the product solves, for one buyer, in a sentence they would recognise as their own. "Reconciling payouts across three platforms takes a finance team two days a month" beats "streamline your financial operations", because the first is a situation someone is currently in.
Pick one buyer. A video written for both the operator who uses the product and the executive who signs for it persuades neither, since the operator wants to see the work and the executive wants to see the outcome. Two buyers means two videos.
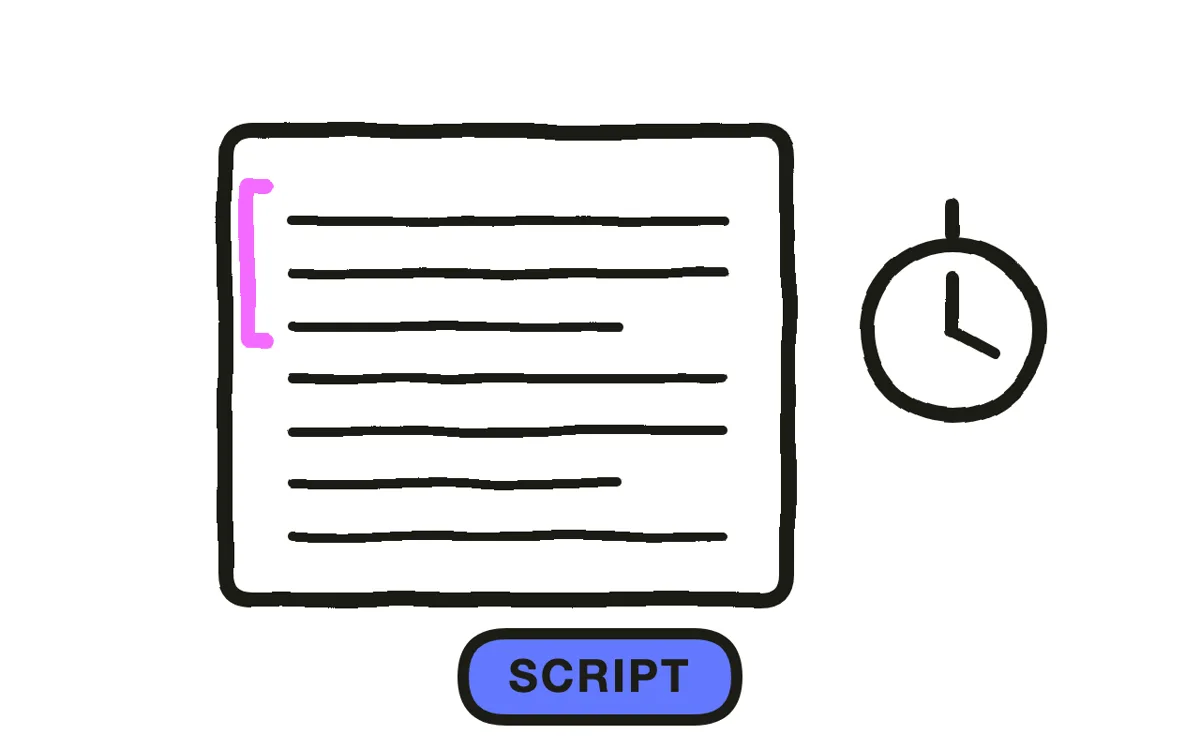
Step 2: Write the script in four beats
Write at roughly 150 words per minute. Structure it as: the problem stated so the viewer recognises it, the shift your product introduces, how it works in one or two sentences, then one action. A 90-second explainer is about 225 words, and counting them before production catches a script that is really two minutes.
Spend the first ten seconds on the problem, not the company. Opening with who you are asks for attention before giving a reason to grant it. The viewer decides whether this video is about them in the first sentence.
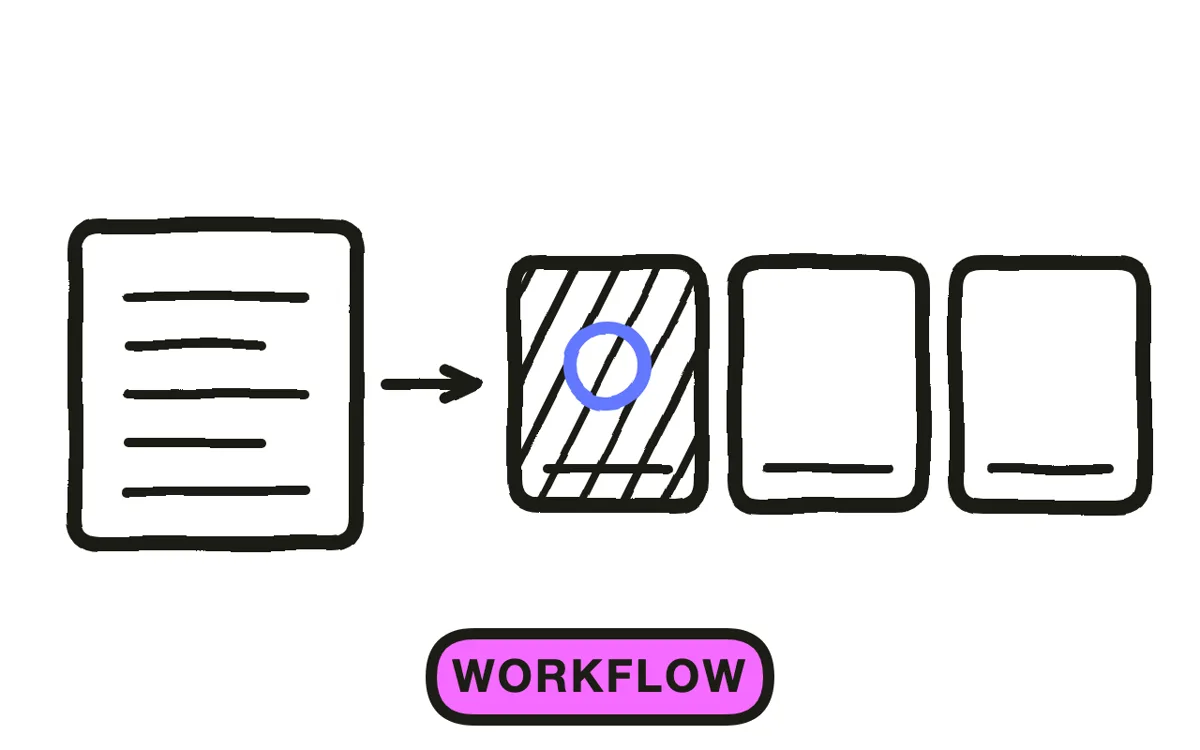
Step 3: Decide how much product to show
Show one workflow completed end to end. A viewer judges whether the product is real by watching it do one thing successfully, not by being shown everything it can do. Feature tours are the most common reason a product explainer runs long and converts poorly.
Keep interface close-ups short and replaceable. A video welded to a specific screen layout becomes wrong at the next redesign, and the whole piece gets retired rather than patched. Show the workflow and the outcome; treat the exact pixels as the disposable layer.
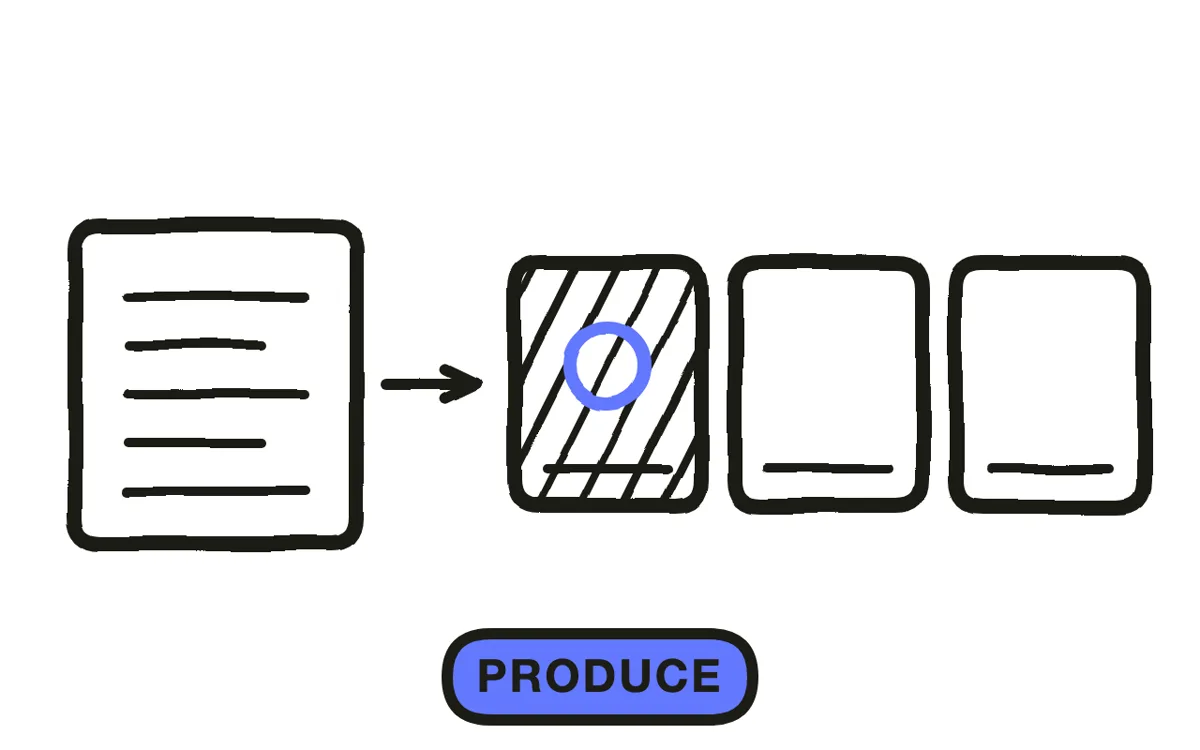
Step 4: Produce the footage
Three routes work. Screen recording is the most credible and the least flexible, since it locks the video to today's interface. Animation abstracts the product and ages better but shows less. Generation covers the surrounding context that neither route produces cheaply.
Pexo's text-to-video workflow generates the scenes around the product: the person with the problem, the workplace, the outcome. Upload a product screenshot and image-to-video conversion animates the real interface inside those scenes, which keeps the product accurate while the context stays generated.
Step 5: Place one piece of proof
Put one concrete proof point where the claim is hardest to believe, not at the end. If the claim is that setup takes ten minutes, show the clock. If it is that a team of three replaced a team of eight, name the number there.
One proof, not four. A video stacking logos, statistics, and testimonials reads as an argument that needs help, while a single specific number reads as a fact. Pexo generates narration with natural AI voices and composes a score that lifts into the proof beat.
Step 6: Cut per placement
Export 16:9 at 1080p or higher for the homepage and product page, 9:16 and 1:1 for paid social, and a longer version for onboarding where the viewer has already committed. Pexo exports all three ratios from one project.
Change the closing action per placement rather than reusing one cut everywhere. Homepage ends on start a trial, paid social ends on learn more, onboarding ends on complete the first task. Burn in captions for the social cuts, since most of that playback is muted.
How to Make a Product Explainer Video with Pexo
The six steps above work with any production route. Pexo handles steps 4 through 6 in a single conversation, which matters most when the product is still changing and the video has to change with it.
Open the product explainer video page, upload a product screenshot, and describe the piece: "A 75-second product explainer for a payouts reconciliation tool aimed at finance managers, clean modern style, opening on the two-day month-end close, ending on a free trial." Pexo generates the scenes, animates the interface, records the narration, and exports every ratio.
Adjust any scene by describing the change in the chat, and Pexo regenerates that scene alone, which is what makes a redesign cost one scene instead of the whole video.
For related formats, the product demos page covers the longer evaluation-stage walkthrough, saas explainer video suits software specifically, and tech explainer video covers technical audiences.
5 Mistakes That Stop a Product Explainer Converting
1. Touring every feature. The viewer judges realness by seeing one thing work, not by seeing everything. One workflow, completed.
2. Opening with the company. The first sentence has to be about the viewer's problem, or they never reach the second.
3. Writing for two buyers. The operator wants the work; the executive wants the outcome. Serving both serves neither.
4. Welding the video to today's interface. A redesign retires the whole piece. Keep interface shots short and replaceable.
5. Stacking four proof points. One specific number reads as fact. Four reads as an argument that needs help.
Related Tutorials
- How to make a 2D explainer video for the most common explainer style
- How to make a 3D explainer video for physical products
- Explainer video vs demo video for choosing between the two formats
- How to make a product demo video for the evaluation-stage walkthrough




