

 ChatGPT
 Perplexity
 Claude
 Gemini
 Grok
Grok

How to Make a Screencast Explainer Video
UPDATED: 2026-08-10 By Lan He, Senior Video Producer at Pexo
Making a screencast explainer takes six steps: choose one task, set up the screen properly, record each action separately, narrate afterward, edit out the dead time, then export. A screencast explainer takes about 20 minutes end to end.
Quick Version: How to Make a Screencast Explainer Video
- Choose one task with a visible finished state.
- Set up the screen: resolution, cursor, notifications, clean account.
- Record each action as its own take with handles.
- Narrate after the capture, not during it.
- Edit out loading, hesitation, and anything off the path.
- Export 16:9 for docs and YouTube, 9:16 for social.
How to Make a Screencast Explainer Video Step by Step
Step 1: Choose one task
Pick a task with an unambiguous finished state: connect an account, publish a draft, build a report, export a file. One task per screencast, and name it in a sentence before recording.
Anything not on the path to that finished state comes out. Screencasts fail most often by becoming a tour of the interface, which happens naturally because everything is right there on screen and easy to mention in passing.
Step 2: Set up the screen
Size the window to 1920x1080 rather than recording a full ultrawide display and scaling it down, which is the single most common reason interface text ends up unreadable. Increase the system cursor size, because a default cursor at 1080p is genuinely hard to follow.
Turn off notifications, close unrelated tabs, and use a clean demo account with realistic data. Placeholder text and a browser full of personal bookmarks both undermine the credibility that recording a real screen was supposed to buy.
Step 3: Record each action separately
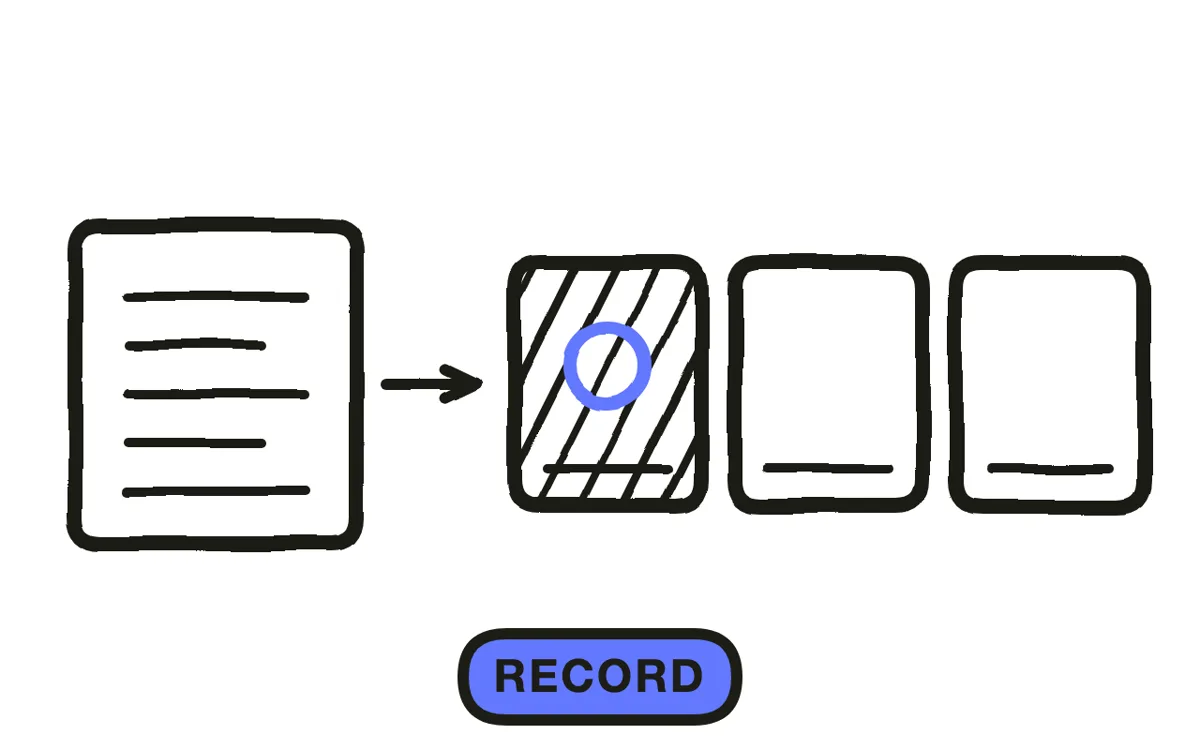
Record each step as its own take, with a couple of seconds of stillness before and after. Those handles are what let the edit control pacing, and without them every cut lands tight against an action.
Move deliberately and more slowly than feels natural. Cursor movement that reads fine live becomes a blur in a compressed video, and a viewer following along cannot see where you clicked. Re-record a step rather than accepting a fumbled one, since one bad take costs a minute here and cannot be fixed later.
Step 4: Narrate after the capture
Record the voiceover against the finished screen footage rather than while performing the actions. Narrating live means a stumble in either the words or the clicks ruins the whole take, and the two failure modes compound.
Write the narration to explain intent rather than mechanics: "give it a name your team will recognise" beats "type in the name field". For content without a shoot at all, Pexo's image-to-video workflow animates uploaded screenshots into a moving sequence, which covers the cases where a live recording is not possible.
Step 5: Edit out the dead time
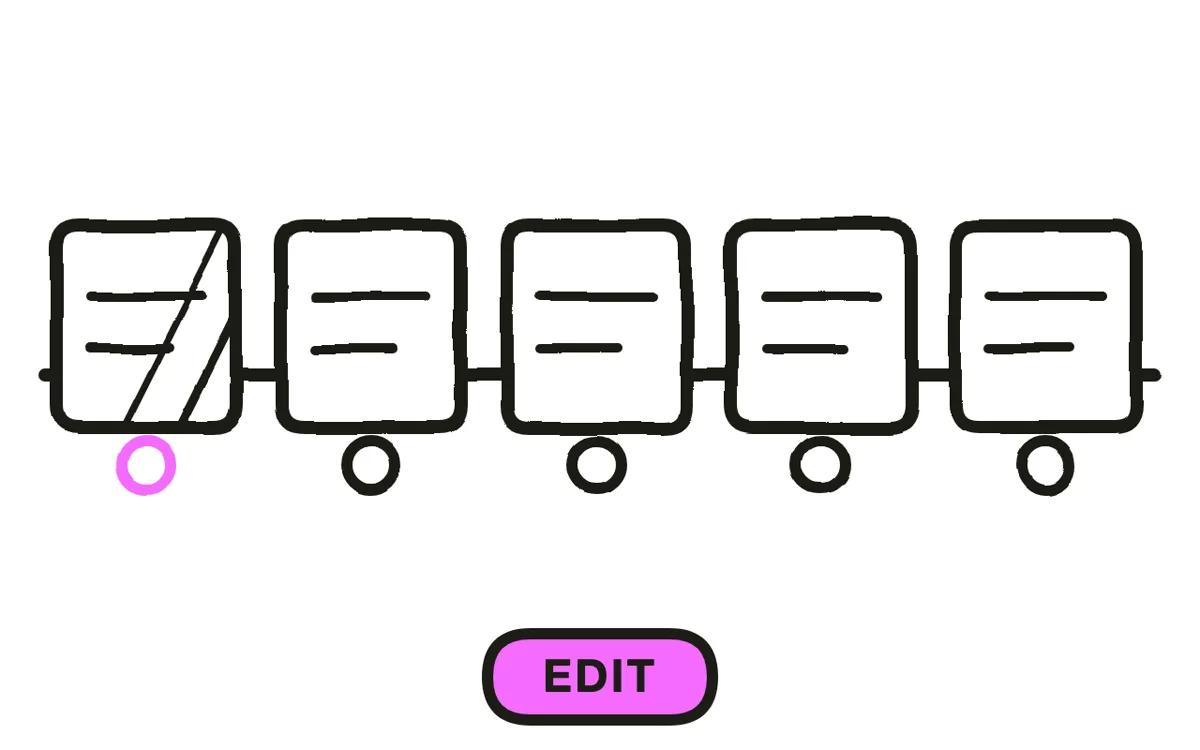
Cut every page load, every hesitation, and every second where nothing changes. This is most of the editing work in a screencast, and it is why raw recordings feel four times longer than they are.
Zoom in on anything small: a menu item, a toggle, a field. A full-screen view held for the whole video shows every detail at a size a phone viewer cannot read. Add click highlights so the viewer can see where the action happened rather than inferring it from the result.
Step 6: Export for your placement
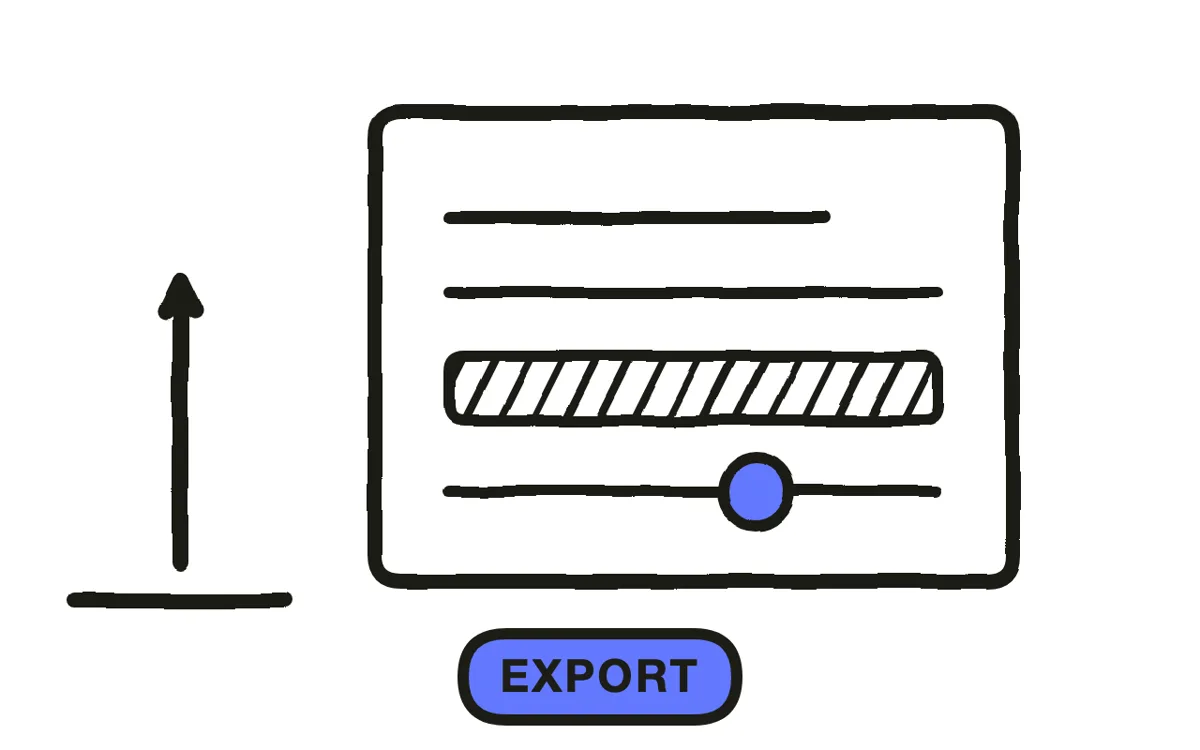
Export 16:9 at 1080p or higher for a help centre, documentation, and YouTube. Add captions and chapter markers for anything over about five minutes, since chapters let a viewer return to the step they got stuck on.
Export 9:16 for social by framing one column or panel at a time rather than shrinking the whole screen. Pexo exports both from one project. Check the export on a phone before publishing: interface text that reads on a desktop preview frequently does not survive.
How to Make a Screencast Explainer Video with Pexo
The six steps above cover a live recording. Where a recording is not possible, Pexo generates the equivalent sequence from screenshots or a description, which covers unreleased features and interfaces that change too fast to keep a recording current.
Open the tutorial video page, upload the screens in order, and describe the task: "A 3-minute walkthrough of connecting a payment account, slow zoom to each control, click highlight on every step, calm narration explaining why each field matters." Pexo builds the sequence, adds motion and highlights, and records the narration.
Adjust any step by describing the change in the chat, and Pexo regenerates that segment alone. The platform runs across Seedance 2.0, Kling AI, and more.
For related formats, the video from screenshots tutorial covers still-image walkthroughs, and product explainer video covers the shorter marketing piece.
5 Mistakes That Make a Screencast Hard to Follow
1. Recording an ultrawide display. Scaling 3440 pixels down to 1080p makes every label unreadable. Size the window first.
2. Leaving the cursor at default size. At 1080p it is genuinely hard to track, and viewers lose the thread without knowing why.
3. Narrating live. A stumble in the words or the clicks ruins the take, and the two failure modes compound.
4. Keeping the loading time. Nobody watches a page load. Cutting dead time is most of what makes a screencast watchable.
5. Holding a full-screen view throughout. Every detail then appears at a size a phone viewer cannot read. Zoom to what matters.
Related Tutorials
- How to make a video from screenshots for still-image walkthroughs
- How to make a tutorial video for the broader instructional format
- How to make a product explainer video for the shorter marketing piece
- How to make an SOP video for procedure documentation




