

 ChatGPT
 Perplexity
 Claude
 Gemini
 Grok
Grok

How to Make a Video From Screenshots
UPDATED: 2026-08-06 By Lan He, Senior Video Producer at Pexo
Making a video from screenshots takes six steps: capture at high resolution, order them into one task, add pan and zoom motion, annotate the click targets, add narration, then export. A screenshot video takes about 20 minutes end to end.
Quick Version: How to Make a Video From Screenshots
- Capture every screen at 1920x1080 or higher, in task order.
- Order and trim the set so it tells one task, not a gallery.
- Give each screenshot a hold duration and slow pan or zoom.
- Annotate the click target with one consistent visual device.
- Add narration or on-screen text timed to each screen.
- Export 16:9 for help centre and YouTube, 9:16 for social.
How to Make a Video From Screenshots Step by Step
Step 1: Capture at the right resolution
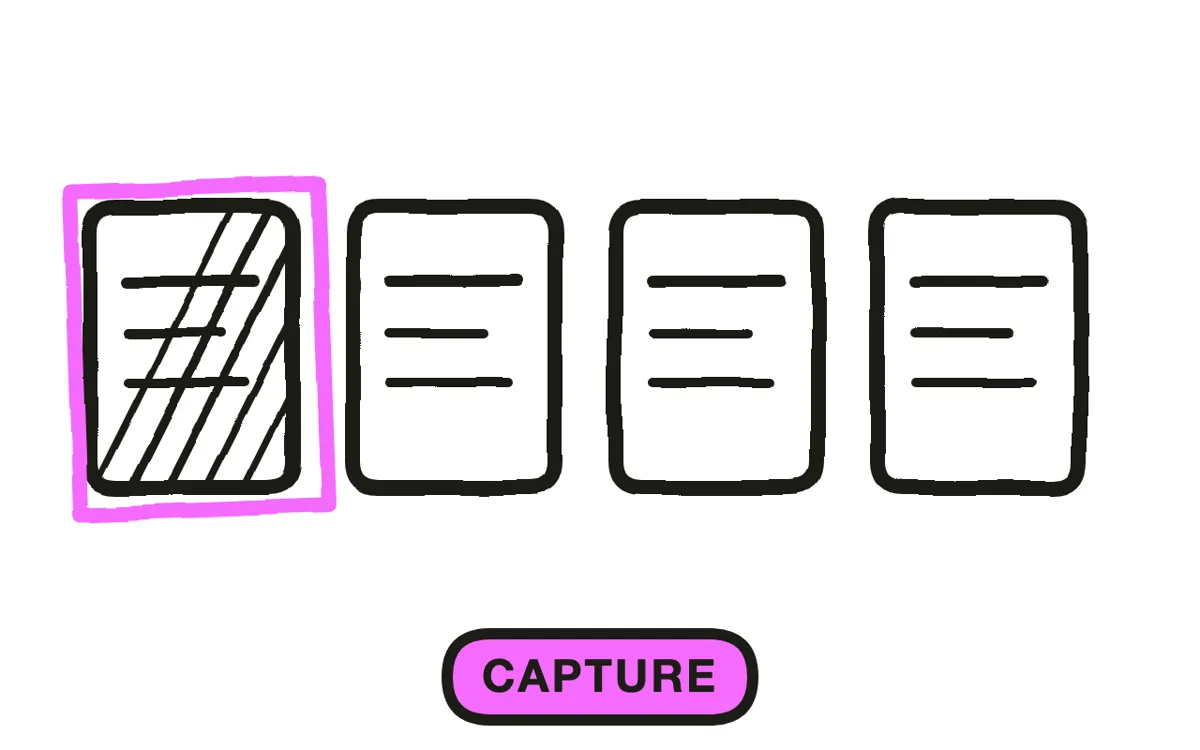
Capture at 1920x1080 or higher, and at 2x scale on a retina display. Screenshots taken at a default browser window look acceptable as images but go soft the moment they are scaled inside a 1080p video, and interface text is the first thing to blur.
Take more screens than you think you need, including the states between actions: the dropdown open, the field mid-entry, the confirmation toast. Missing intermediate states is what forces the awkward jump cuts that make a viewer lose the thread.
Step 2: Order them into one task
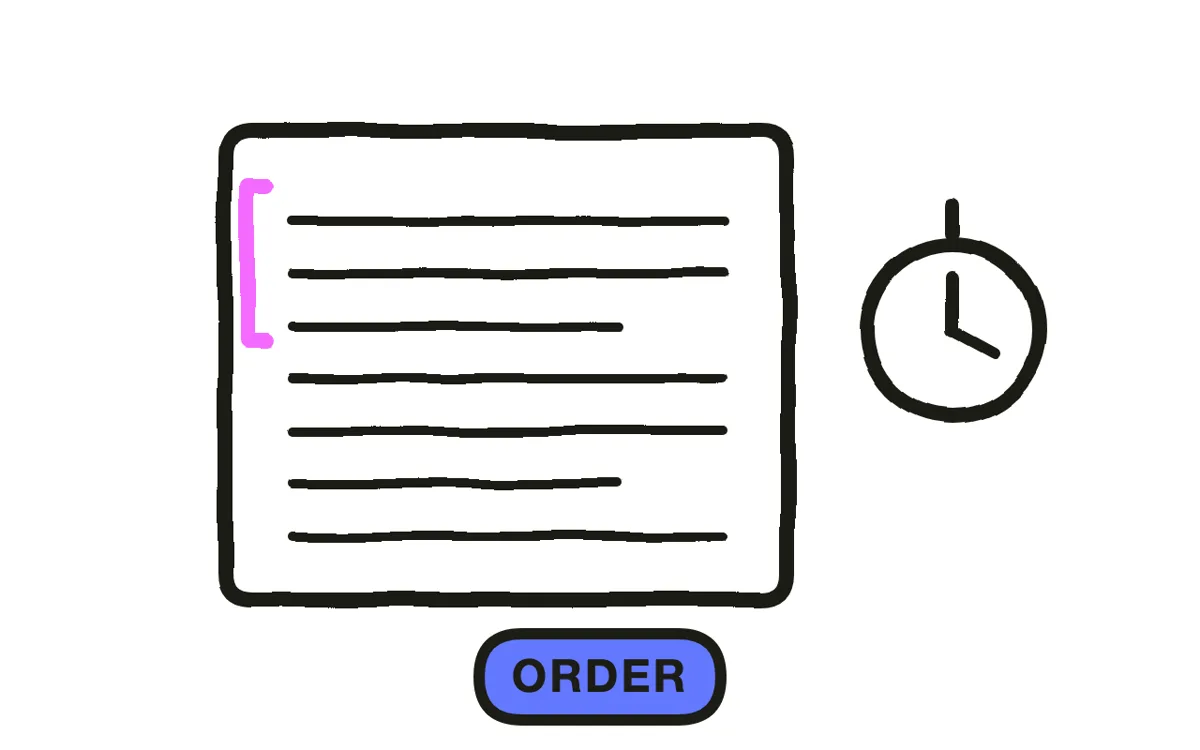
Arrange the screens in the order a user actually performs the task, then cut everything that is not on that path. A screenshot video fails when it becomes a tour of the interface instead of a walkthrough of one job.
Name the task in a sentence first: "connect a payment account" or "publish a draft". Any screenshot that does not move the viewer toward that sentence comes out. Most first passes lose about a third of their screens at this step.
Step 3: Add motion to each screenshot
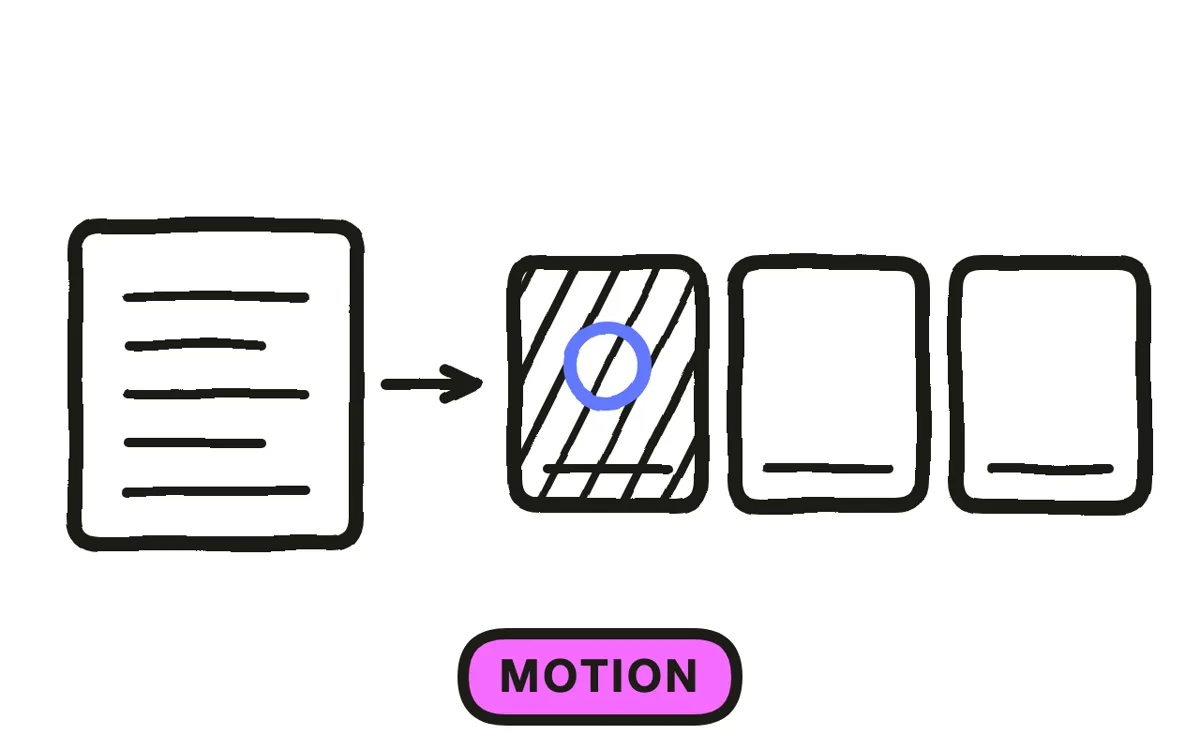
Give every screenshot a slow pan or a gentle zoom toward the area that matters. A still image held motionless reads as a stalled video, and viewers reach for the scrub bar within about two seconds.
Set hold durations by difficulty rather than uniformly. Three to five seconds for a simple screen; six to eight when the viewer has to locate a specific control or read a value. Uniform timing is the most common reason a screenshot video feels both rushed and slow in different places.
Step 4: Annotate the click targets
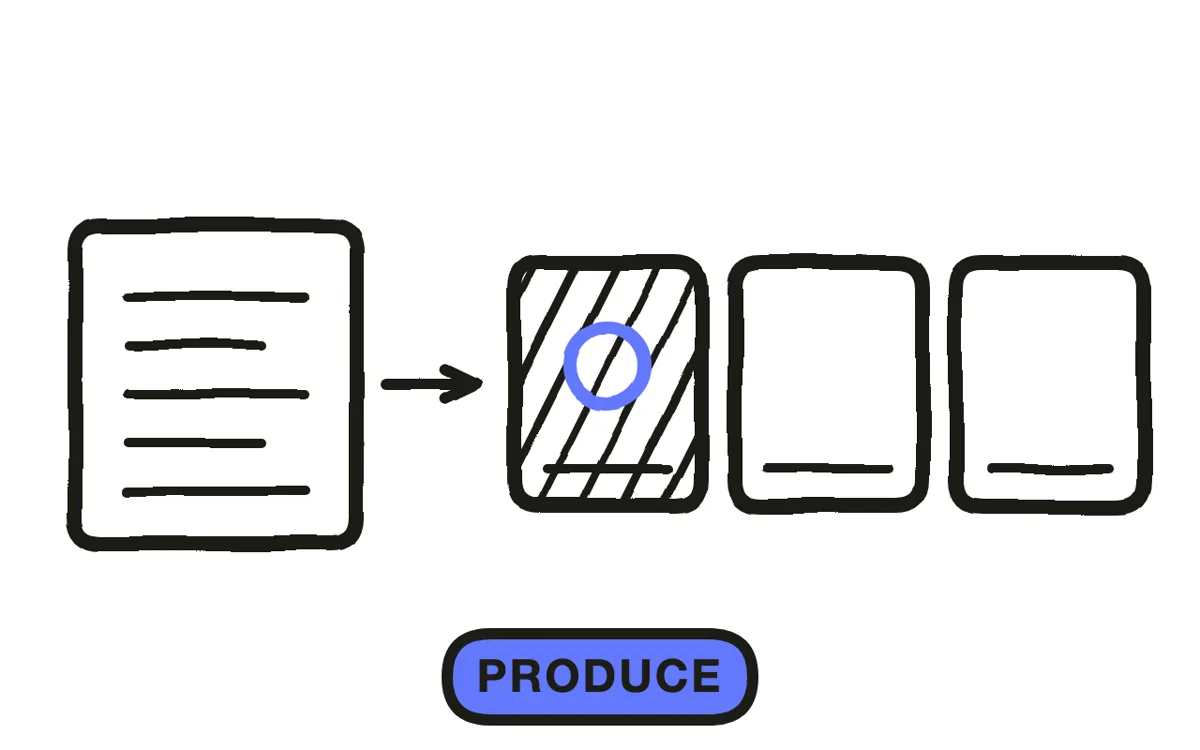
Mark where the viewer should look using one device throughout: a coloured outline, a spotlight that dims everything else, or an animated cursor. Mixing arrows on one screen and circles on the next makes the viewer relearn the convention every time.
Bring the annotation in a beat after the screen appears, not simultaneously. Letting the viewer see the whole screen for half a second before the highlight lands is what makes them feel oriented rather than led.
For generated sequences, Pexo's image-to-video workflow animates uploaded screenshots with motion and highlights from a written description, which removes the keyframing entirely.
Step 5: Add narration or on-screen text
Record narration for tutorials and onboarding, where a voice explaining what the viewer is looking at carries more than text can. Write it to describe the intent, not the mechanics: "give it a name your team will recognise" beats "type in the name field".
For short social clips, use on-screen text instead, since most of that playback is muted. Pexo generates narration with natural AI voices and times it to each screen automatically.
Step 6: Export for your placement
Export 16:9 at 1080p or higher for a help centre, product documentation, and YouTube. Interfaces are landscape artifacts, which makes 16:9 the genuine default here rather than a legacy choice.
For social, export 9:16 by framing one column or one panel at a time rather than shrinking the full screen into a vertical frame, where every label becomes unreadable. Check the export on a phone before publishing: interface text that reads on a desktop preview frequently does not survive the trip.
How to Make a Video From Screenshots with Pexo
The six steps above work with any tool. Pexo handles steps 3 through 6 in a single conversation, which is the part that otherwise means keyframing every image by hand.
Open the screenshot to video page, upload the screens in order, and describe the task: "A 60-second walkthrough of connecting a bank account in a finance app, slow zoom to each button, calm narration, highlight the click target on every screen." Pexo builds the sequence, adds motion and highlights, and records the narration.
Adjust any screen by describing the change in the chat, and Pexo regenerates that segment alone. The platform runs across Seedance 2.0, Kling AI, and more.
For adjacent formats, the tutorial video page covers live screen recording, and product demo video suits a sales-facing walkthrough rather than a support one.
5 Mistakes That Make a Screenshot Video Unfollowable
1. Holding stills motionless. A static image with no pan or zoom reads as a stalled video. Viewers reach for the scrub bar in about two seconds.
2. Uniform hold durations. Simple screens need three seconds, dense ones need eight. One setting for all of them makes the video feel rushed and slow at the same time.
3. Switching annotation styles. Arrows on one screen and circles on the next forces the viewer to relearn the convention every step. Pick one device.
4. Capturing at browser default size. Interface text is the first thing to blur when a small screenshot is scaled into a 1080p frame. Capture at 2x.
5. Redacting with black bars. Blocks of censorship read as untrustworthy and remove the context that made the step clear. Use realistic placeholder data instead.
Related Tutorials
- How to make a tutorial video for live screen recording instead of stills
- How to make a product demo video for a sales-facing walkthrough
- How to make an explainer video for the broader explainer format
- How to make a short video for the social cut-downs




