

 ChatGPT
 Perplexity
 Claude
 Gemini
 Grok
Grok

How to Make a Stick Figure Explainer Video
UPDATED: 2026-08-10 By Lan He, Senior Video Producer at Pexo
Making a stick figure explainer takes six steps: confirm the style fits, design distinguishable figures, script so posture carries the emotion, animate with exaggerated motion, time it to narration, then export. A stick figure explainer takes about 20 minutes when generated.
Quick Version: How to Make a Stick Figure Explainer Video
- Confirm minimal figures signal the right thing here.
- Design figures distinguishable by one element each.
- Script so posture and position carry the emotion.
- Animate with exaggerated, well-eased motion.
- Time the action to the narration.
- Export 16:9 for site and YouTube, 9:16 and 1:1 for social.
How to Make a Stick Figure Explainer Video Step by Step
Step 1: Confirm the style fits
Stick figures remove detail on purpose. With no face or clothing to read, attention goes entirely to what the figures are doing, which suits processes involving people, behaviour comparisons, and anything where a detailed character would raise irrelevant questions about who they are meant to represent.
The style works against you in two situations: when the viewer's concern is whether you are a serious operation, and when the content is emotionally weighty. A stick figure walking through a grievance procedure reads as flippant no matter how carefully the script is written.
Step 2: Design distinguishable figures
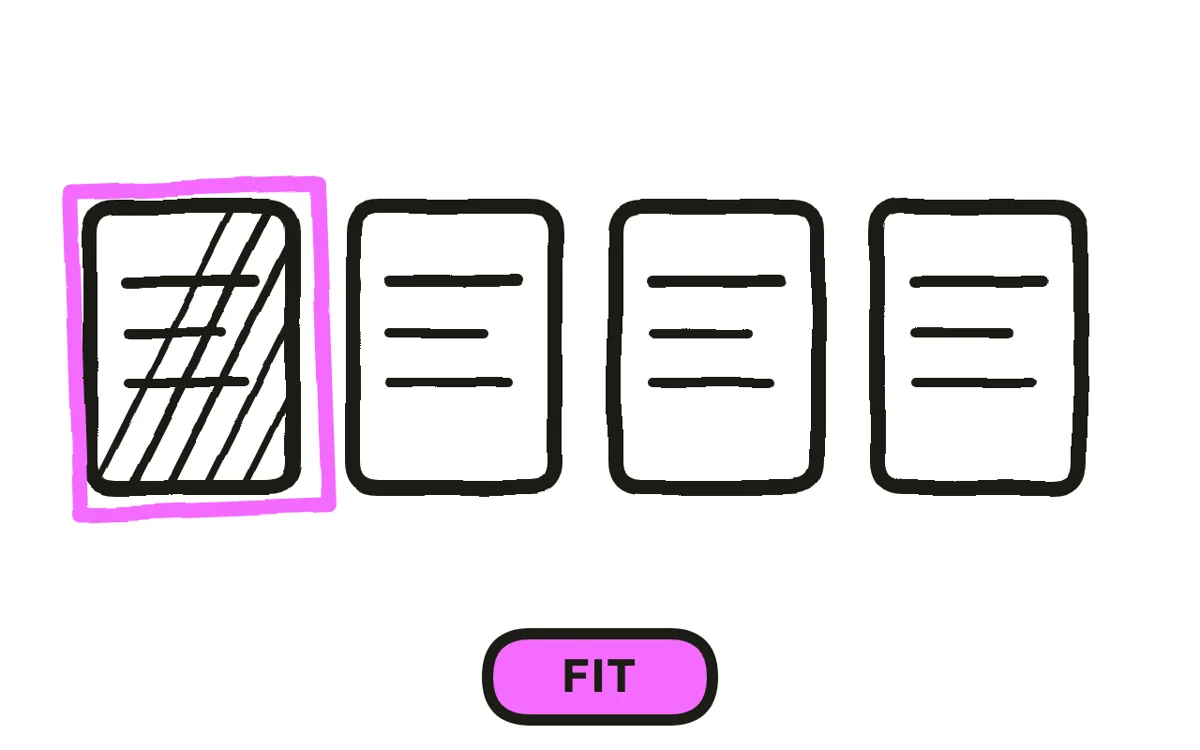
Give each figure one distinguishing element: a hair shape, a hat, a colour, a height difference. One is enough, and two is the ceiling before you have stopped making stick figures and started making simplified characters, which is a different and more expensive style.
Keep the count to two or three figures. The whole appeal is that a viewer instantly parses who is who, and that breaks down past three when everyone is a line drawing with one accessory.
Step 3: Script so posture carries the emotion
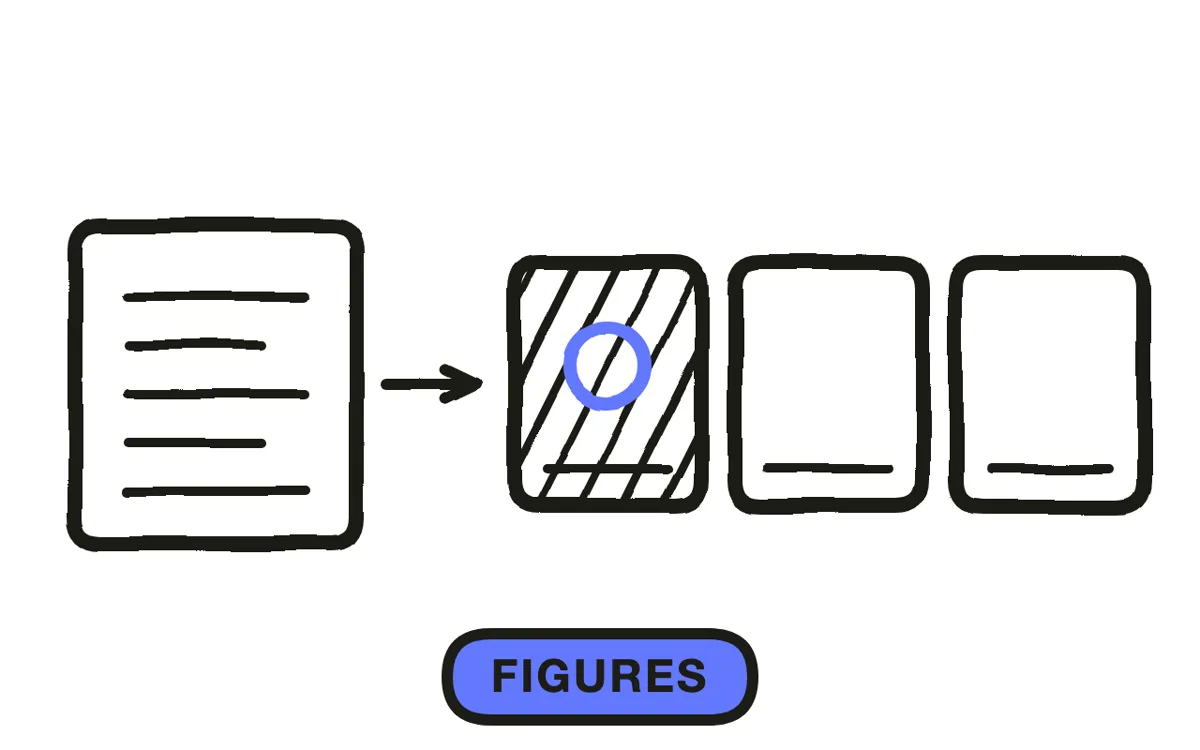
Write at roughly 150 words per minute, and for every line note what the figure is doing physically. With no facial expression available, posture and position are the entire emotional vocabulary: slumped, arms up, walking away, standing between two others.
Keep it to 60 to 90 seconds. The style has limited visual variety by design, so it fatigues faster than richer animation, and past two minutes viewers stop reading the figures and start waiting for the end.
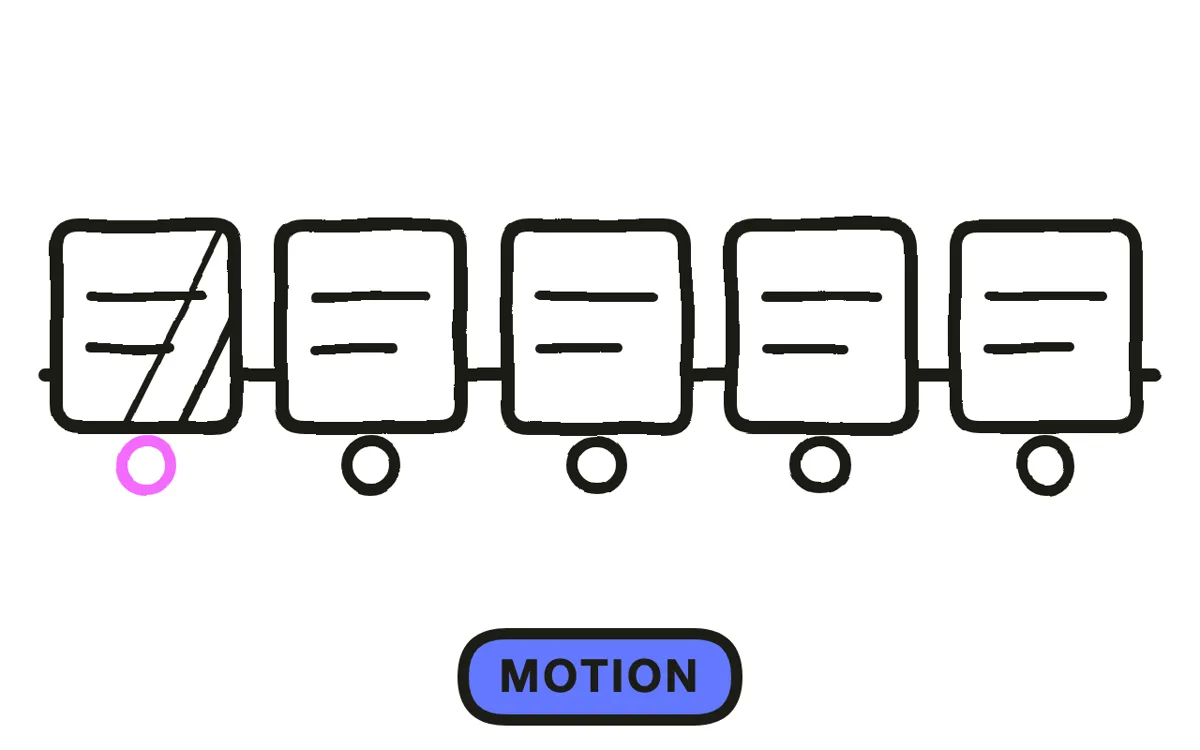
Step 4: Animate with exaggerated motion
Exaggerate every movement well past realistic. A stick figure has no detail to carry a subtle gesture, so a small movement simply does not read, and the result looks like a diagram twitching rather than a character acting.
Ease everything. This is where stick figure work is either a deliberate style or an obvious shortcut, and the difference is entirely in the motion quality rather than the drawing. Figures that accelerate and settle read as animated; figures sliding at constant speed read as a placeholder nobody replaced.
Pexo's text-to-video workflow generates stick figure sequences with consistent proportions and eased motion, without rigging.
Step 5: Time the action to narration
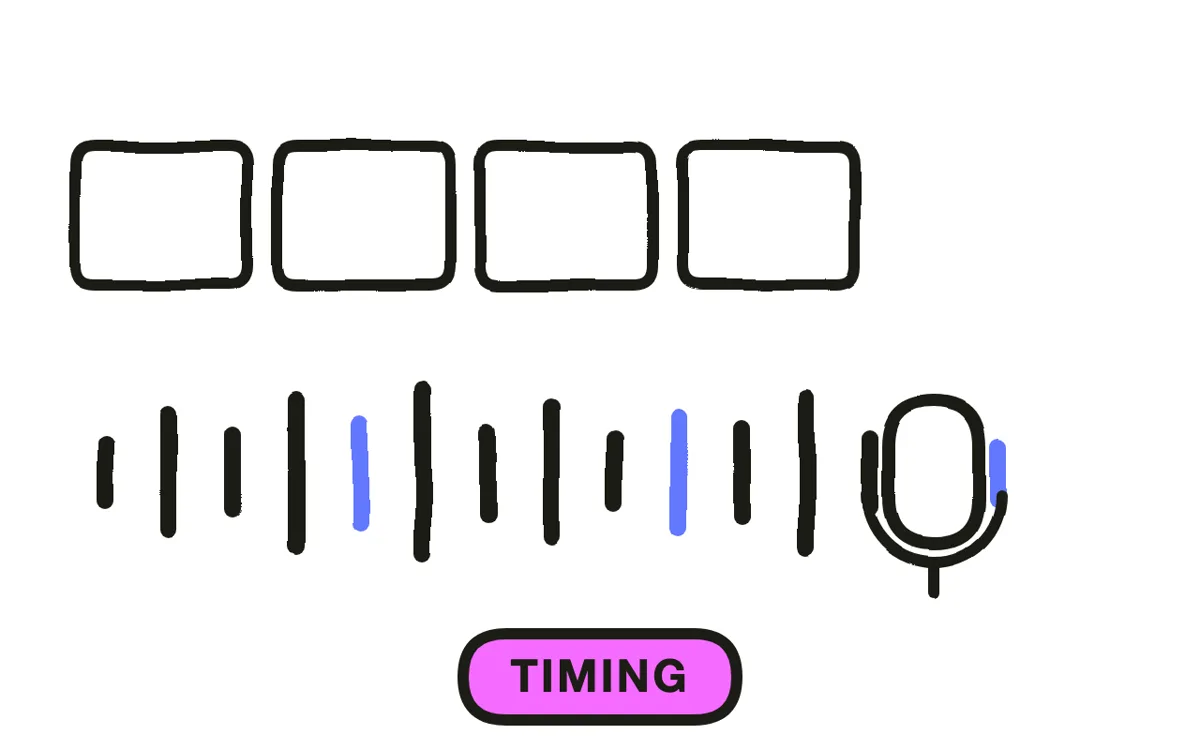
Record the narration first, then fit the action to it. Land each physical beat slightly before the line that describes it, so the viewer sees what happened and then hears why, which is the order that reads as explanation rather than caption.
Add a sound on significant movement: a footstep, a thud, a whoosh. Minimal visuals leave more room for audio to carry weight, and stick figure animation without sound effects feels notably emptier than richer styles do. Pexo generates narration with natural voices and composes a matched score.
Step 6: Export for your placement
Export 16:9 at 1080p for a website, YouTube, and presentations. Export 9:16 for Reels, TikTok, and Shorts, and 1:1 for feeds. Pexo exports all three from one project.
Vertical suits this style unusually well, because simple line figures stay readable at small sizes where detailed characters turn to mush. Still recompose rather than cropping, since the spatial relationship between figures is often the point being made.

How to Make a Stick Figure Explainer Video with Pexo
The six steps above work with any tool. Pexo handles steps 4 through 6 in a single conversation, which removes the rigging that makes even simple character animation slow by hand.
Open the animated explainer video page and describe the piece: "A 75-second stick figure explainer on how a request gets stuck between two teams, three figures distinguished by hair shape and colour, exaggerated movement, dry conversational narration." Pexo generates the scenes, holds the figures consistent, and records the narration.
Adjust any scene by describing the change in the chat, and Pexo regenerates that scene alone. The platform runs across Seedance 2.0, Kling AI, and more.
For related styles, the whiteboard animation page covers the drawing-reveal format and sketch video covers looser hand-drawn work.
5 Mistakes That Make Stick Figure Work Look Lazy
1. Realistic movement. A stick figure has no detail to carry a subtle gesture, so small movements simply do not read.
2. Linear motion. This is the entire line between deliberate style and obvious shortcut, and it is in the easing rather than the drawing.
3. More than three figures. Instant recognition of who is who is the whole appeal, and it breaks down past three.
4. Adding detail to distinguish characters. Two elements each and you have stopped making stick figures and started making a more expensive style badly.
5. Using it for serious content. A line figure walking through a grievance procedure reads as flippant regardless of the script.
Related Tutorials
- How to make a sketch explainer video for looser hand-drawn illustration
- How to make a whiteboard explainer video for the drawing-reveal format
- How to make a cartoon explainer video for fuller character animation
- How to make a 2D explainer video for polished vector animation




