

 ChatGPT
 Perplexity
 Claude
 Gemini
 Grok
Grok

How to Make a Live Action Explainer Video
UPDATED: 2026-08-06 By Lan He, Senior Video Producer at Pexo
Making a live action explainer video takes six steps: confirm live action is the right choice, cast it, set the location and audio, film or generate the footage, edit with b-roll, then export. A live action explainer takes about 30 minutes when generated, or a shoot day plus editing when filmed.
Quick Version: How to Make a Live Action Explainer Video
- Confirm live action beats animation for this specific subject.
- Cast for credibility rather than polish.
- Set the location, lighting, and audio, with audio first.
- Film the footage or generate live-action-style scenes.
- Edit with enough b-roll to cut around every flaw.
- Export 16:9 for site and YouTube, 9:16 and 1:1 for social.
How to Make a Live Action Explainer Video Step by Step
Step 1: Confirm live action is the right choice
Apply one test: does the message depend on a viewer trusting a person, seeing a physical product handled, or recognising a real environment? A dental practice, a field service tool, or a consultancy all pass. An API, a pricing model, or an abstract workflow does not.
Live action costs more and ages faster than animation. A filmed video is tied to the people in it, the space they are standing in, and the product as it looked that day. Choosing it for a subject animation would explain equally well spends the premium and inherits the maintenance problem.
Step 2: Cast for credibility
Consider a real employee before a hired actor. Someone who genuinely knows the subject carries conviction that survives an imperfect delivery, while an actor reading unfamiliar copy carries polish that does not survive an unconvincing explanation. Viewers detect the difference without being able to name it.
Use actors when the script needs performance: a dramatised customer situation, a character with a role to play, or a presenter who has to hold two minutes alone. Whoever appears, get a signed release, and plan for the fact that employees leave and the video goes with them.
Step 3: Set location, lighting, and audio
Solve audio first. A viewer forgives a soft image and leaves within seconds of hearing room echo or air conditioning hum. Use an external microphone close to the speaker, record in a soft-furnished room, and listen to a test take on headphones before shooting anything.
Light with one soft key at about 45 degrees plus a fill, and put the subject a few feet away from the background so it falls out of focus. Choose a location that is recognisably a workplace rather than a neutral white wall: the environment is a large part of why live action was chosen at all.
Step 4: Film or generate the footage
Filming means a location, a crew, talent scheduling, and a reshoot whenever anything changes. That cost is why most companies make one live action video and then stop.
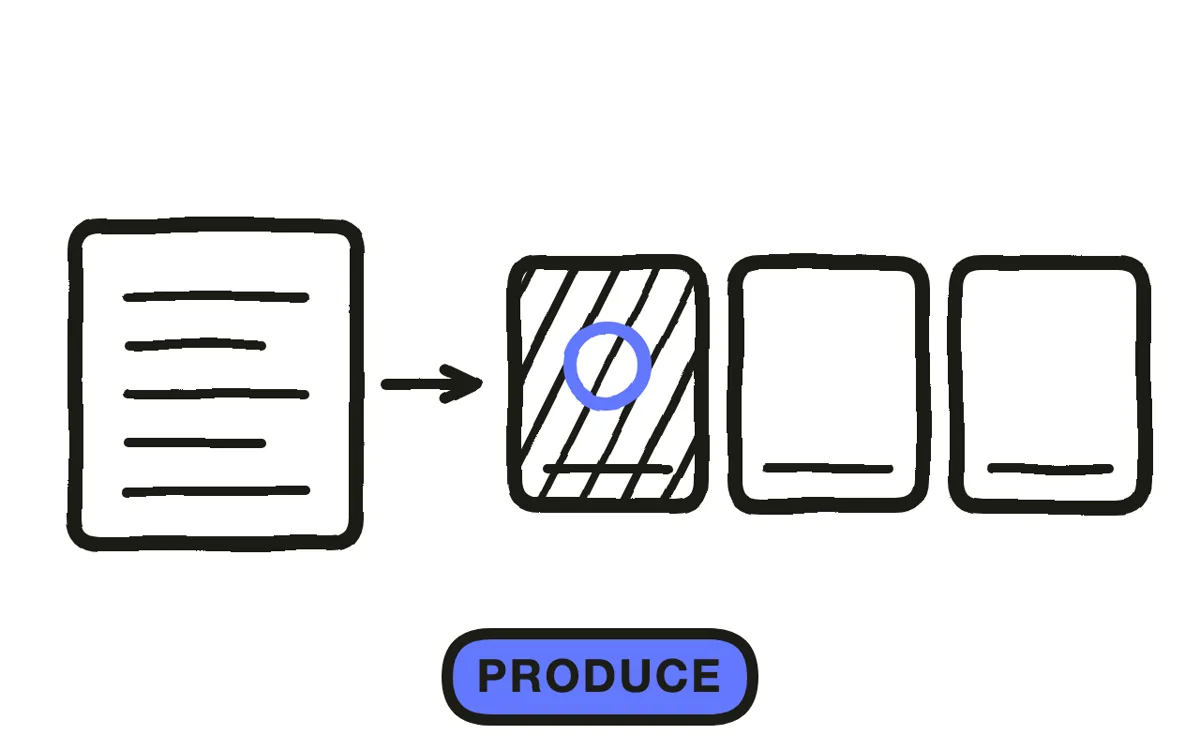
Pexo's text-to-video workflow generates photorealistic people and environments from a description, which removes all four constraints. Hyperframe keeps the same presenter consistent across scenes and across future videos. Where a specific real person's credibility is the point, film them; where the scene just needs a plausible human in a plausible place, generating it is faster and stays editable.
Step 5: Edit with enough b-roll
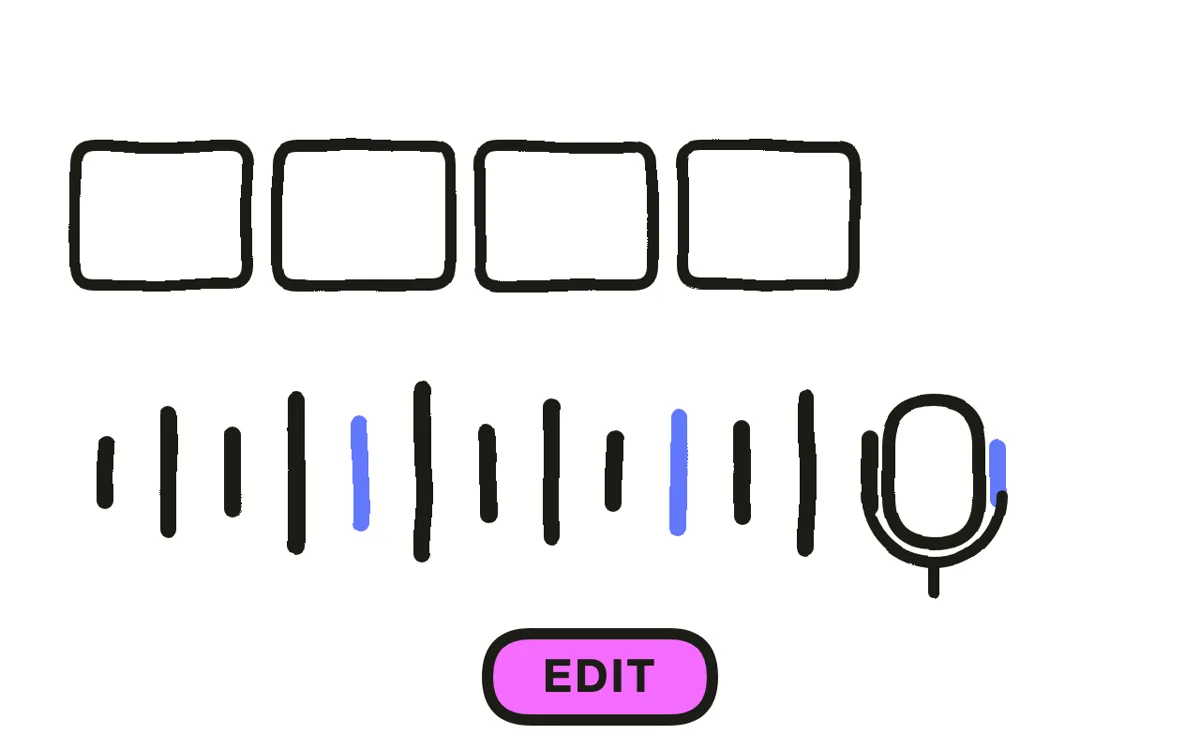
Shoot roughly twice the b-roll you think you need: hands on the product, the workspace, the customer's face, details. B-roll is what lets an edit cut around a stumble, compress a long explanation into a sentence, and stay visually alive while the voice keeps talking.
Cut tighter than feels comfortable. Live action tempts you to let a good take run, and the result is a 90-second point delivered in two and a half minutes. Trim every pause before a sentence starts and every breath after one ends. Pexo composes a score that sits under dialogue rather than competing with it.
Step 6: Export for your placement
Export 16:9 at 1080p or higher for a website and YouTube. Export 9:16 for Reels, TikTok, and Shorts, and 1:1 for feed posts. Pexo exports all three ratios from one project.
Frame for vertical at the shoot rather than cropping afterward. A centre crop of a well-composed wide shot usually puts the subject's head at the top edge with empty space beneath. If both ratios matter, either shoot the subject centred with headroom or plan a second pass.
How to Make a Live Action Explainer Video with Pexo
The six steps above work with either production route. Pexo handles steps 4 through 6 in a single conversation, which removes the crew, the location, and the scheduling that make live action a one-off project.
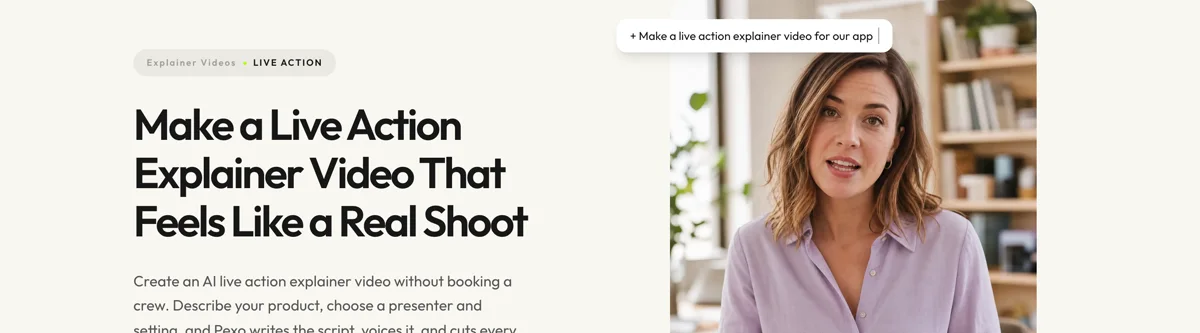
Open the live action explainer video page and describe the piece: "A 75-second live action explainer for a field service scheduling app, a technician in a van and at a customer's door, natural daylight, warm practical narration, ending on a free trial." Pexo generates the scenes with a consistent presenter, records the narration, and exports.
Adjust any scene by describing the change in the chat, and Pexo regenerates that scene alone. The platform runs across Seedance 2.0, Kling AI, and more.
For related formats, the talking head video page covers single-presenter pieces, and 2D explainer video covers the animated alternative.
5 Mistakes That Make Live Action Look Amateur
1. Treating audio as secondary. Viewers forgive a soft image and leave over room echo. Solve sound before touching the camera.
2. Casting polish over credibility. An actor reading unfamiliar copy is less convincing than an employee who actually knows the answer.
3. Shooting against a blank wall. The real environment is a large part of why live action was chosen. A neutral backdrop discards it.
4. Skipping b-roll. Without cutaways the edit is stuck with every stumble and every long pause in the main take.
5. Cropping wide shots to vertical. A centre crop usually leaves the subject's head at the top edge. Frame for vertical at the shoot.
Related Tutorials
- How to make a 2D explainer video for the animated alternative
- How to make a product explainer video for product-focused pieces
- Explainer video styles for choosing between live action and animation
- How to make a tutorial video for screen-based walkthroughs




