

 ChatGPT
 Perplexity
 Claude
 Gemini
 Grok
Grok

How to Make a Recipe Video
UPDATED: 2026-08-05 By Lan He, Senior Video Producer at Pexo
Making a recipe video takes six steps: pick a dish that films well, prep every ingredient before recording, set an overhead rig with side light, film each action separately, add ingredient text overlays, then export for social and a blog. A recipe video takes about 25 minutes end to end.
Quick Version: How to Make a Recipe Video
- Pick a dish with visible transformation and under ten ingredients.
- Prep and portion every ingredient before recording anything.
- Set an overhead mount with one soft side light.
- Film each action as a separate take, or generate the footage.
- Add ingredient names and quantities on screen as each one enters.
- Export 9:16 for social and 16:9 for YouTube and blog embeds.
How to Make a Recipe Video Step by Step
Step 1: Pick a dish that films well
Choose a dish with visible transformation: something that browns, melts, rises, or changes colour. A recipe where the ingredients go into a pot and emerge looking similar gives the camera nothing to show.
Keep it under ten ingredients and under six steps for short-form. Complex recipes compress badly into 30 seconds, and the result is a video that looks impressive but cannot actually be followed. Save multi-stage dishes for long-form where each stage has room.
Step 2: Prep every ingredient first
Portion every ingredient into a separate bowl before recording starts. This is standard kitchen mise en place, and on camera it is not optional: stopping to measure flour mid-take produces dead footage that gets cut, along with the continuity that made the sequence work.
Prepare duplicates of anything that changes during filming. Herbs wilt, avocado browns, and ice melts under lights. Having a second set for the final beauty shot is the difference between a finished dish that looks fresh and one that looks like it has been sitting under a lamp.
Step 3: Set the overhead rig and lighting
Mount the camera directly overhead, framing the board or pan with a margin around it. Overhead is the format's default because it shows the surface, the food, and the hands simultaneously, and it crops cleanly to both vertical and horizontal.
Light from the side rather than the front. Side light brings out steam, texture, and the sheen on a sauce, all of which read as appetizing; front light flattens food into something that looks like a menu photograph. Keep a low front angle available for pouring and plating, where overhead loses the height of the dish.
Step 4: Film each action separately
Record each action as its own take: the chop, the pour, the stir, the flip. Separate takes let the edit control pacing, and they mean one mistake costs a single shot rather than the whole sequence.
Shoot the finished dish immediately while it is still steaming. For brand or blog content without a kitchen session, Pexo's image-to-video workflow generates cooking motion from a food photograph, and text-to-video produces full recipe sequences from a written method.
Step 5: Add ingredient text overlays
Put each ingredient's name and quantity on screen the moment it enters the pan. A viewer scrolling a feed cannot pause to check a measurement, so in short-form the text overlay is the recipe. Omitting quantities makes the video decorative rather than useful.
Hold each overlay for at least two seconds in the upper or middle third, clear of platform captions. Keep the cooking sounds audible under any music: sizzle, chopping, and pouring do more for appetite appeal than the soundtrack does. Pexo adds captions and composes a score mixed under the ambient sound.
Step 6: Export for social and blog
Export 9:16 at 1080x1920 for TikTok, Reels, and Shorts. Export 16:9 at 1080p for YouTube and blog embeds. Pexo exports both from one project, and overhead footage crops well to either.
On the blog post hosting the video, add Recipe structured data. Recipe is one of the formats Google still shows rich results for, including cook time, ratings, and calories, which sets it apart from HowTo schema. Google's recipe structured data documentation lists the required fields.
How to Make a Recipe Video with Pexo
The six steps above work with any production method. Pexo handles steps 4 through 6 in a single conversation, which suits food brands and blogs producing volume without a kitchen session per recipe.
Open the recipe video page and describe the dish: "A 40-second overhead recipe video for garlic butter shrimp pasta, warm side lighting, six ingredient overlays, ending on a plated bowl with fresh parsley." Pexo generates the cooking sequence, times the ingredient overlays, and adds the sizzle and chop sound.
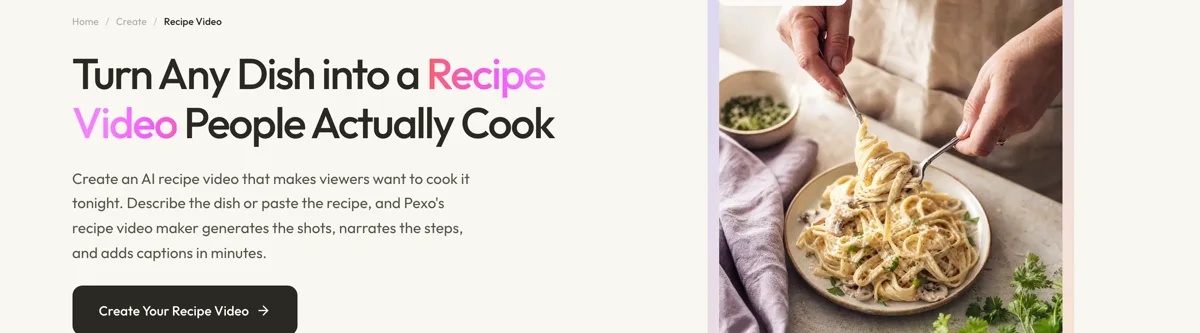
Adjust any step by describing the change in the chat, and Pexo regenerates that scene alone. The platform runs across Seedance 2.0, Kling AI, and more.
For adjacent formats, the unboxing video page covers another overhead-shot format, and social media video suits broader lifestyle content.
5 Mistakes That Make a Recipe Video Hard to Follow
1. Measuring on camera. Stopping to portion mid-take produces footage that gets cut and breaks continuity. Prep everything first.
2. Omitting quantities. A viewer cannot pause a scrolling feed. Without quantities on screen, the video is decorative rather than usable.
3. Lighting from the front. Front light flattens food. Side light brings out steam, texture, and sheen.
4. Burying the cooking sounds under music. Sizzle and chopping carry more appetite appeal than any soundtrack.
5. Compressing a complex dish into 30 seconds. The result looks impressive and cannot be followed. Match the dish to the runtime.
Related Tutorials
- How to make an unboxing video for another overhead format
- How to make a tutorial video for step-by-step instructional structure
- How to make a short video for vertical format fundamentals
- How to make a UGC video for creator-style food brand content




