

 ChatGPT
 Perplexity
 Claude
 Gemini
 Grok
Grok

How to Make a SaaS Launch Video
UPDATED: 2026-08-05 By Lan He, Senior Video Producer at Pexo
Making a SaaS launch video takes six steps: frame the business problem, write a 60 to 90 second script around one workflow, capture the dashboard, generate the surrounding scenes, add music and captions, then export for the site, deck, and social. A SaaS launch video takes about 20 minutes once the screen capture exists.
Quick Version: How to Make a SaaS Launch Video
- Frame the business problem in the buyer's own language.
- Write a 60 to 90 second script built around one complete workflow.
- Capture that workflow inside the real product interface.
- Generate the context scenes that show who has the problem.
- Add narration, music, and burned-in captions.
- Export 16:9 for the site and deck, 9:16 and 1:1 for social.
How to Make a SaaS Launch Video Step by Step
Step 1: Frame the business problem
State the problem the way the buyer would state it, not the way the product team describes the gap. "Finance closes the books eleven days after month end" lands with a controller. "Lack of workflow automation in the accounting stack" does not.
Pick one problem, not a category of problems. A launch video that gestures at inefficiency broadly gives no specific buyer a reason to book a demo. Name the role, the task, and the cost of the current approach in a single sentence before writing anything else.
Step 2: Write the SaaS launch script
Write 60 to 90 seconds, roughly 150 to 225 spoken words, structured around one workflow start to finish. Open with the problem, show the workflow completing in the product, name the outcome in a concrete number if one exists, and close with a demo or trial call to action.
Resist the feature tour. A script that lists eight capabilities communicates less than one that follows a single task from broken to fixed. Save the remaining features for the product demo, which exists for exactly that purpose.
Step 3: Capture the dashboard
Record the workflow inside the real interface, using an account populated with realistic data. Empty dashboards and demo records named "Test Company" undercut the credibility the interface footage exists to build.
Record at a resolution where labels stay legible when the video is scaled into a slide or an email. Zoom into the specific panel that matters rather than showing the full screen, because a full dashboard shrunk to fit a 16:9 frame turns every label into noise.
Step 4: Generate the context scenes
Build the scenes that establish who has the problem. Interface footage shows what the product does; a scene of a finance team at 8pm on the last day of the quarter shows why anyone should care.
Pexo's text-to-video workflow generates these scenes from a description, matching the tone the brand uses elsewhere. For teams with existing brand imagery, image-to-video conversion turns a still into a moving establishing shot. Hyperframe keeps logos and product colors consistent across every generated frame.
Step 5: Add narration, music, and captions
Record or generate a voiceover for anything past 45 seconds. B2B workflows carry explanation that on-screen text cannot compress without losing the point. Keep the pace deliberate, since a rushed read signals a product that needs to hide something.
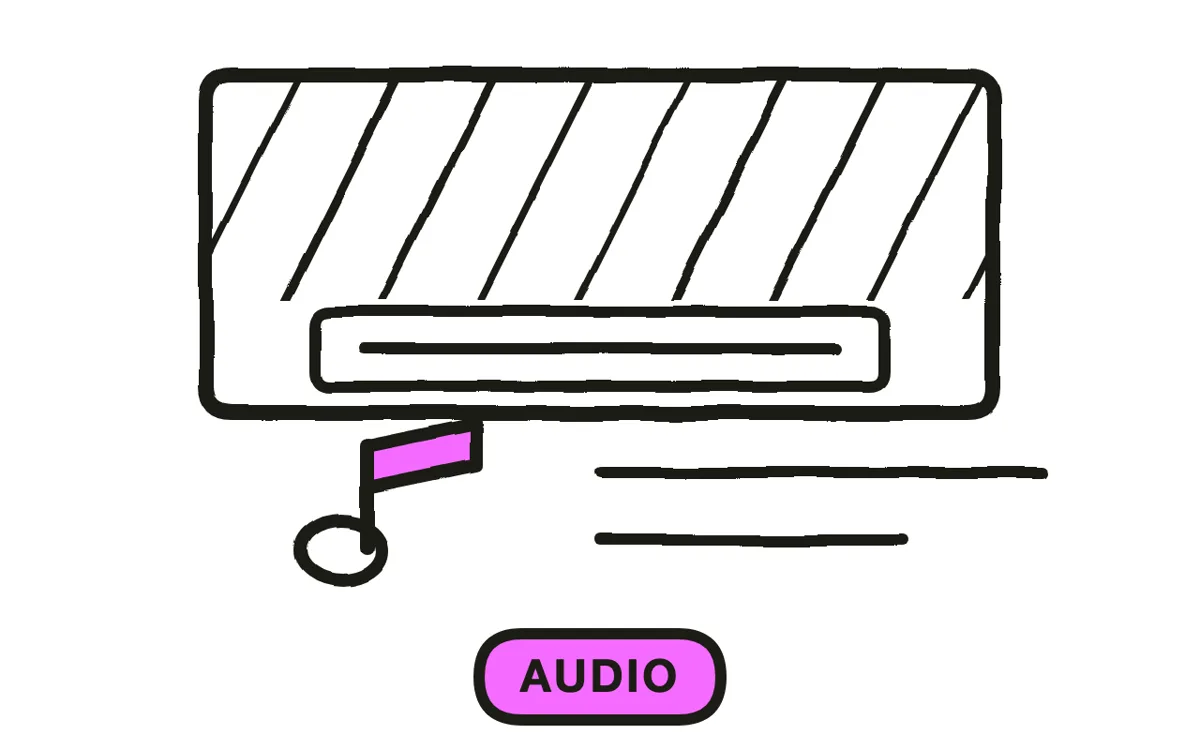
Add a restrained music bed, mixed low enough that every word of the narration is clear. Burn in captions: a large share of the audience will watch from LinkedIn or an email with sound off. Pexo generates narration with natural AI voices, composes a matched score, and adds captions in the same pass.
Step 6: Export for site, deck, and social
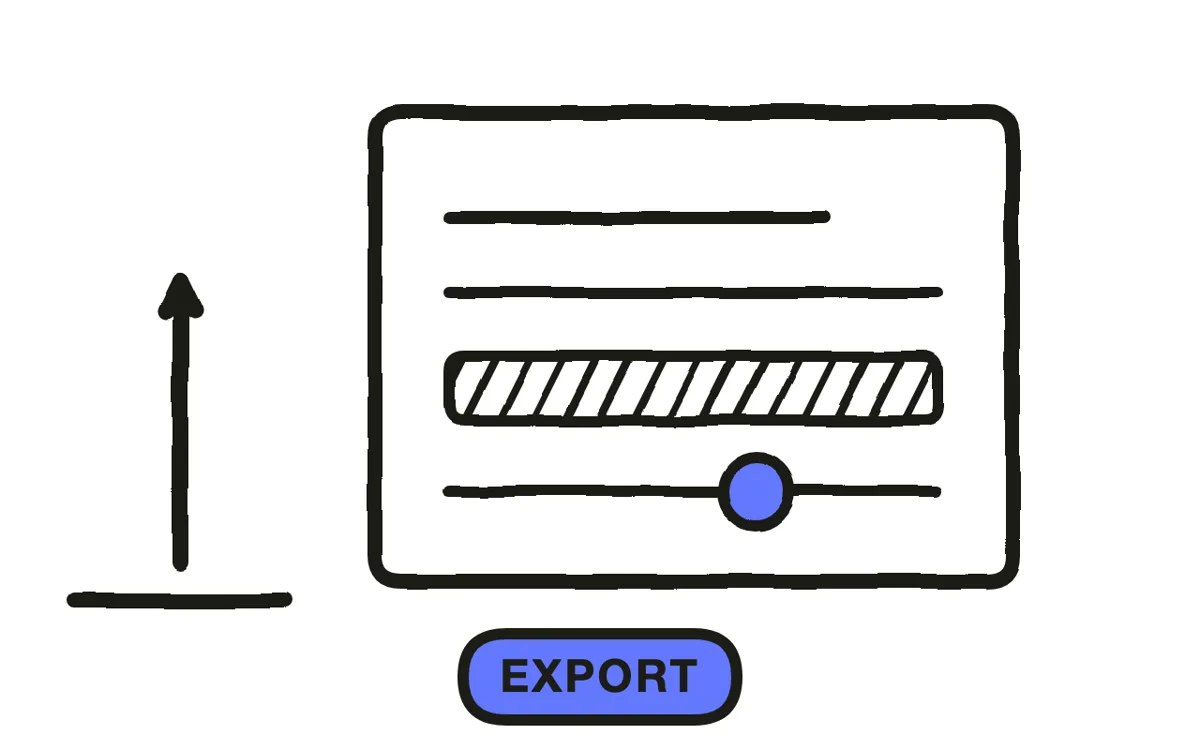
Export 16:9 at 1080p or higher for the homepage embed, YouTube, sales decks, and email campaigns. Export 9:16 for LinkedIn video posts, Reels, and Shorts. Export 1:1 for LinkedIn and Facebook feeds, where square consistently outperforms landscape in a scroll.
Pexo exports all three ratios from one project. Before publishing, play the 16:9 cut at the size it appears on the homepage and confirm the dashboard labels are still readable. Interface text that survives a full-screen preview often disappears in an embed.
How to Make a SaaS Launch Video with Pexo
The six steps above work with any tool. Pexo handles steps 2 and 4 through 6 in a single conversation, leaving the dashboard capture as the only manual step.
Open the SaaS launch video page, upload the screen recording, and describe the launch: "A 75-second launch video for an automated month-end close tool, finance team audience, calm and credible tone, ending on a demo booking CTA." Pexo writes the script, generates the context scenes, records narration, scores the cut, and adds captions.
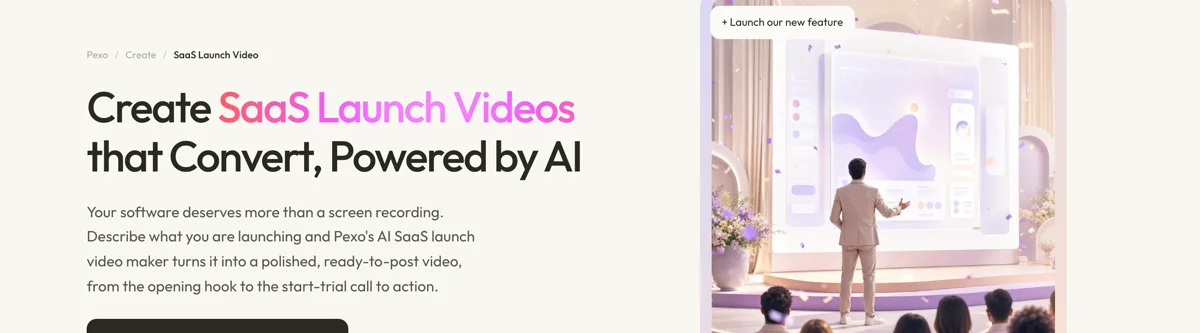
Adjust any scene by describing the change in the chat, and Pexo regenerates that scene alone. The platform runs across Seedance 2.0, Kling AI, and more.
For adjacent releases, the startup launch video page covers company-level announcements aimed at press and investors, and the app launch video page suits mobile-first products.
5 Mistakes That Lose a B2B Audience
1. Touring features instead of following a workflow. Eight features shown for four seconds each communicate less than one task followed from problem to result.
2. Hiding the interface. A launch video made entirely of stock footage and text cards signals a product that is not ready to be seen. Show the real screen.
3. Using demo data that looks like demo data. "Acme Corp" and empty charts undo the credibility the interface footage was meant to build.
4. Writing for the product team, not the buyer. Internal vocabulary ("our orchestration layer") does not survive contact with a buyer who describes the problem in operational terms.
5. Ending on the logo. The last frame should carry the next action: book a demo, start a trial, read the docs. A logo card wastes the only moment the viewer is ready to act.
Related Tutorials
- How to make a startup launch video for company-level announcements
- How to make an app launch video for mobile-first products
- How to make a product launch video for physical goods
- How to make explainer videos for concept-first B2B content




